Rain in your forecast? Here’s a Disney inspired project to make with your little Mouseketeers that’s sure to add a bit of pixie dust to their day.
My daughter and I love to walk the isles of our local fabric store. Although she’s three and I’m thirty…something…we both enjoy pulling out the rolls of pretty prints to see the beautiful designs and touch the many different textures. Of course her favorite row to shop is the licensed Disney character fabric! Unfortunately, I don’t know how to sew much more than a button and a simple back-stitch, so we end up putting the rolls back on the shelf after touching. However, every now and then I come up with a simple craft idea using a bit of magical Disney fabric and this is one!
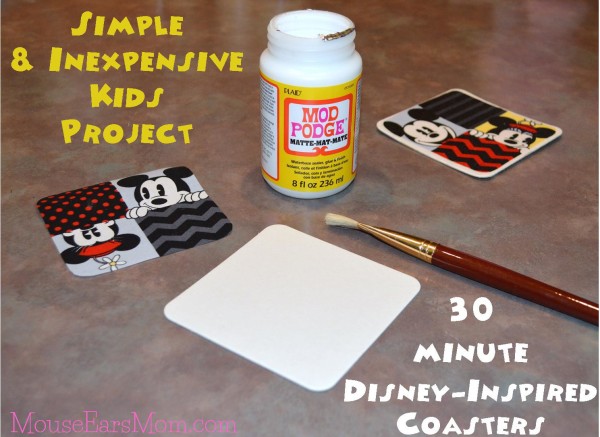
So, take your Mouseketeer to the local fabric store and set him free to find his favorite Disney characters plastered all over a cheerful fun-filled piece of fabric. All you’ll need to purchase is a quarter of a yard. (It won’t cost more than $1 or $2 (US).) Next, visit the wood project isle and you’re sure to find a set of wooden coasters. Our store sold a six piece set for $1 (US). If you have a large group of Mouseketeers, Amazon sells a set of 50 plain white square coasters for $8.96. (I did this project in an after-school art program for 20 children and they worked perfectly!) Last, but not least, you’ll need a foam brush and some Mod Podge. That’s it!
Here’s a recap of the supplies:
- Mod Podge
- Fabric (.25 yards is more than enough to pick out images you’ll like on the coasters)
- Disposable foam brush (easiest for little hands to use)
- Coasters
- Fabric pencil (optional- it may help you when your cutting out your squares)
- Scissors
Now that you have your supplies, you’re ready to take on any rainy afternoon!
If you’ve never used Mod Podge before, here are the simple steps to make the Disney-inspired coasters. For preschool and early elementary age kids, I would recommend Step 1 & 2 you complete for them and then turn the next step over to them.
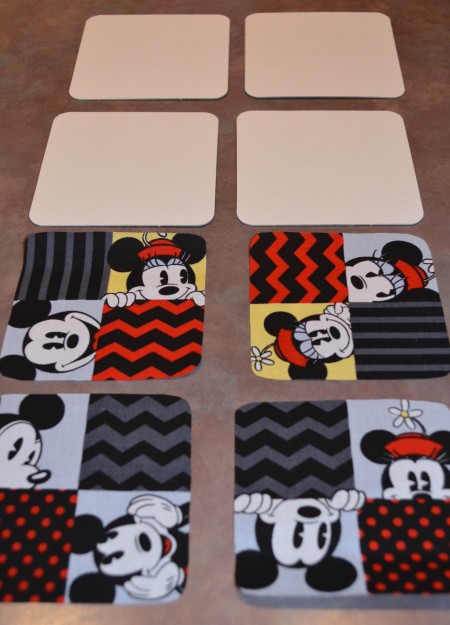
- Trace the outline of a plain coaster on top of the fabric image you would like to adhere onto the coaster.
- Cut out the traced coaster image that you marked on the fabric. (I chose to cut the fabric square a touch smaller than the footprint of the original coaster because I wanted the white of the coasters to act as a frame to the fabric design.
- Apply Mod Podge evenly on the top of the plain coaster. (Kids love this part!!)
- Place the fabric on top of the Mod Podged coaster and allow it to dry for a few minutes.
- Once it starts to dry, then apply a layer of Mod Podge on top of the fabric. Allow this layer to dry completely.It will seal the coaster and allow it to have a smooth finish. (After this layer dried, I chose to also go over the top one more time with a final coat. However, this isn’t needed.)
Hi,
Could you tell Mr where you purchased the necklace for your Sofia the First party?
Thanks for stopping by the blog today! I’m not certain which necklace you are referring to in your question. I did a tutorial on how to make a Sofia necklace. Is this the one you are referring to?