 Flying Fun!
This week, the kids and I are so excited that Disney’s “Planes” premieres in theatres on Friday, August 9th. I don’t know about your kids but my son, Gavin, has been talking about the film’s release for months. Having been a plane enthusiast since the young age of one, this year Gavin really wanted to have a Disney’s “Planes” themed birthday party. Well, Gavin was born two months premature and let me say, if he had gone full term then the Disney “Planes” supplies might have been out in time for this party! Regardless, there was not a single “Planes” product available when I was planning his party and at that point, other than what was said in the original preview we knew little about the film. So, the party theme was tweaked a bit and was transformed into a “Flying” theme. This also gave me the opportunity to be creative with planning his special day around him, instead of a specific character. With the theatre release of Disney’s “Planes” this summer, I’m certain quite a few more children will also want to have a “Planes” birthday party this year.
Today, I thought I’d share some of the details of my son’s “Flying” party that you could incorporate into a Disney’s “Planes” Inspired Party.
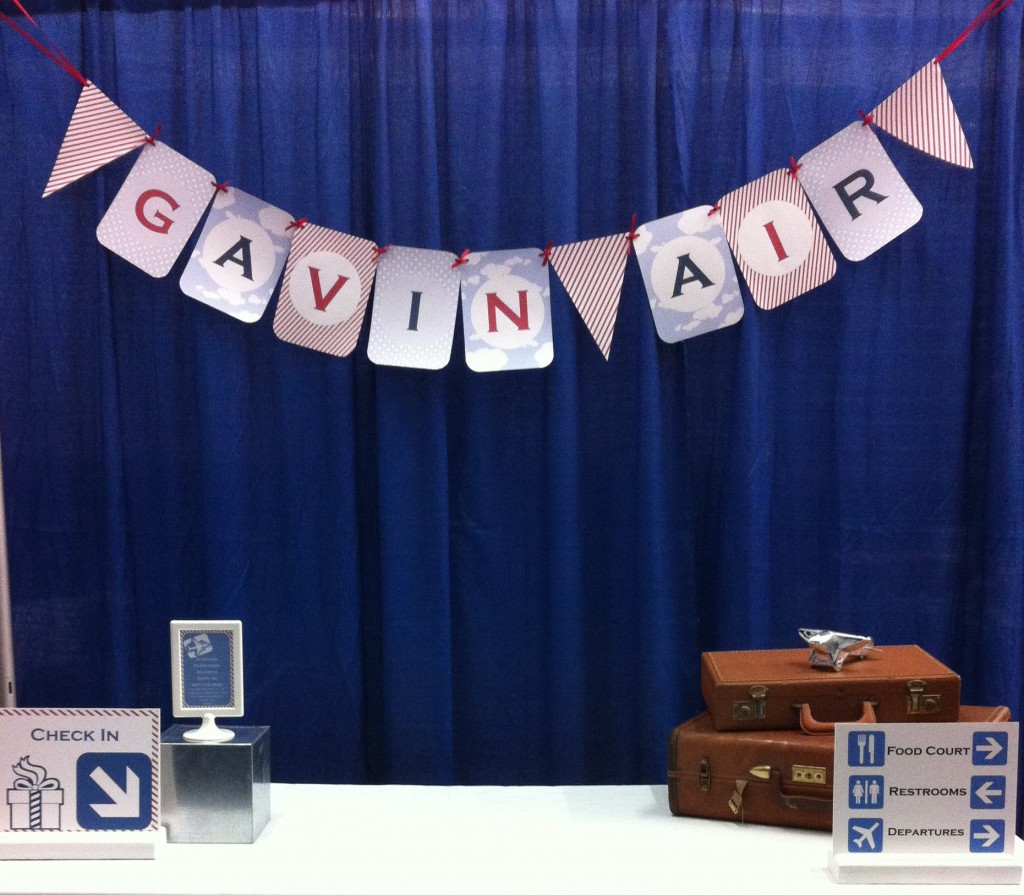 Check In Table (Present Table)
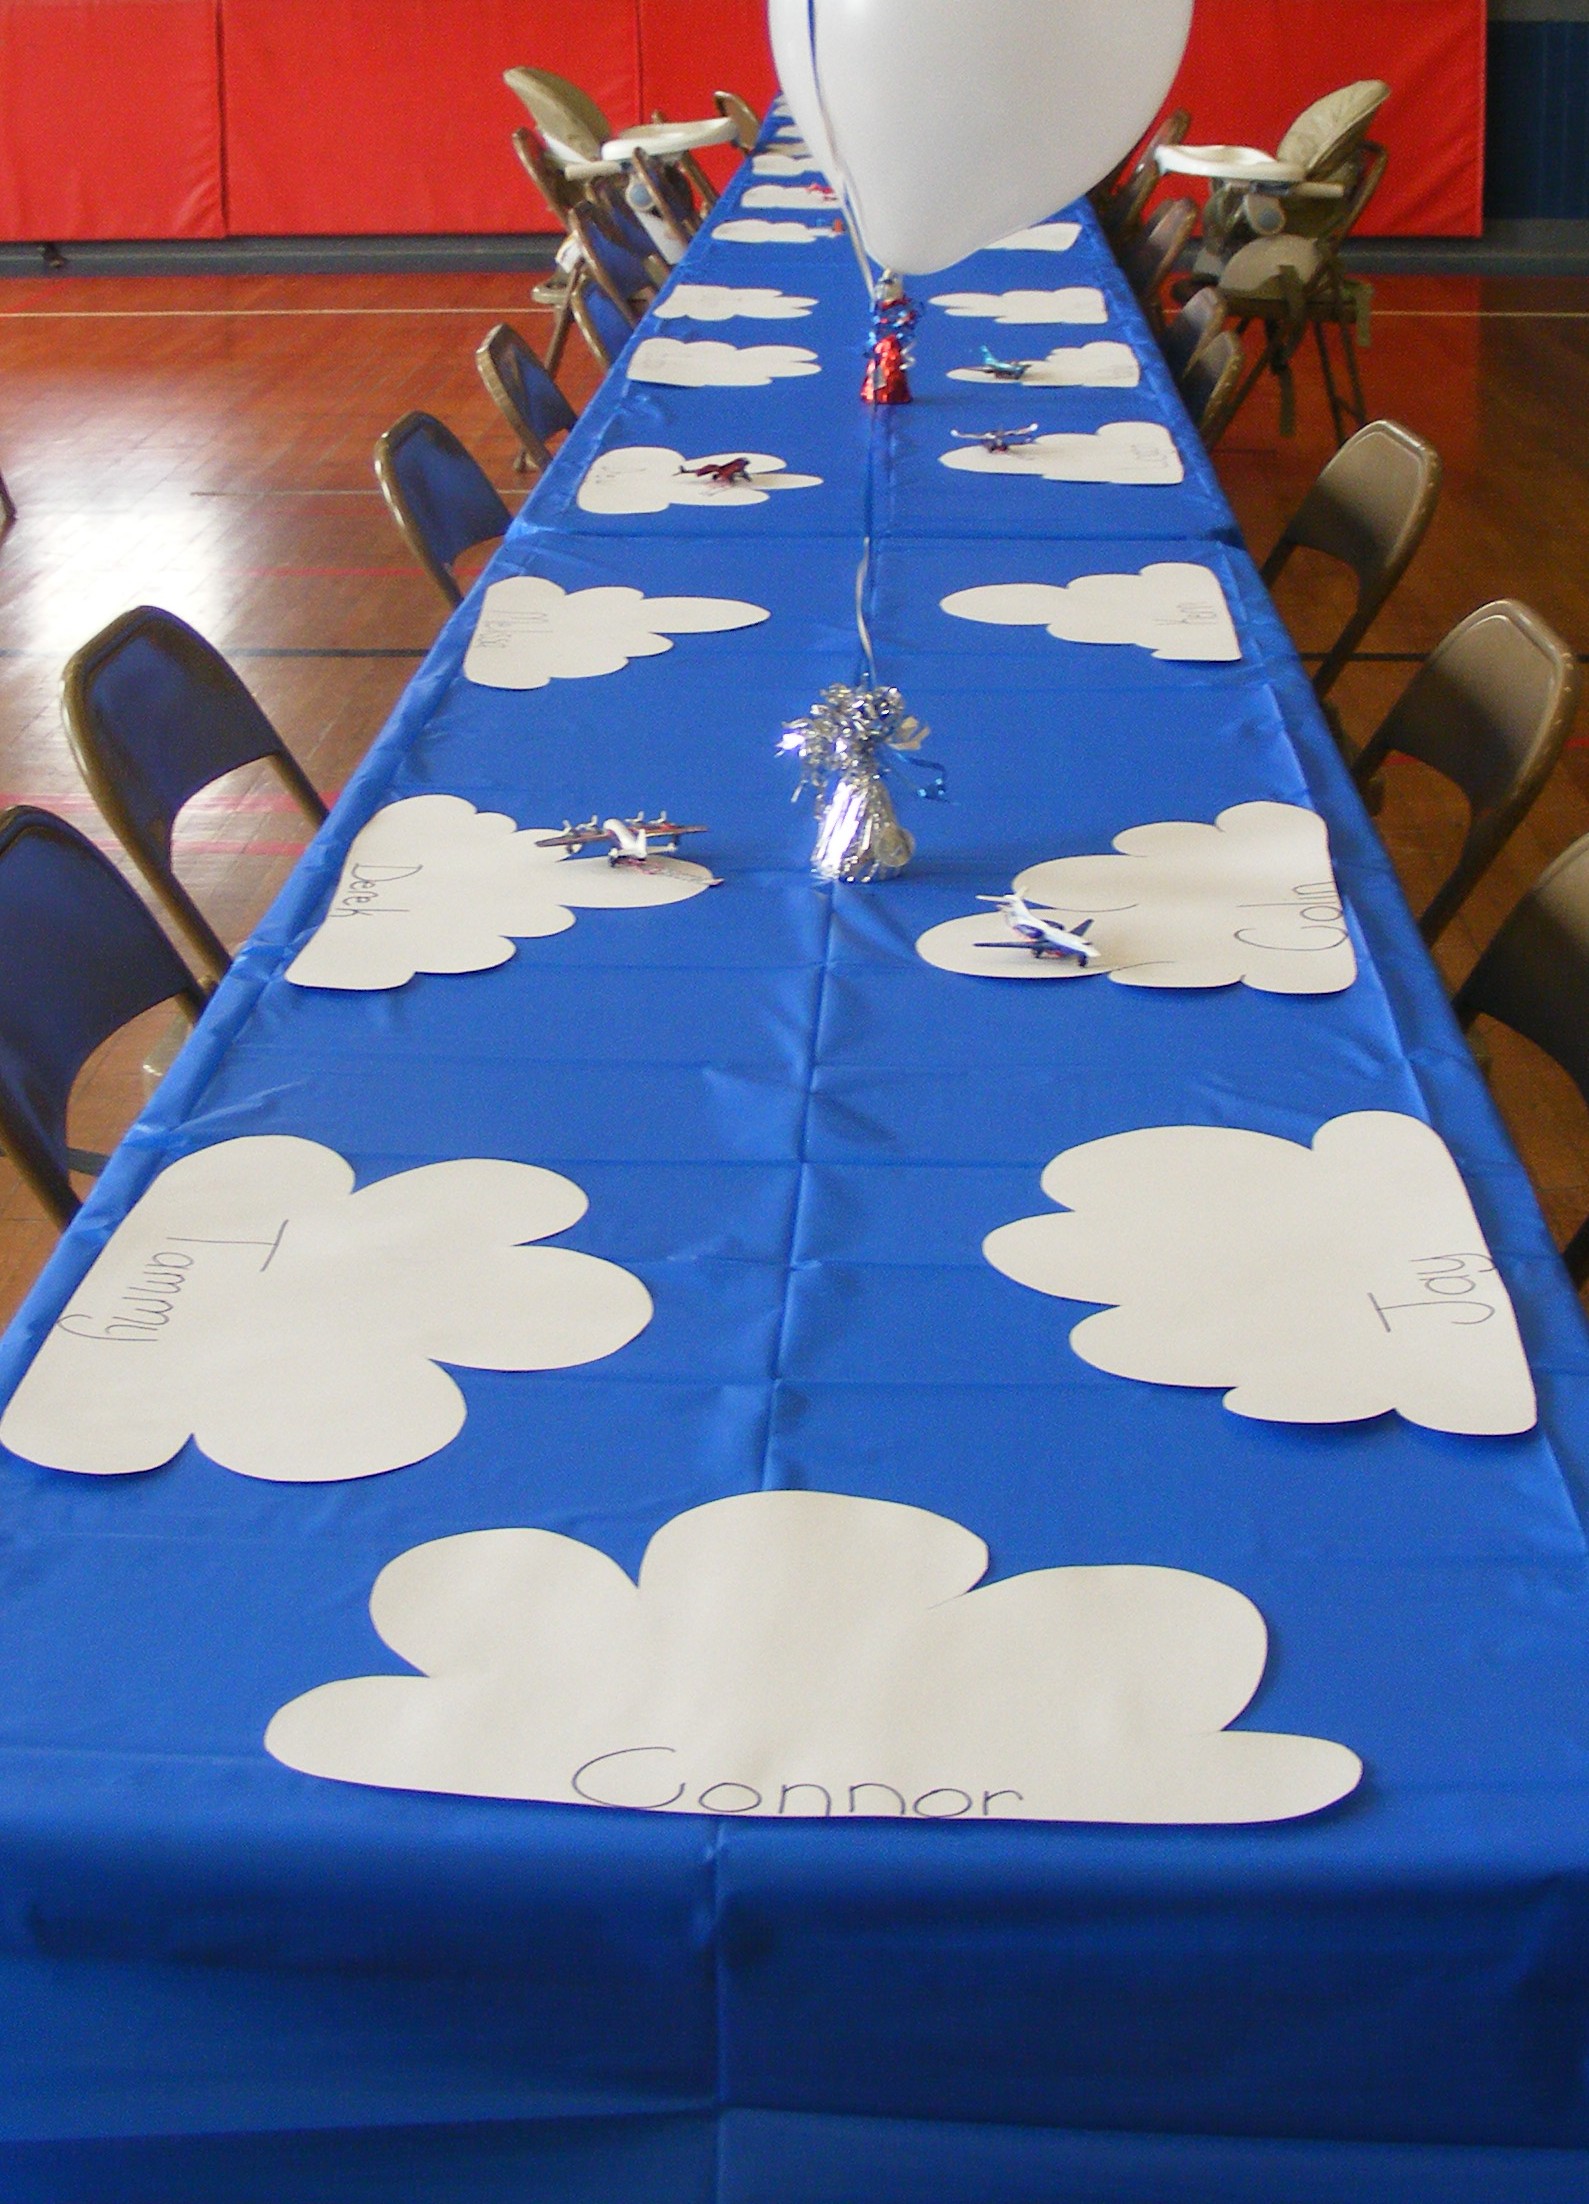
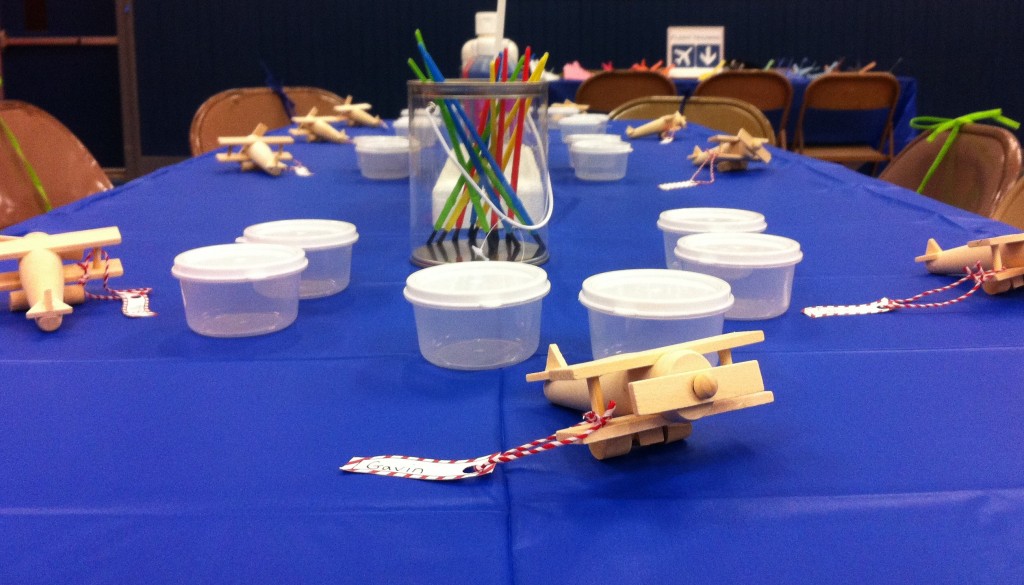
 Parents and Kids Table
I wanted to do a kids table but attending the party were a lot of small children that needed Mom or Dad’s help to eat. I decided to create runway style seating that included cloud place mat settings for parents and their children. At each child’s cloud flew a Match Box plane with a banner attached to it that said the child’s name. At the head of the table, blocked by the balloons in this photo, was a control tower.
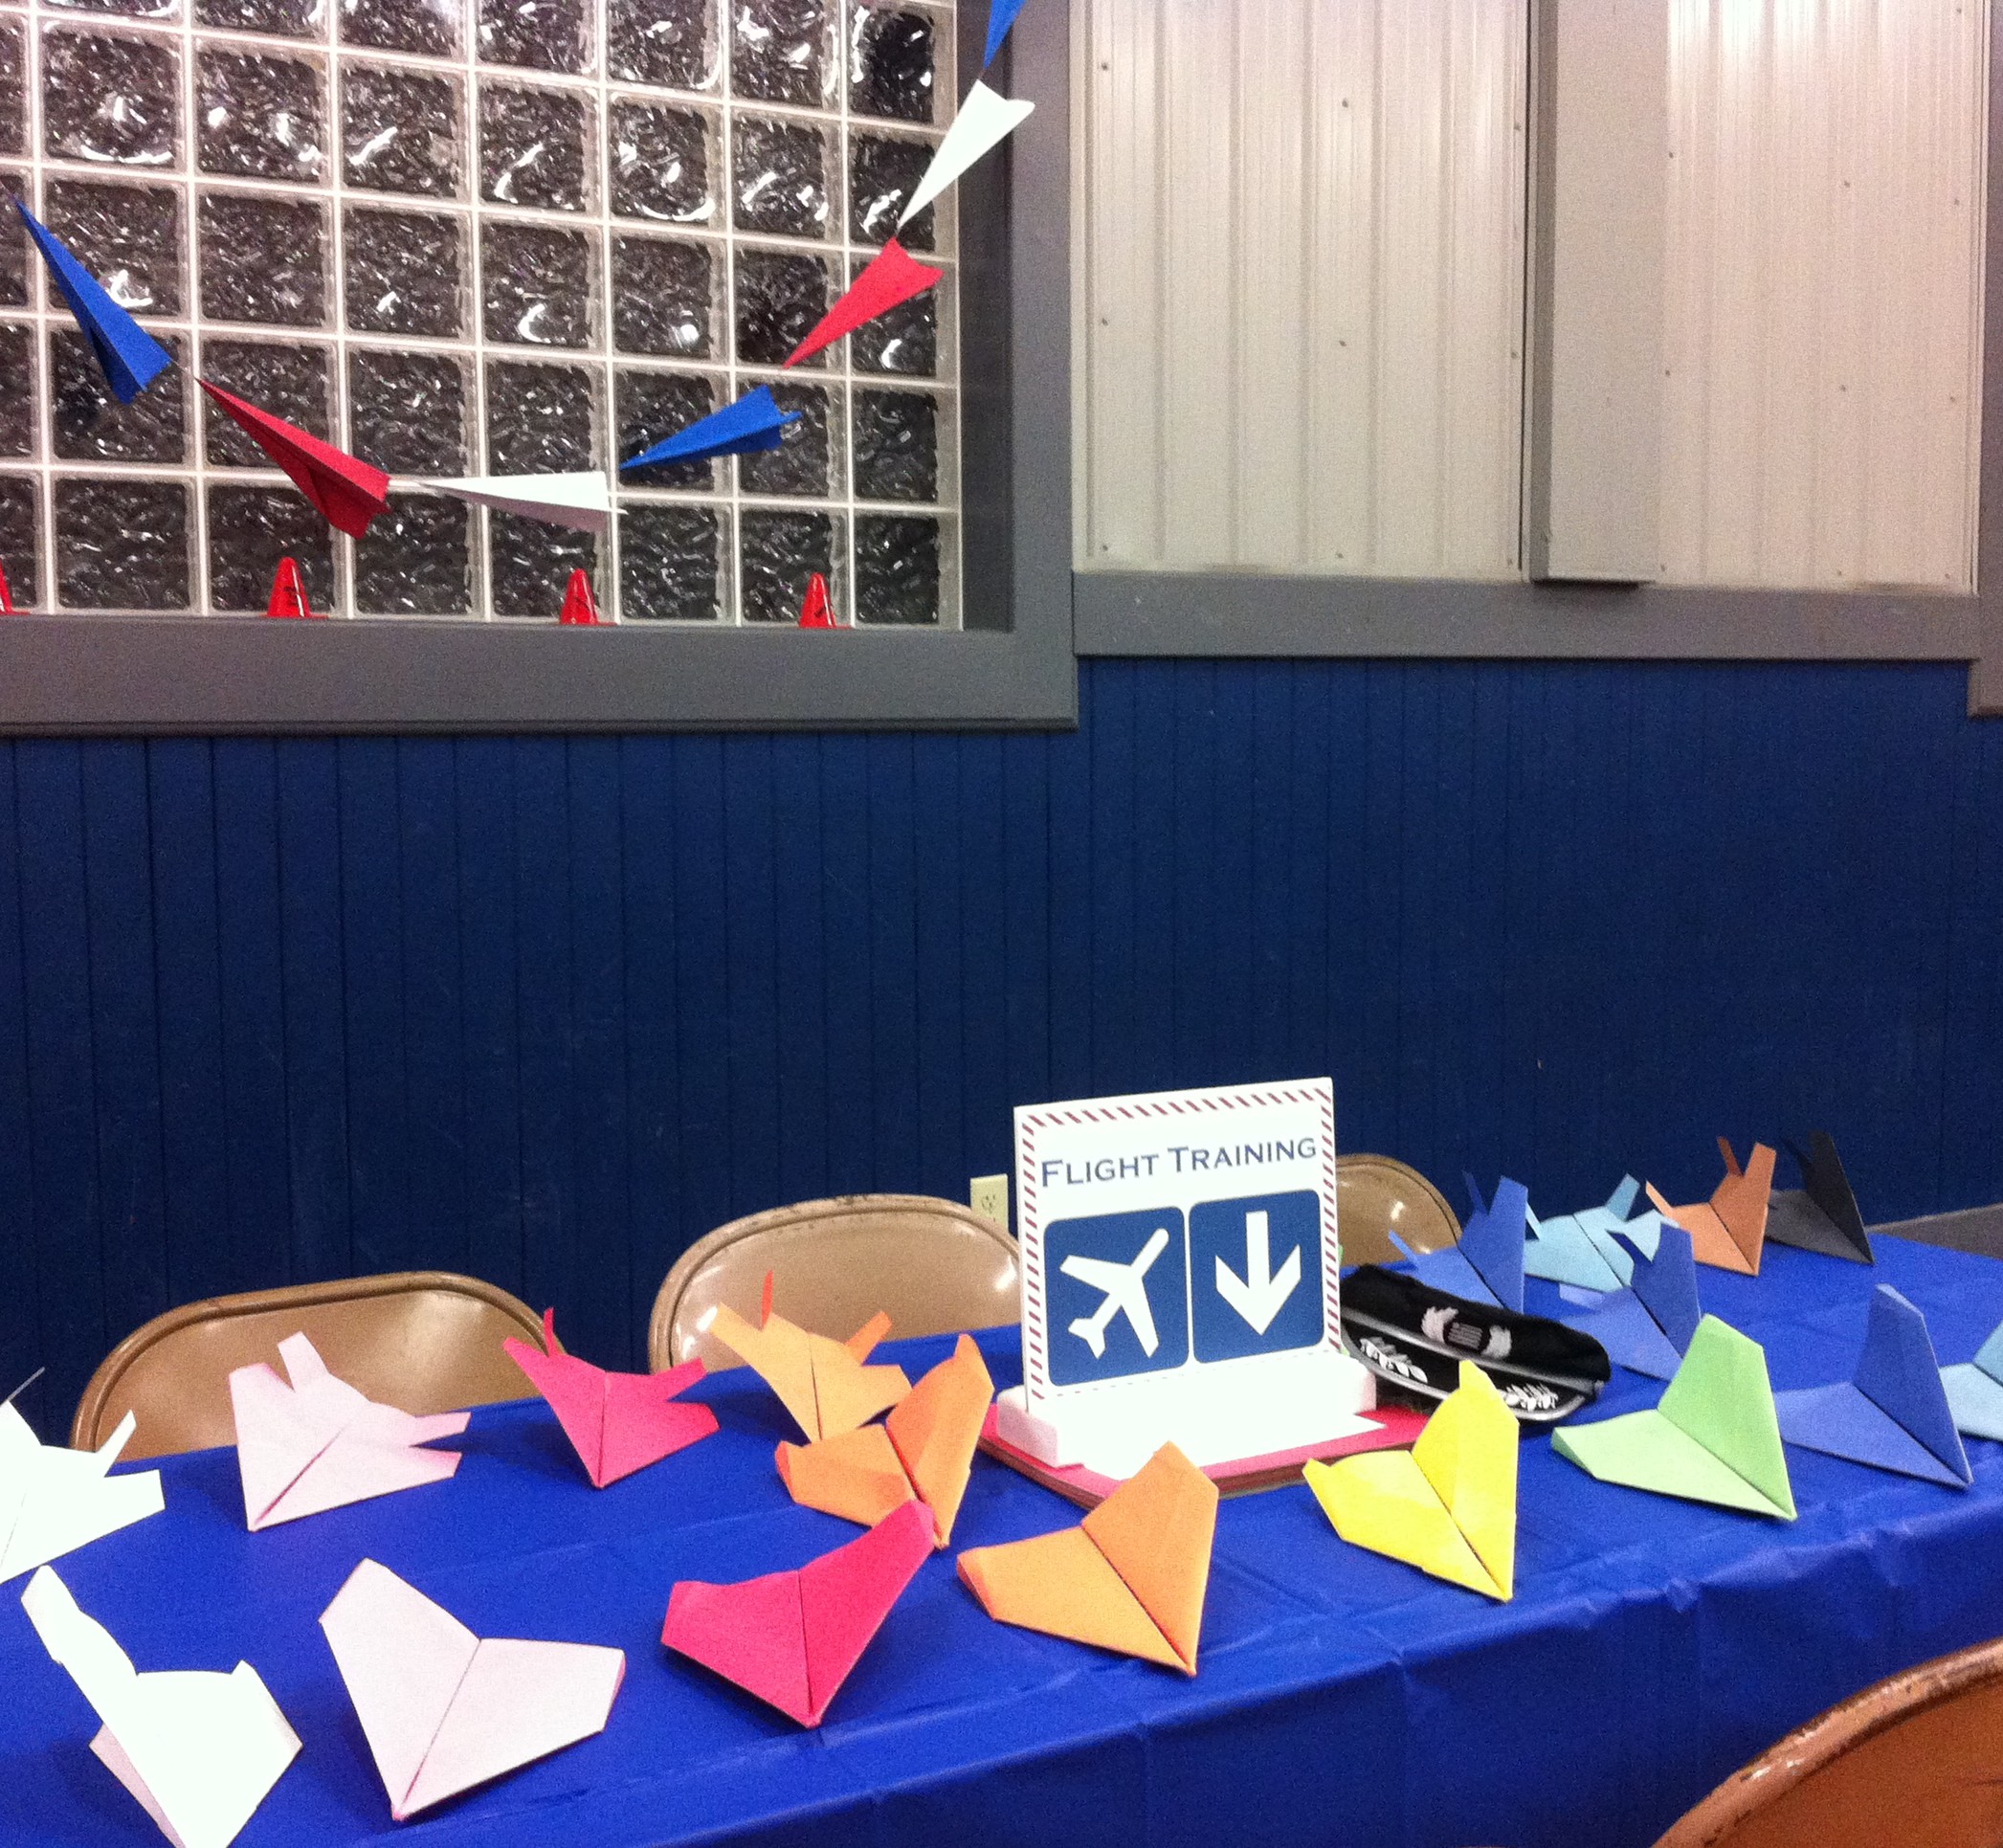
 Activities
Activities of the day included Flight Training, which involved making, decorating and flying paper airplanes. Aviators also completed Plane Maintenance, a.k.a. painting their own wooden plane. This station was featured in the first photo of this blog post. At the end of the party, we brought the kids outside and launched rockets.
 Flight Inspired Food
There were two food areas, a Food Court and the Pilot’s Lounge. In the Food Court, we offered party guests a buffet of Gavin’s favorite food, Pizza. There was Chicken Wingman Pizza, Broccoli and Alfredo Flying Pizza, Flying High Cheese Pizza Pies, Pepperoni Pie in the Sky and Ham and Cheesy Flight Attendants Pizza. In addition we had prepackaged chips, like you’d find in a food court, plane propellers (fruit on a skewer) and Jet Fuel (a variety of drinks).
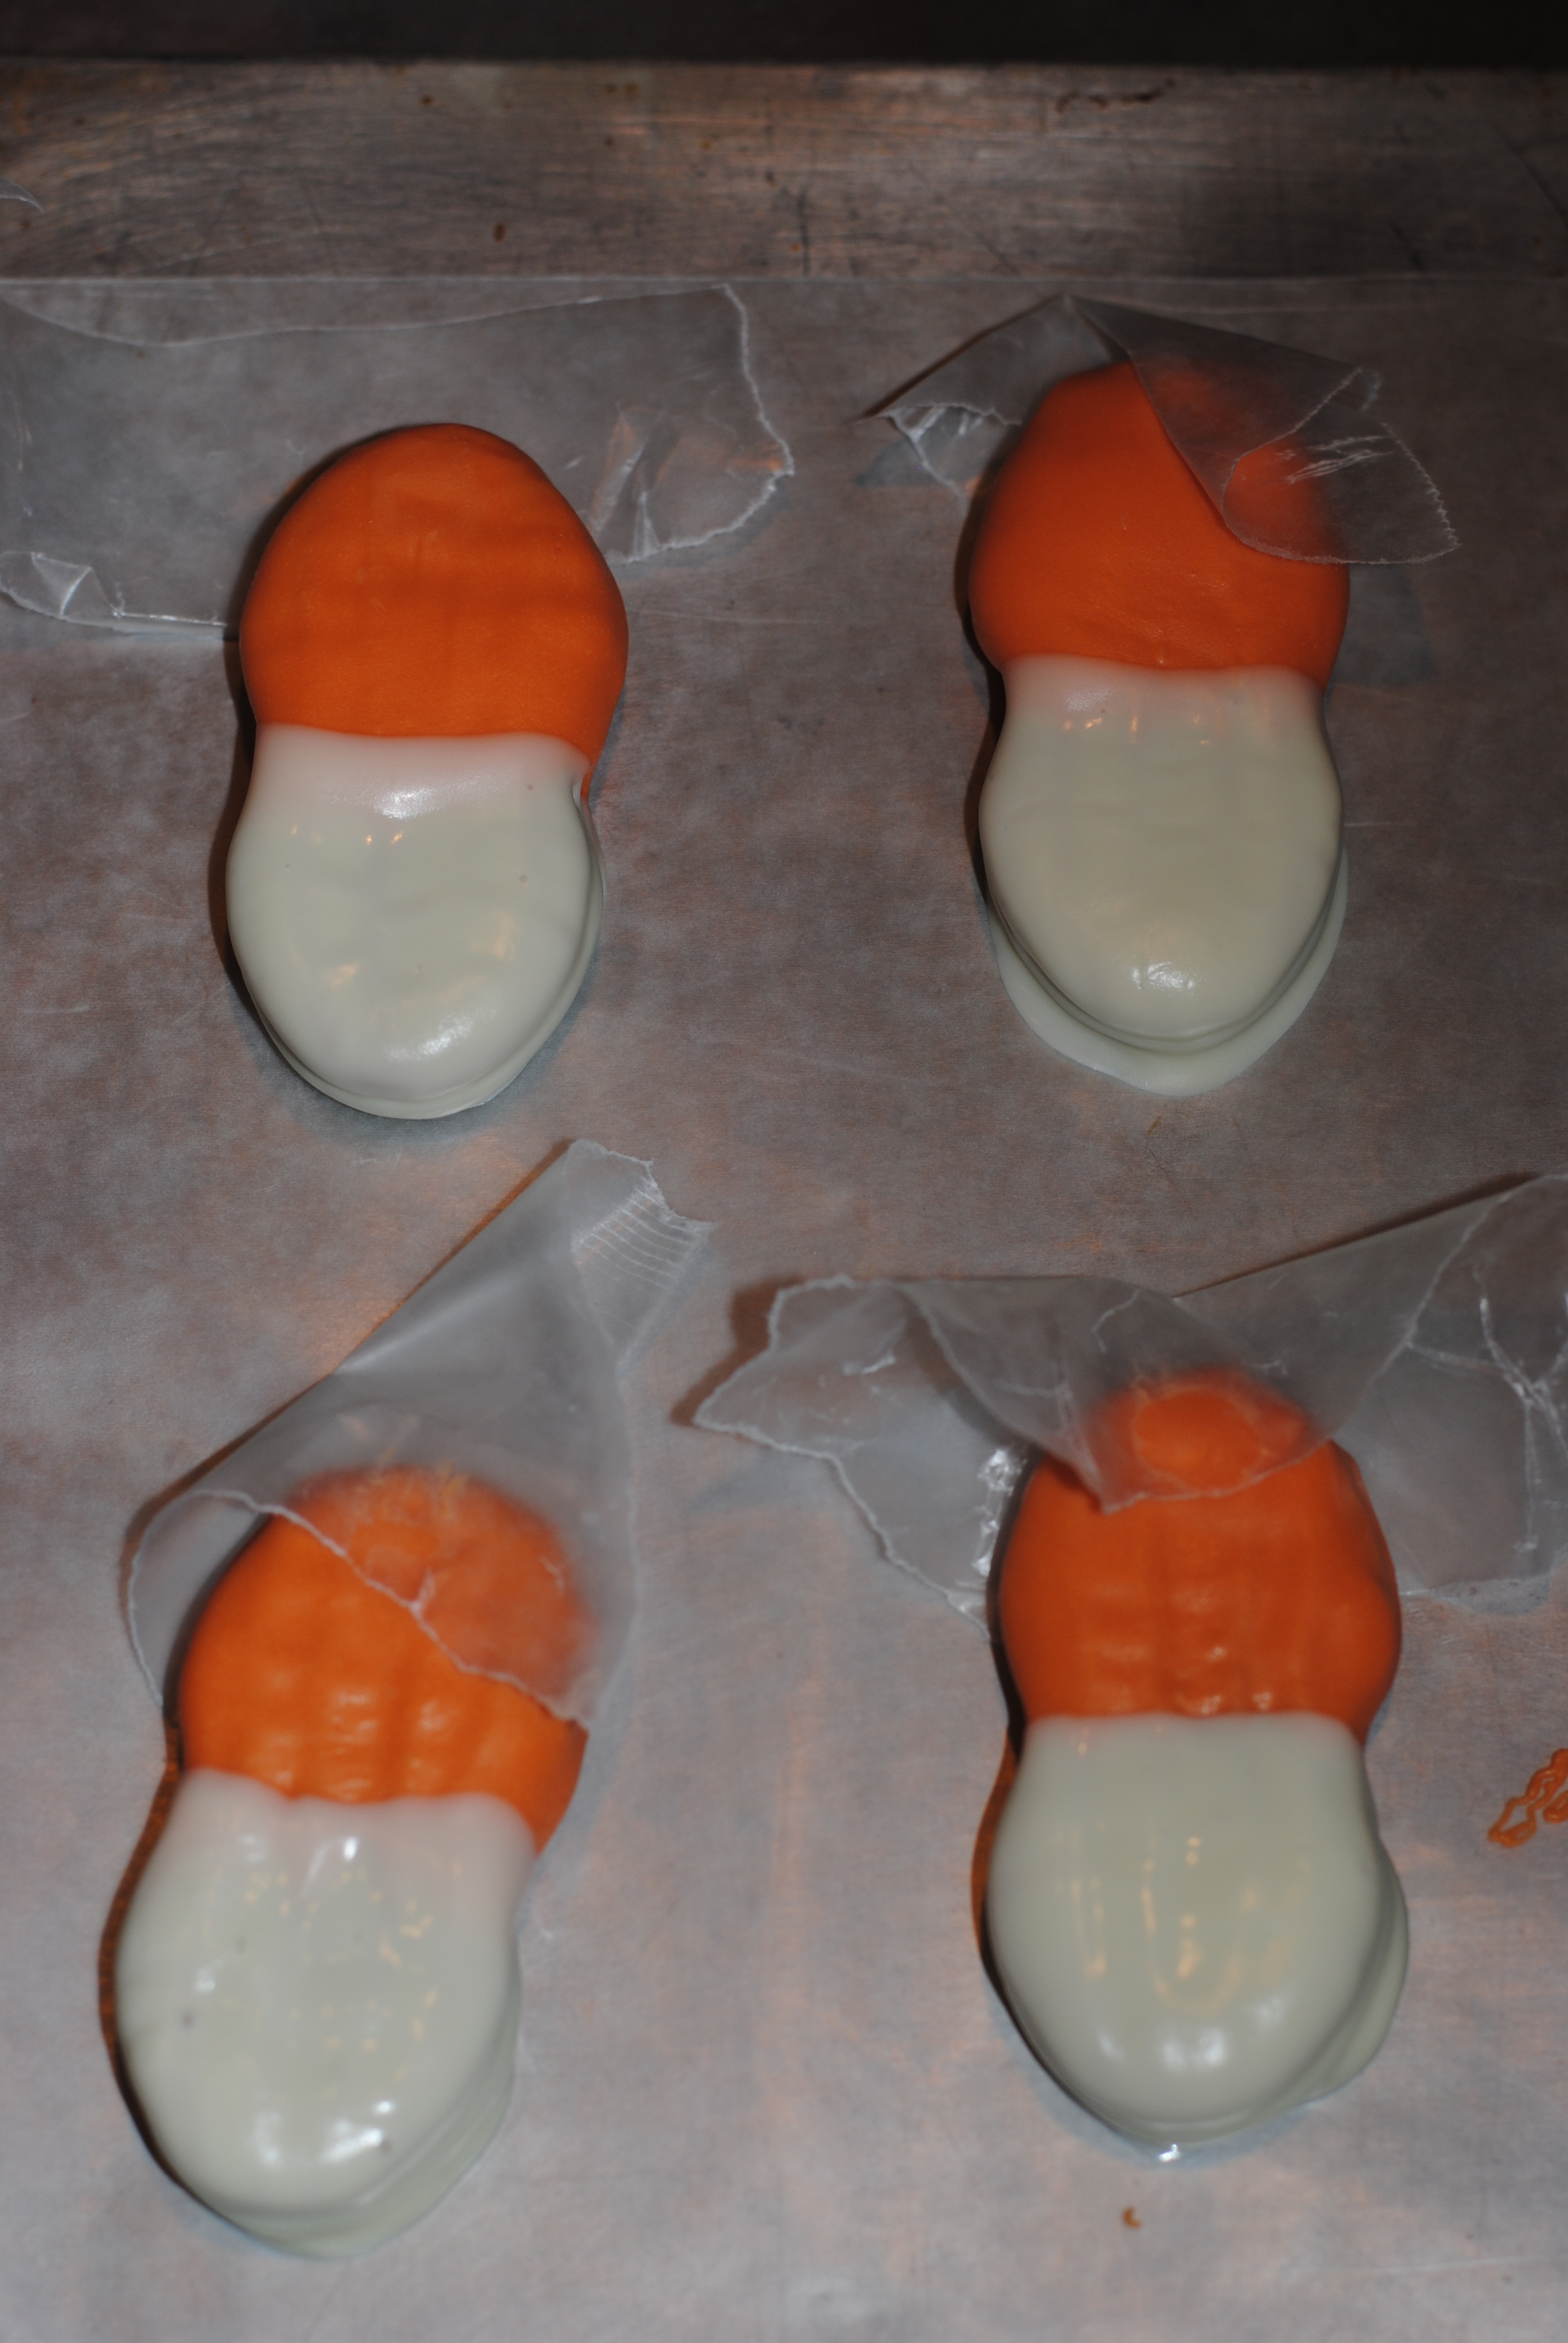
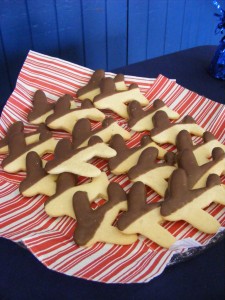
At the Pilot’s Lounge is where all the goodies, including cake, could be found. The photos above show a few items offered, chocolate-dipped airplane sugar cookies, juice boxes and the birthday boy’s cake.
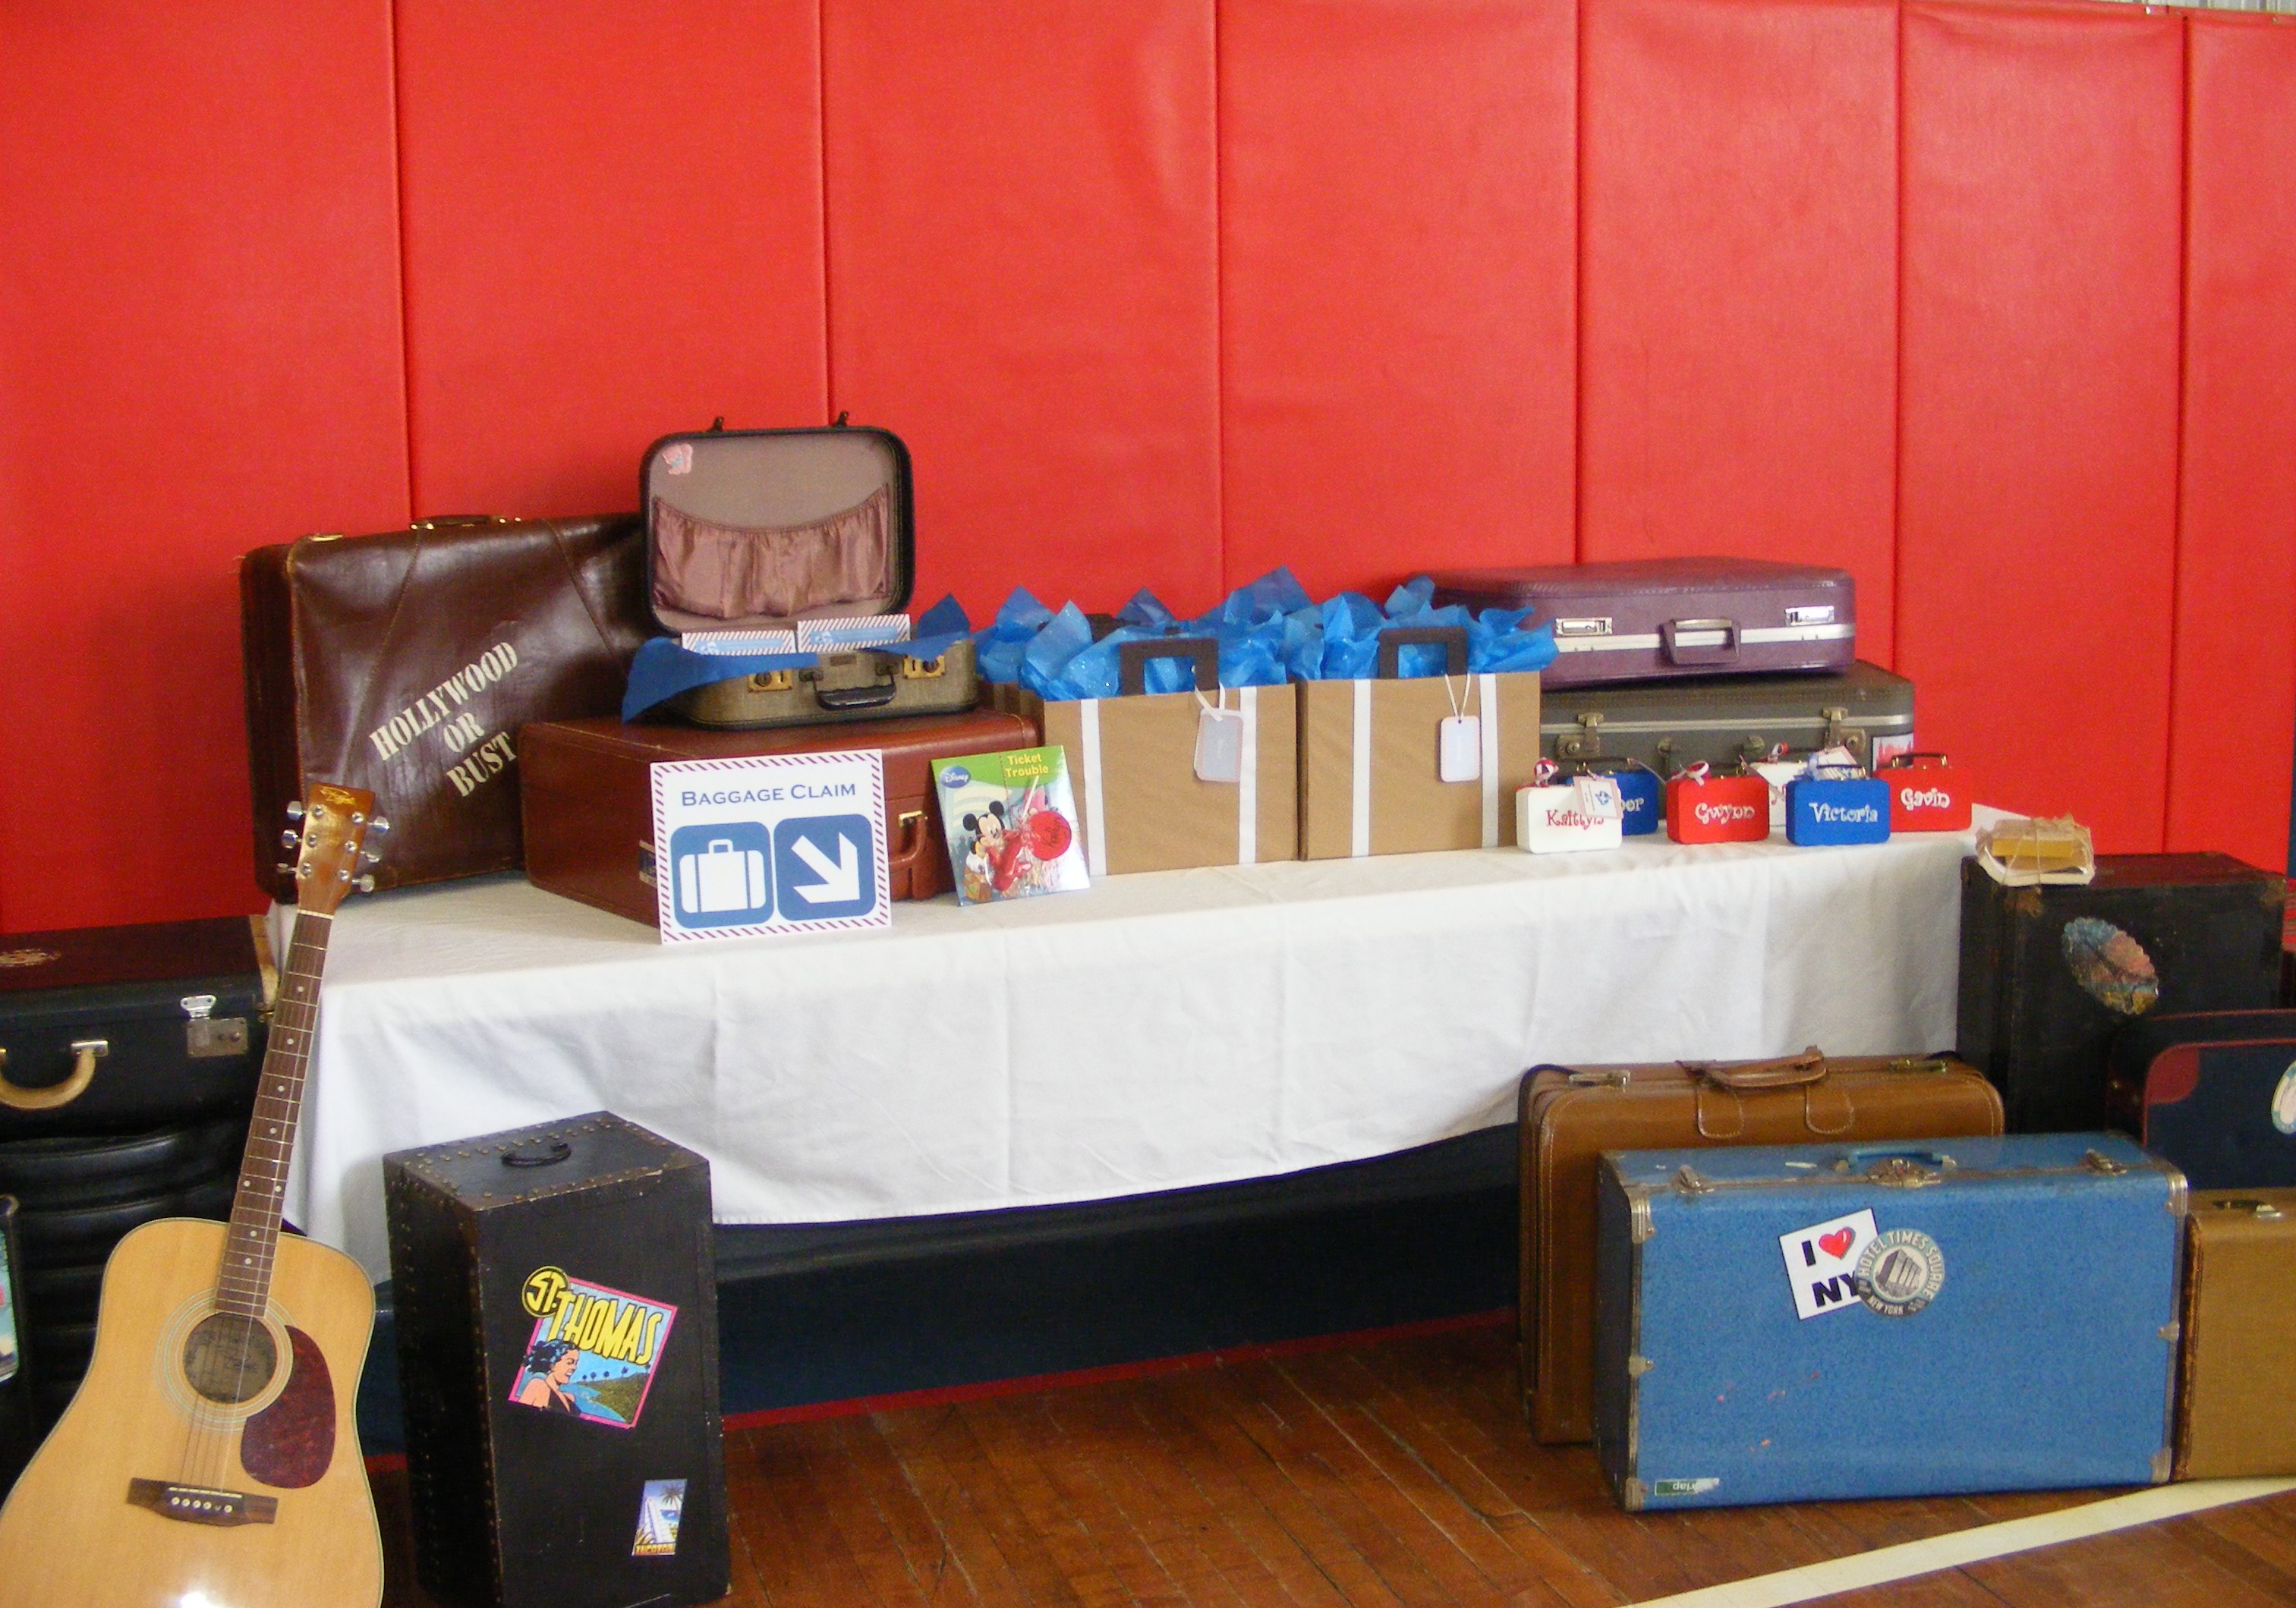
 Baggage Claim (Favor bags for babies, kids and adults)
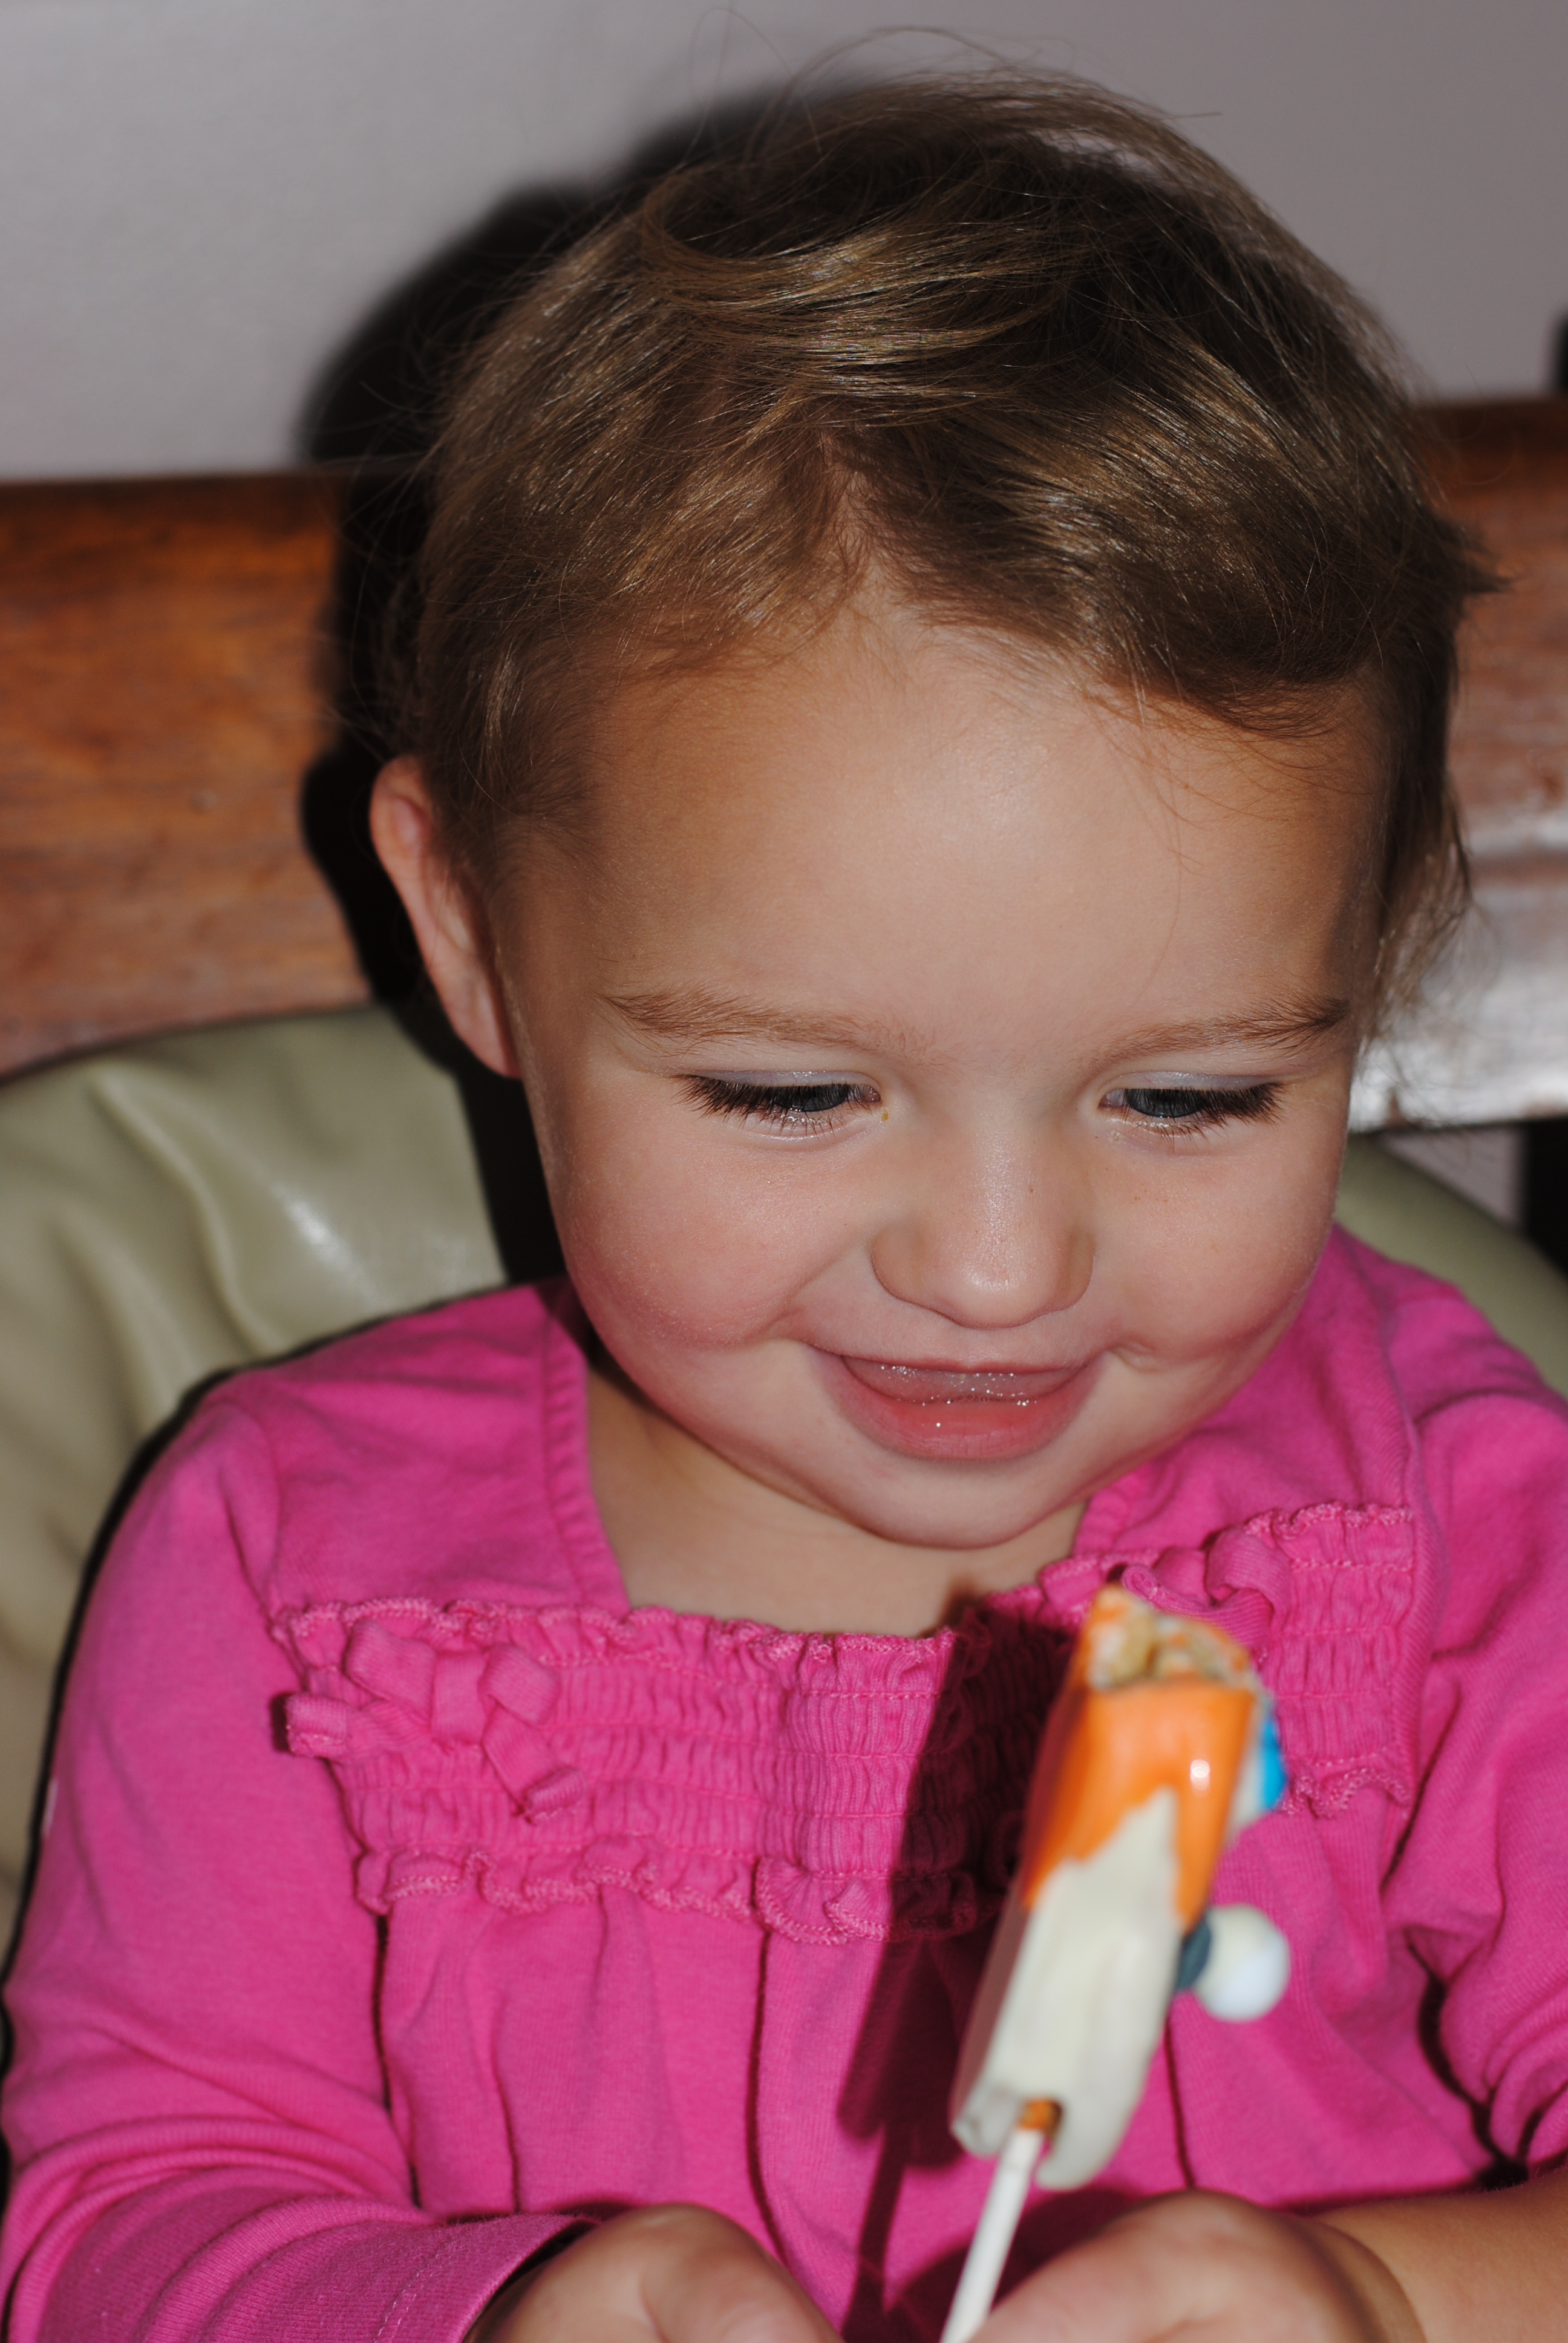
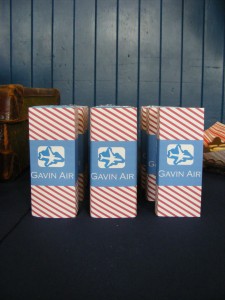
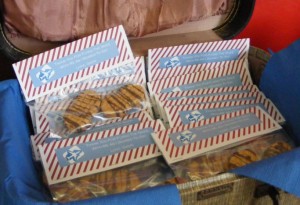
Before Gavin’s guests left the party, they headed over to collect their baggage (favor bag). The babies that attended took their personalized mini luggage filled with a travel size baby body wash. Kids, two years old and above, were given one of the larger brown luggage pieces, shown in the middle of the table. Each luggage piece had a personalized luggage tag and thank you note. Inside was enough room for their painted plane, paper airplane, Match Box plane, and some surprises, such as a plane kite and a chocolate plane lollipop. The adults at the party left with their “In Flight” peanuts and a thank you note.
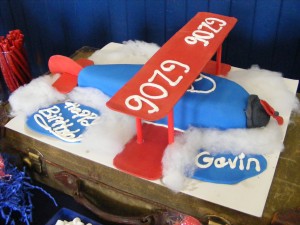
 I’d like to thank Kerri Nichols for the wonderful Bi-Plane cake and Jeff, of Jeff D’Angelo’s Design Group, for the use of the vintage luggage pieces. Find out more about Jeff D’Angelo’s Design Group at:
https://www.facebook.com/pages/Jeff-DAngelos-Design-Group/132909703465772
If your child asks for a Disney’s Planes birthday party this year, I hope these “Flying” party ideas will help you plan a party that Soars to Spectacular!
 Decorating with Planes
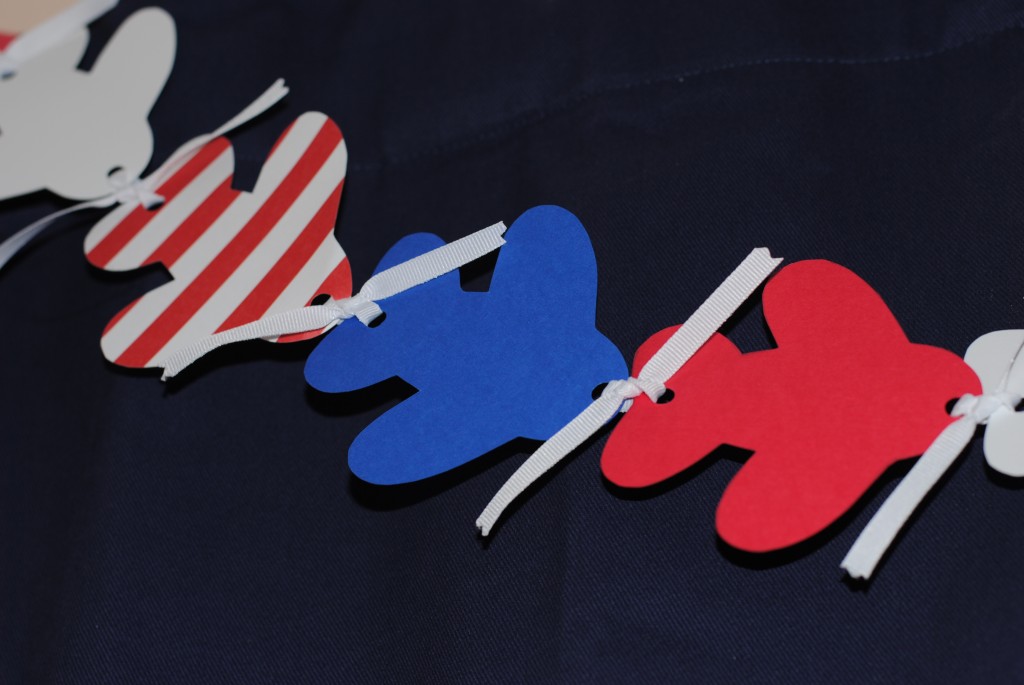
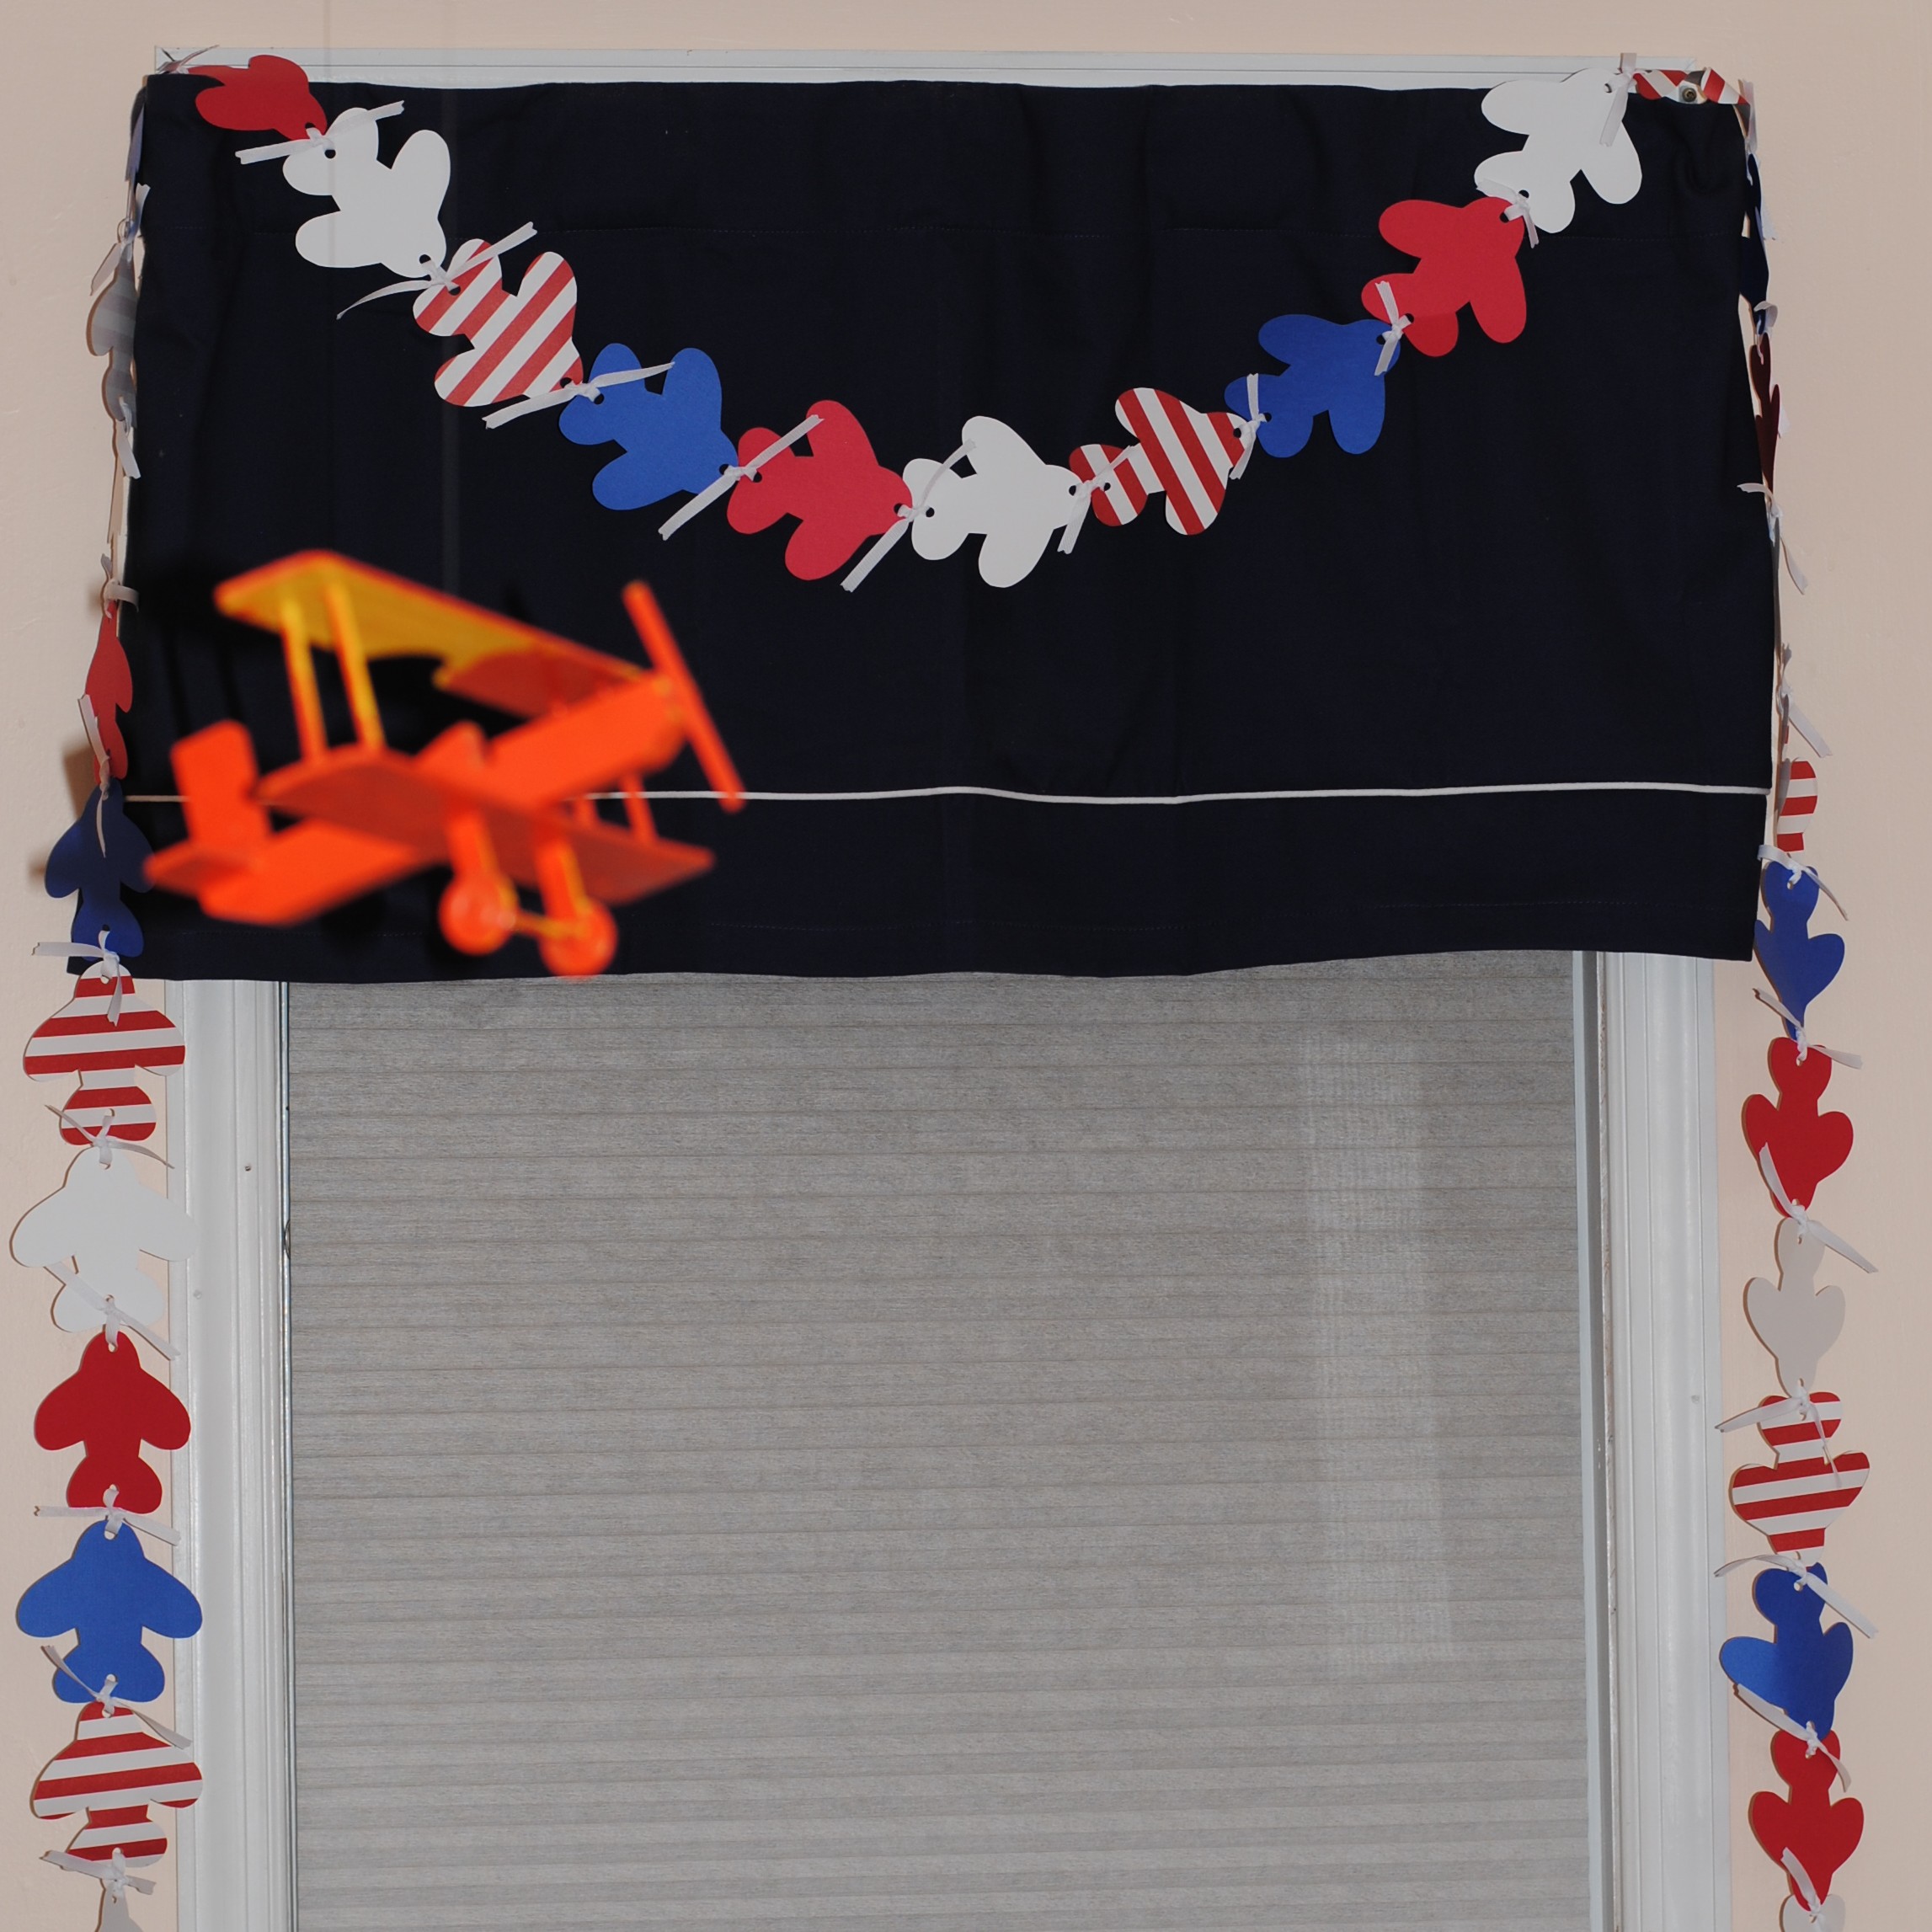 At Gavin’s 6th birthday party, I used this garland on the front of the dessert table. His window valance is a dark navy, so the garland also worked perfectly in his room. Since then, he’s painted the orange plane you see hanging in this picture.
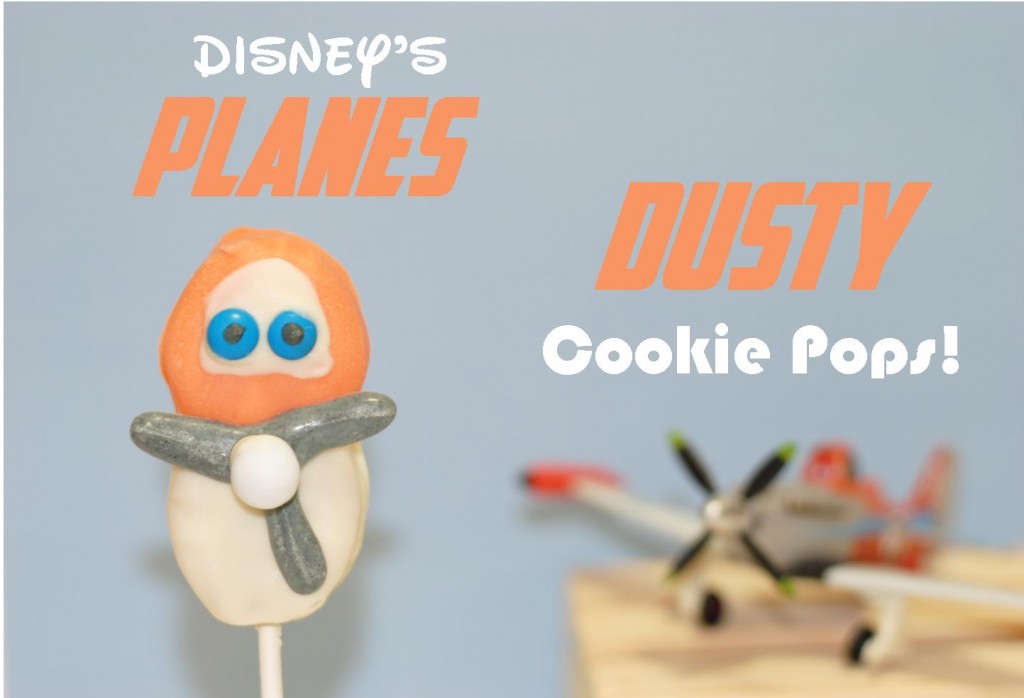 Chocolate Covered Nutter Butter Plane’s Inspired Dusty Cookie Pops!