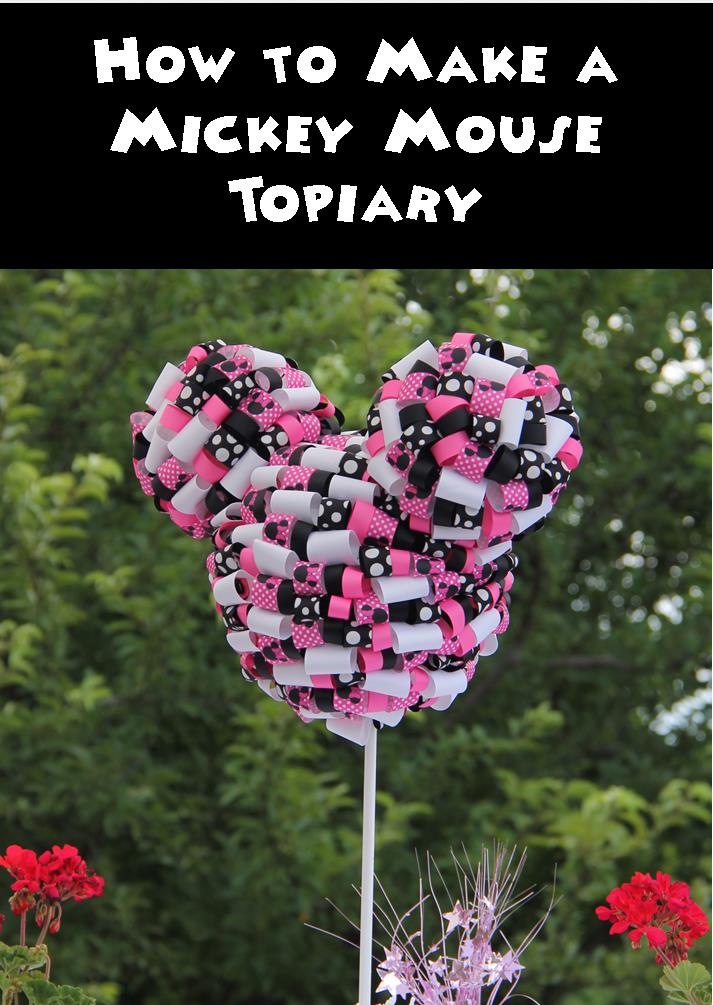
 There are Five Simple Steps to Make a Mickey Ribbon Topiary
On Monday, I shared with you my daughter and nephew’s Mickey and Minnie Mouse Flower and Garden Birthday Party. One of the décor items that I made for the party was the topiary that is pictured above. I didn’t invent the concept of a Mickey Mouse Topiary, nor did I make the World’s Greatest Version of a Mickey Mouse Topiary. However, I did make a lot of mistakes when making this craft and I’d like to share them with you, so your topiary will be simply perfect.
Before I share my “earned knowledge”, here are the basic five steps for making the Mickey Mouse Inspired Ribbon Topiary:
- Purchase supplies: You will need three Styrofoam spheres (your choice in size, as long as there are two small spheres and one large sphere), ribbon of your choice, sewing pins, a wooden dowel for the topiary to attach to the base, white paint to use on the dowel, one cookie pop stick cut in half, a terra-cotta pot for the base and Styrofoam for the interior of the base where the dowel will anchor.
- Cover the spheres with ribbon and attach the ears: Cut your ribbon into 2″ strips. Loop the ribbon and pin it into one of the smaller spheres. Continue to do this until you’ve filled almost all of the sphere, except for the bottom. This is where you will anchor it into the larger sphere by using half of your cookie pop stick. Continue to fill the second small sphere and then anchor it with the other half of the cookie pop stick. Now fill the large sphere the same way, except fill the entire sphere including the bottom.
- Decide the height of your topiary and prepare the dowel: Keep in mind it will need to be inserted into the base of the pot and also through the largest sphere. Then cut the dowel and paint it accordingly.
- Secure the dowel: Insert the painted wooden dowel into the base filled with a Styrofoam insert.
- Secure the Mickey Mouse Head: Gently, push the completed Mickey Mouse shaped topiary down as far as you can onto the dowel without it coming out the top of the Mickey Mouse head.
Now for the bits of knowledge you should know before you start each step:
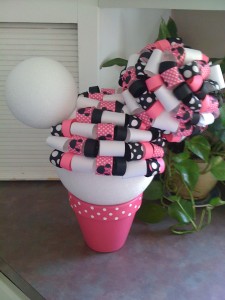 Supplies: When choosing your Styrofoam spheres and terra-cotta pot realize that once you put your ribbon and pins on the sphere two things happen. The spheres become significantly larger and heavier. Notice in the photo the differences between the two ears. The terra-cotta pot that you chose for the base should be heavy enough to support your topiary; otherwise your topiary is going to tip over.
Ribbon: When you’re choosing your topiary’s color scheme keep it simple if you’re planning on using printed ribbons. I found that five different ribbons made the topiary eye-catching, yet keeping the same color scheme of black, white and pink made the look uniform. I would suggest Grosgrain ribbon since it won’t fray as much when you’re pinning it. What’s really important is that you purchase enough ribbon. Half way through this project I ran out of the Minnie Mouse ribbon and had to go out of the area to purchase more. Also keep in mind that wider ribbon will cover more space than a narrow ribbon and plan accordingly.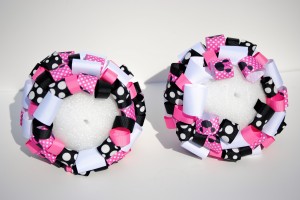
Applying Ribbon: I found putting the three spheres together before starting the ribbon made it easier to keep his ears looking symmetrical. Once that was done, I took each ear off to apply the ribbon. Make sure you leave room for the ears to rest on the large Styrofoam sphere. See the photo above for my example of how the base of the finished ears looked before putting them on the larger sphere.
Height: Depending on the size of the base, wooden dowel and finished Mickey Mouse head, you might have to keep the topiary rather low. Several of my initial attempts to secure the topiary to the base failed because it would tip over.
Inserting the Dowel: Keep the amount of times you take the spheres off of the dowels to a minimum. The more times you take the topiary off of the dowel the less secure the finished product will be.
Environment: Most importantly, always plan for weather. Wind will knock this centerpiece over. If you’re having an outdoor event that is exposed to the wind, I would suggest a small topiary.
With these added pieces of knowledge you’re on your way to making a perfect Mickey Mouse Topiary that will wow your guests at your next Disney Party!
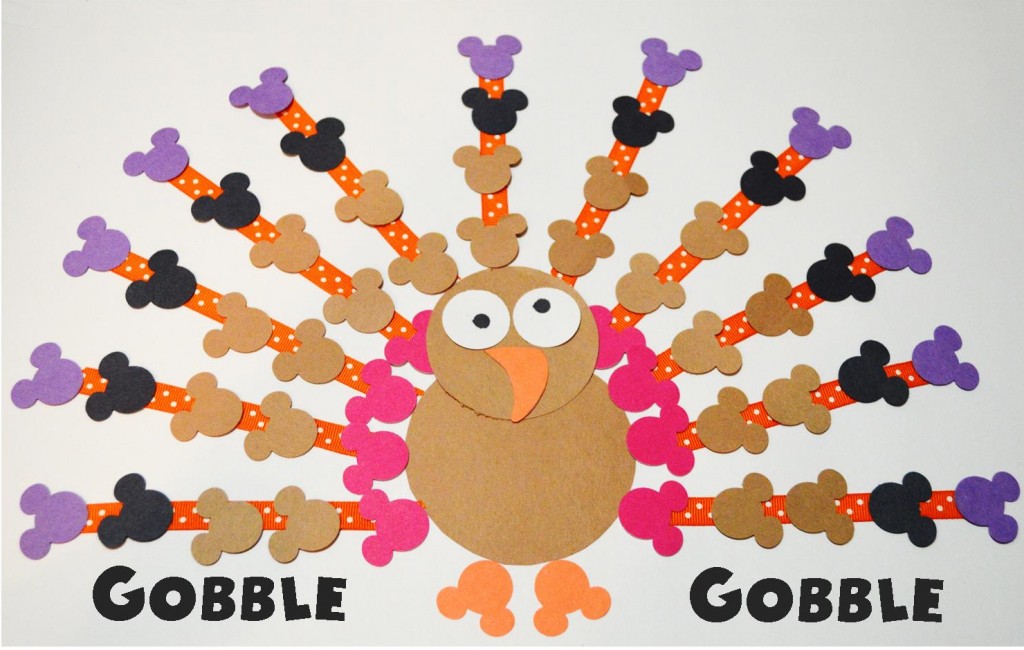 It’s Turkey Time!
 Supplies:
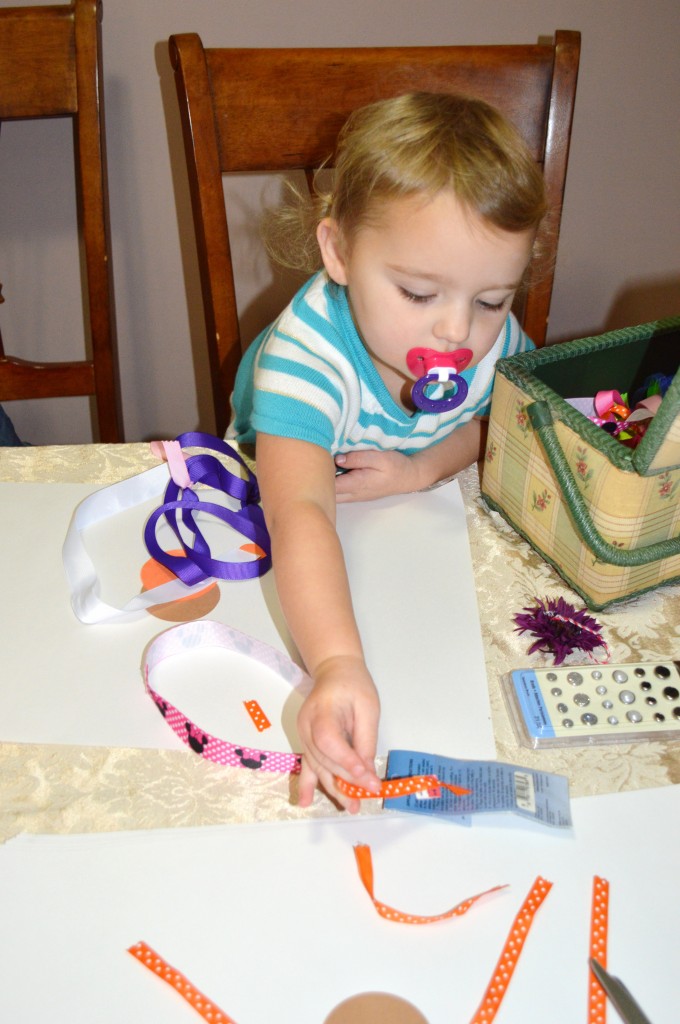 My little helper loved helping me with the ribbon. Don’t we all love ribbon?
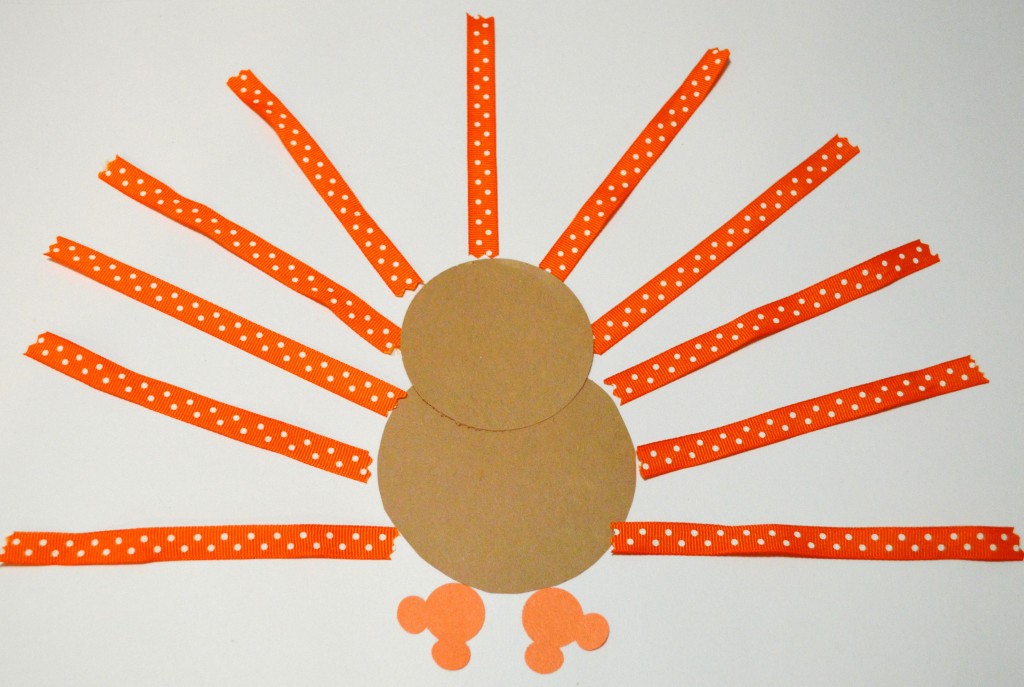 Next you’ll glue your ribbon strips down and start Mickey Mouse craft punching.
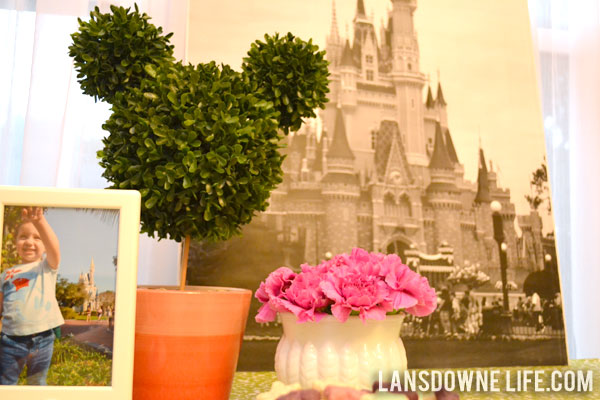 Celebrating the Happiest Place on Earth with Happiest Party on the Block
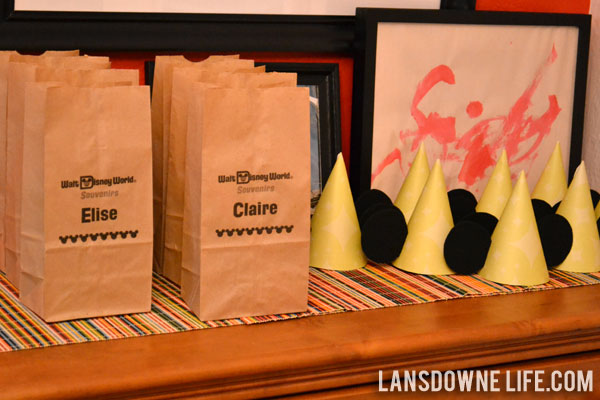
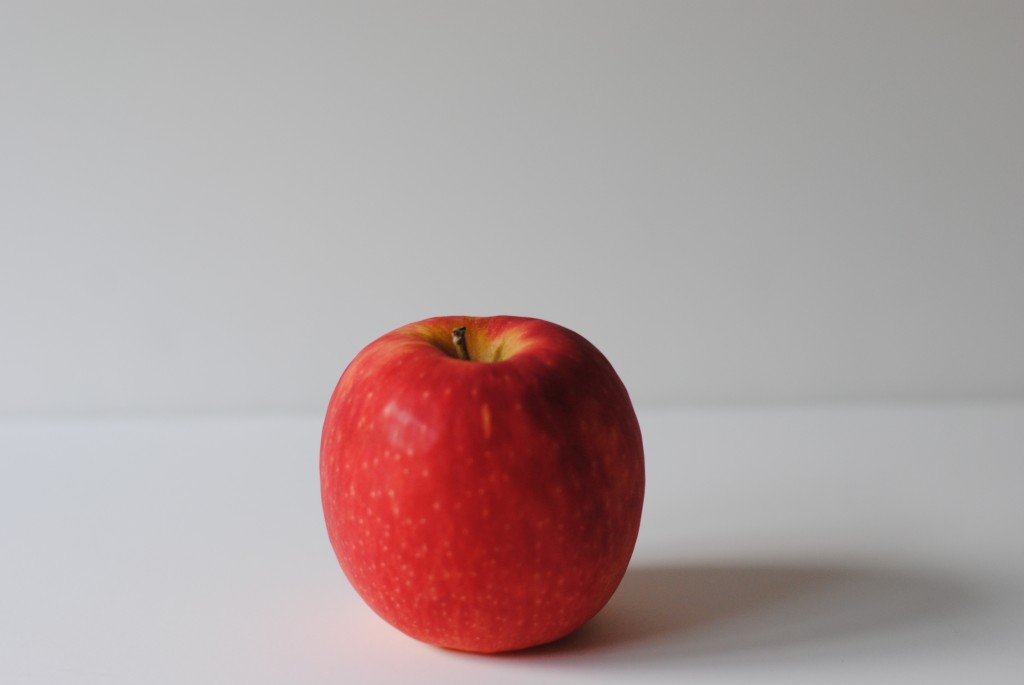 What could make this classic apple a bit more attractive to your Preschooler?
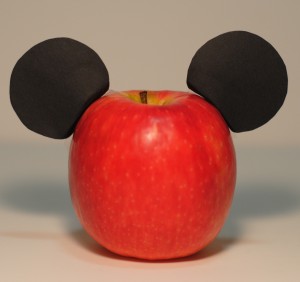
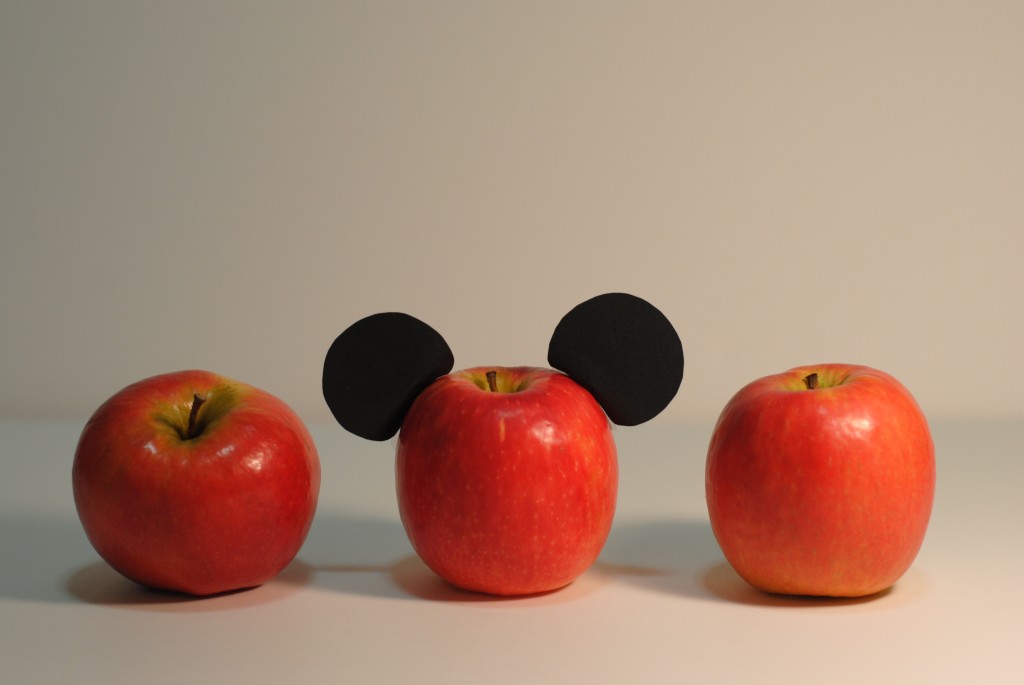 Which one do you think your Mouseketeer will pick?
 There are Five Simple Steps to Make a Mickey Ribbon Topiary
