Beaker, with his adorable little “Meep” noises and willingness to help in any situation, is one of my family’s top five favorite Muppets.

In actuality, Beaker is my husband’s favorite Muppet. So when planning our son’s upcoming Muppet’s themed birthday party, I had to create a Beaker-themed treat. I’m happy to report that after catching a glimpse of this sweet cookie pop my husband exclaimed, “That’s my favorite thing you’ve ever made!” Success! If you know someone that loves this shy Muppet as much as my husband does, surprise them with this easy to make treat.
Here’s the simple tutorial of how I made Beaker into a cookie pop.
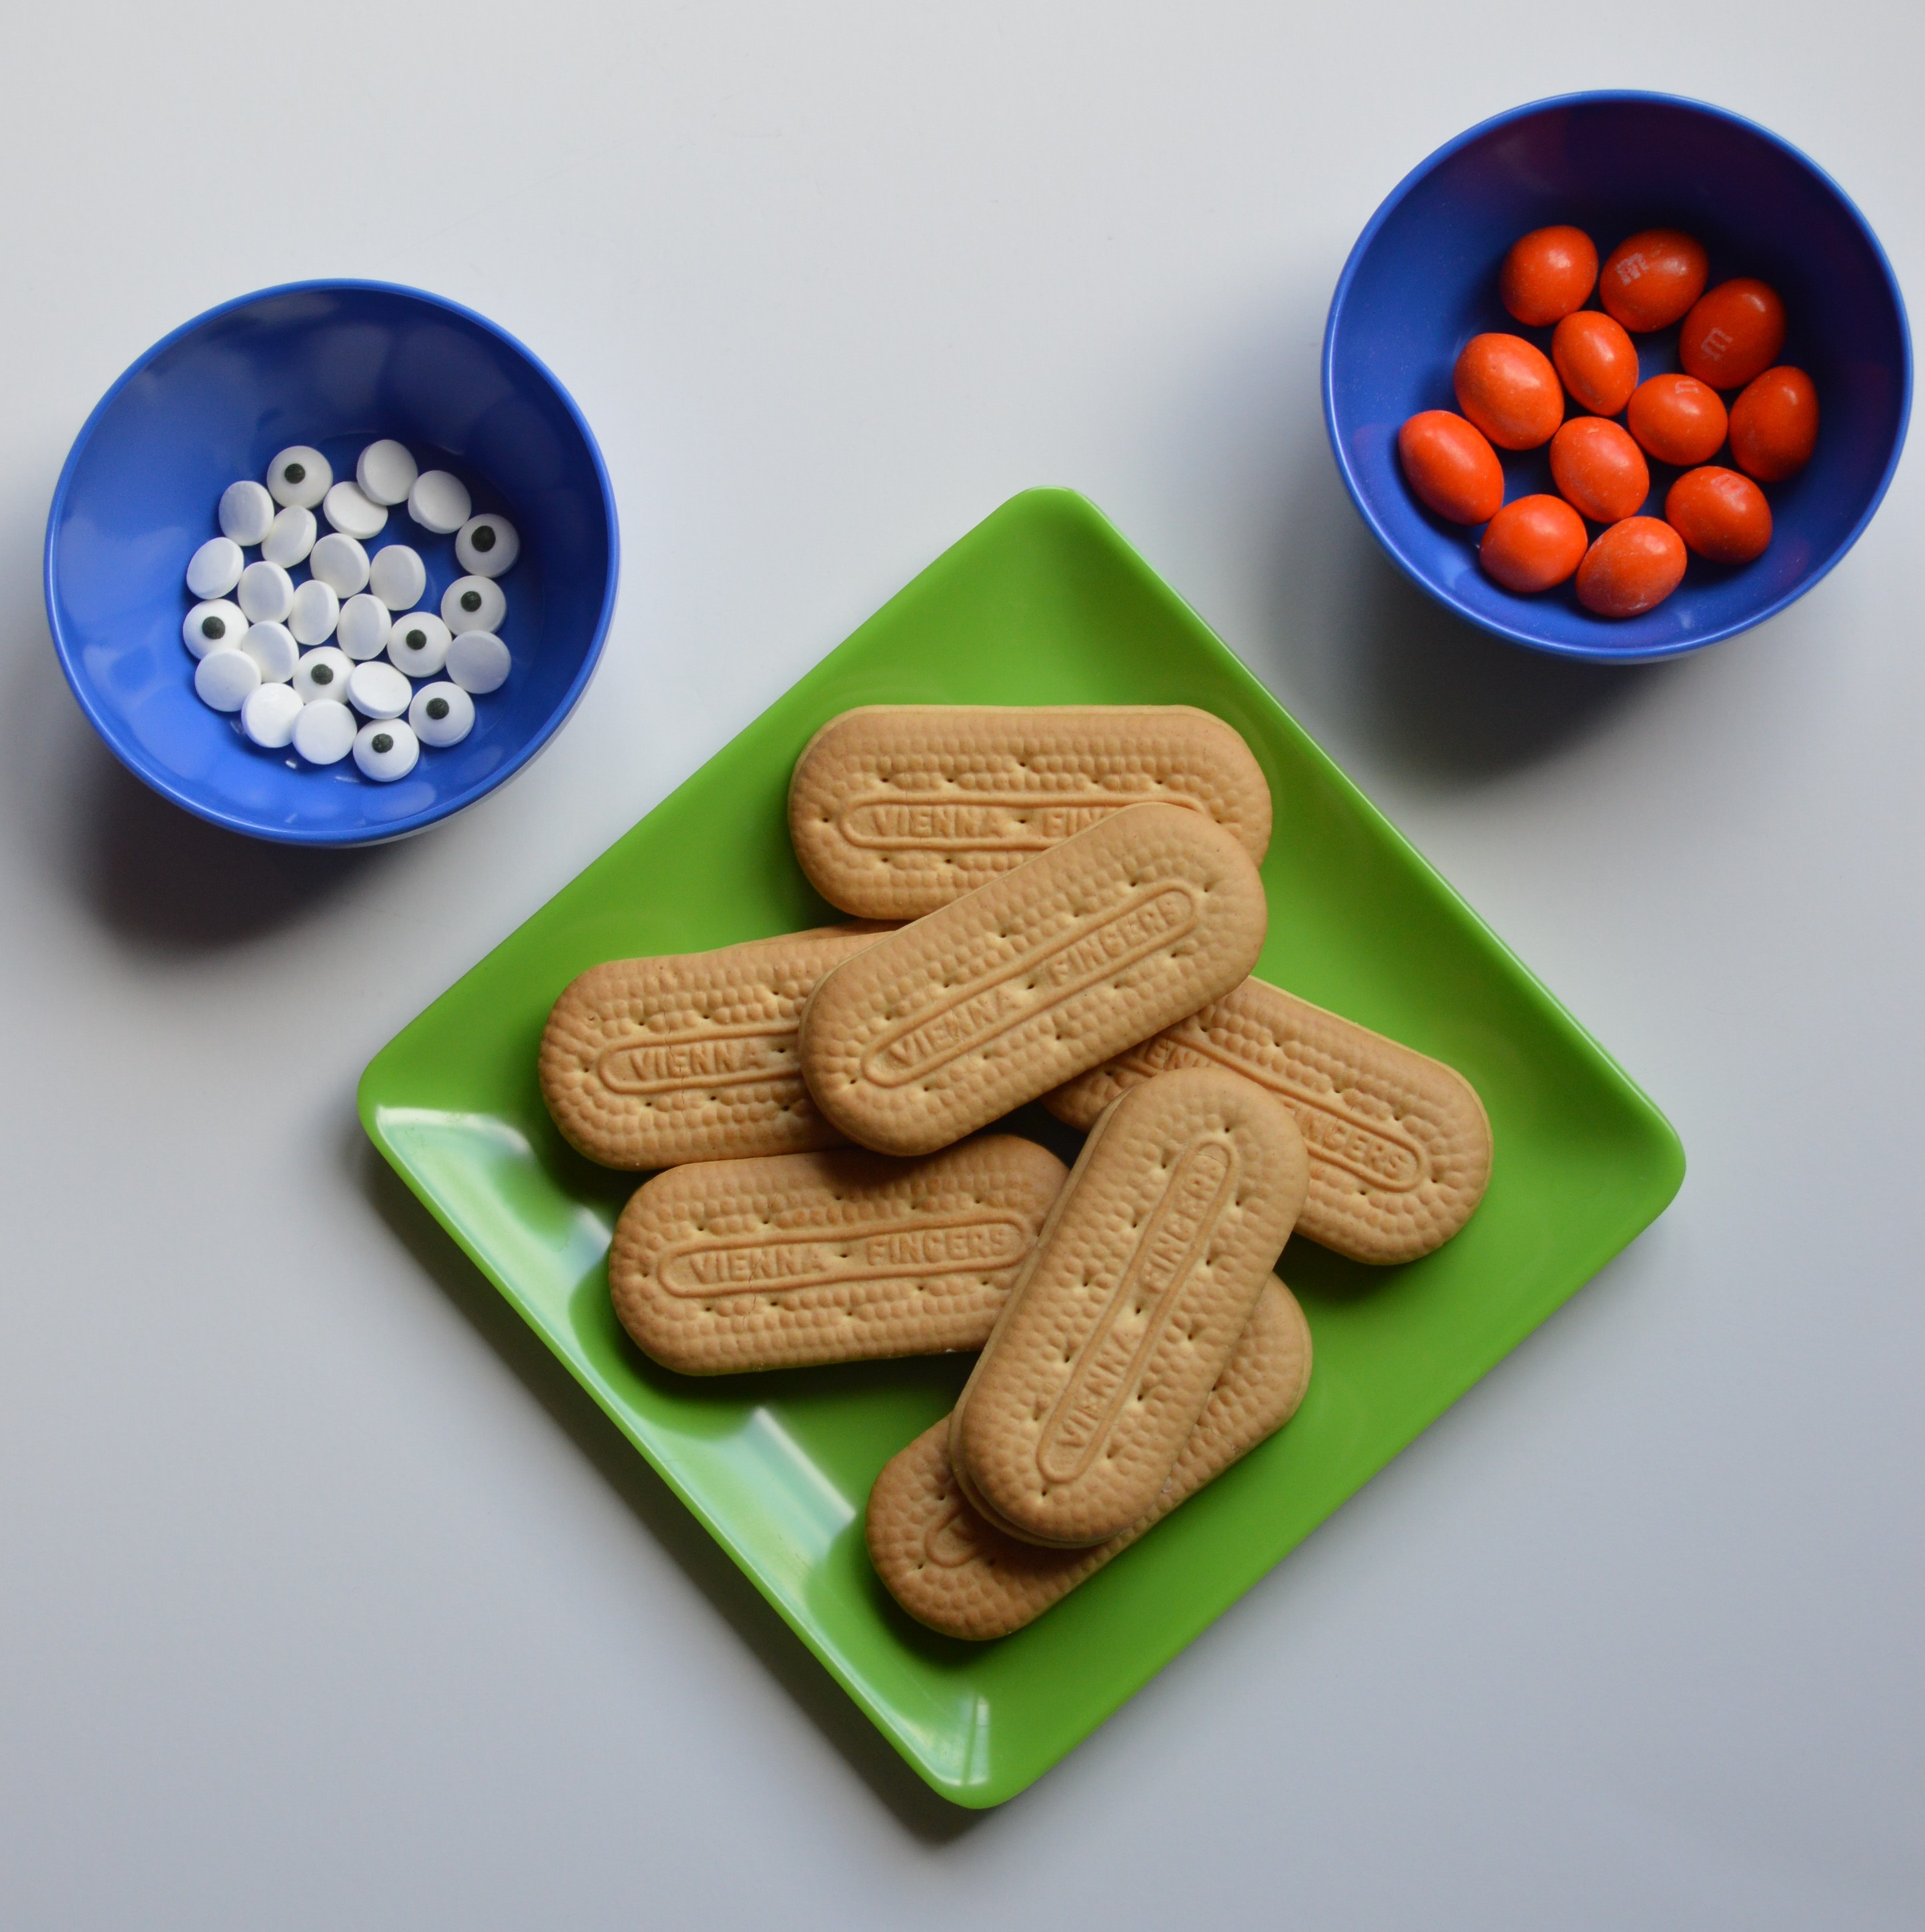
Gather Supplies: I used Vienna Fingers cookies for the head of Beaker, candy eyes and orange peanut M&Ms for his nose. You’ll also need cookie pop sticks.
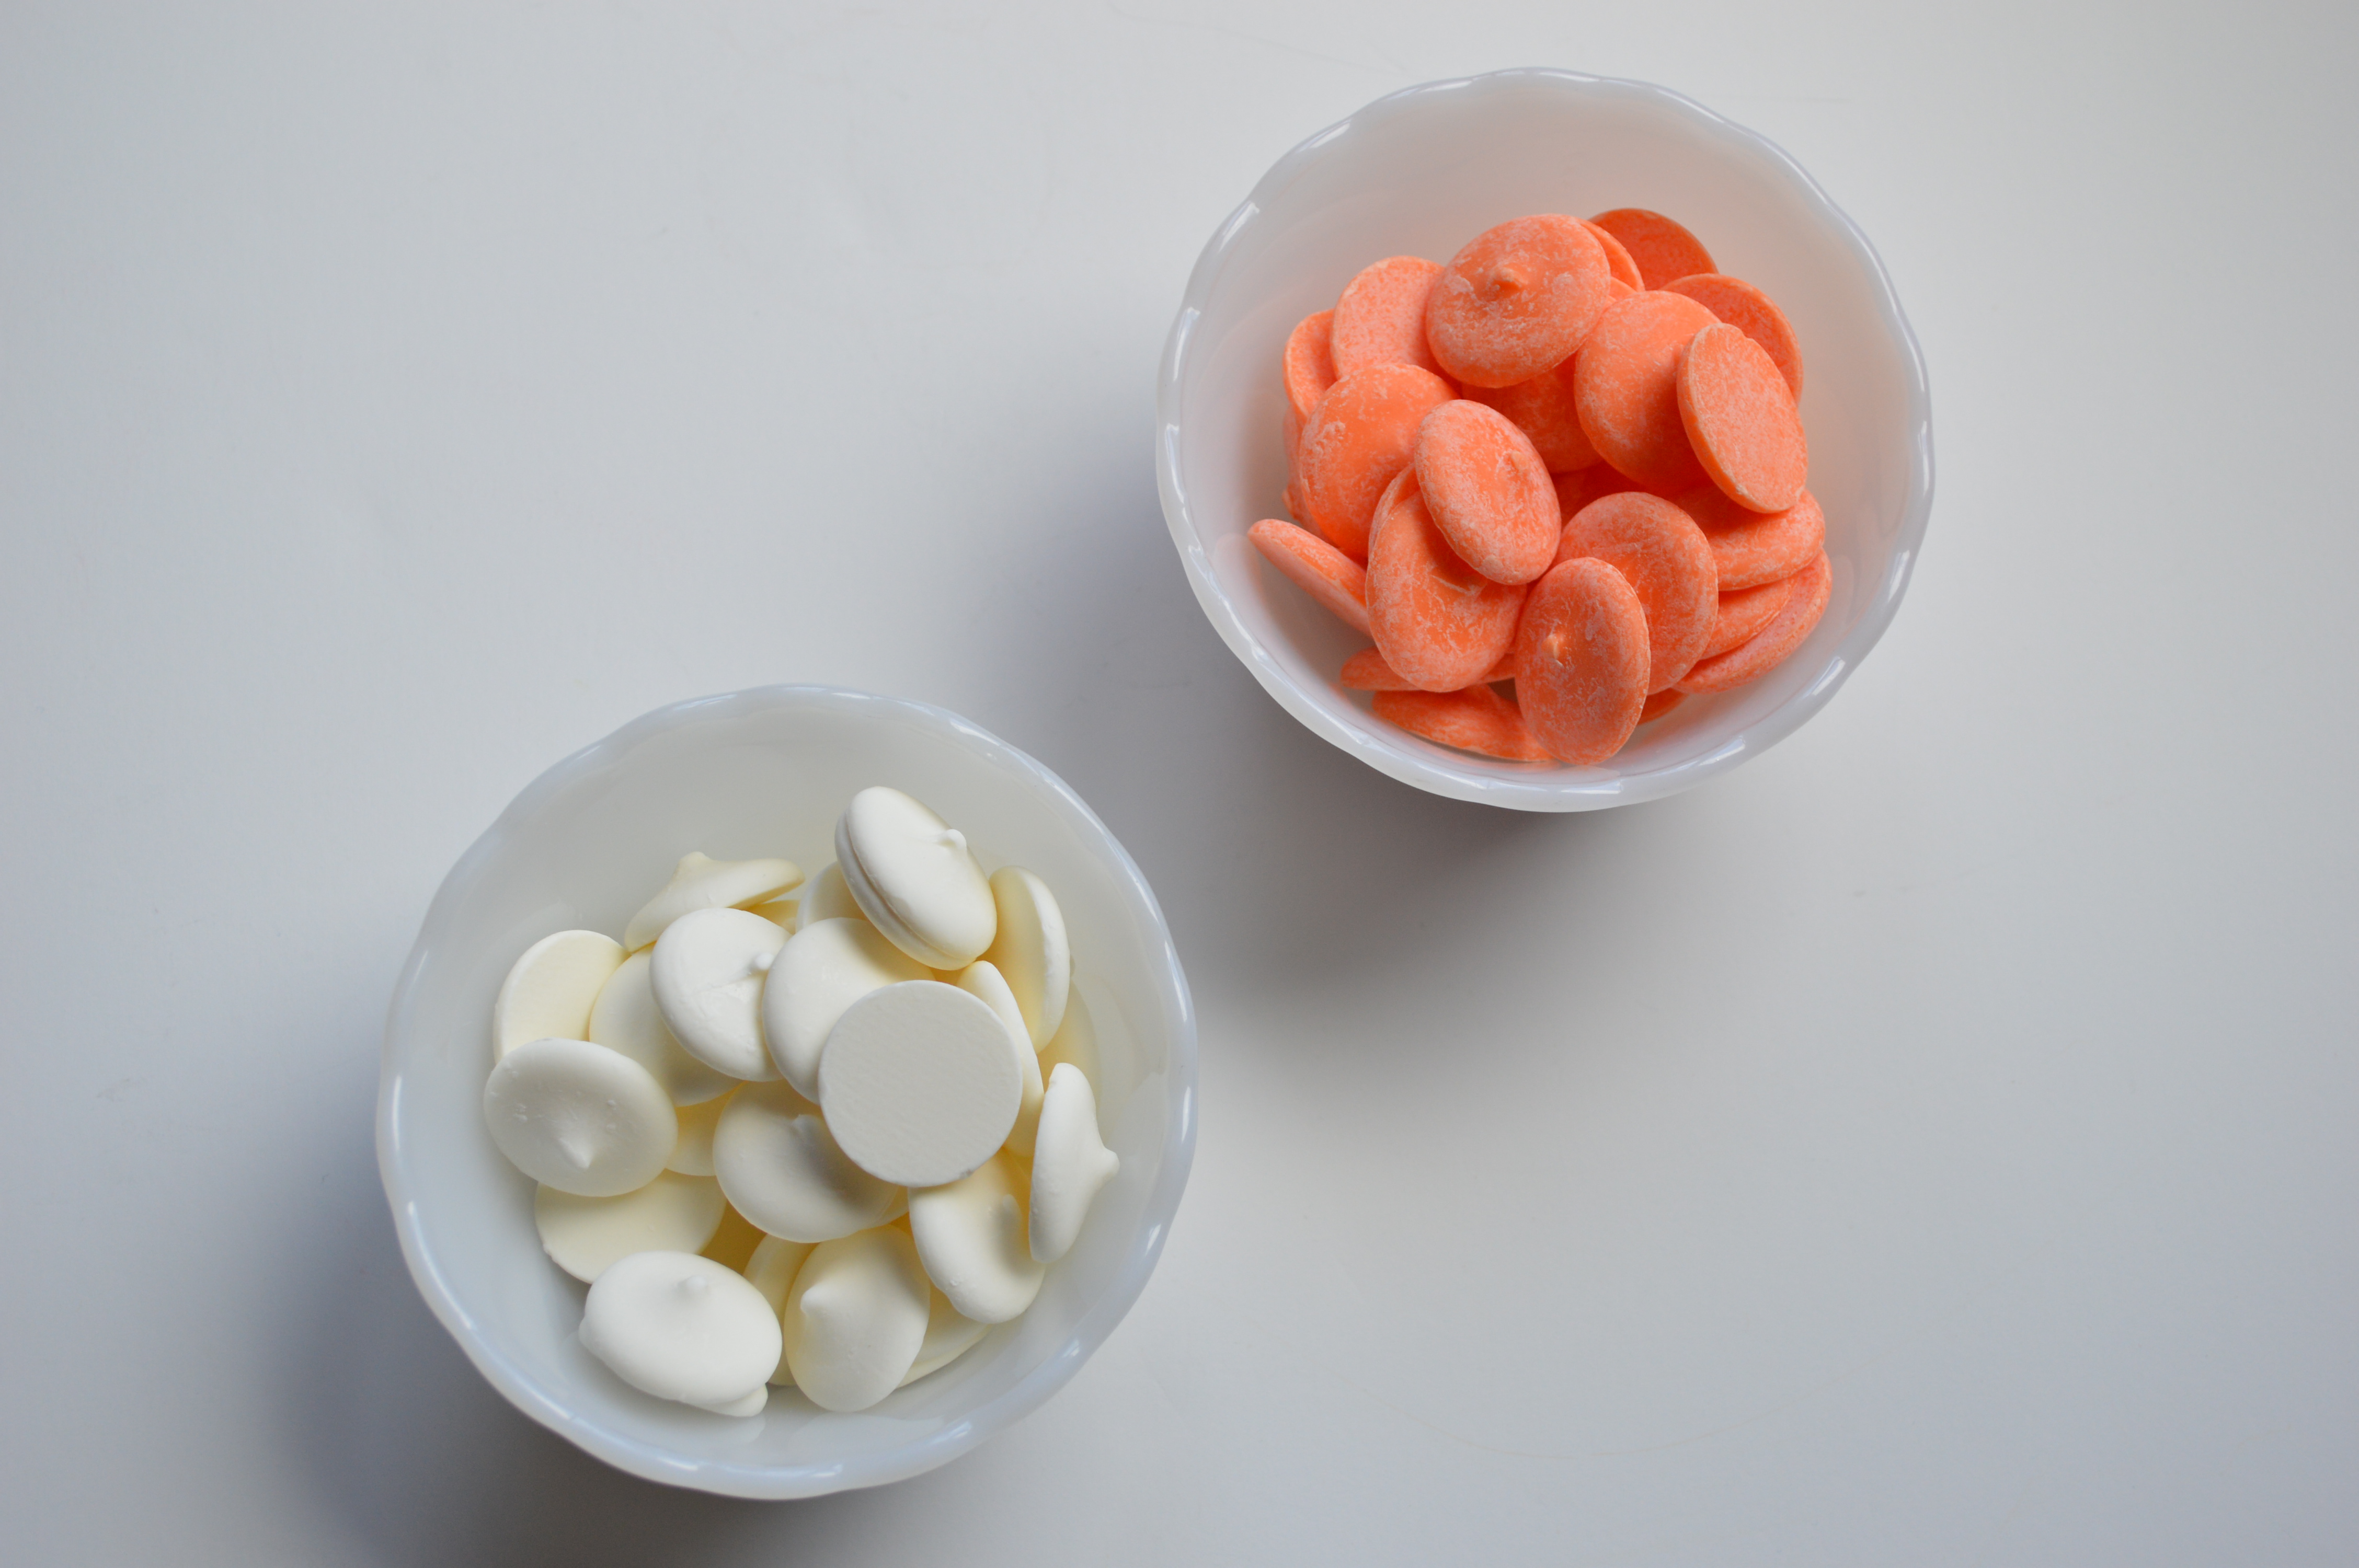
Additional supplies: I used white and orange candy melts by Wilton candies.
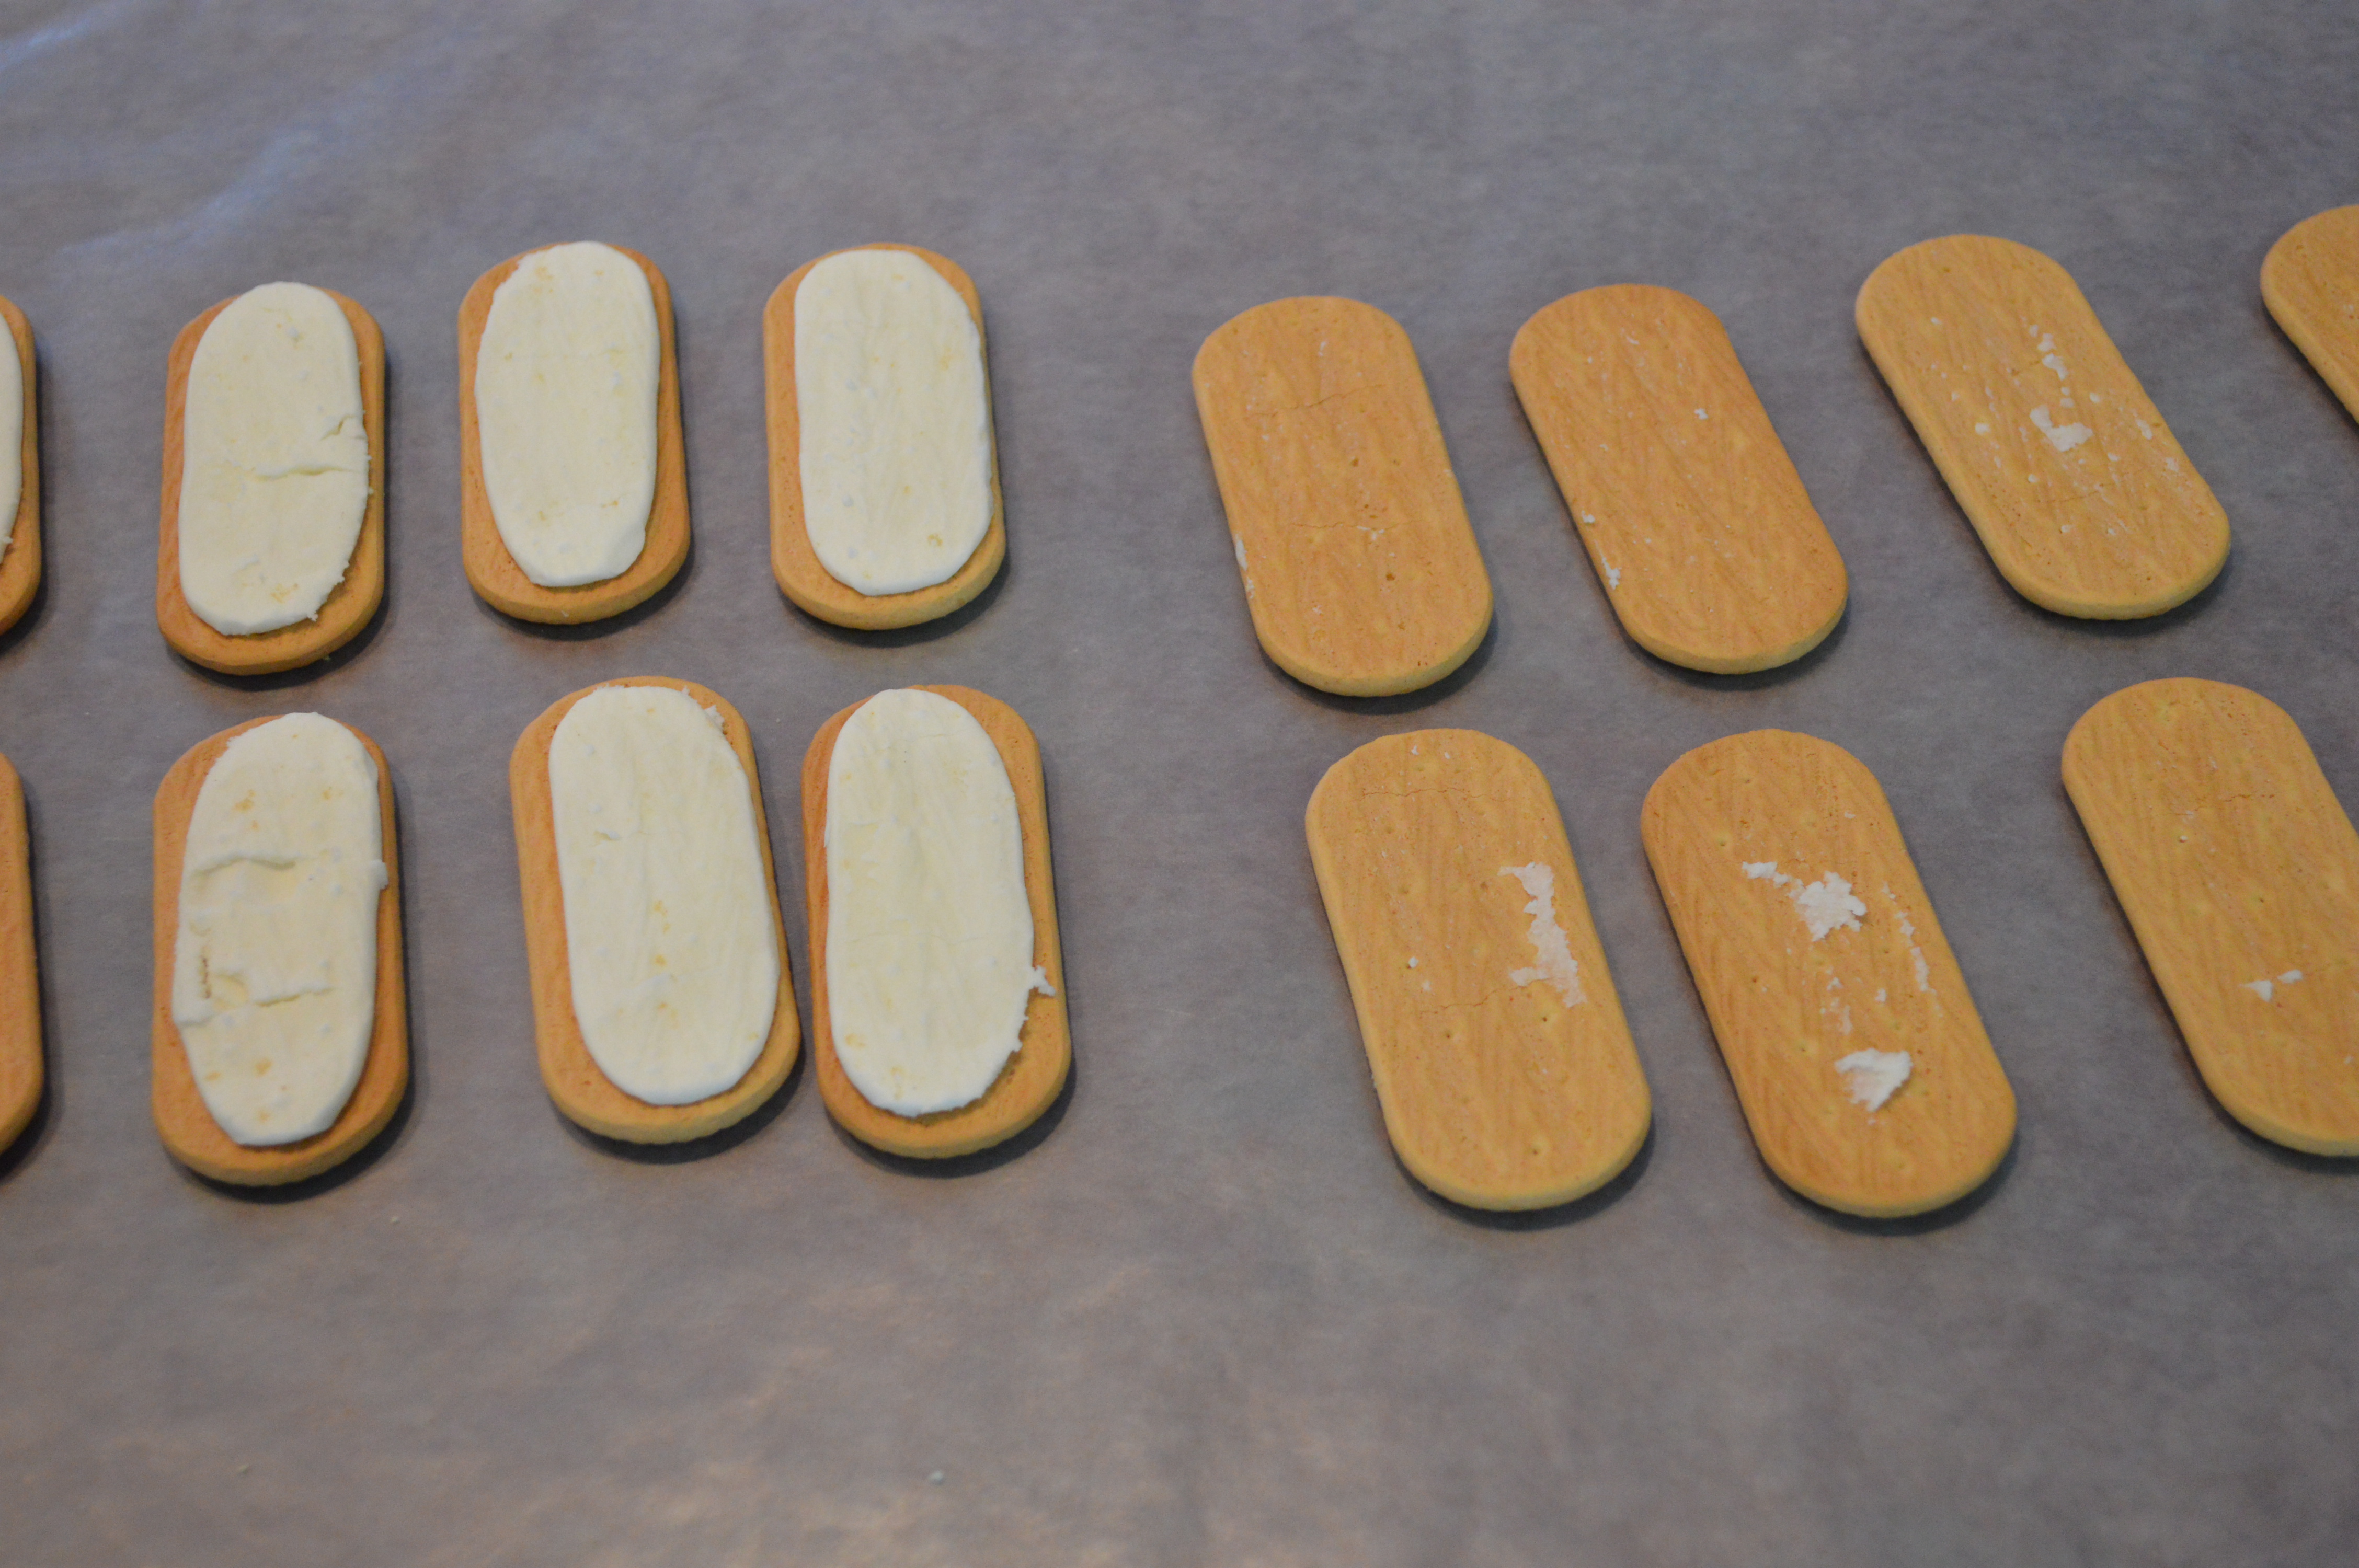 Step 1. Separate each cookie sandwiche’s top layer from their bottom layer.

Step 2: Melt a small amount of white chocolate. Dip the cookie pop stick into the white chocolate and place it in the center of the pop.
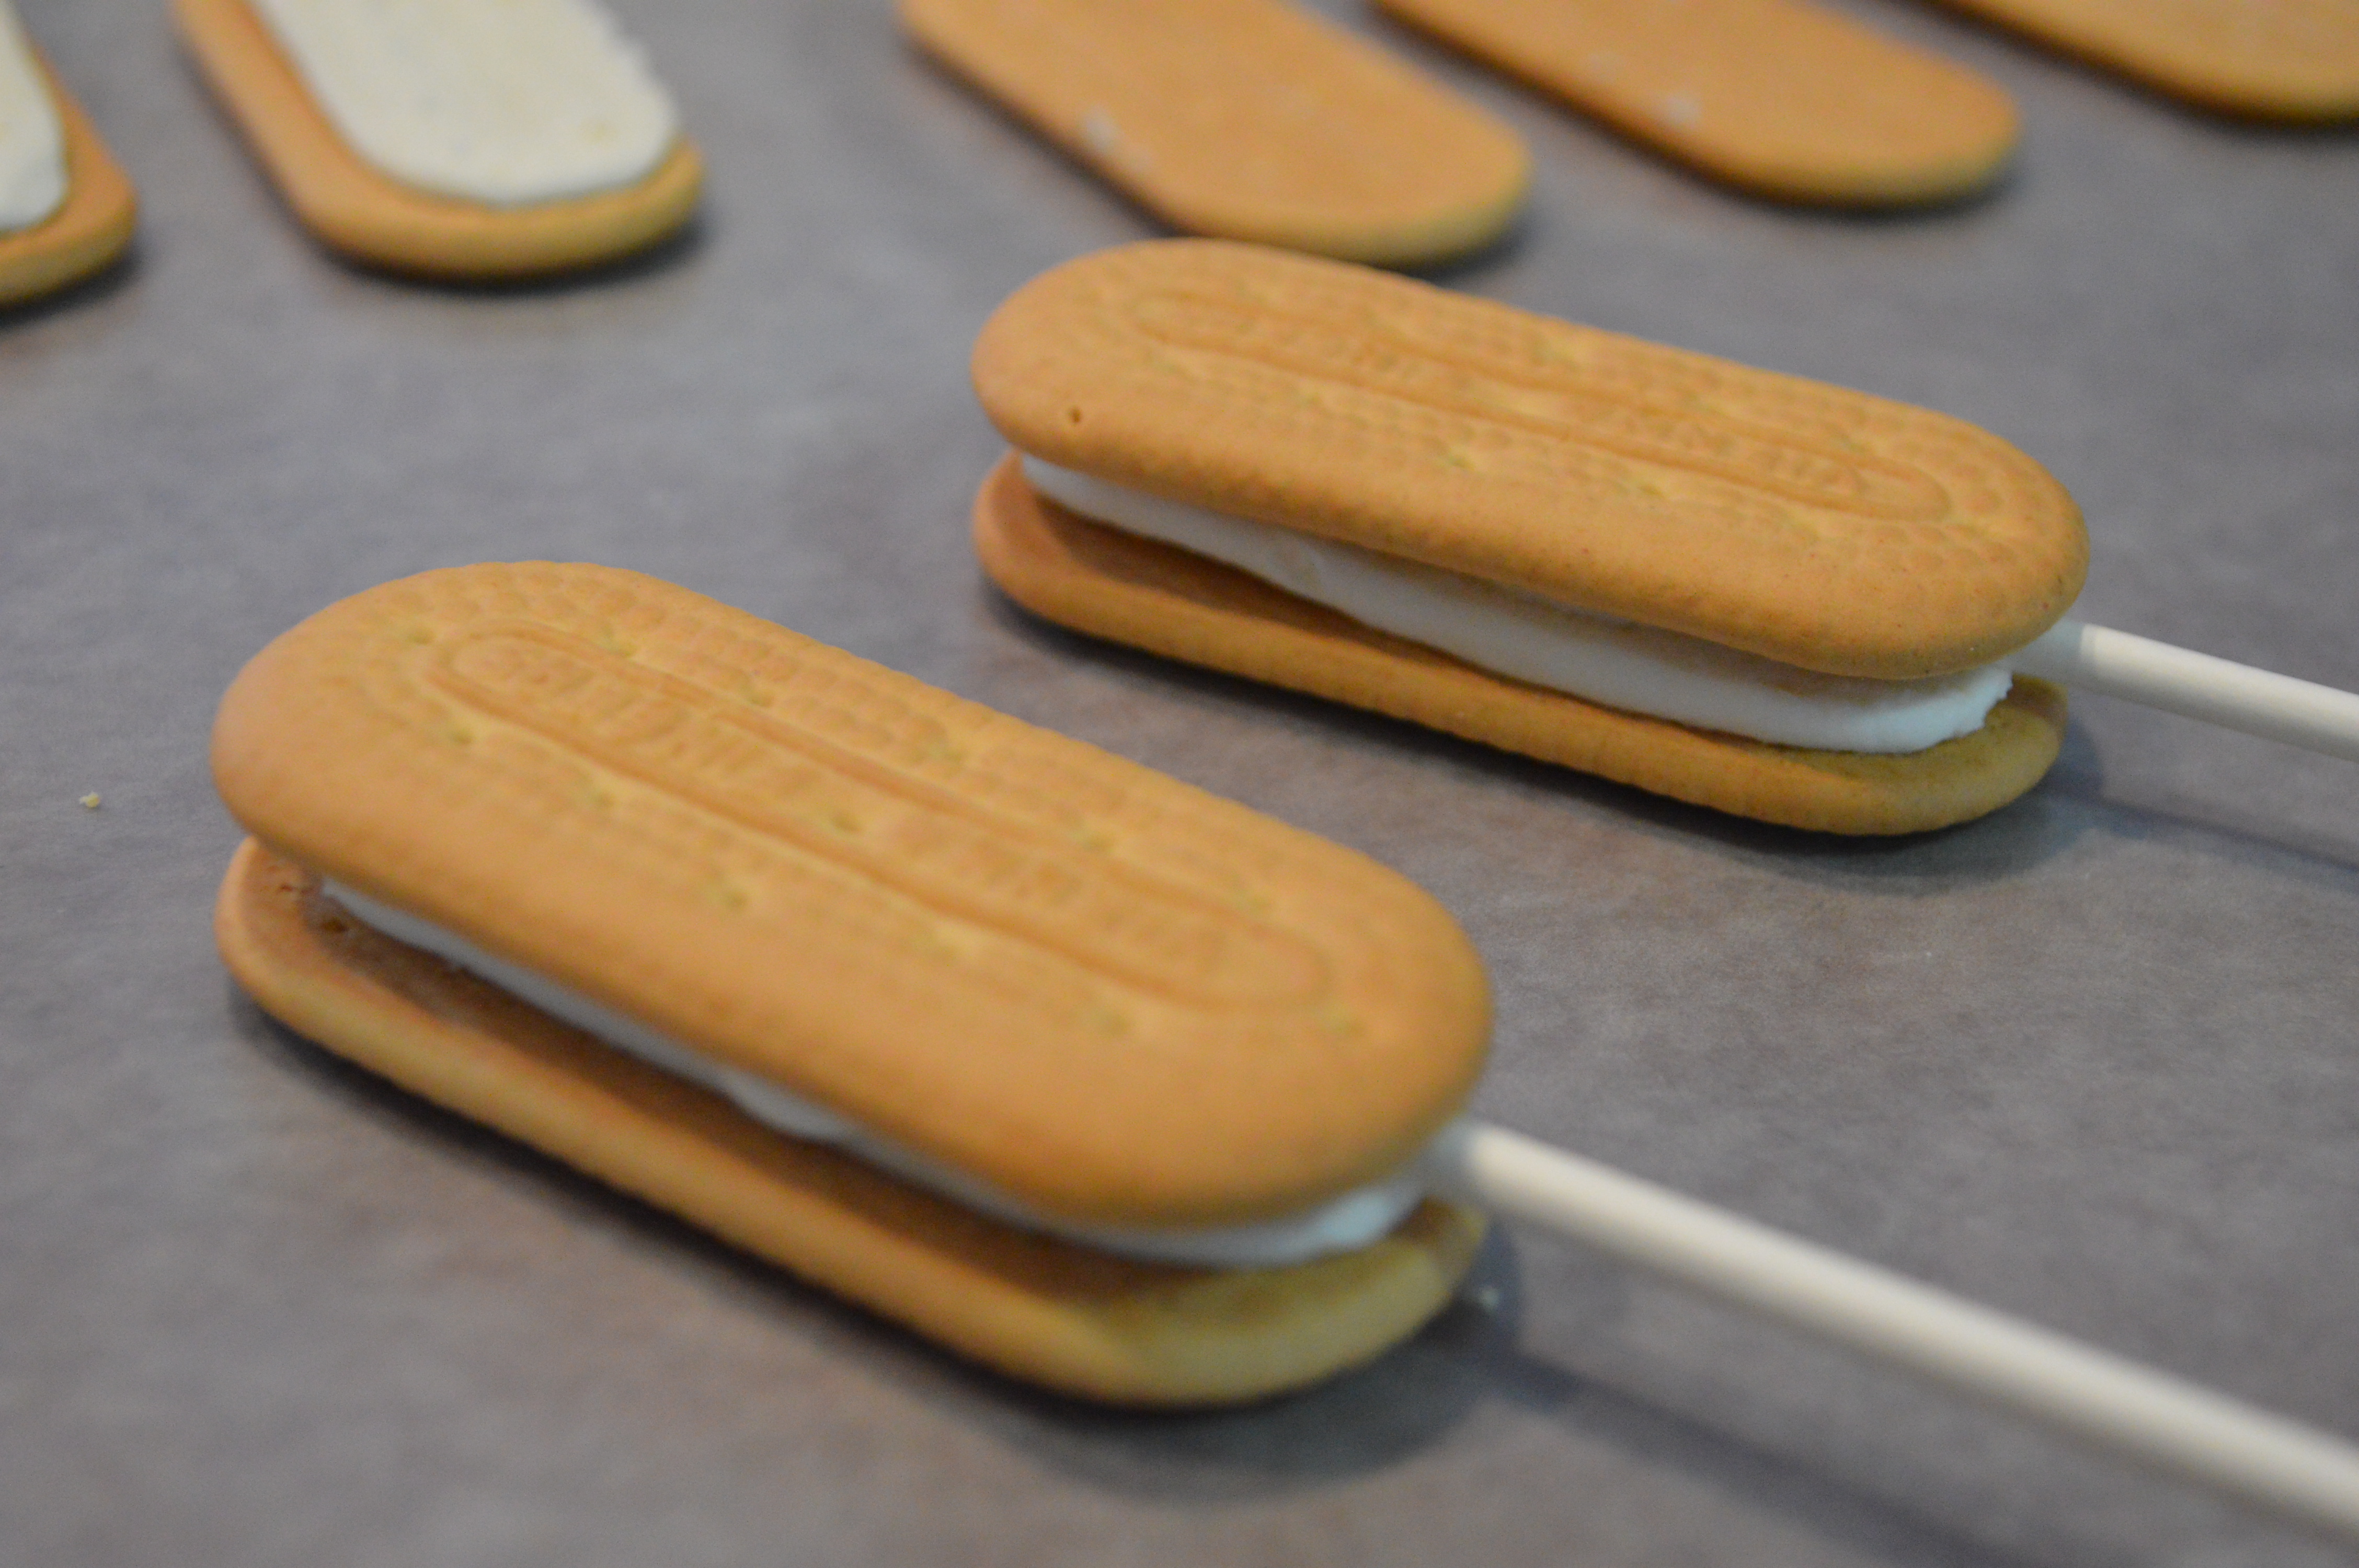 Step 3: Put the cookie sandwich back together very gently. To make it stay together easily, I added a dab of white chocolate to the bottom of the top cookie layer before placing it back together.
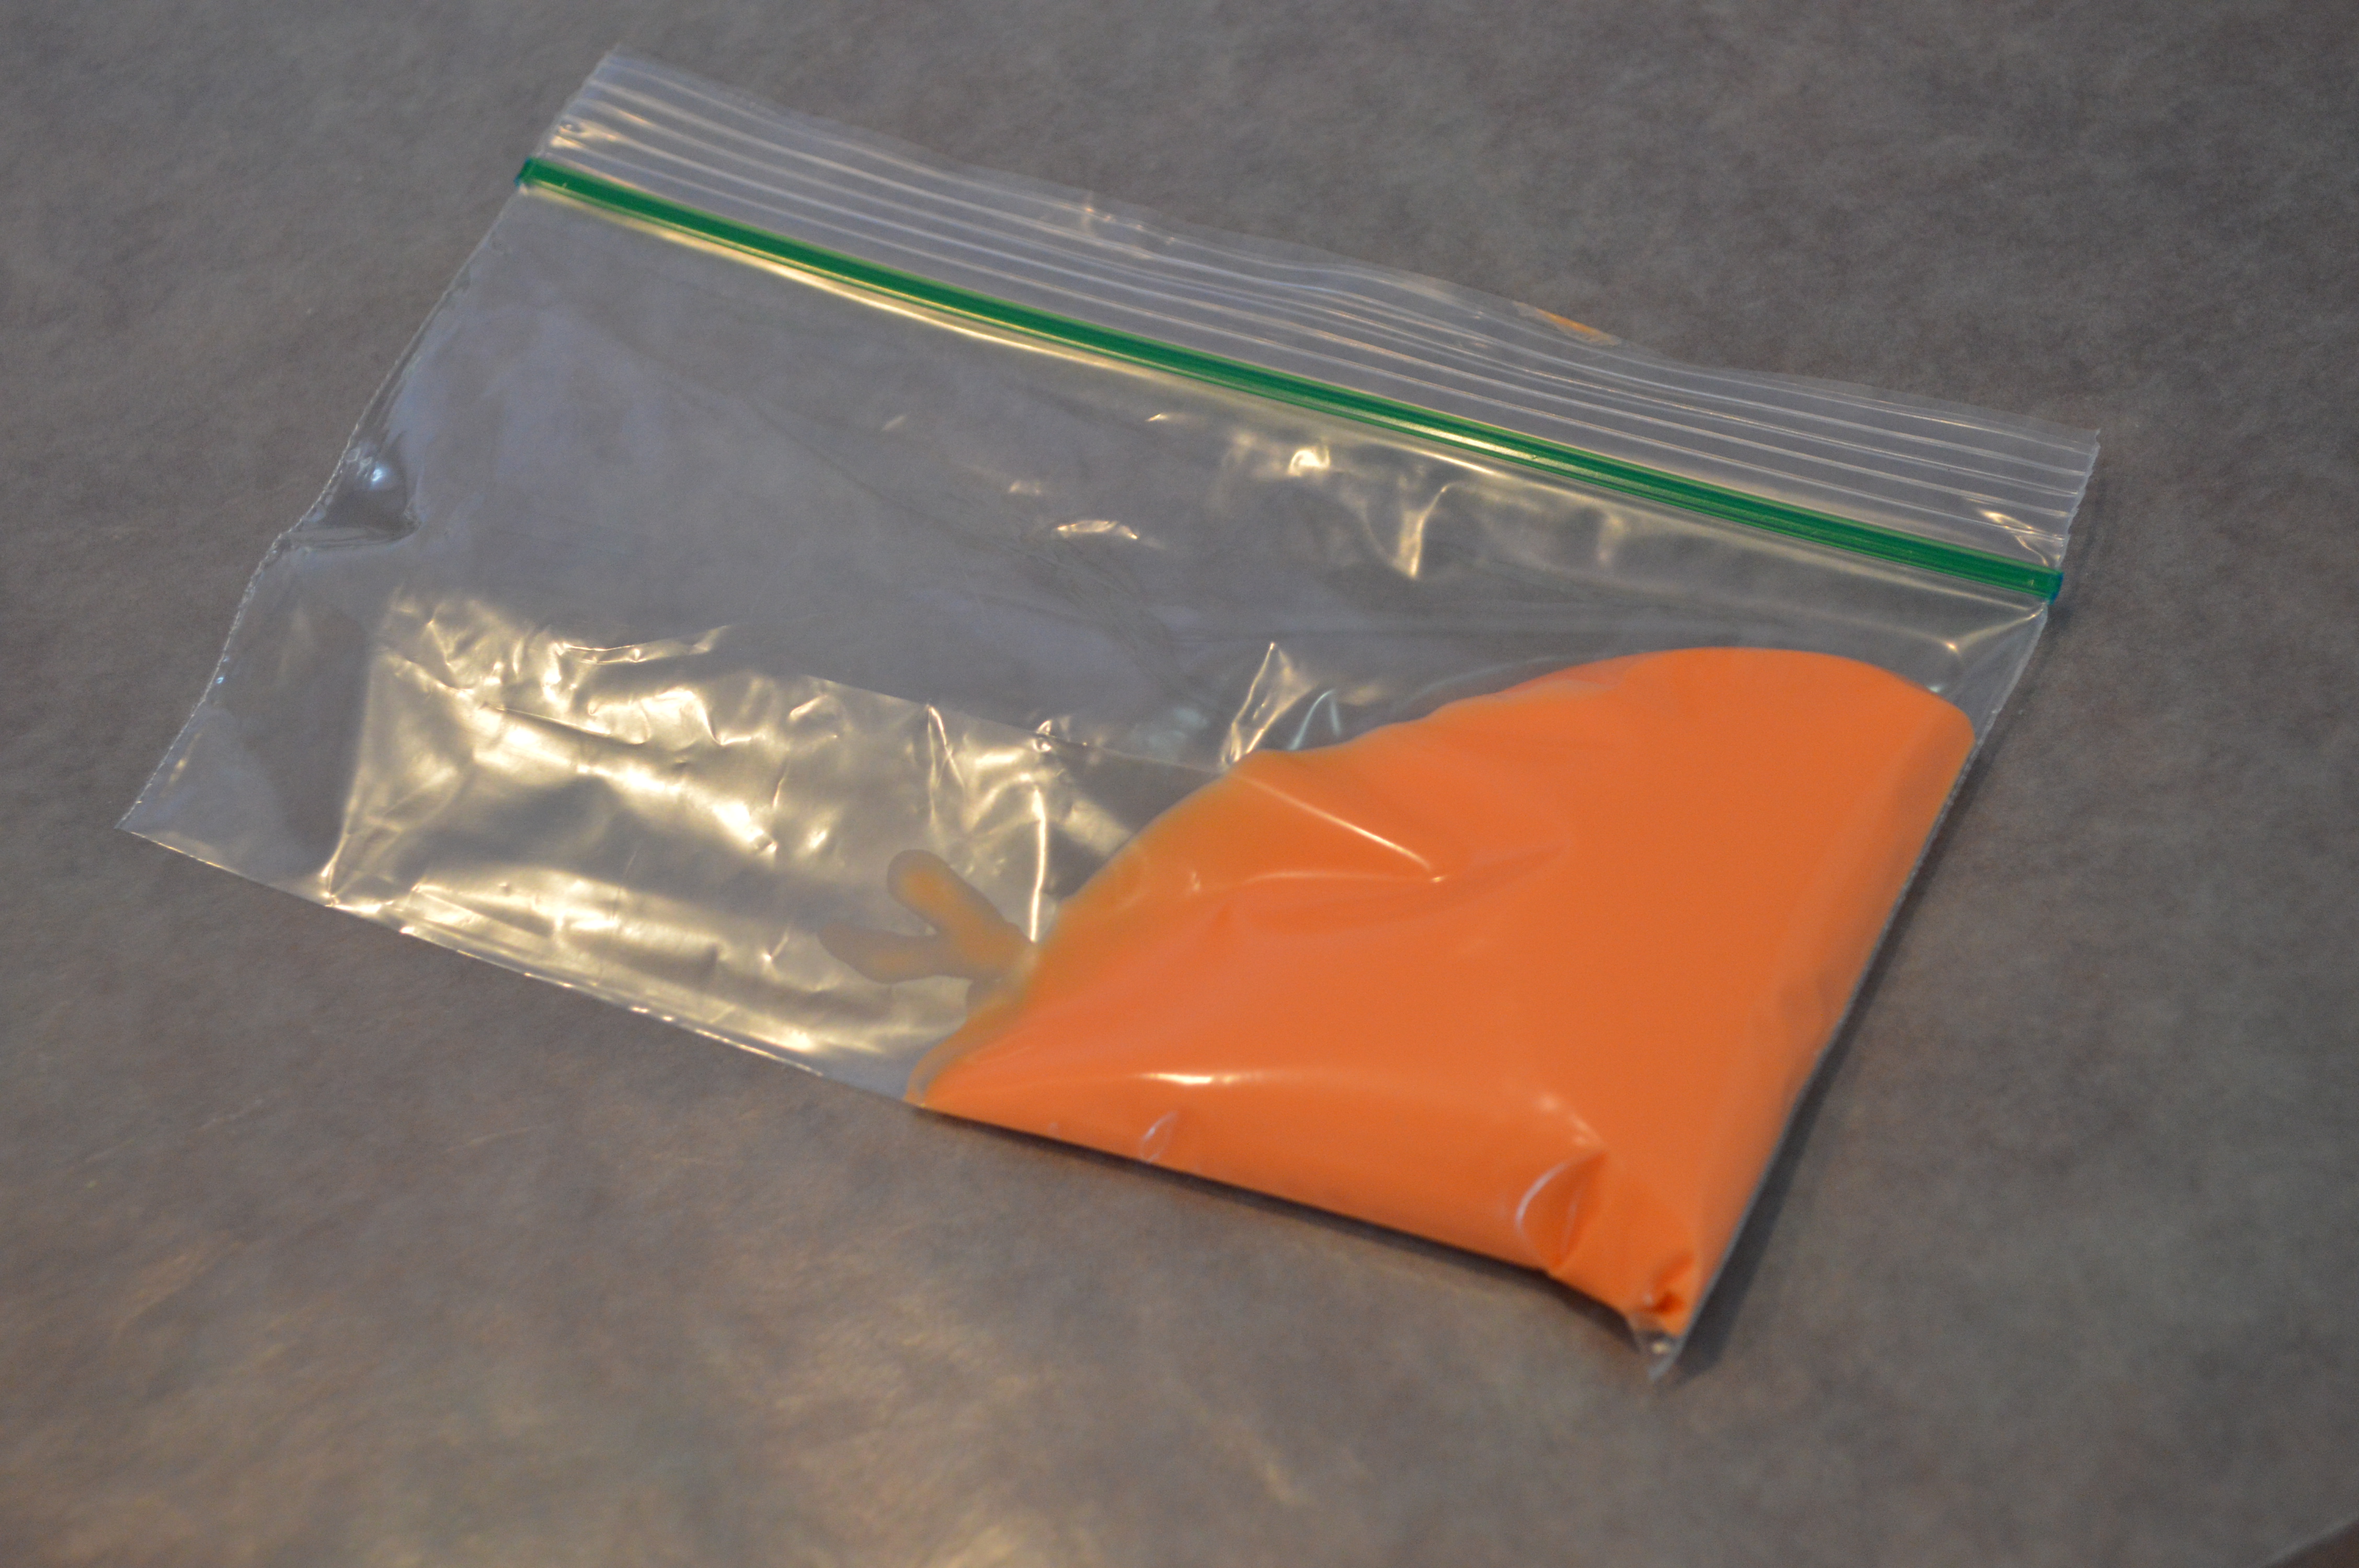 Step 4: While the chocolate hardens around the cookie pop stick, melt a small amount of orange chocolate. Once melted, put it inside of a snack size Ziploc bag.
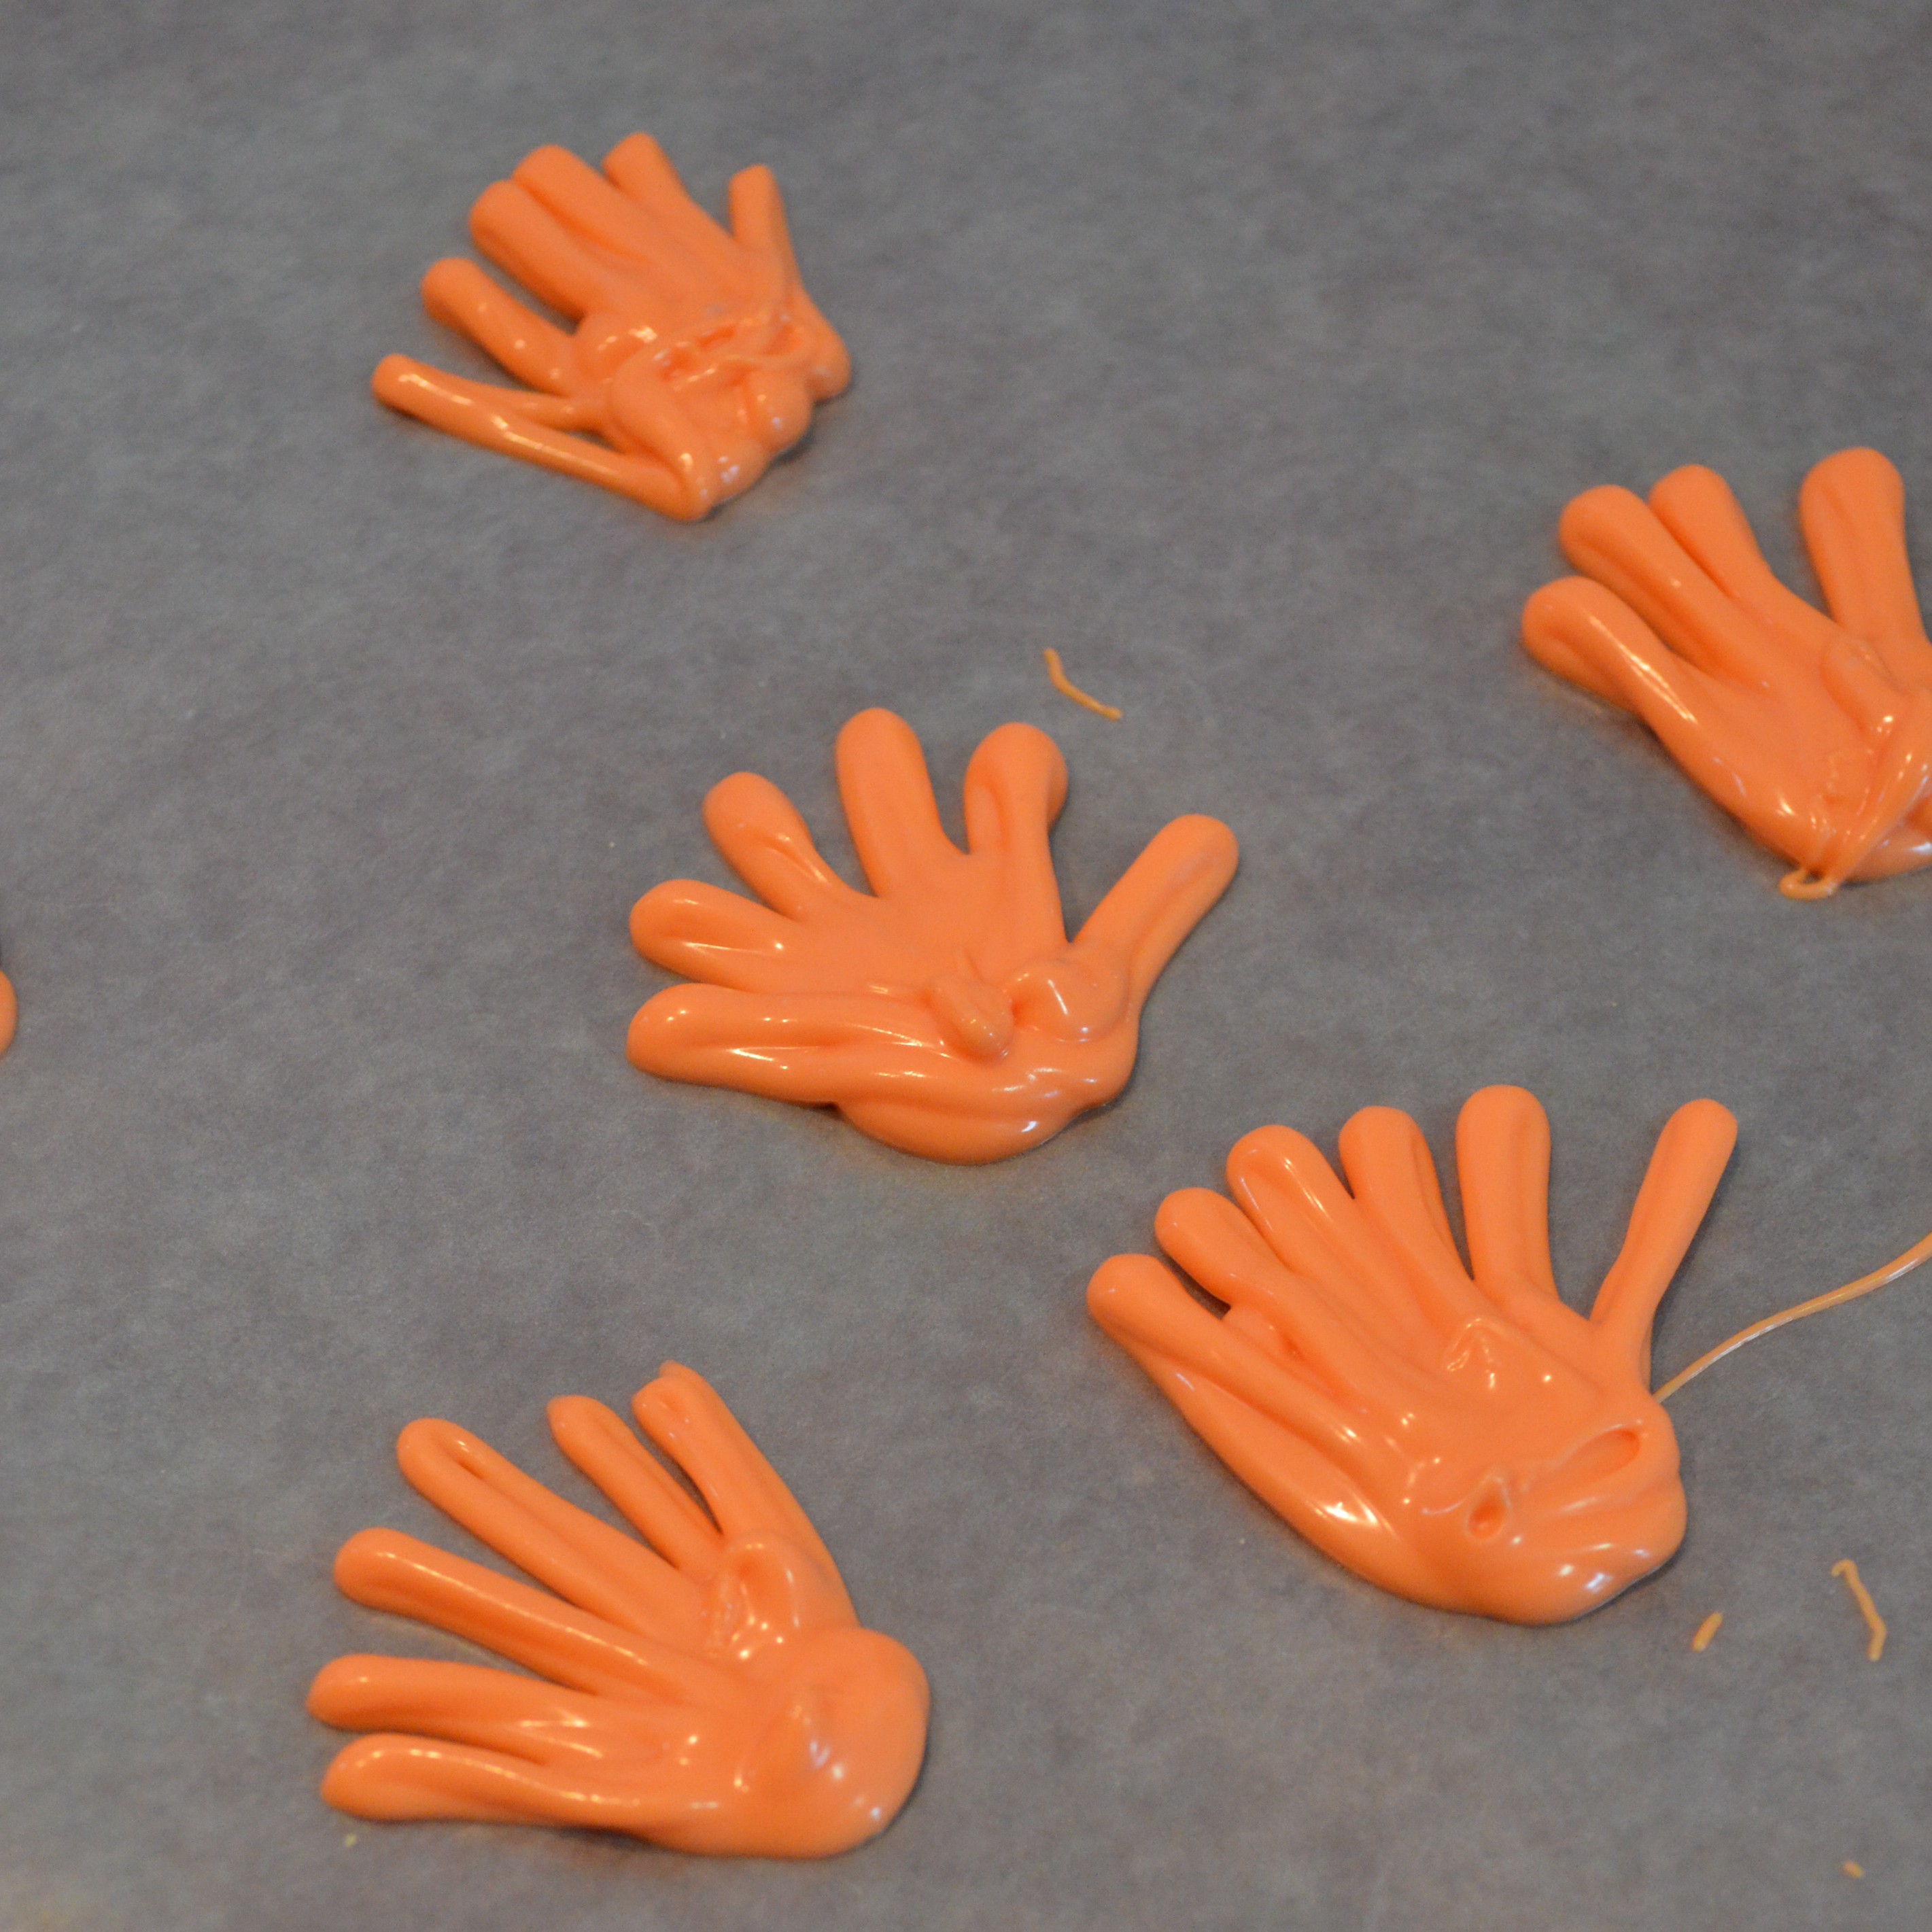
Step 5: Lay down a sheet of wax paper on your counter. Then snip a tiny hole at corner of the bag with the melted orange chocolate and pipe Beakers hair on the wax paper. Allow five minutes for the candy hair to harden.
Step 6: Mix the remaining white melted candy with the remaining orange candy. This will give you the slightly lighter orange color for Beaker’s face. If needed, add more orange candy melts until you have enough to dip the cookie pops. I used a shallow pan to dip them in, by dipping one side and then flipping it over to dip the opposite side. Place the cookie pop on wax paper after dipping.
 Step 7: Attach Beaker’s hair on the cookie while the chocolate is still hardening. Once the hair has been secured, add his eyes and nose. Allow all the chocolate to harden.
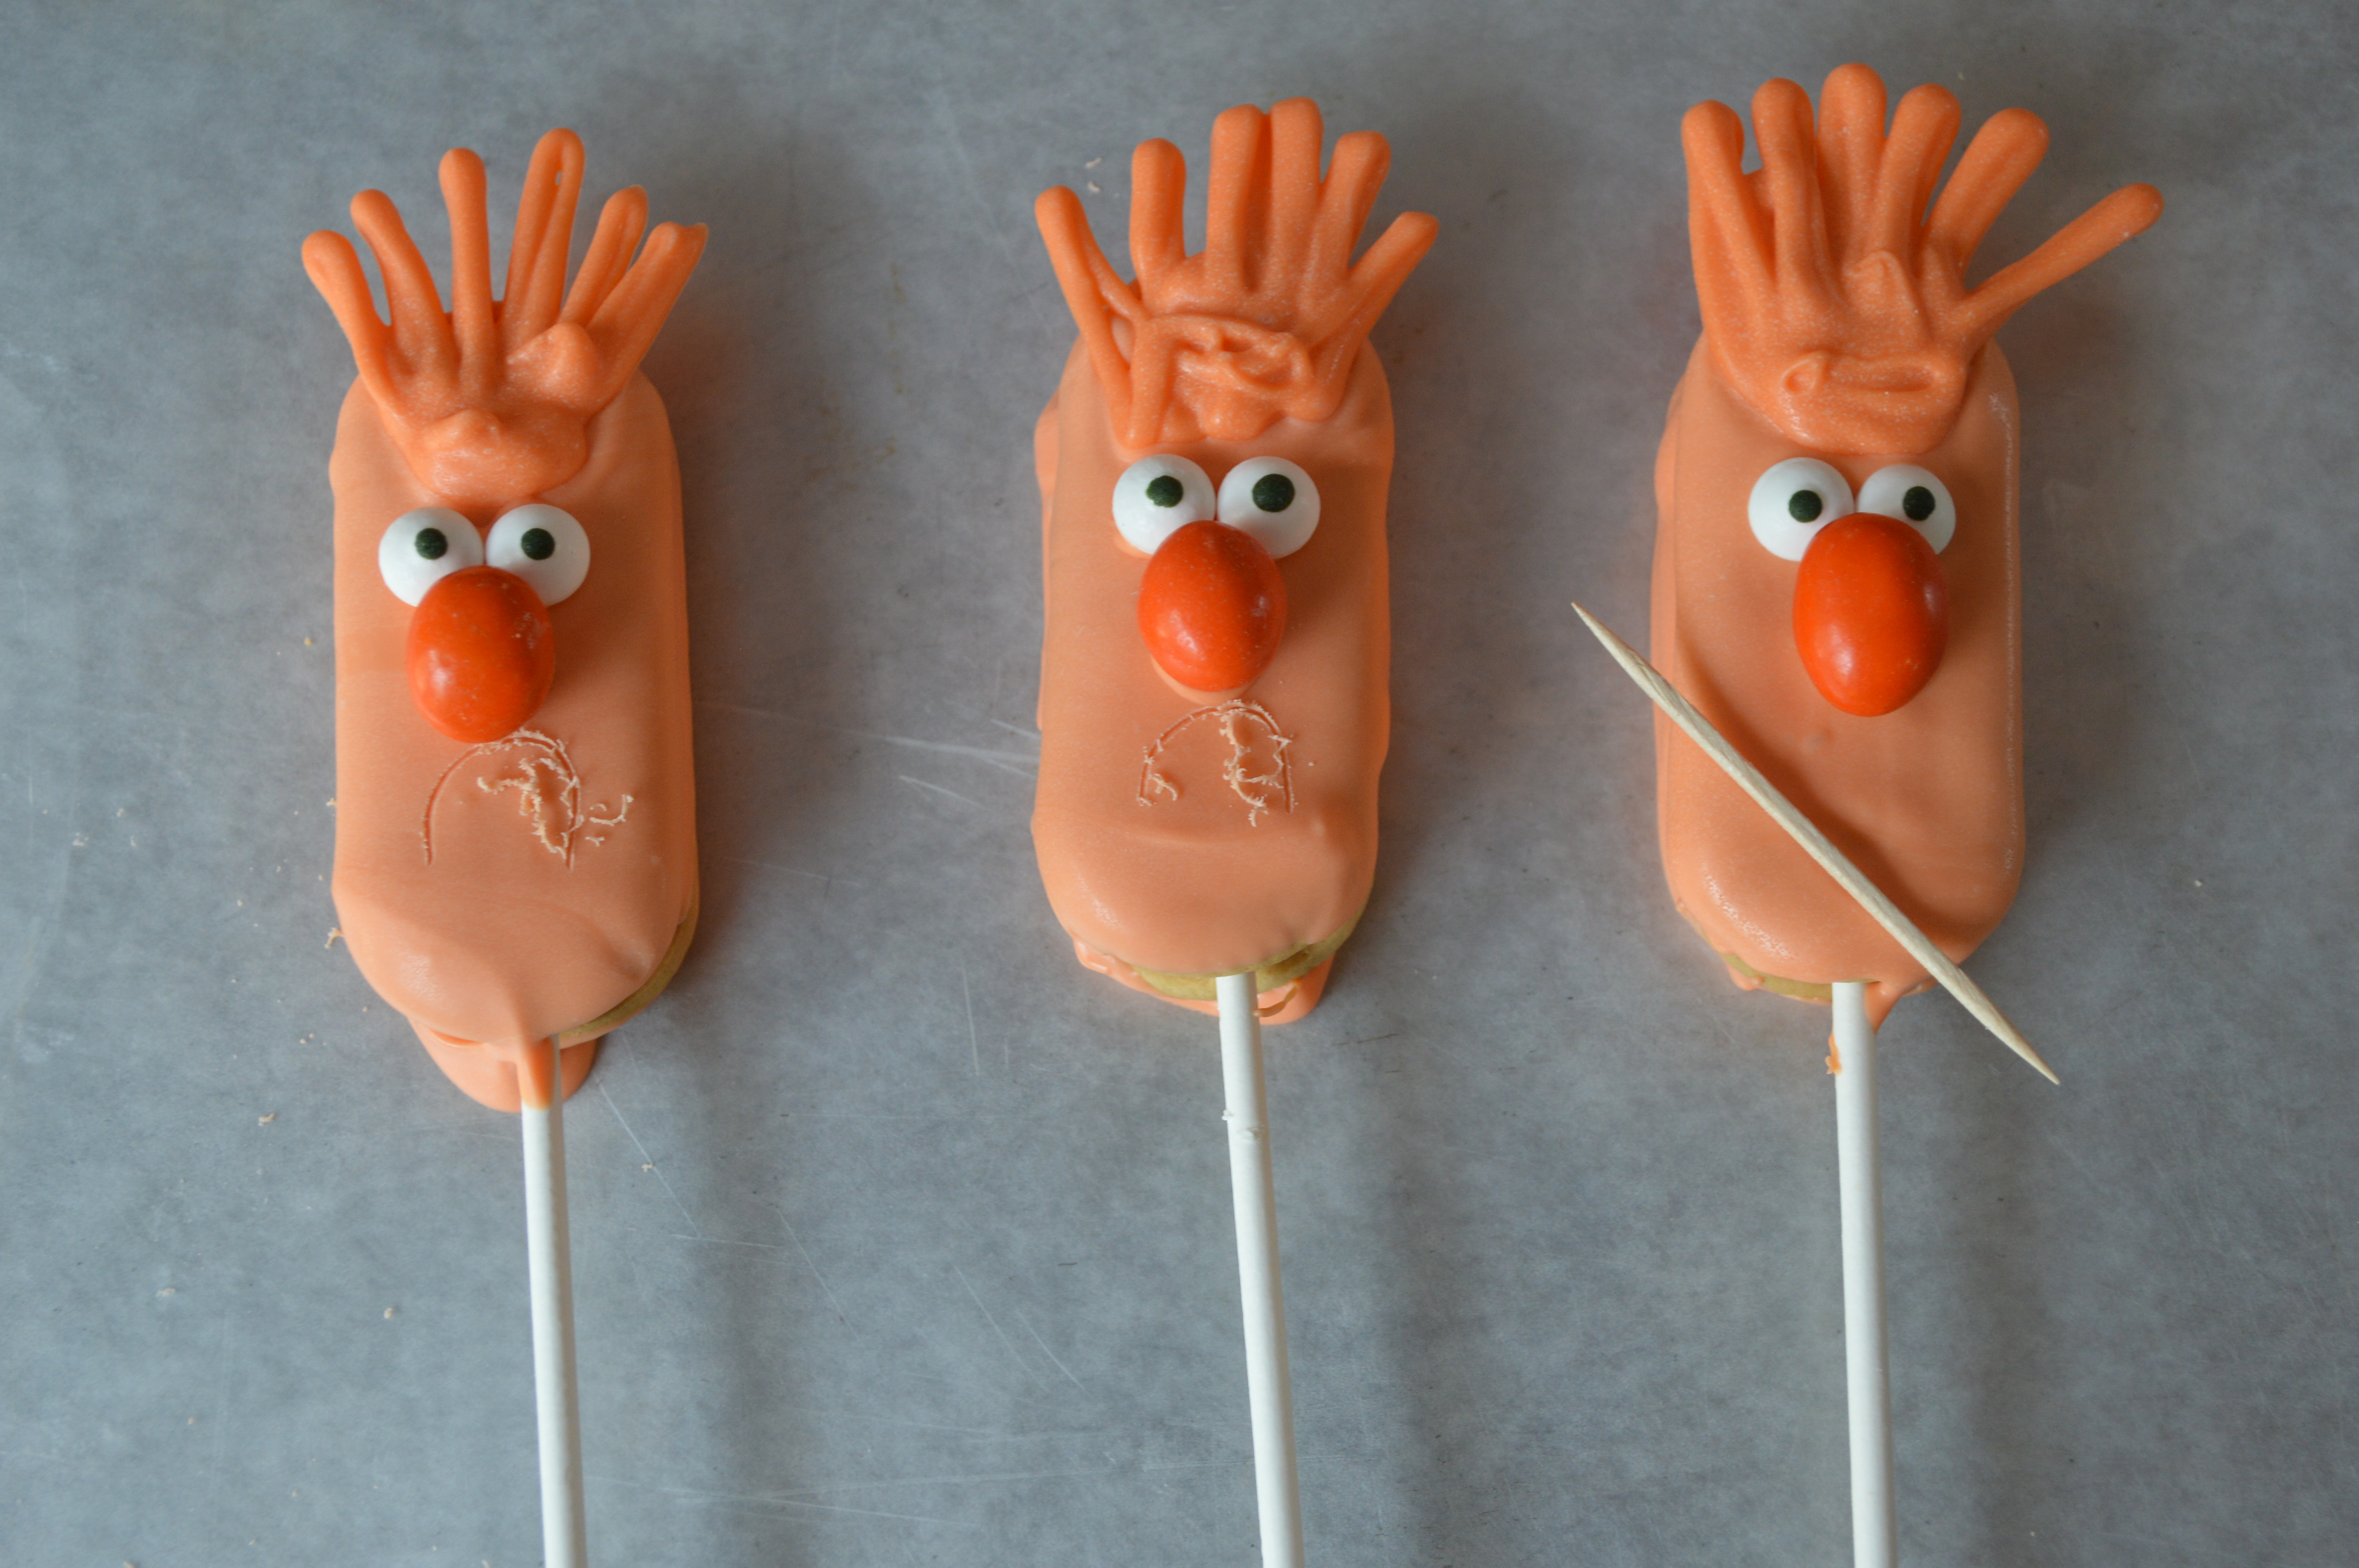
Step 8: Once hardened, you can now add Beaker’s mouth by using a toothpick to lightly carve into the chocolate.
That’s it! If you’re not ready to enjoy these treats, I recommend placing them in a airtight storage container and keeping them in a cool area.
Are you ready for this weekend’s premier of Muppets Most Wanted? Here’s to hoping Beaker gets some screen time!
This Friday I’m happy to be participating once again in the Favorite Food Friday blog hop hosted by Disney Day by Day. If you love Disney food, hop over to Disney Day by Day to check out more Disney food. Today he’s featuring FRUSHI! YUM! Disney Day by Day even links you up with the recipe to make this Epcot Flower & Garden Festival favorite. Check it out at:
http://disneydaybyday.com/favorite-food-friday-frushi/
If you have a Favorite Disney Food item that you’ve blogged about, why not link up? Stop by Disney Day By Day for details!