Tag: Easter

Disney Easter Egg Decorating Ideas For Kids: Q-Tip painting and Monster’s U Egg Dying

Easter Eggs 050

Today, many kitchens are filled with families preparing for Easter by dying hard-boiled eggs.

Yesterday, my children and I followed the tradition of decorating eggs, but this year we decorated eggs two different ways, of course both showcasing our #DisneySide. For our usual way of decorating eggs, I purchased a packaged dying & decorating kit to use at Grandma’s house for some hard-boiled egg fun.  I purchased this Monsters University Easter Egg Dye Kit at Target for $3 US.

Easter Eggs 018
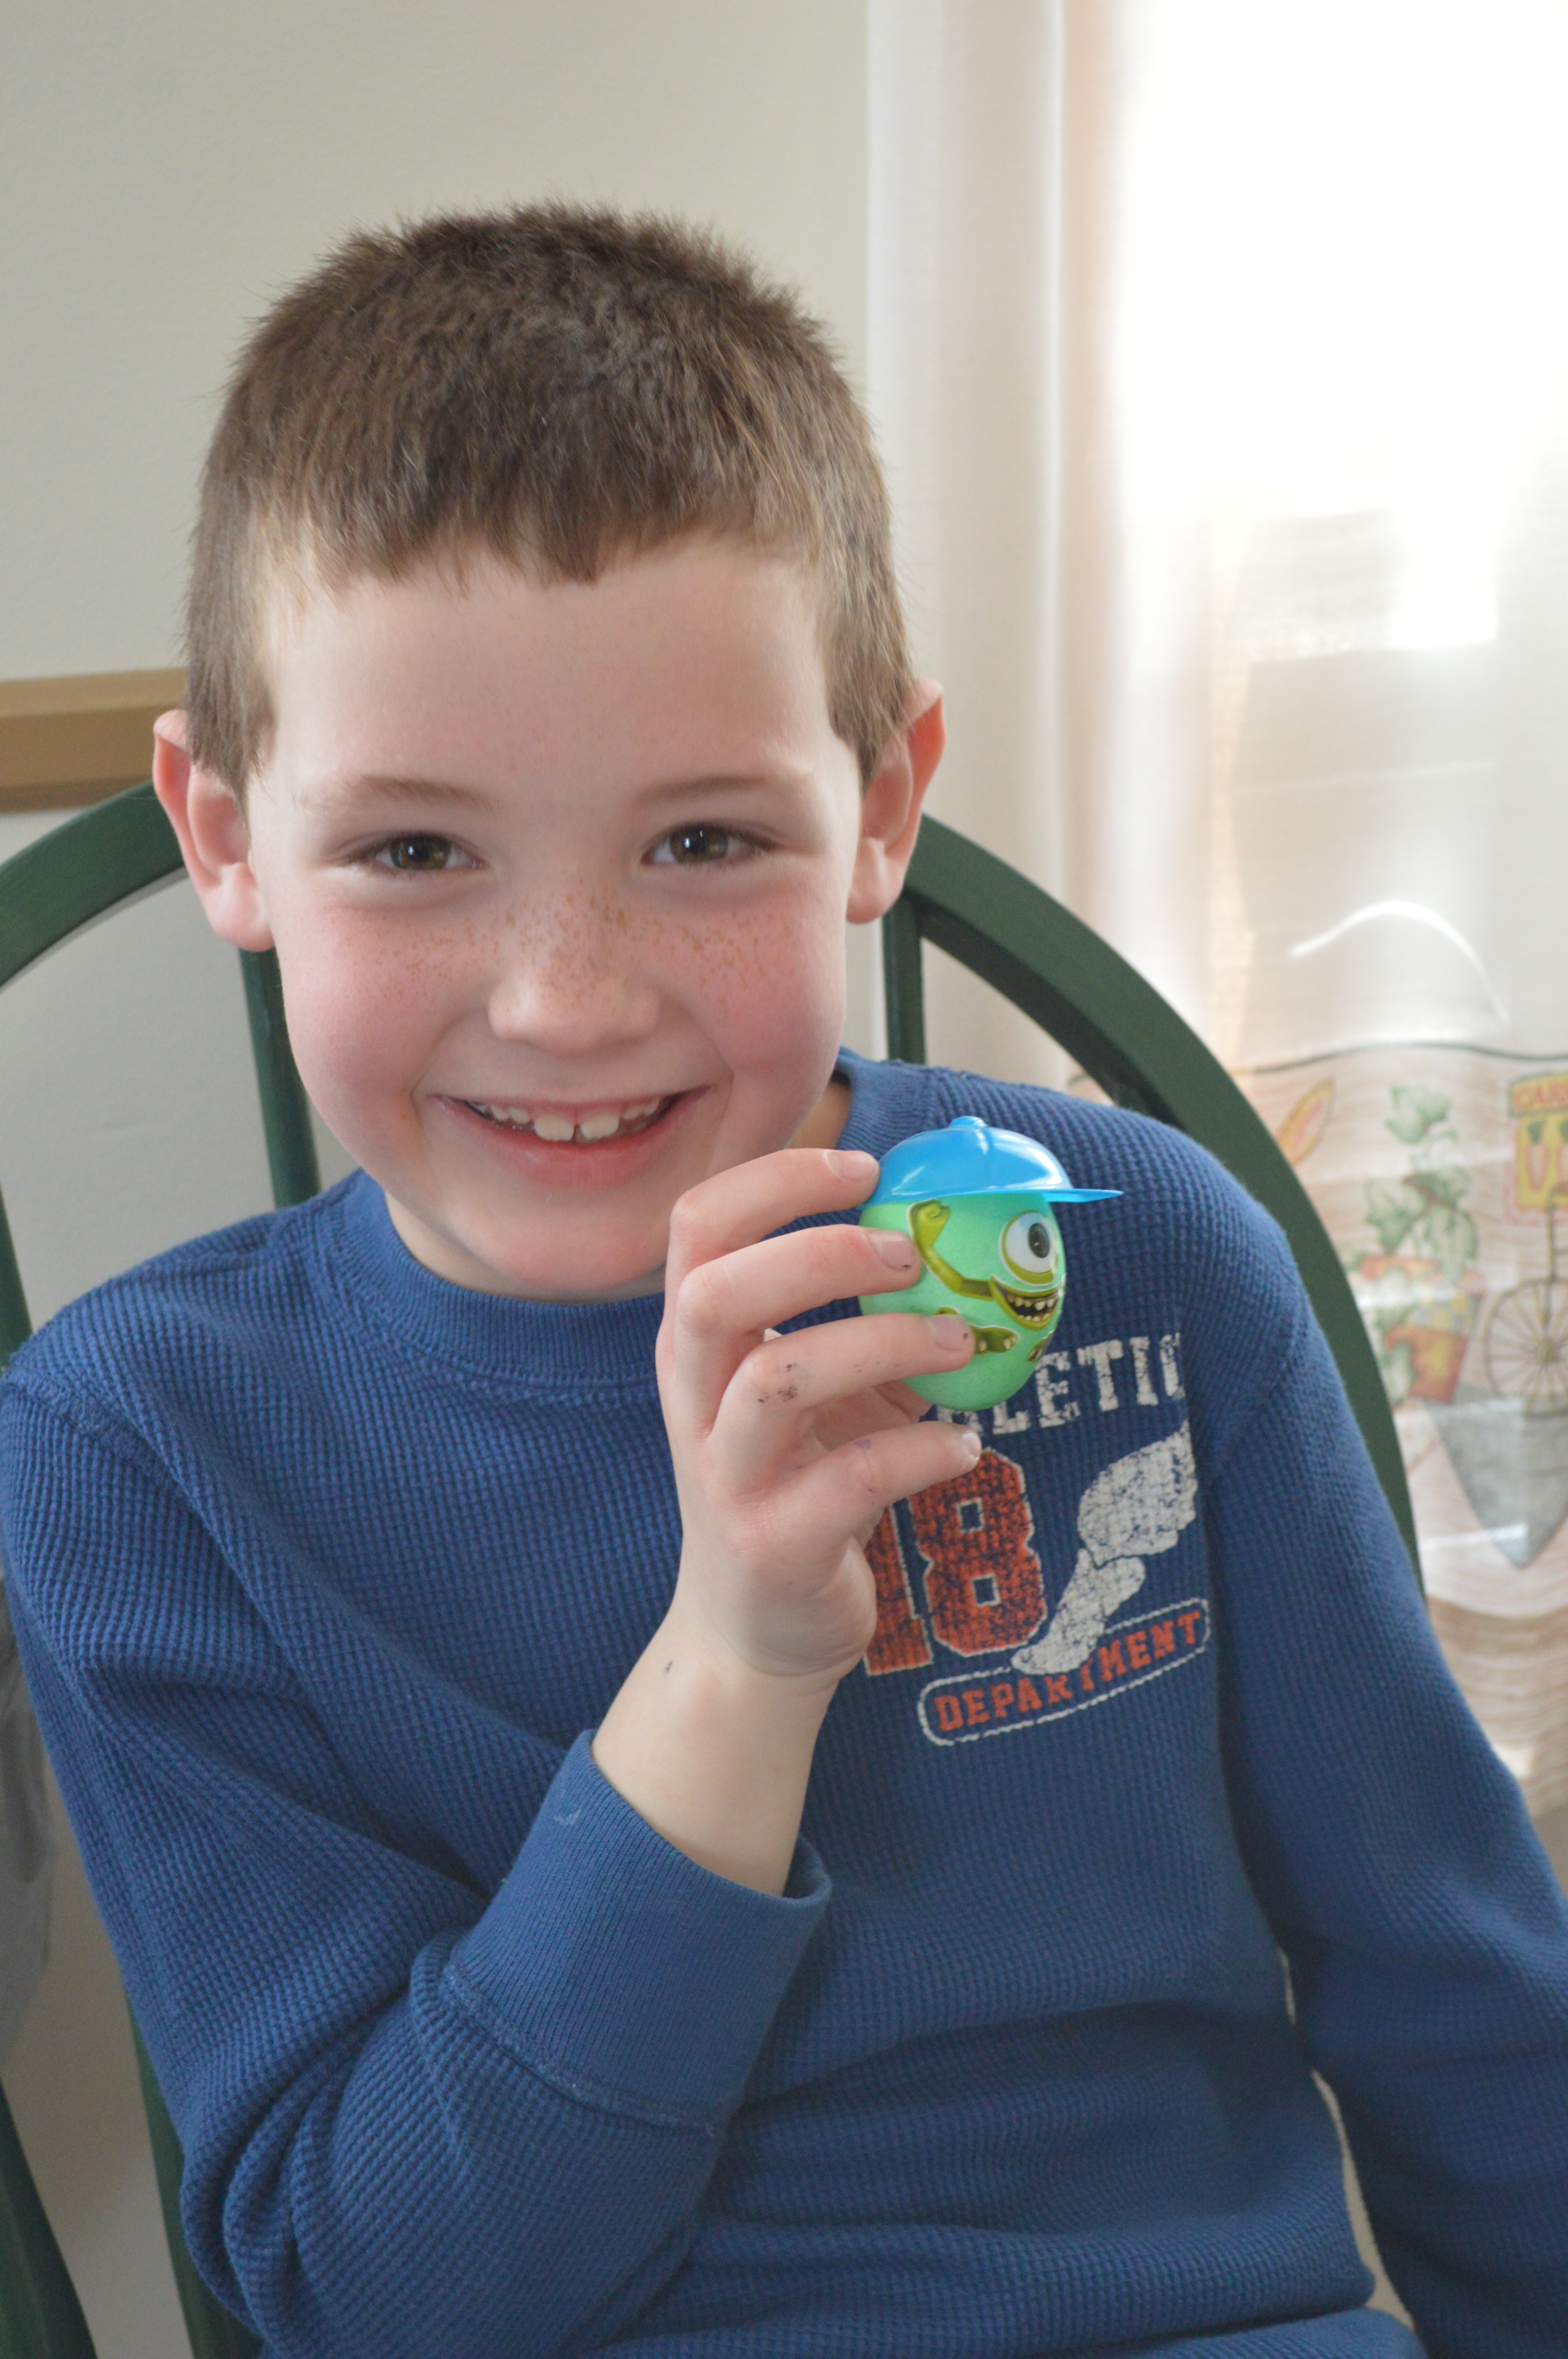
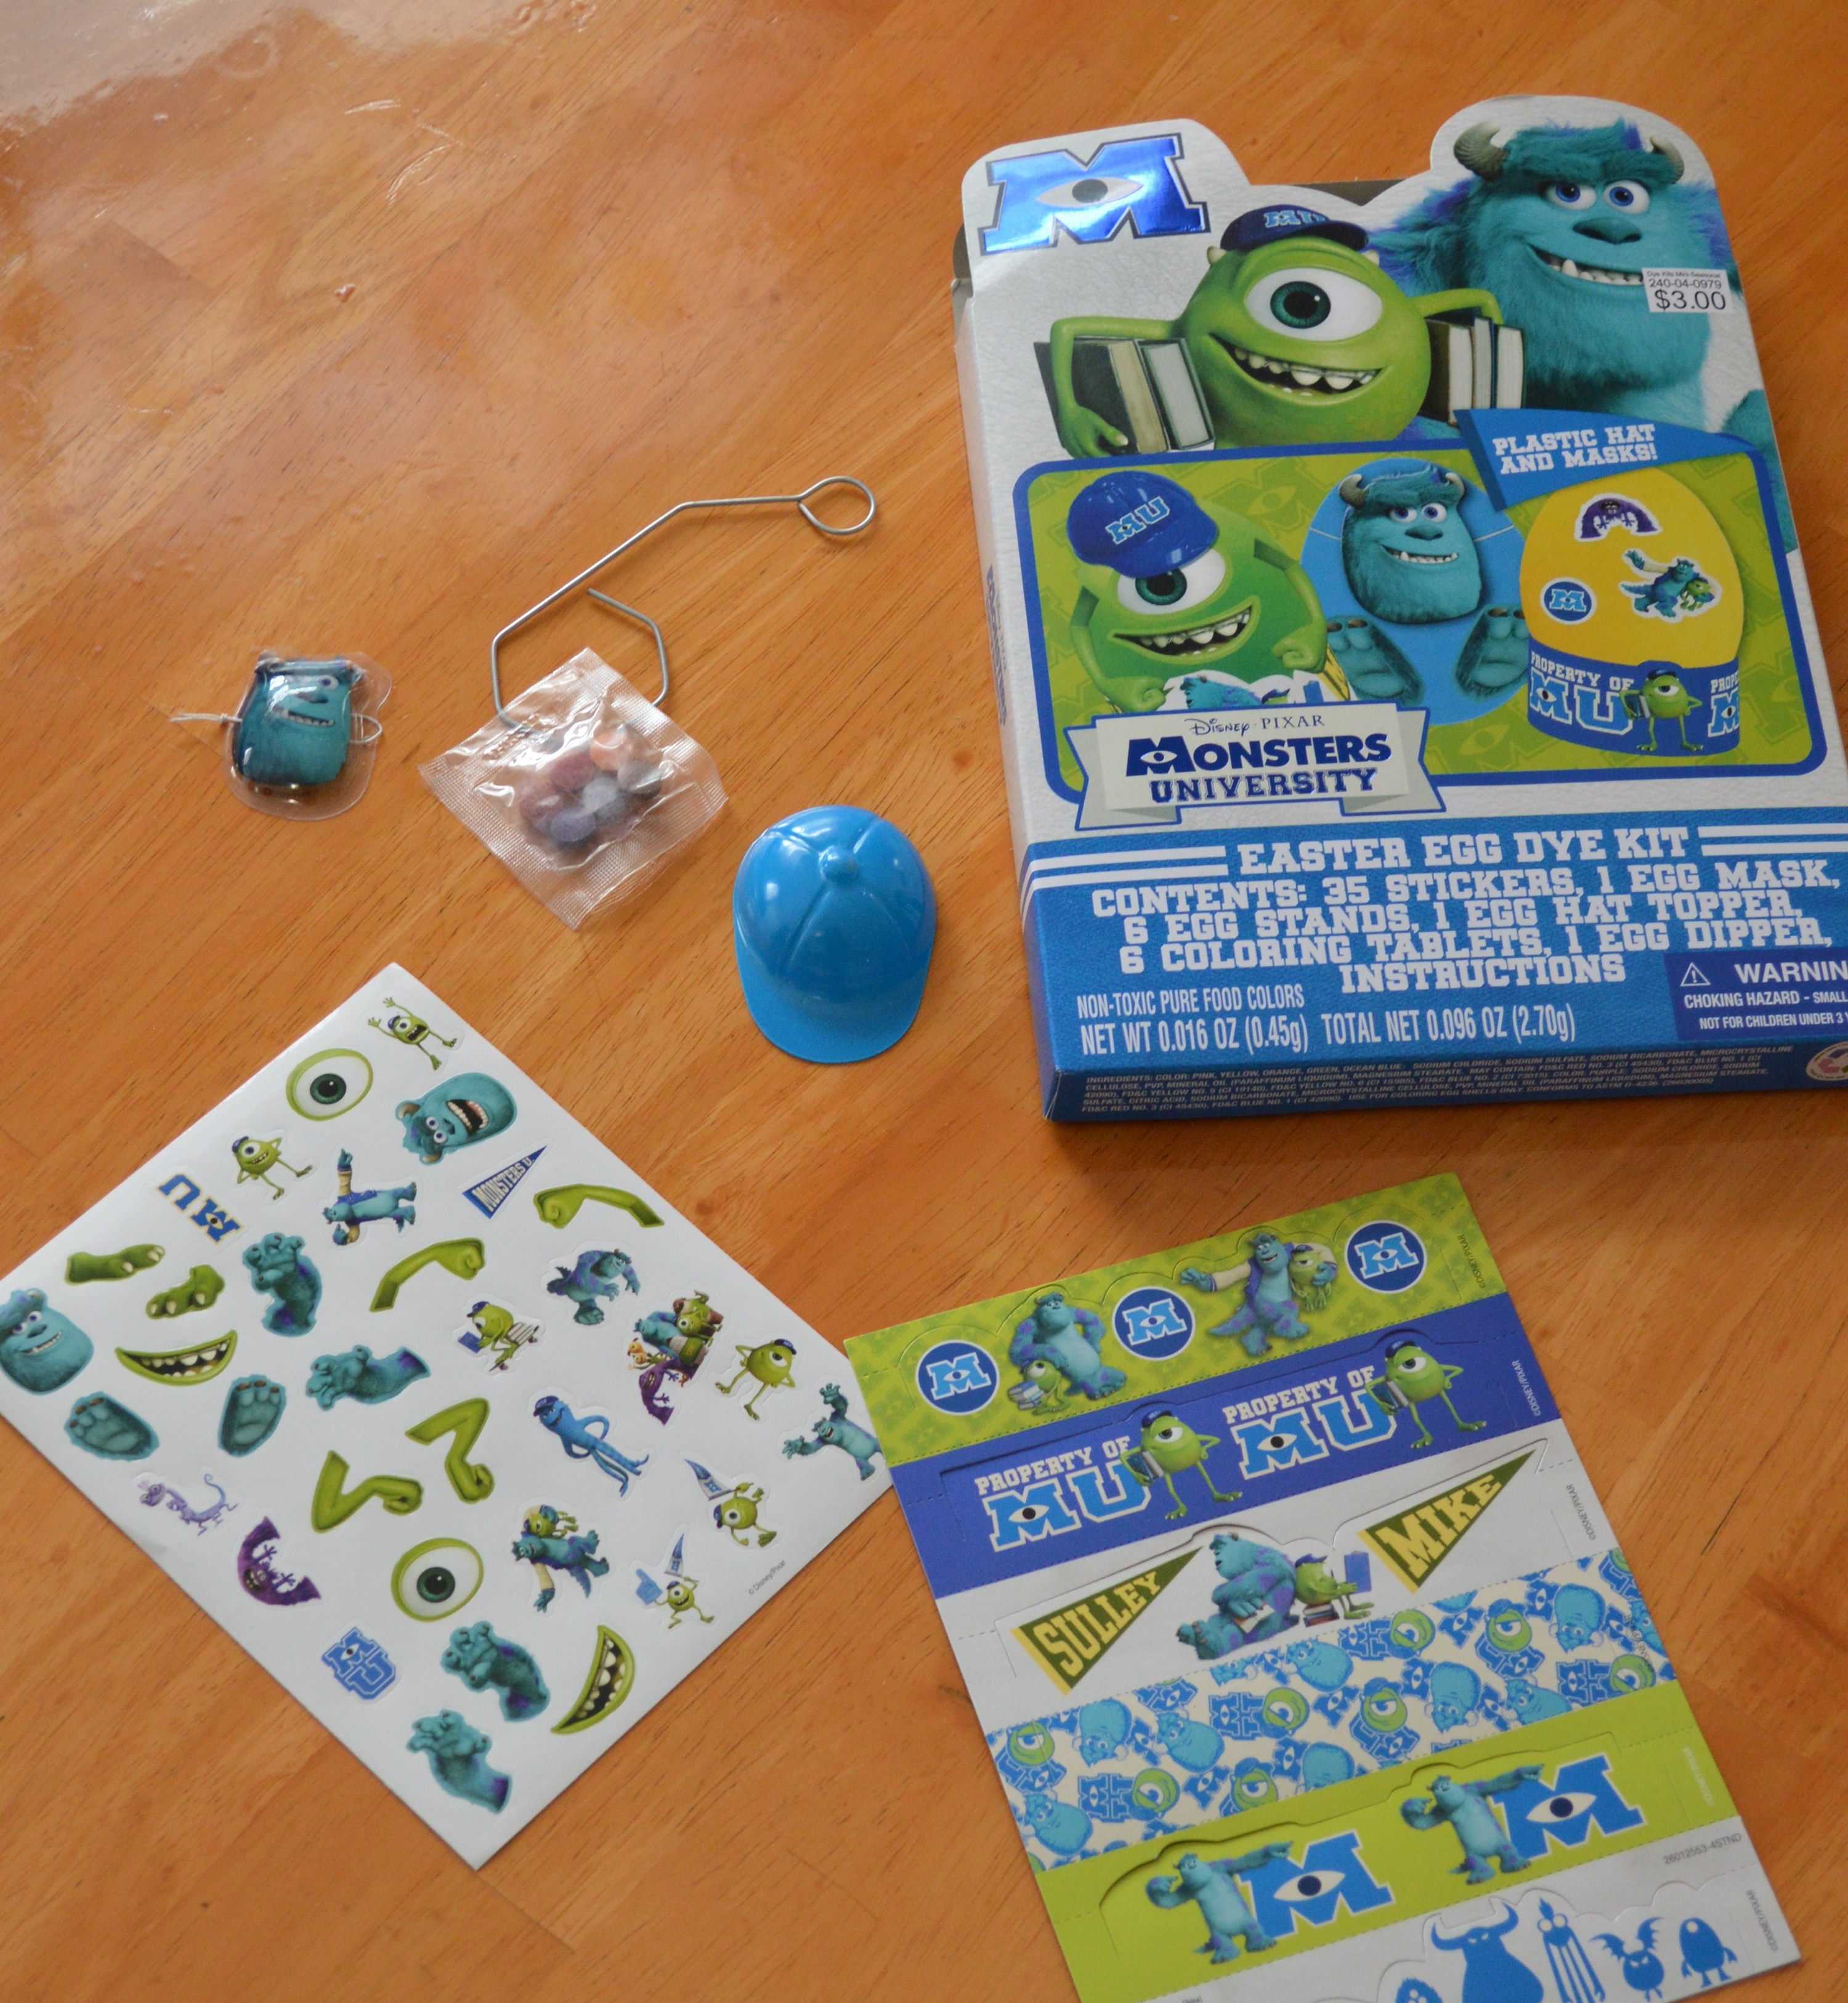
Gavin’s favorite part of the kit was the little blue hard hat that he used for his Mike egg.  I’m thrilled to report that he made this adorable egg for his Mommy!

Easter Eggs 043
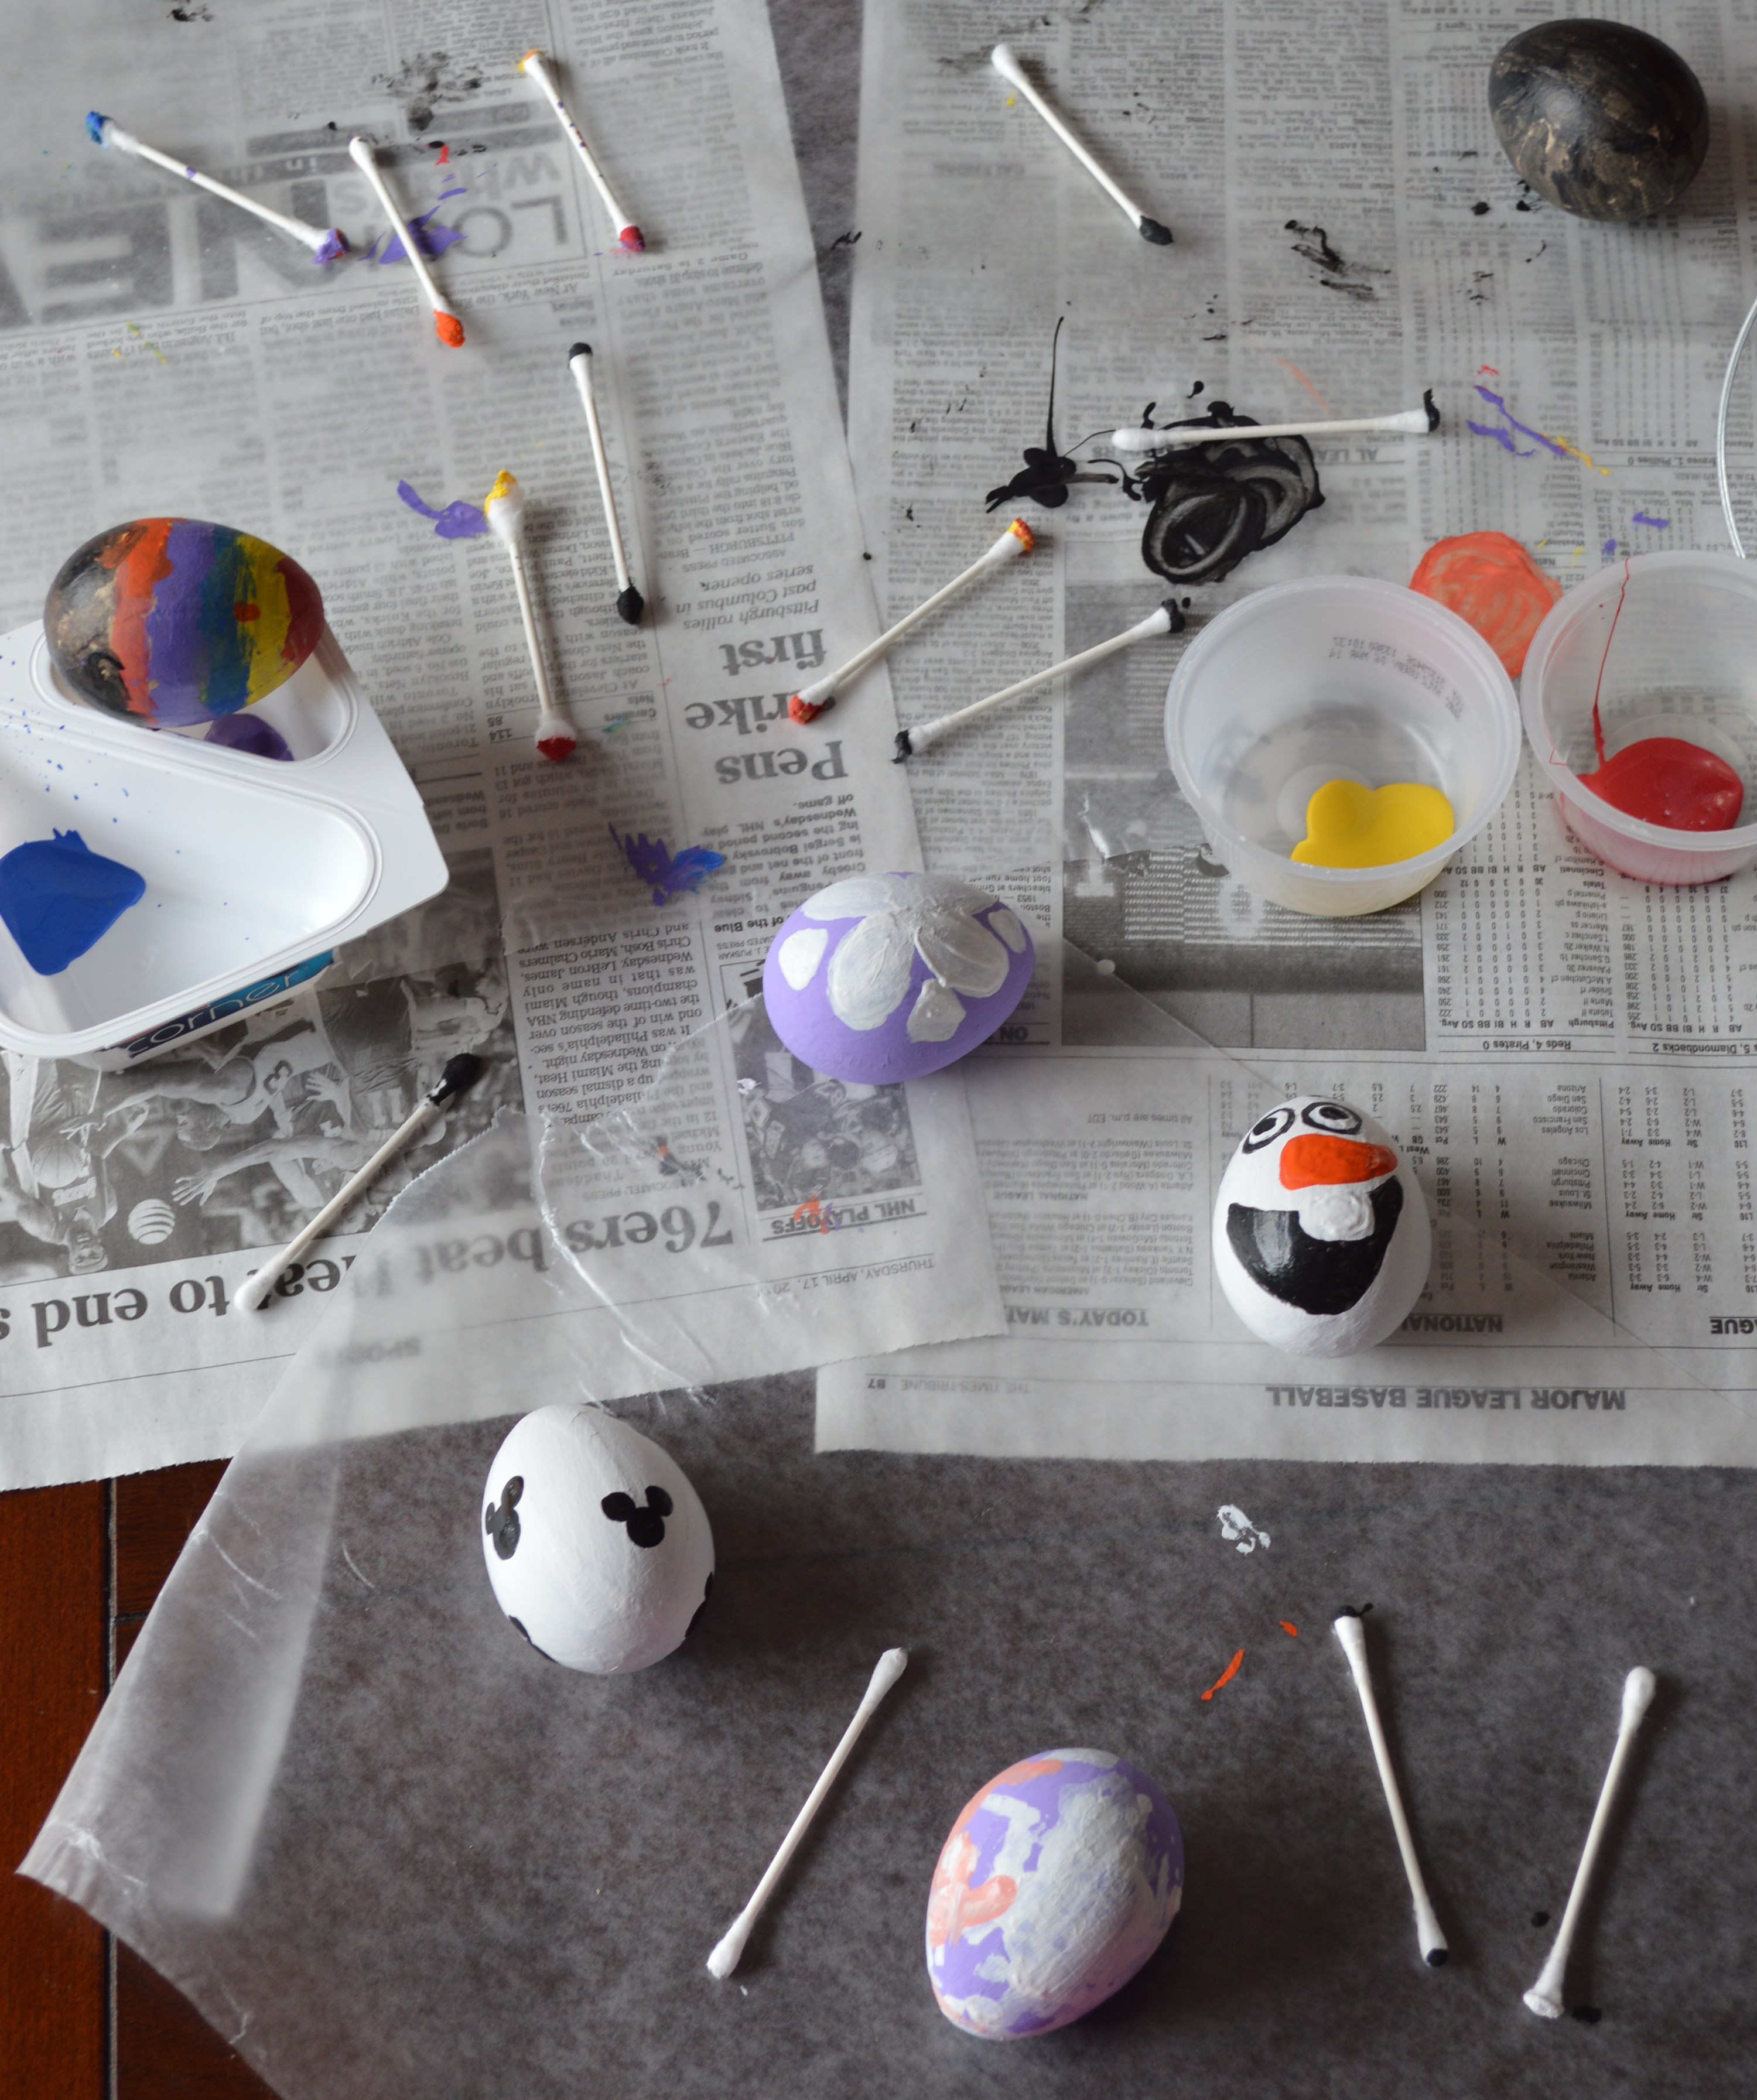
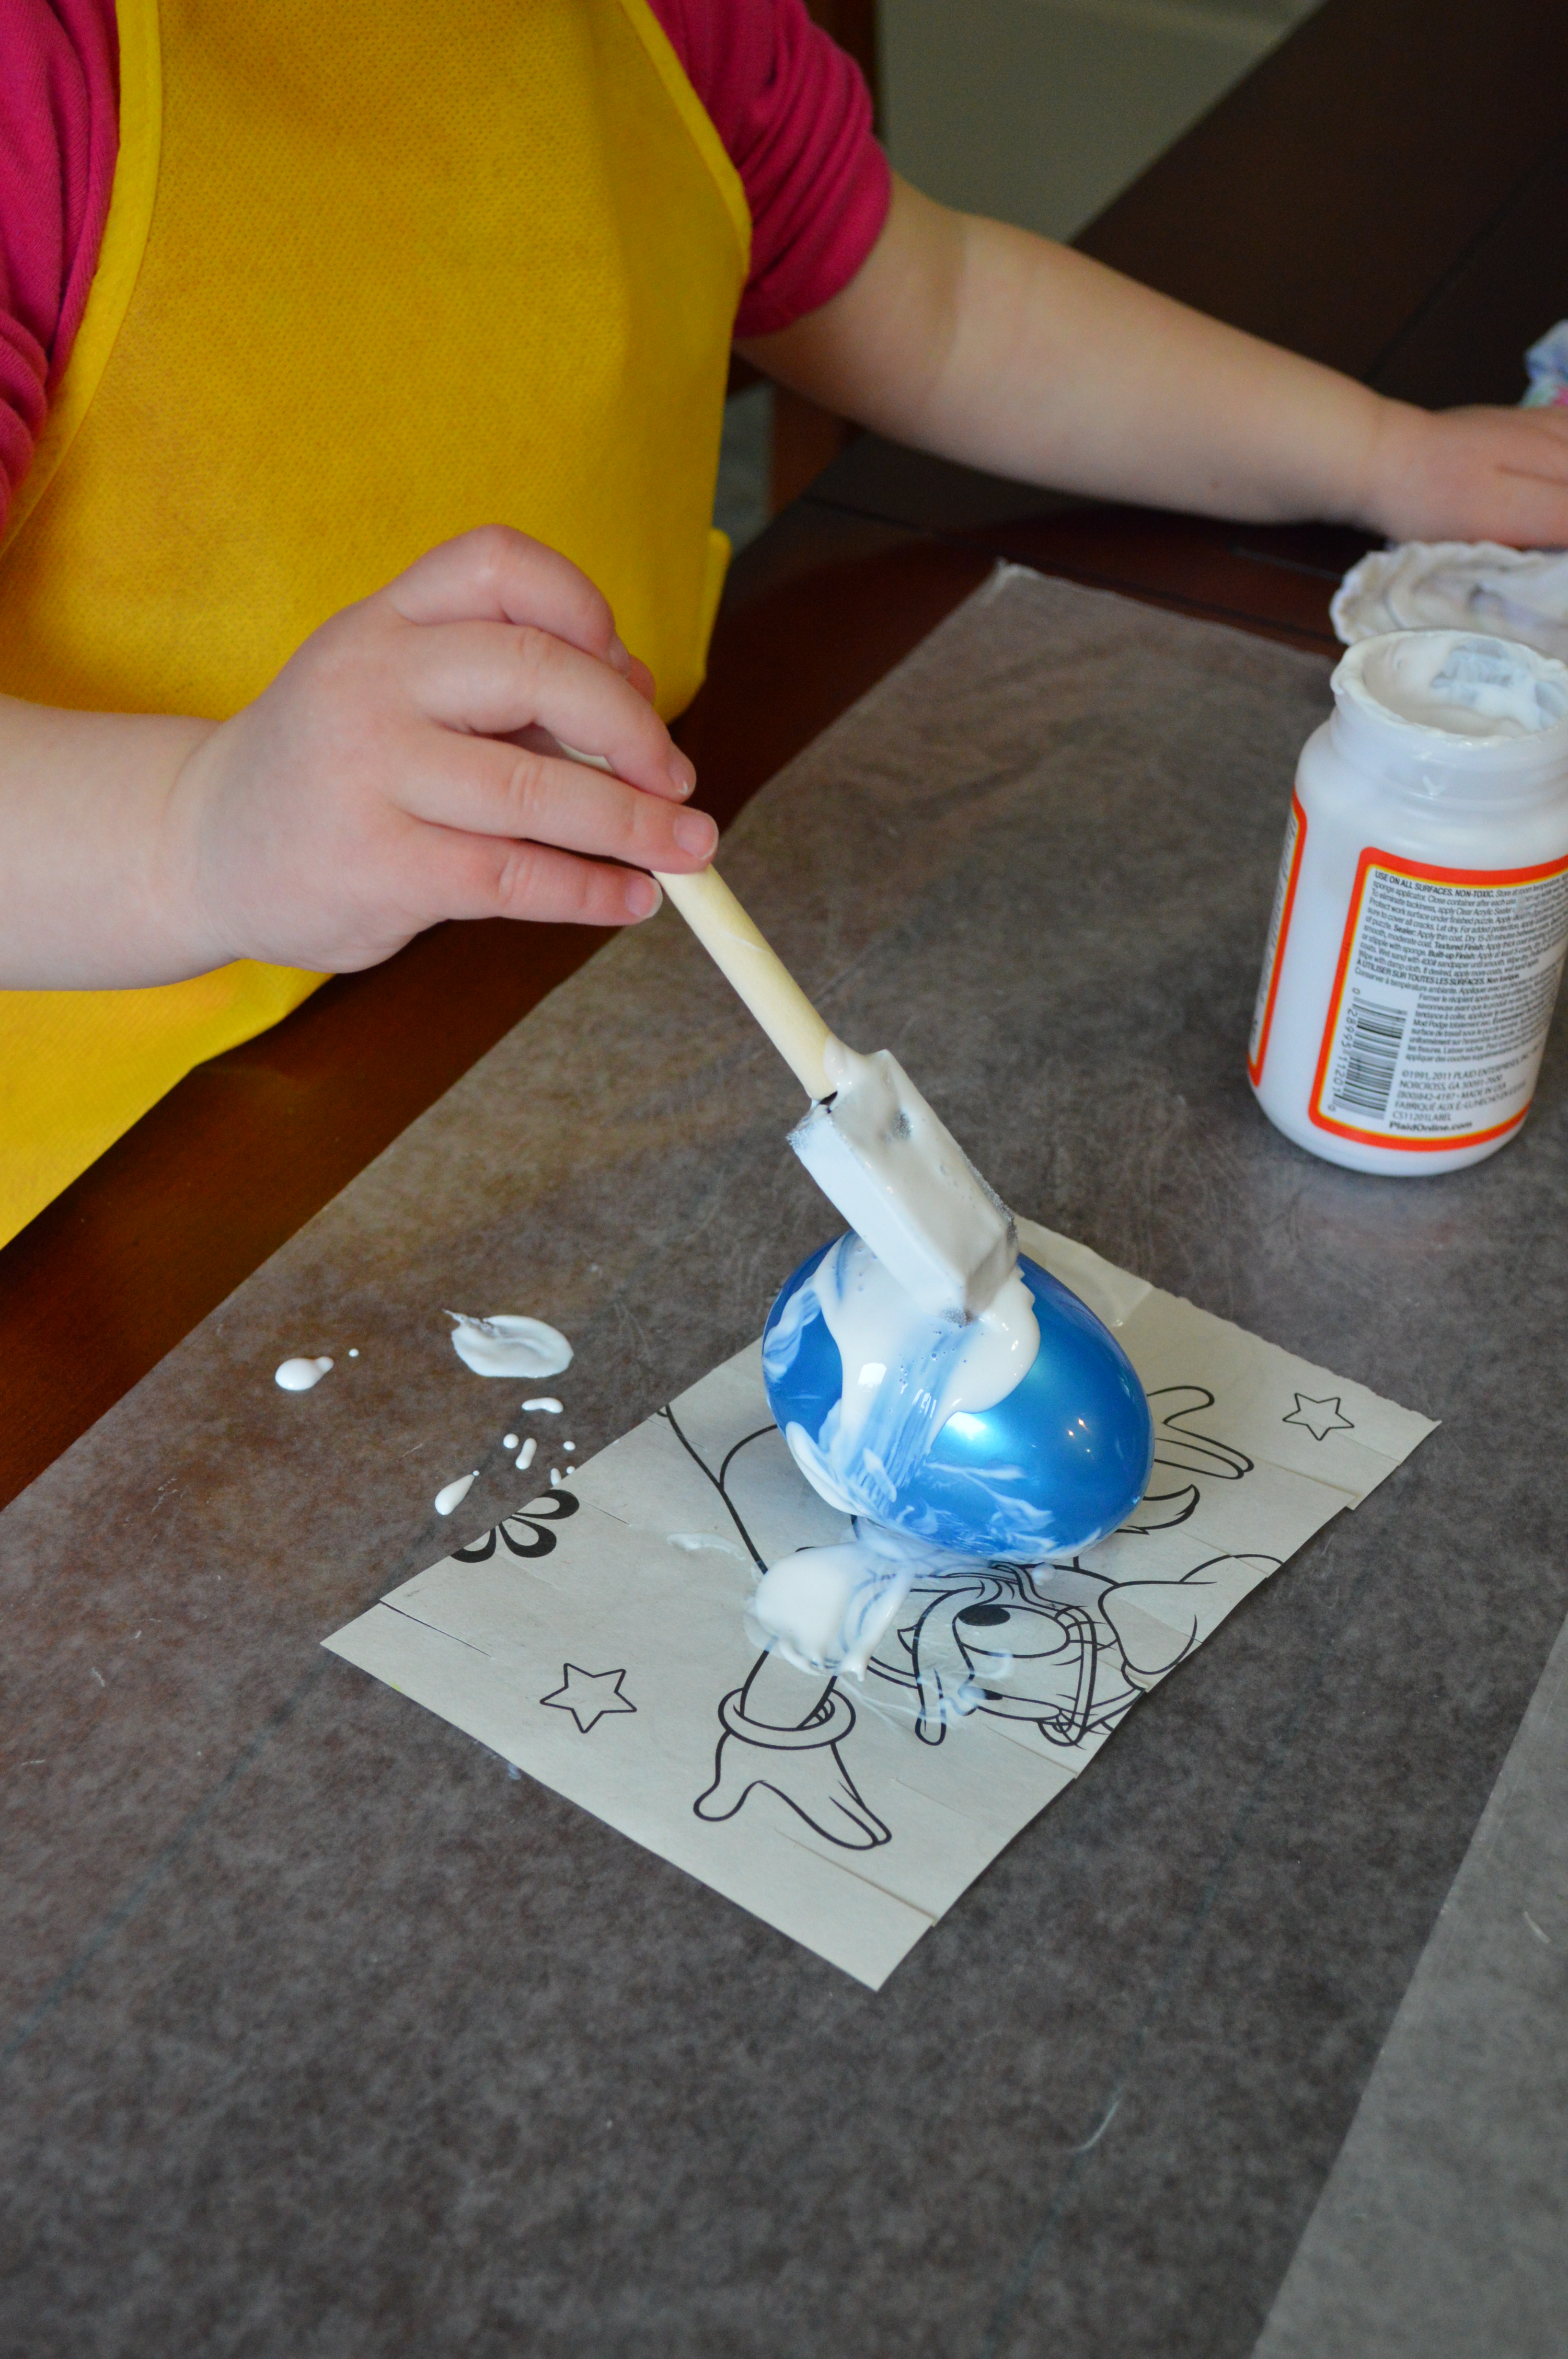
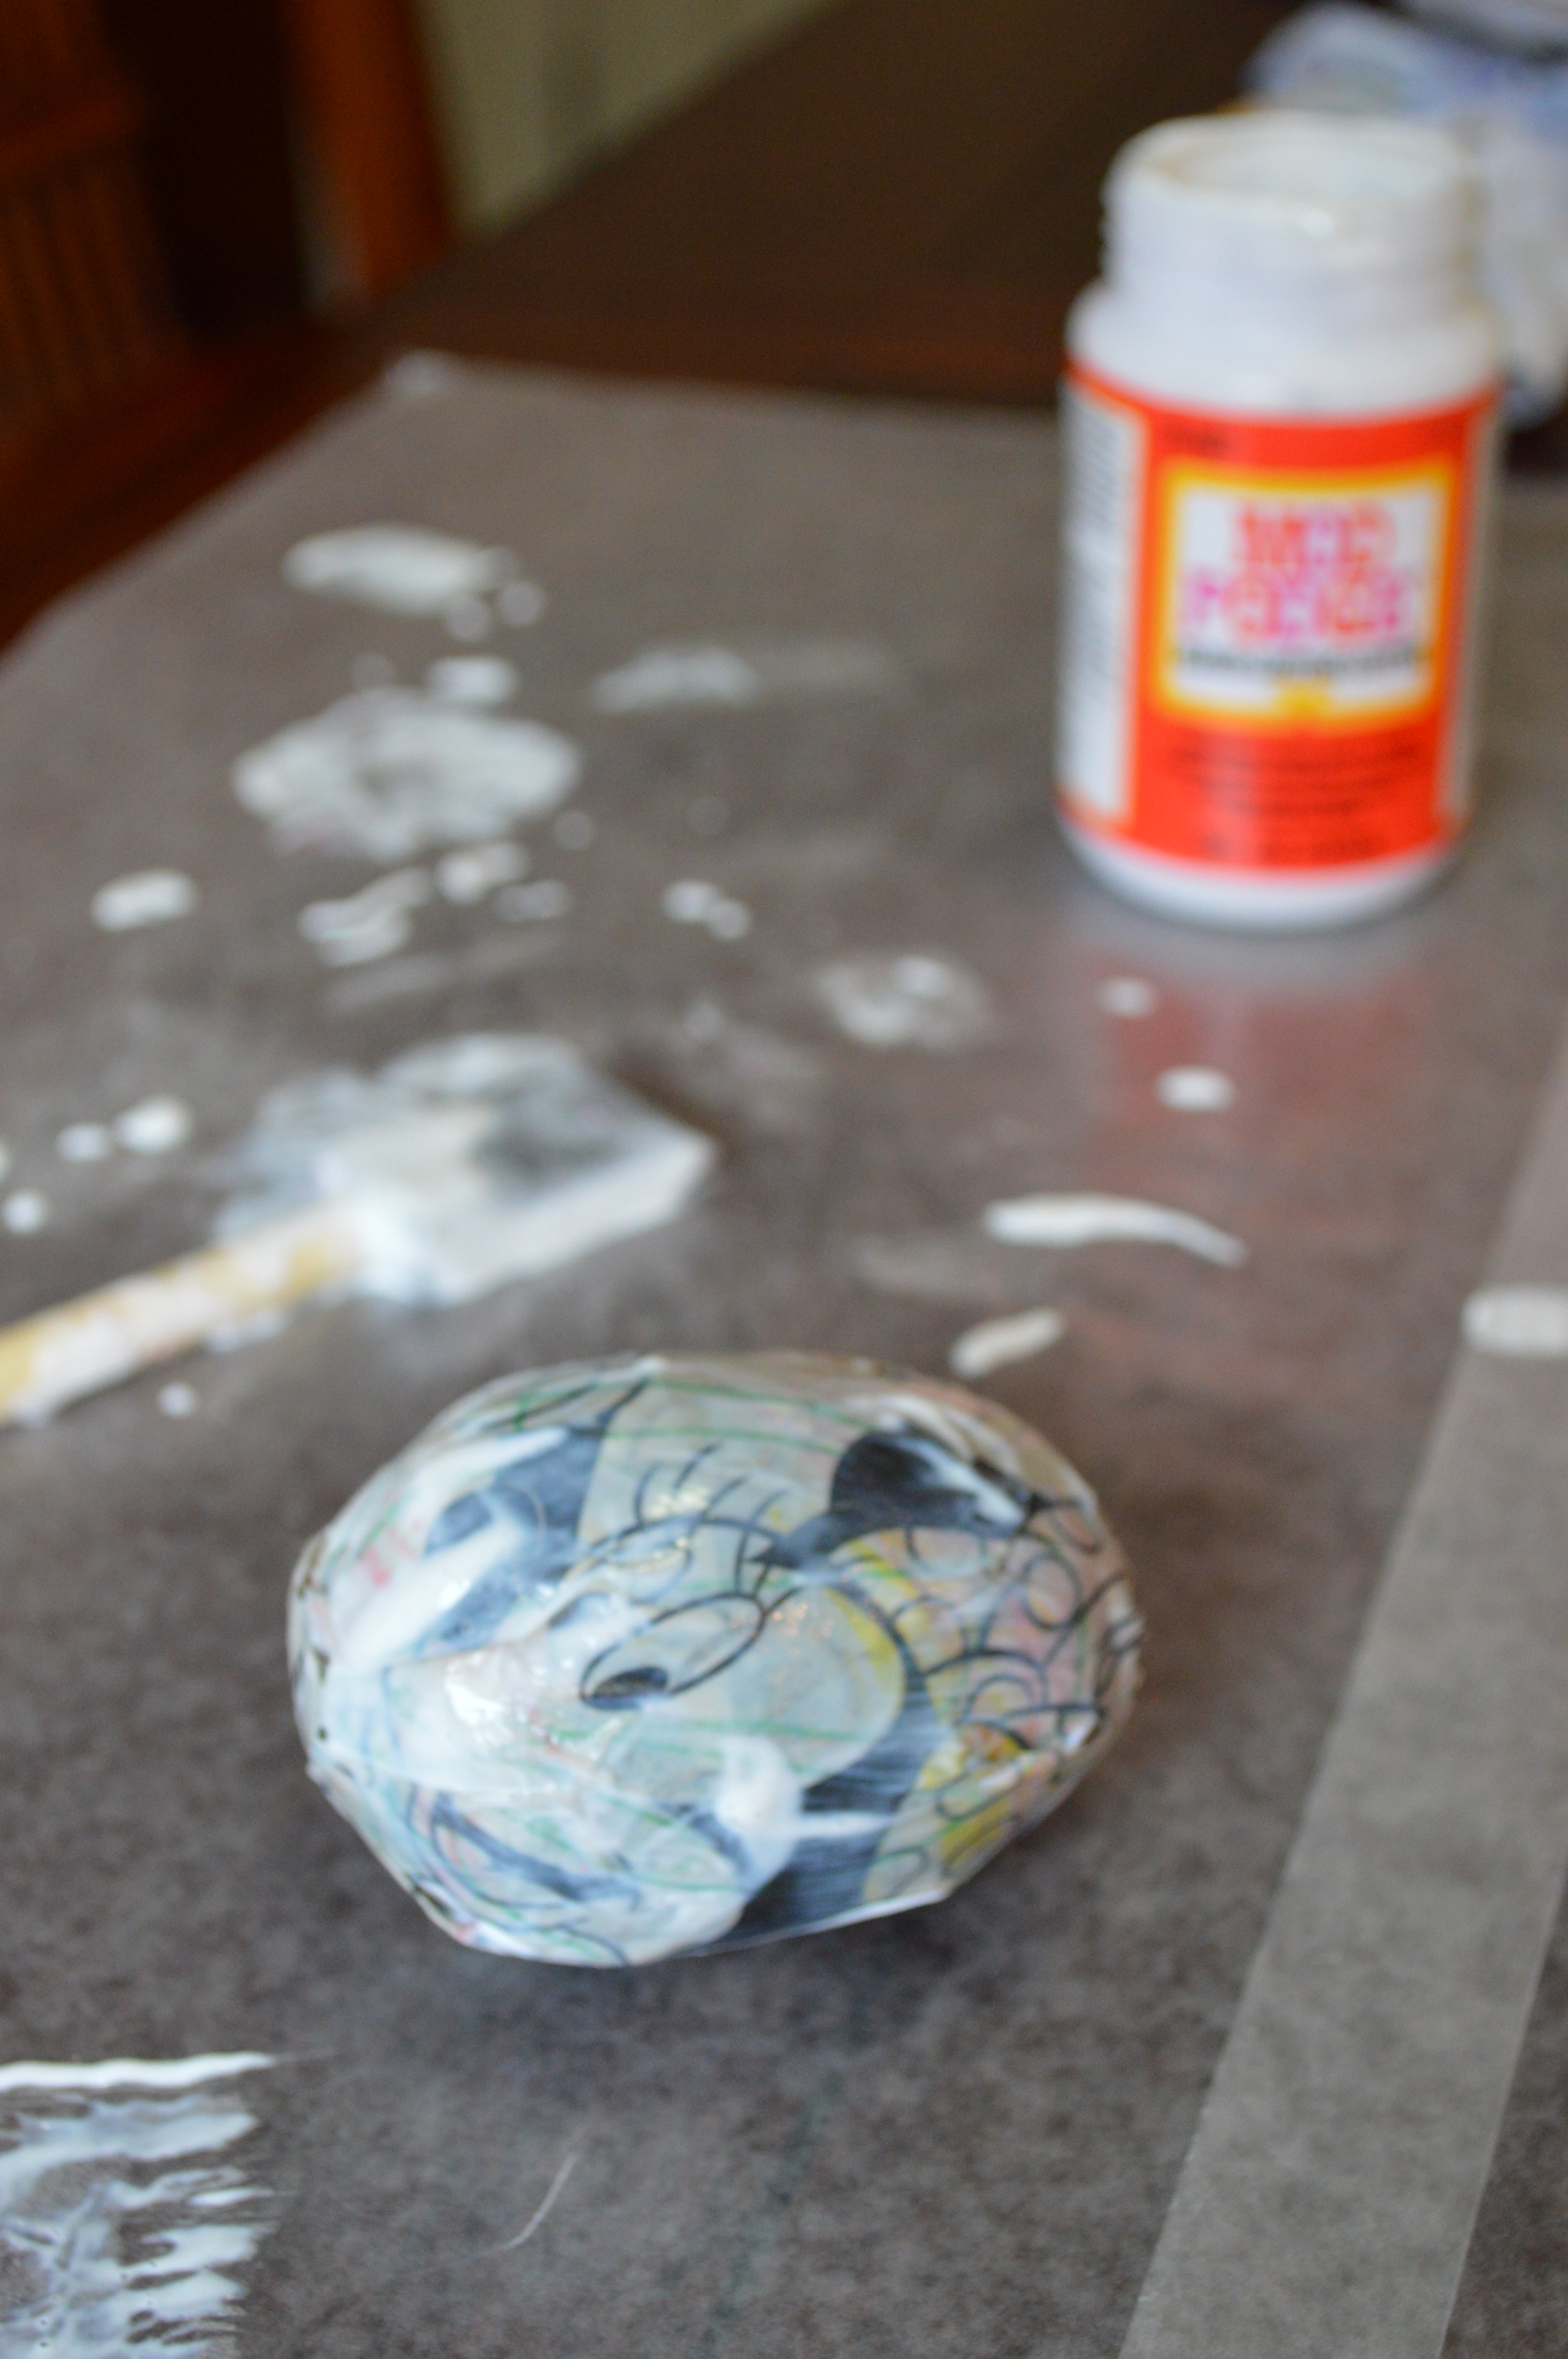
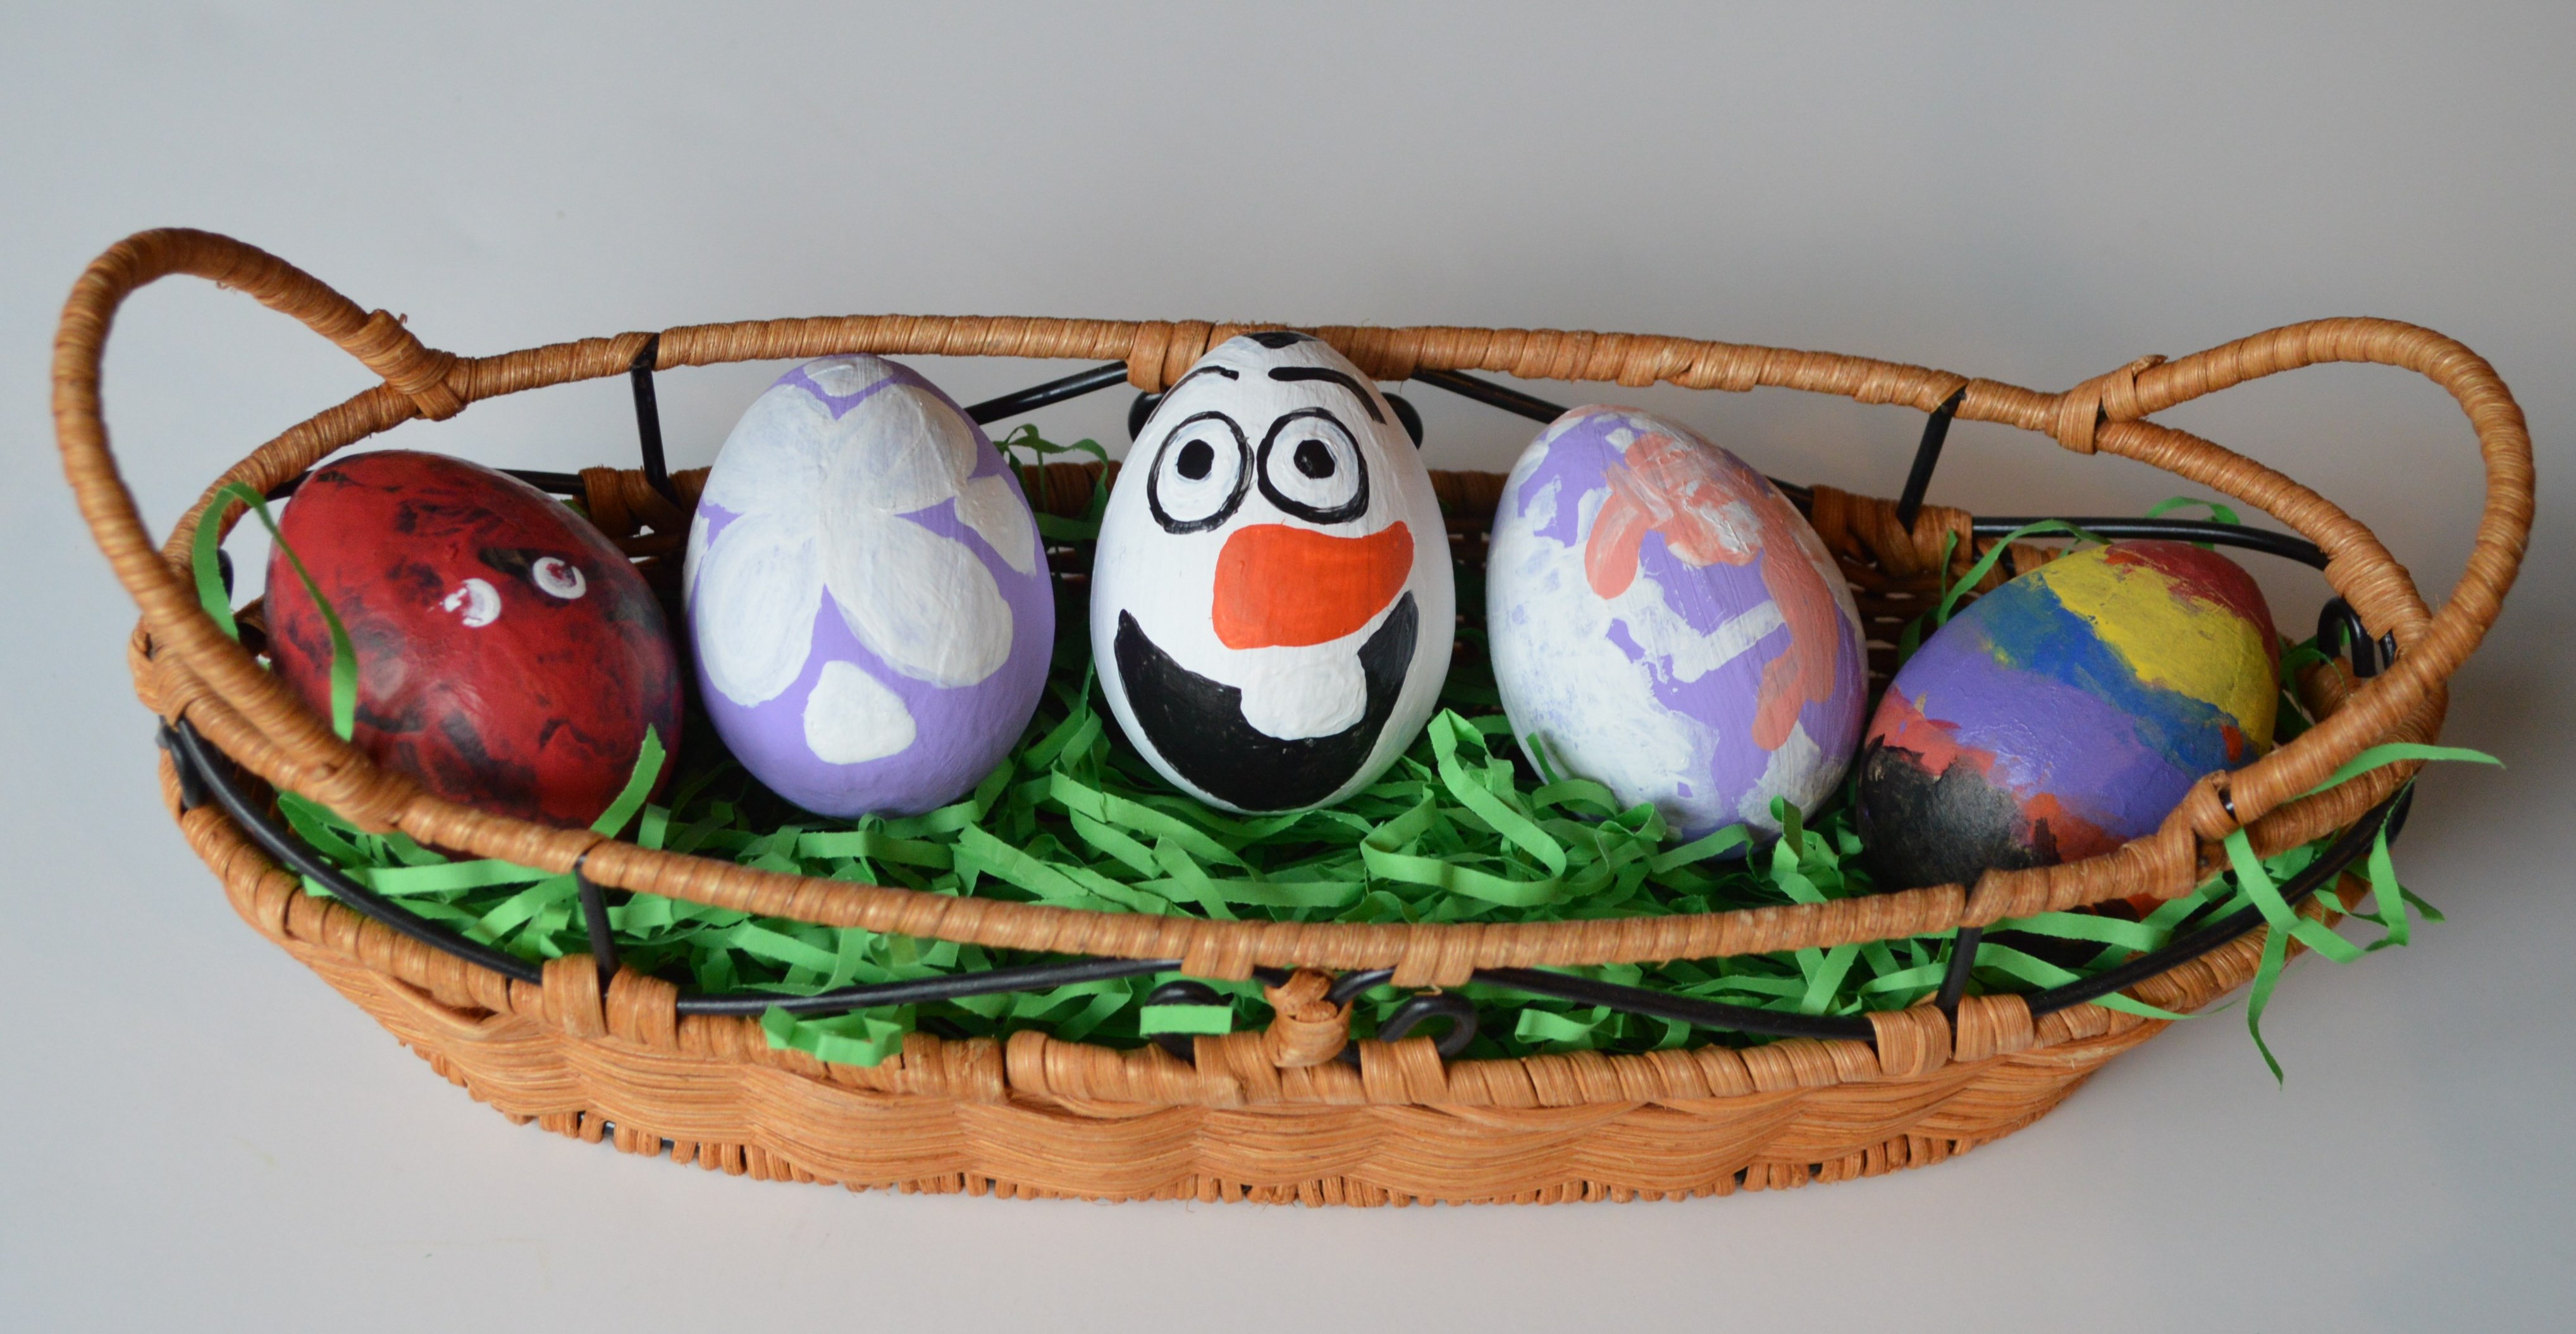
As with previous years, the kids and I had a blast dying eggs with Grandma.  It’s a shame that despite all the hard work that went into decorating the eggs, they will be gone in a few short days.  So this year I scheduled an additional egg decorating activity for the kids to make eggs that we will be able to keep for years.  I purchased these craft eggs at our local Michael’s Craft Store.  I laid out some newspaper, wax paper, paint and Q-Tips and let the kids have some fun.  Having small children work with non-breakable eggs really is a great idea.  The eggs fell on the floor a few times and it saved quite a few tears when my son saw that they had survived the multiple falls!

Easter Eggs 003
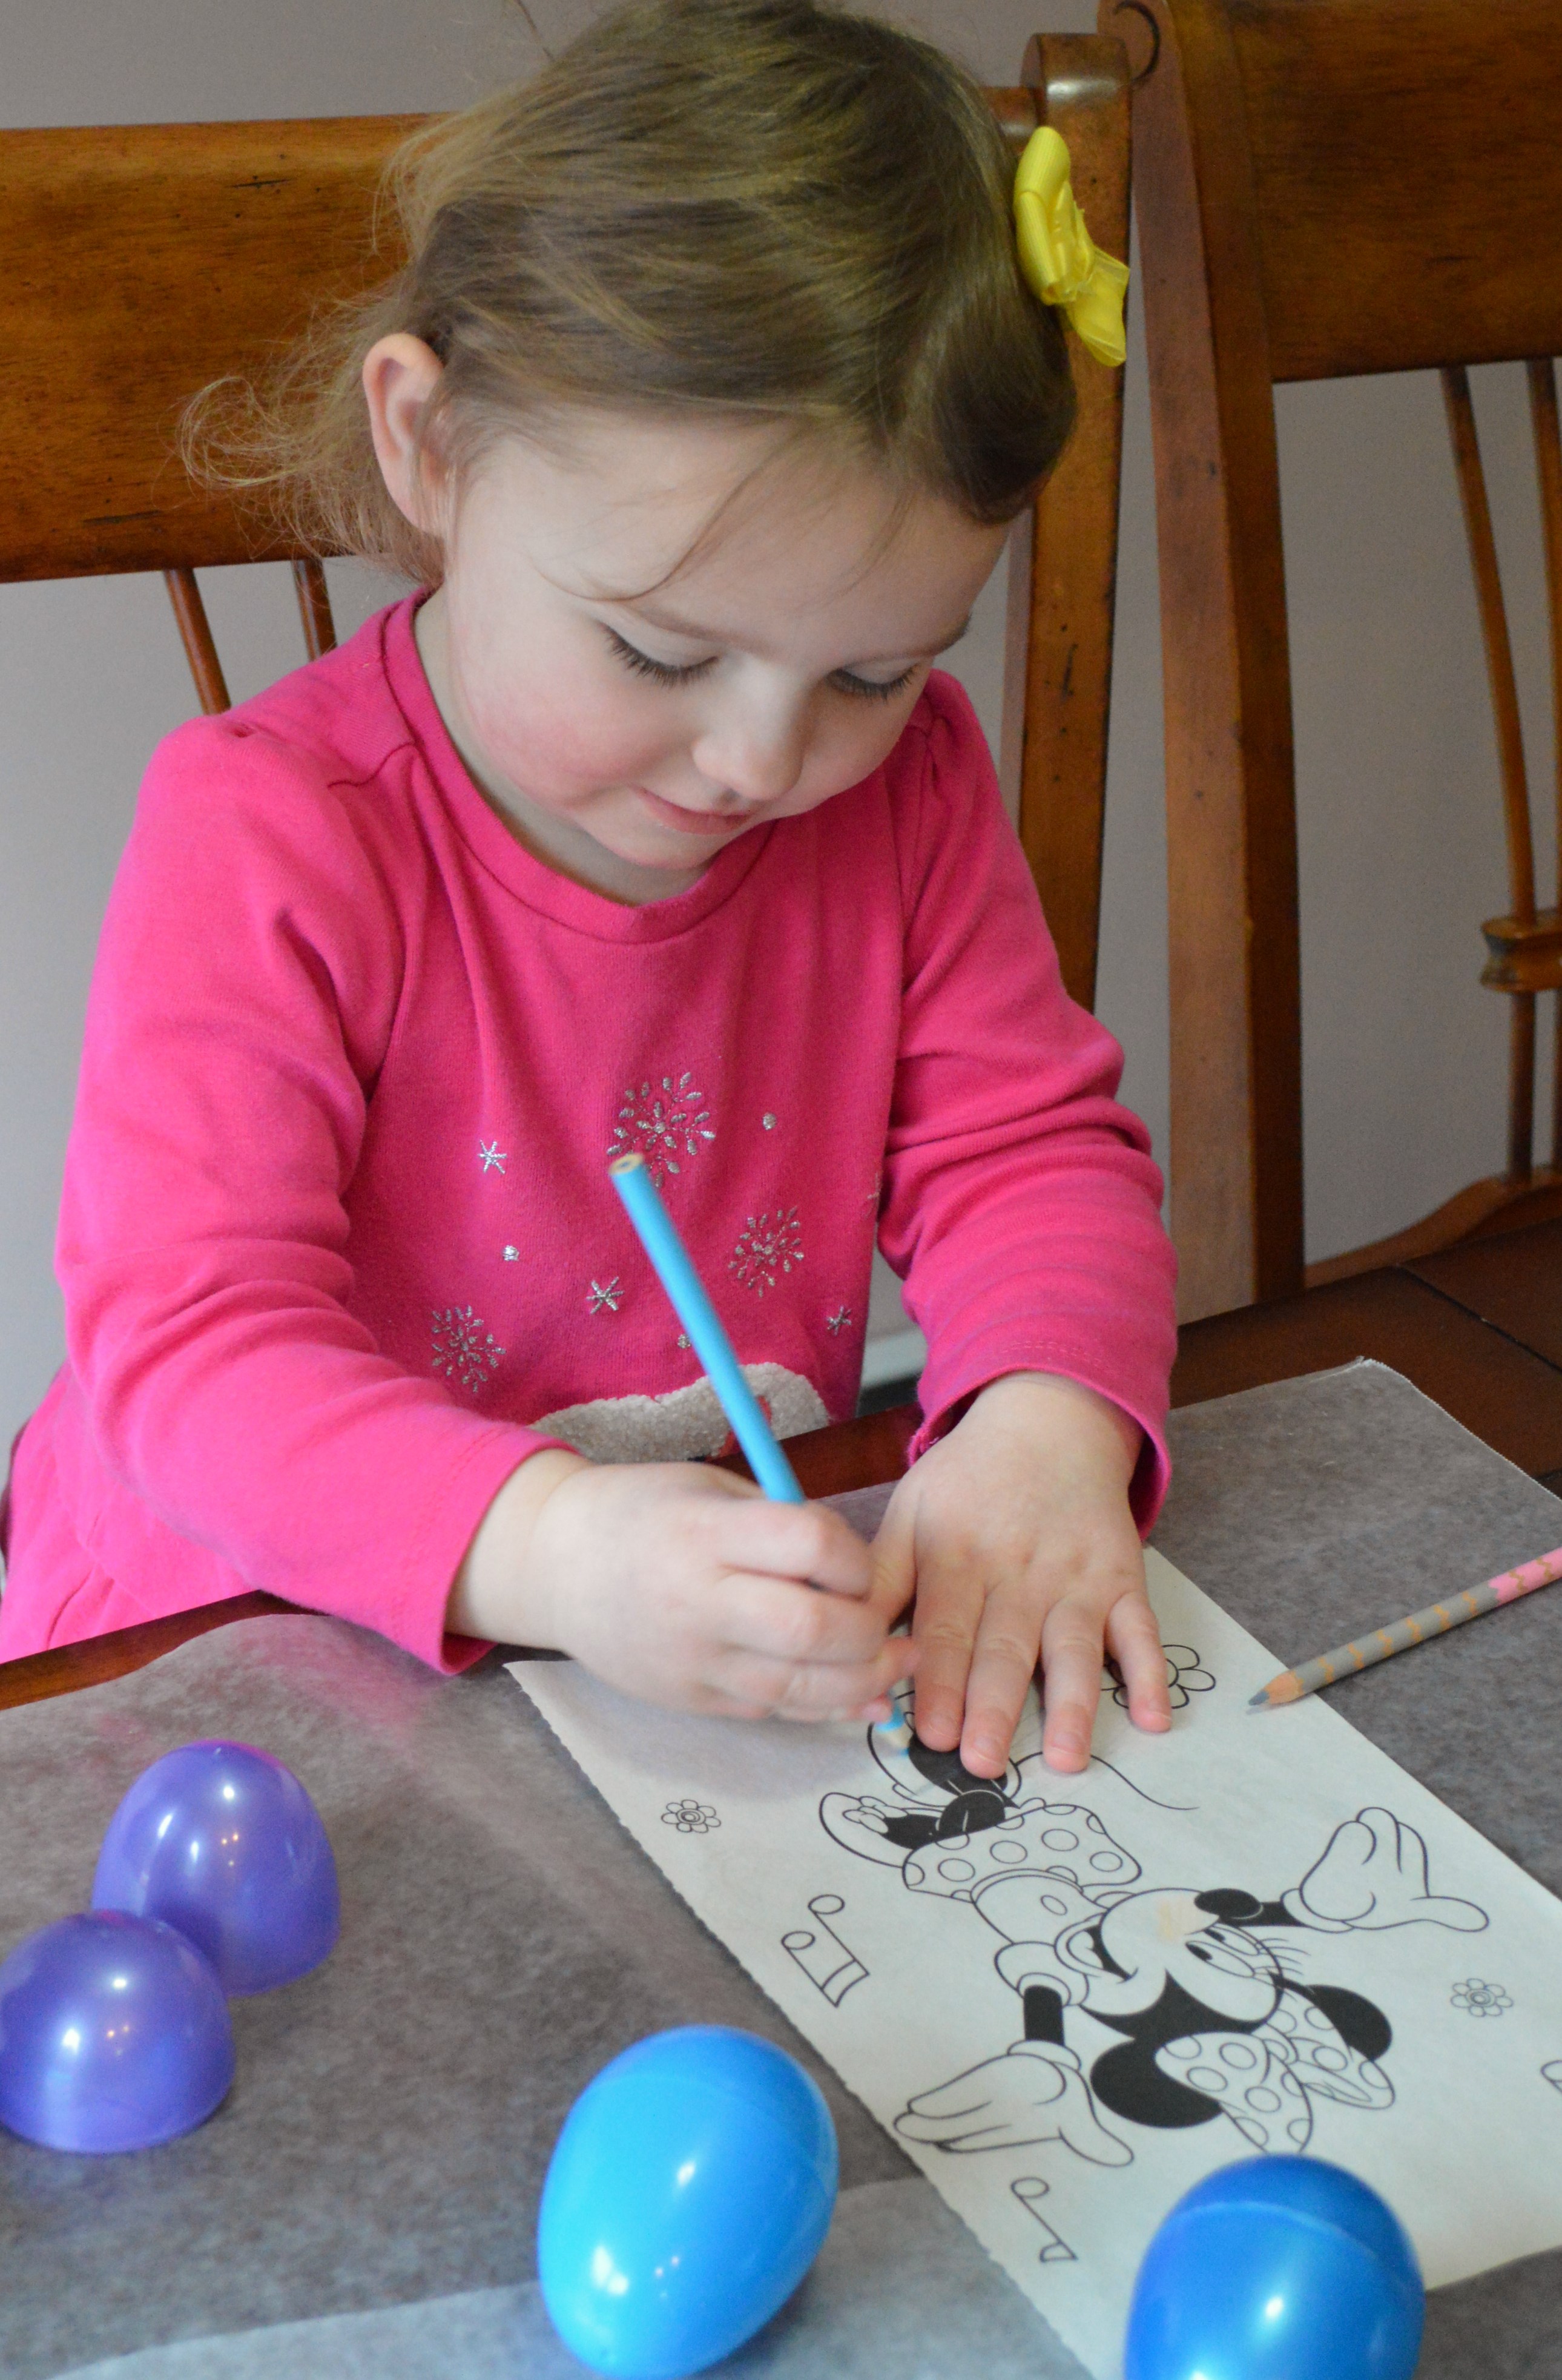
This Q-Tip project is perfect for young children, like my 6-year-old son and 2-year-old daughter.

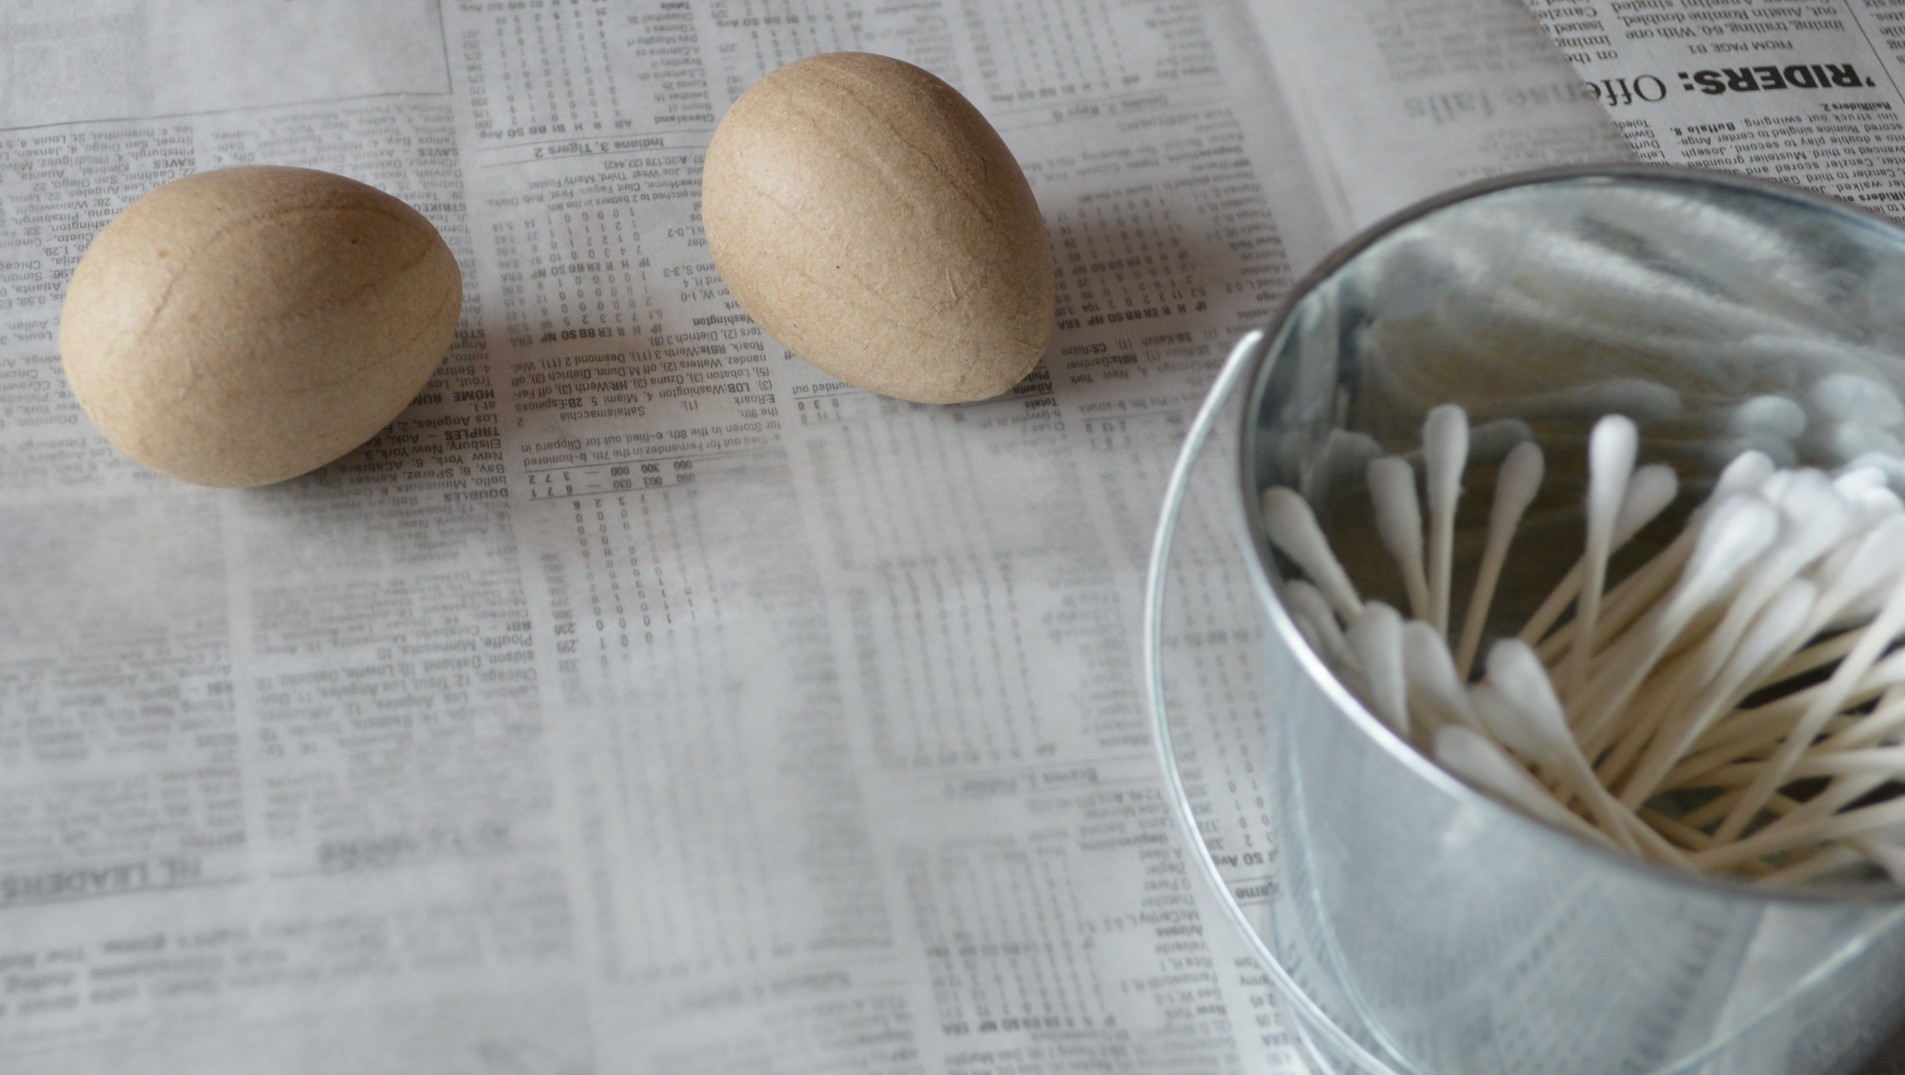
Here are the reasons that I love to have my children paint with Q-Tips.  First, LESS MESS.  Painting with kids is messy.  Giving a child a tiny little cotton swab to use for painting alleviates the potential mess that could come with having a regular paint brush in the set of destructive little hands.

Easter Eggs 008Second, painting with Q-Tips allows for QUICK CLEAN UP…if there is such a thing with kids.  Once the kids were finished, I simply picked up the Q-Tips and threw them away.  I  enjoyed not having to clean the brushes after the project was over.  Take a glimpse of just some of the Q-Tips that were used in decorating six eggs!

Disney character inspired eggs Q-Tip painting

Have you figured out what characters we’ve modeled our painted eggs after? Victoria worked on a pretty Sophia the First purple egg.  She tried her best to draw the white on her dress, so the other purple dress is my attempt to make a Sophia dress design.  Gavin’s red and black egg is a Mickey Mouse inspired egg.  Any guesses as to whom the silly one in the middle is themed after?

Happy Egg Decorating!

Thumper’s Bunny Feet Cake Pops

Bunny FeetDuring the last few months of winter, the kids and I have been digging into the movie drawers in our living room.  Each weekend we take one evening to have a Disney movie night.  Sometimes we watch a newly released Disney film, but most of the time I like to recommend three movies from the Disney vault and let the kids pick which one they want to watch.  During the month of April the movie Bambi is at the top of my must view list.   From the “Drip Drip Drop” of the  “Little April Showers” outside, to the celebration of rebirth, I think this movie is a perfect choice to welcome in Spring.  As an added bonus, it stars one of Disney’s most famous bunnies, Thumper!  I used these two Thumper books as references for making these pops look a bit like his feet.  The books really get a work out during the Easter season in our house.  On a side note, if you have a toddler in your house, I’d highly recommend the “Disney Bunnies” books!  You can find three of the “Disney Bunnies” books by clicking on the Disney Store logo on the side bar.  It will take you to the Disney Store site.  Once you’re there search for toddler books and you’ll find them.

bunny feet 010

To make our movie night extra special, I like to make the kids a themed treat.  These bunny feet cake pops were inspired by Thumper’s oversized thumping paws.  As with all of the treats I make, these are super simple to make.  I have to warn you, they’re packed full of sugar so I’d only recommend them for a special treat and not an everyday snack.  If you’d like to make them for your little bunnies, here’s how!

bunny feet 006

Supplies:

  • bright white Wilton candy melts
  • vanilla candy melts
  • black food coloring
  • cookie pop sticks
  • pink jelly beans
  • Tastykake Dreamies Crème Kakes

bunny feet 013

Melt bright white Wilton candy melts in a shallow microwave safe pan.  The pan that I used is a Pampered Chef melting tray.  Once melted add some black food coloring to create the light shade of gray for the top of Thumper’s feet.

bunny feet 014

Tilt the pan so that all of the melted chocolate is on one end.  Place the rounded top of the Crème Kake down into the corner of the pan.  Roll the top of the cake back and forth to cover the top and half of the sides of the cake with gray chocolate.  Insert one of the pop sticks half way through the cake.  This will help you take it out of the pan.   The photo below shows you what the end result of this step will look like.  Allow the chocolate to harden before moving onto the next step.

bunny feet 021

Once the chocolate on the cake is hardened, add vanilla candy melts to your remaining gray chocolate and melt the combination.  The yellow color of the vanilla melts will give the gray chocolate a brown tint for the bottom of the feet.

bunny feet 023

Holding the top of the cake, dip the bottom of the foot and the bottom of the sides in the brown tinted color chocolate.  Next, lay the bunny feet top side down on wax paper, so that the bottom of his foot is facing up.  While the chocolate is still warm, add the jelly beans to create the paw effect.  Allow the jelly beans to harden on the chocolate and you’re done!

If you’ve made these for a later date, be sure to store the pops in an air tight container to keep their freshness or if you’re giving them away for an Easter treat, wrap the pops in plastic and secure with a bow.

Have you made any bunny-inspired treats this spring?  I’d love for you to share them!  If you’re a blogger, feel free to add the link to your bunny-inspired treat in the comments section below.

I love all of Thumper’s little statements in the film Bambi.  Today, I’ll leave you with these wise words that Thumper learned from his father:

“If you can’t say something nice, don’t say nothing at all.”

Thumper is such a smart little bunny.

Thumper-Inspired Easter Garland

Easter Garland

When I think of Spring and the Easter season, I think of my favorite Disney bunny, Thumper.  His thumping feet, big fluffy tail and twitching pink nose made me fall in love with him as a little girl.  He’s so adorable!  Couldn’t you just squeeze him?

I’m not the only bunny fan in our home.  My daughter, Victoria, loves rabbits, aka “Hop Hops”.  She has a couple Thumper books that we enjoy reading. Our favorite one is a sweet “Touch-and-Feel” board book, called Thumper’s Fluffy Tail.  To say the least, she’s pretty taken by Thumper too.  Today I decided to make Victoria a “Thumper-Inspired” Easter garland for her bedroom.  Her room is filled with a variety of pinks and whites.  I thought the brown of burlap and the gray and white of Thumper would coordinate nicely in her room and I knew she would love to see little bunnies hopping across her window!

This garland is an easy, quick and inexpensive way to add a touch of spring, Disney-Inspired of course, to any room of your house.  Here’s how I made it!

mom's birthday and easter banner 017Supplies

You’ll need burlap toile, a marker, black and white paint, a Wilton bunny cookie cutter, adhesive, and ribbon.  I used Fabri-Tac for my adhesive and a 5/8 inch grosgrain stitch ribbon for my garland.

mom's birthday and easter banner 023

Iron the burlap, measure, mark and cut out five triangle flags.

The burlap toile that I purchased was 18″ x 24″.  I had enough material to cut all five, 8″ wide, triangles and have material left over.

Wilton cookie cutter on burlap

Using a rabbit cookie cutter for a template, paint the gray-bodied rabbits onto the burlap.

This cookie cutter is a Wilton cookie cutter.  Wilton sells at least one other rabbit cookie cutter.  I chose this one because it reminded me of little Thumper.

In addition, when you’re looking at my photo you can see I used wax paper underneath the burlap while I was painting.  Just a bit of hard knowledge that I learned, double up on the wax paper because the paint can seep through onto your work surface.

mom's birthday and easter banner 029

After the gray paint has dried on all five flags, add Thumper’s white tail to each.

I have to tell you that I got a bit impatient and brought out the blow dryer to move the project along.

mom's birthday and easter banner 031Once the paint has dried, glue ribbon to the top of each flag to create your garland.

"Thumper Inspired" bunny garland  It’s that simple!

I’m really pleased with the results, especially for the minimal amount of effort it took to complete this craft.  It looks great in my daughter’s room and I think it would work perfectly in a baby’s nursery and especially on a dessert table for Easter! Don’t you agree that there’s something about a dessert table that screams “I need to be decorated!”?

Thanks for stopping by the blog today and remember, “Eating greens is a special treat.  It makes long ears and great big feet.”


Kids Easter Activity: Mod Podge Minnie Mouse Easter Eggs

Mod Podge Easter EggsTo some they’re just scribbles…to others they are works of art.

I love to see my children creating.  I encourage any little creative spark I see within them at that very second I notice them reaching for a crayon.  I try my best to display and not throw away any of their artwork, but coloring sheets can be overwhelming.  Victoria, my two-year old, can go through three sheets in a sitting.  I have to admit that not all of them have made it to the refrigerator display.  Today I decided to channel her love of coloring into creating cute little Easter gifts for members of our family that I know will appreciate them as “Works of Fine Art”!  Here’s how we made them…

Victoria and I began by getting out her Mickey Mouse Clubhouse coloring book.  She picked her favorite coloring sheets of Minnie Mouse and got straight to work.  If you’d like to try this too, any coloring book will do.

Gramma and papa's 092

Once she finished coloring her sheet, I cut the paper down to 4.5 inches from top to bottom and kept the width at its original size.  We used extra-large eggs for this project so the eggs used the entire width of the paper.

Gramma and papa's 104Before we used the Mod Podge, I cut slits into the top and bottom of the sheet.  This allowed the egg to be covered a tiny bit easier.  Then the messiness began, aka Mod Podge.  Victoria took this step very seriously.  Finally the yuck factor became too overwhelming for her and she announced “Mommy, you do, I watch” for the remaining egg.  Gramma and papa's 109

And that’s it!  After the eggs were dried, I hot glued a little pink bow on to each.

Gramma and papa's 111I hope that you enjoyed reading about our Easter Egg craft.  This craft was perfect for my little two-year old, Minnie Mouse fan, but I think it would be a great project for older elementary education kids too!  The ideas for Mod Podge on plastic eggs is endless!

I hope you enjoy your weekend and it’s full of creative fun!