Get out the paper, glue sticks, scissors, ribbon, and cookie cutters, it’s time to beat the snowed-in boredom!
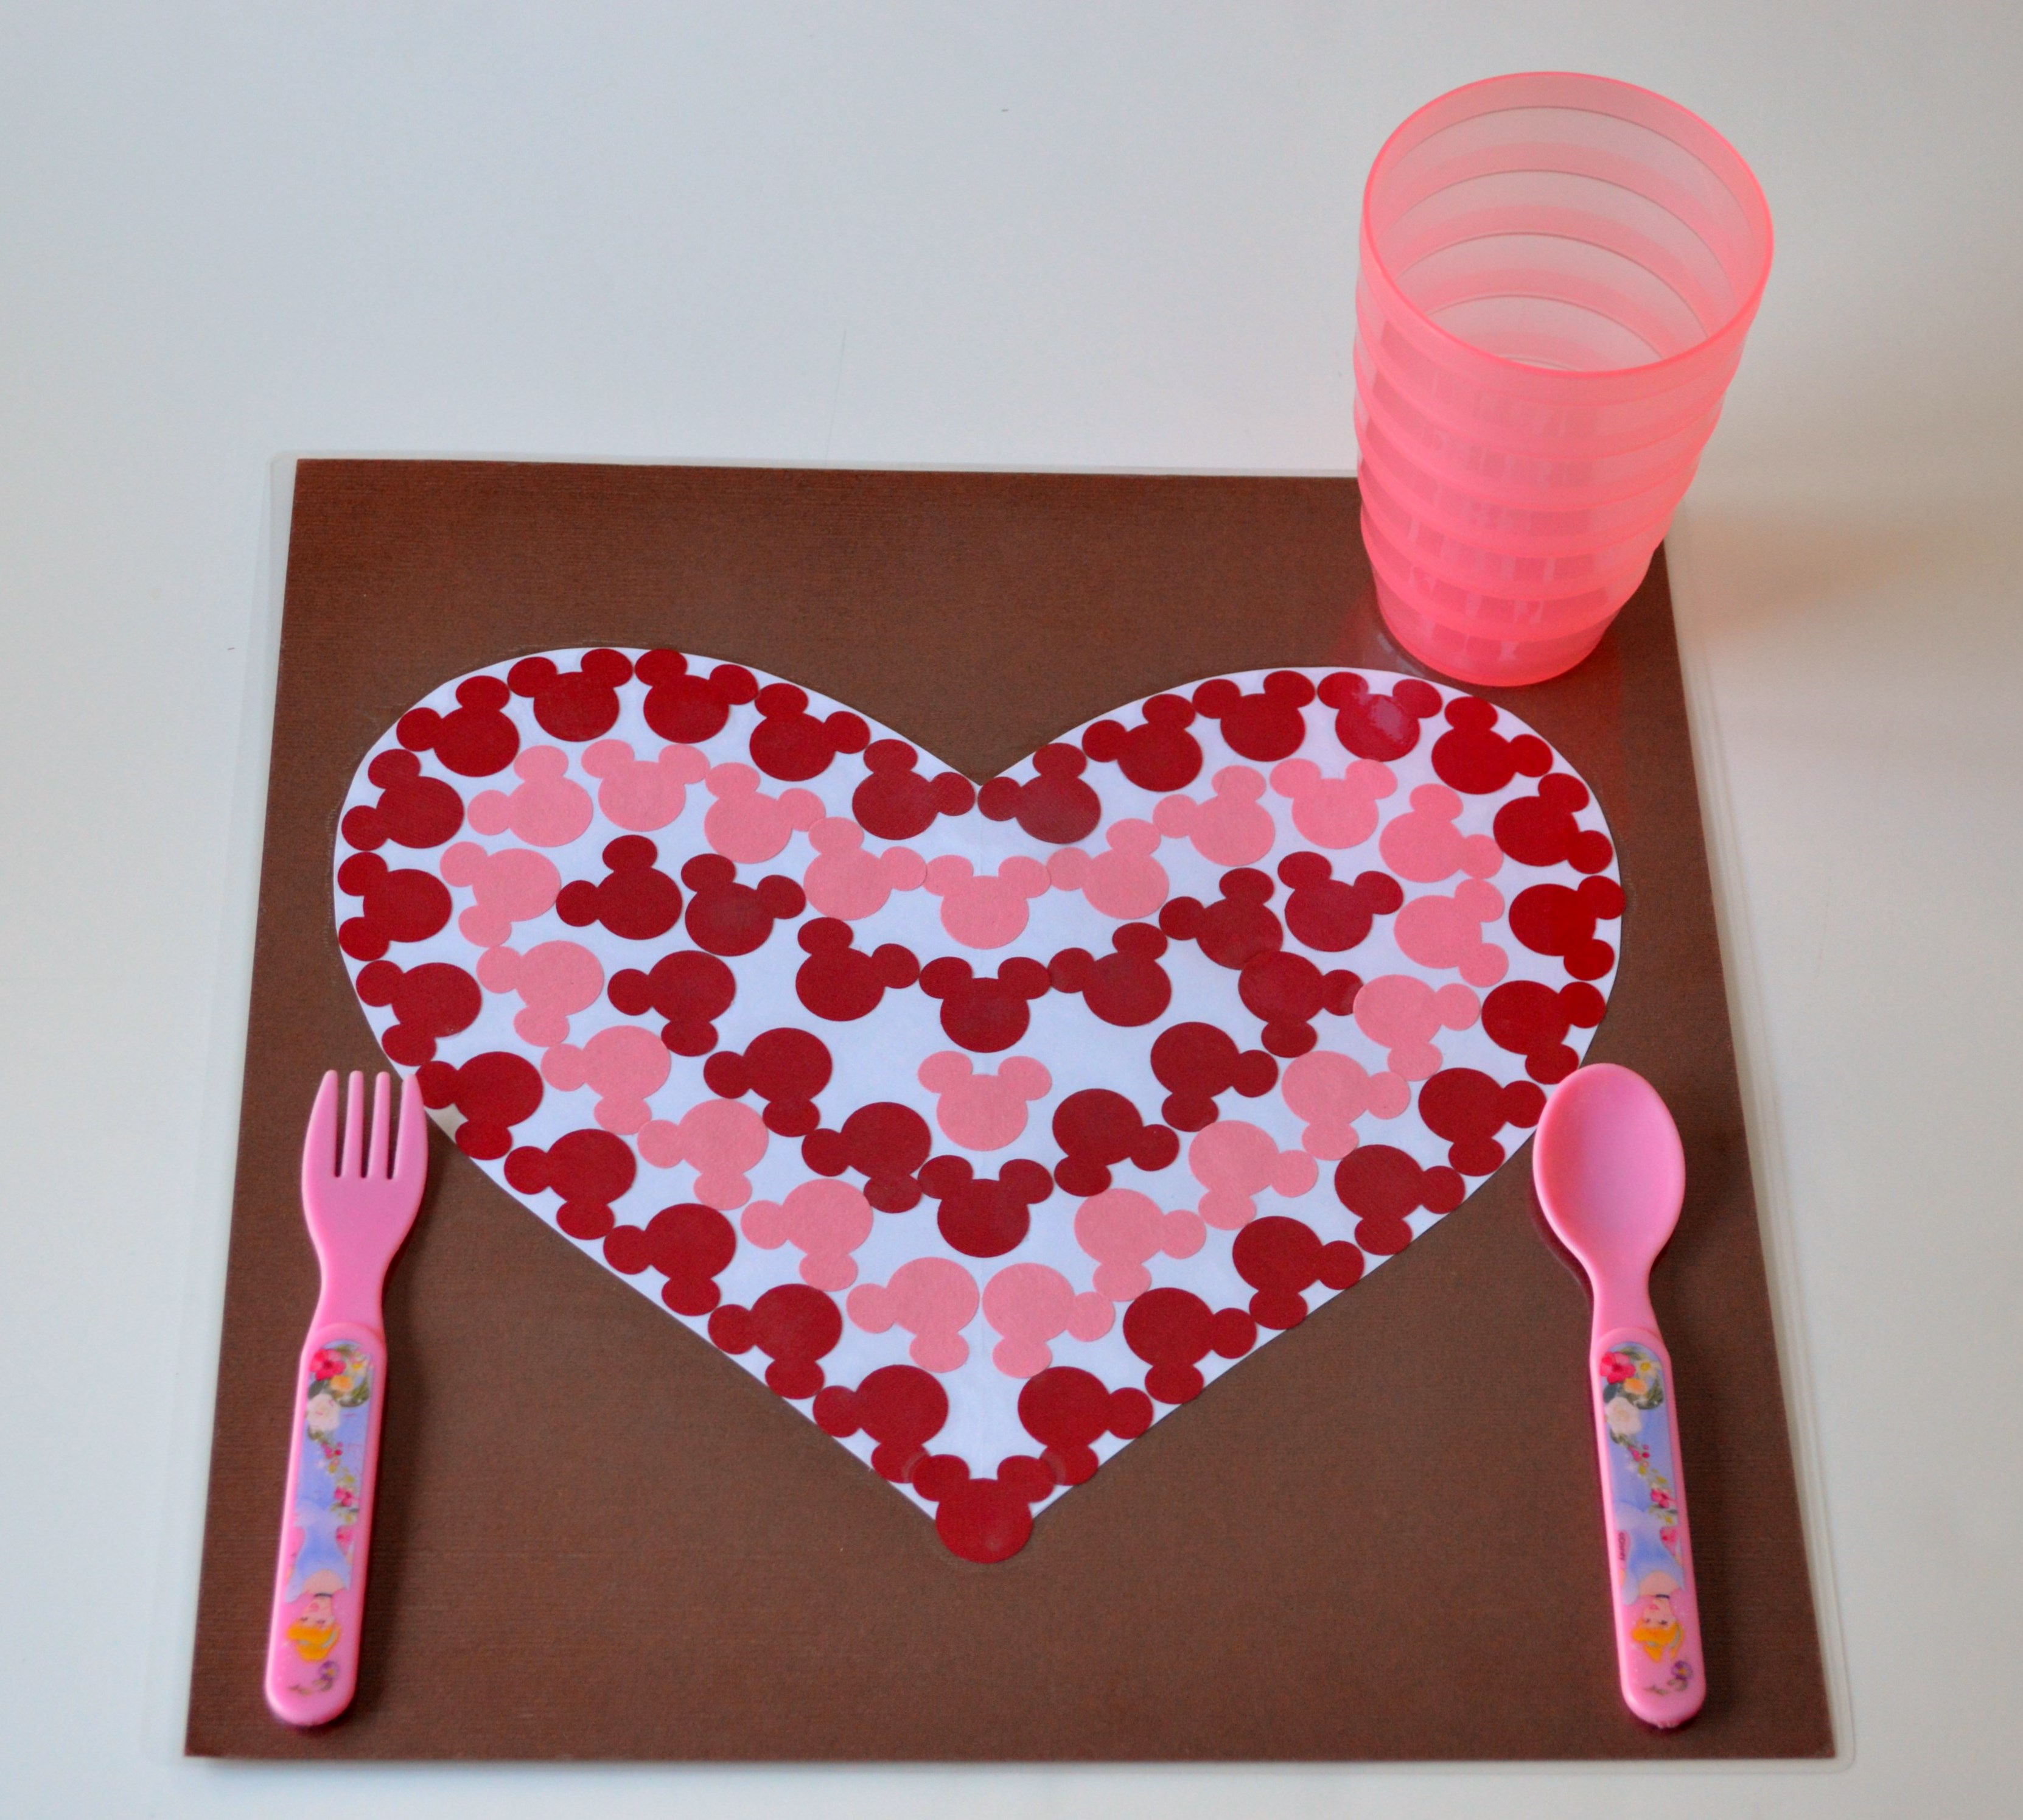
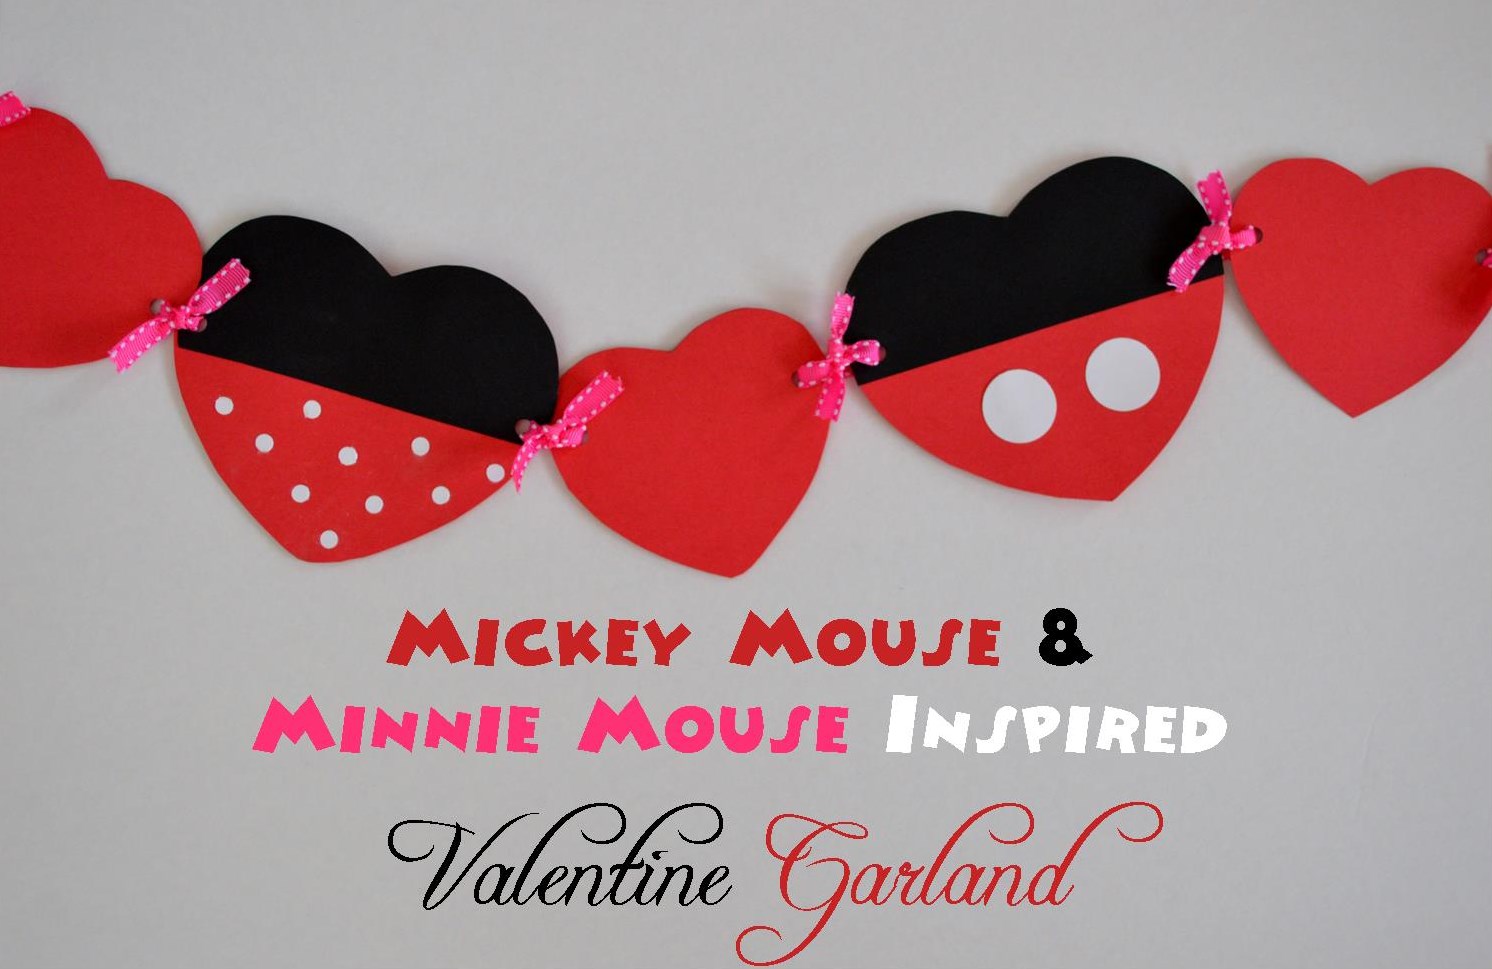
We’ve had quite a few snow days lately. If you have children, then you know that playing in the snow doesn’t fill an entire day for our little Mouseketeers. The kids and I have been occupying that time with some fun Valentine crafts. Today I’m sharing how we made our Mickey and Minnie Mouse inspired valentine garland.
Supplies:
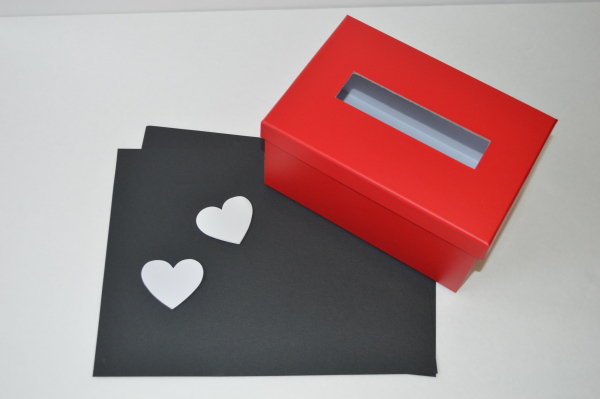
- red cardstock
- black cardstock
- white card stock
- standard hole punch
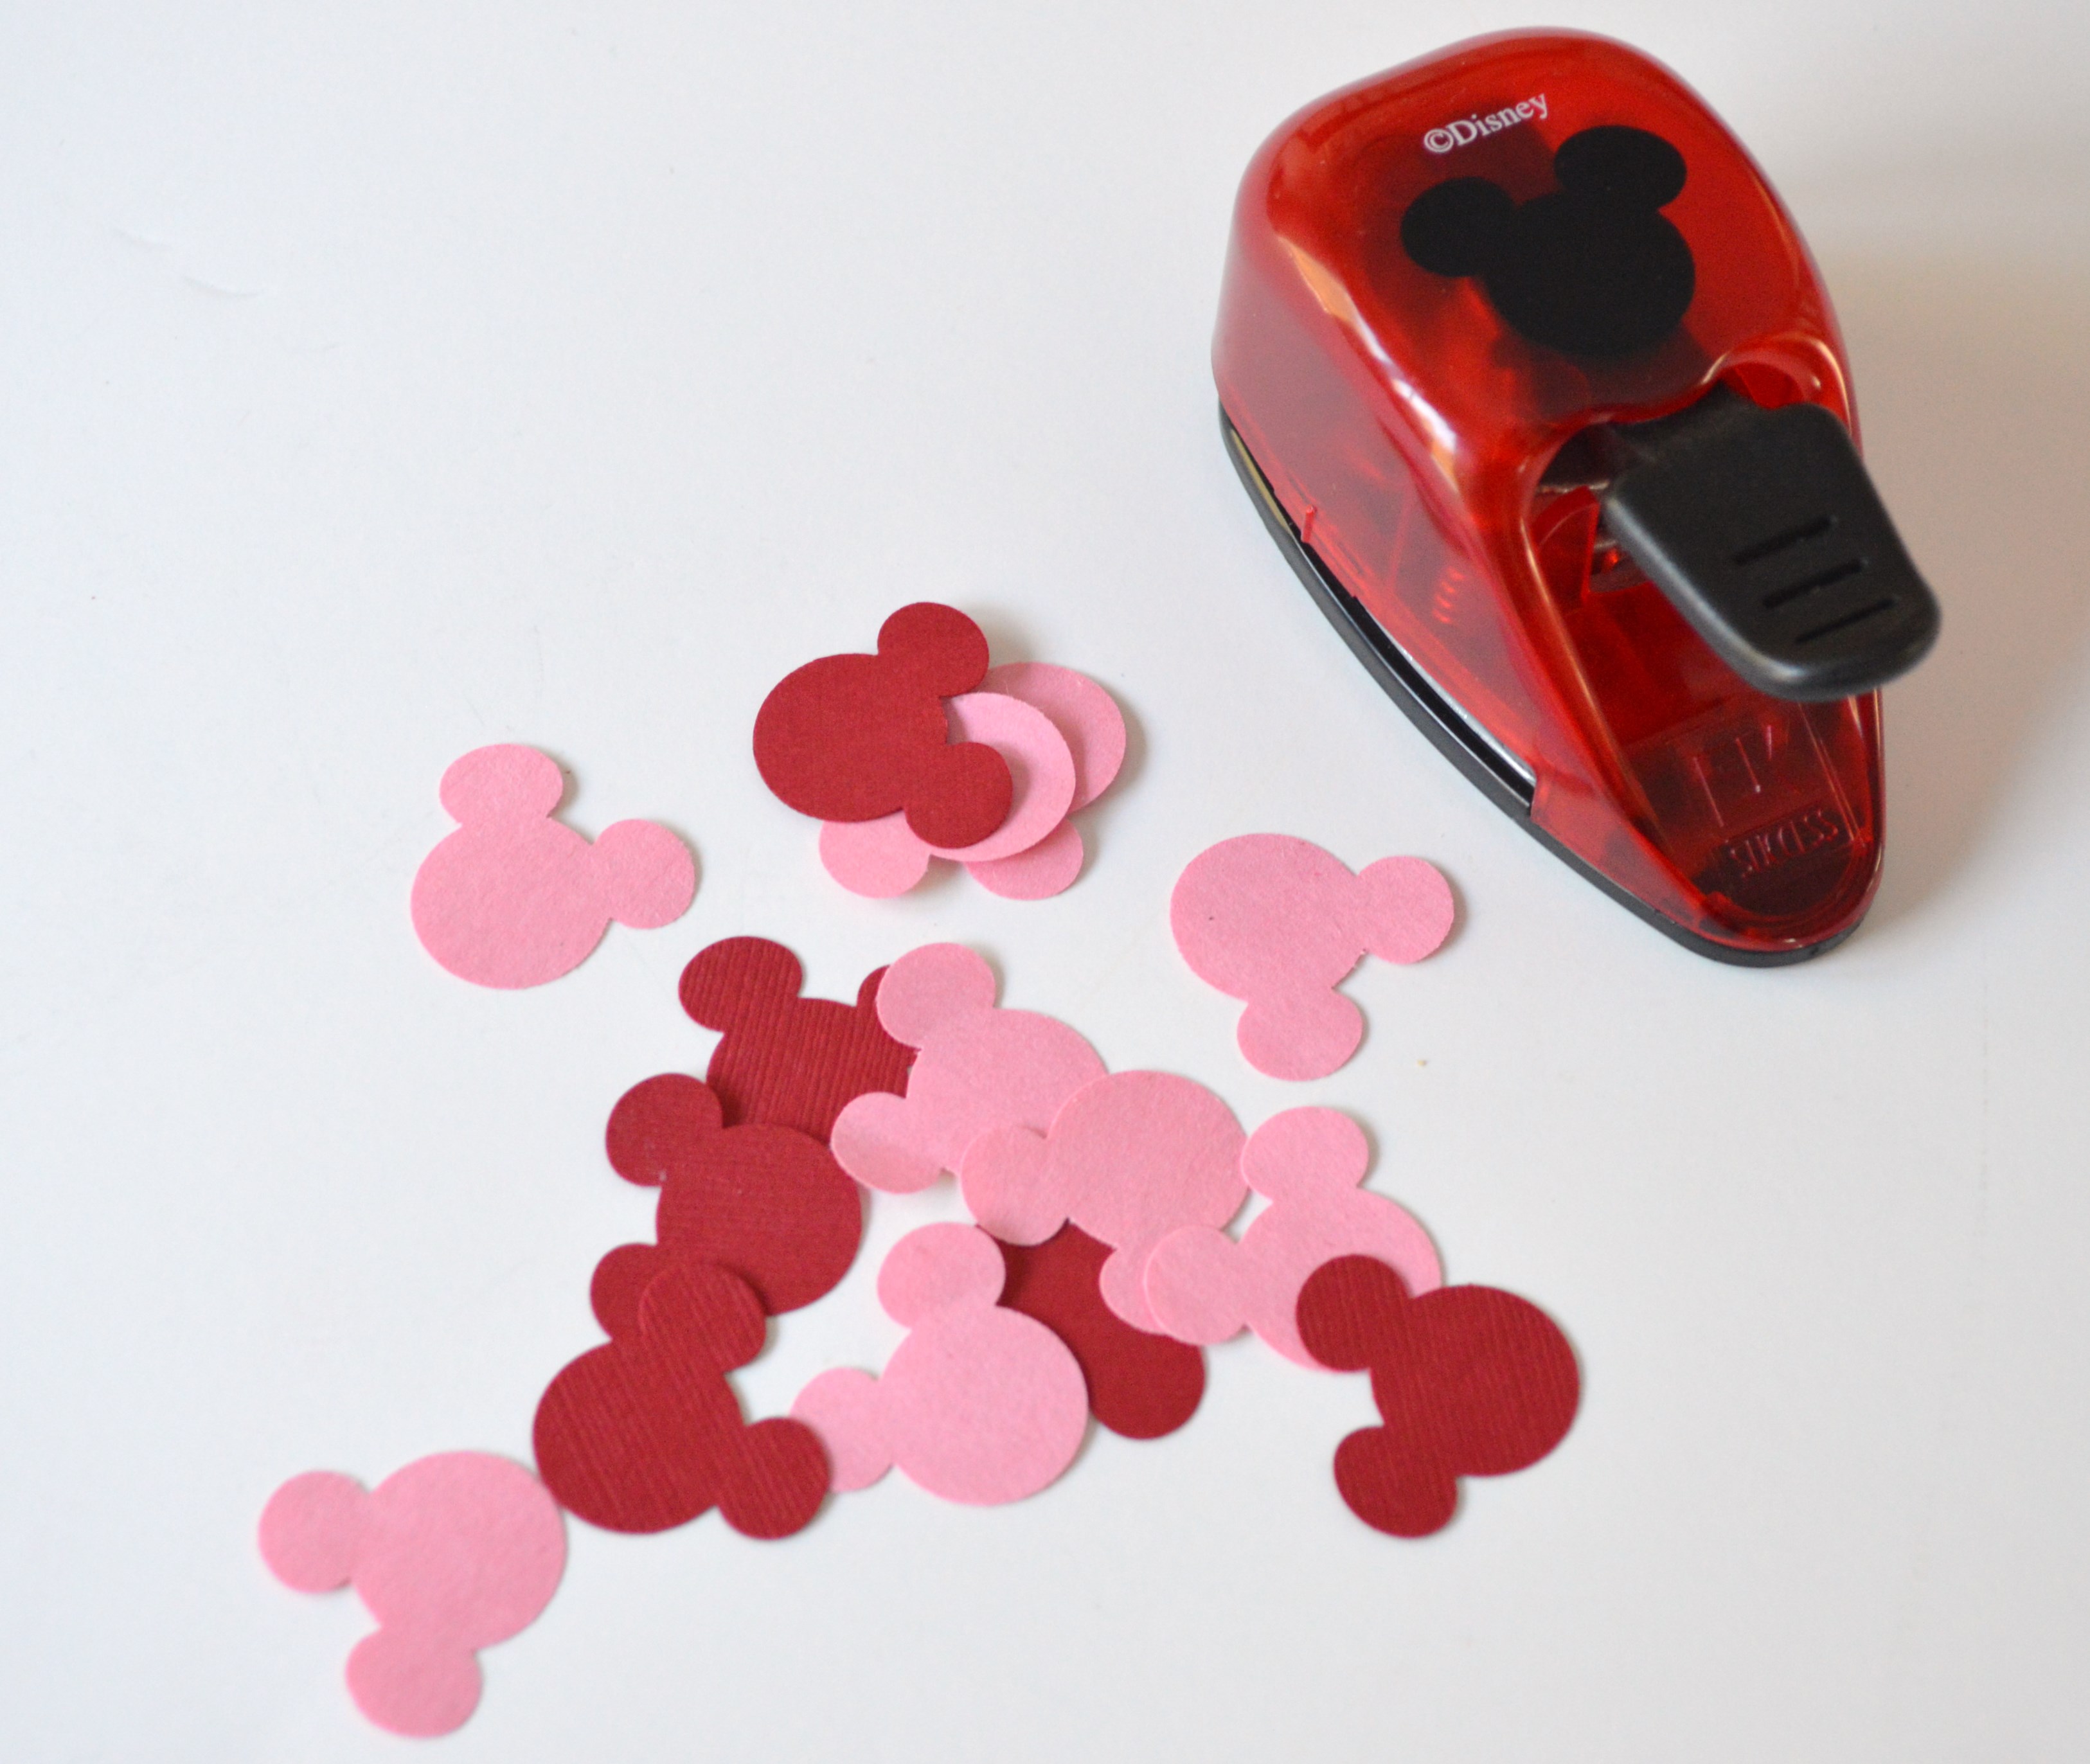
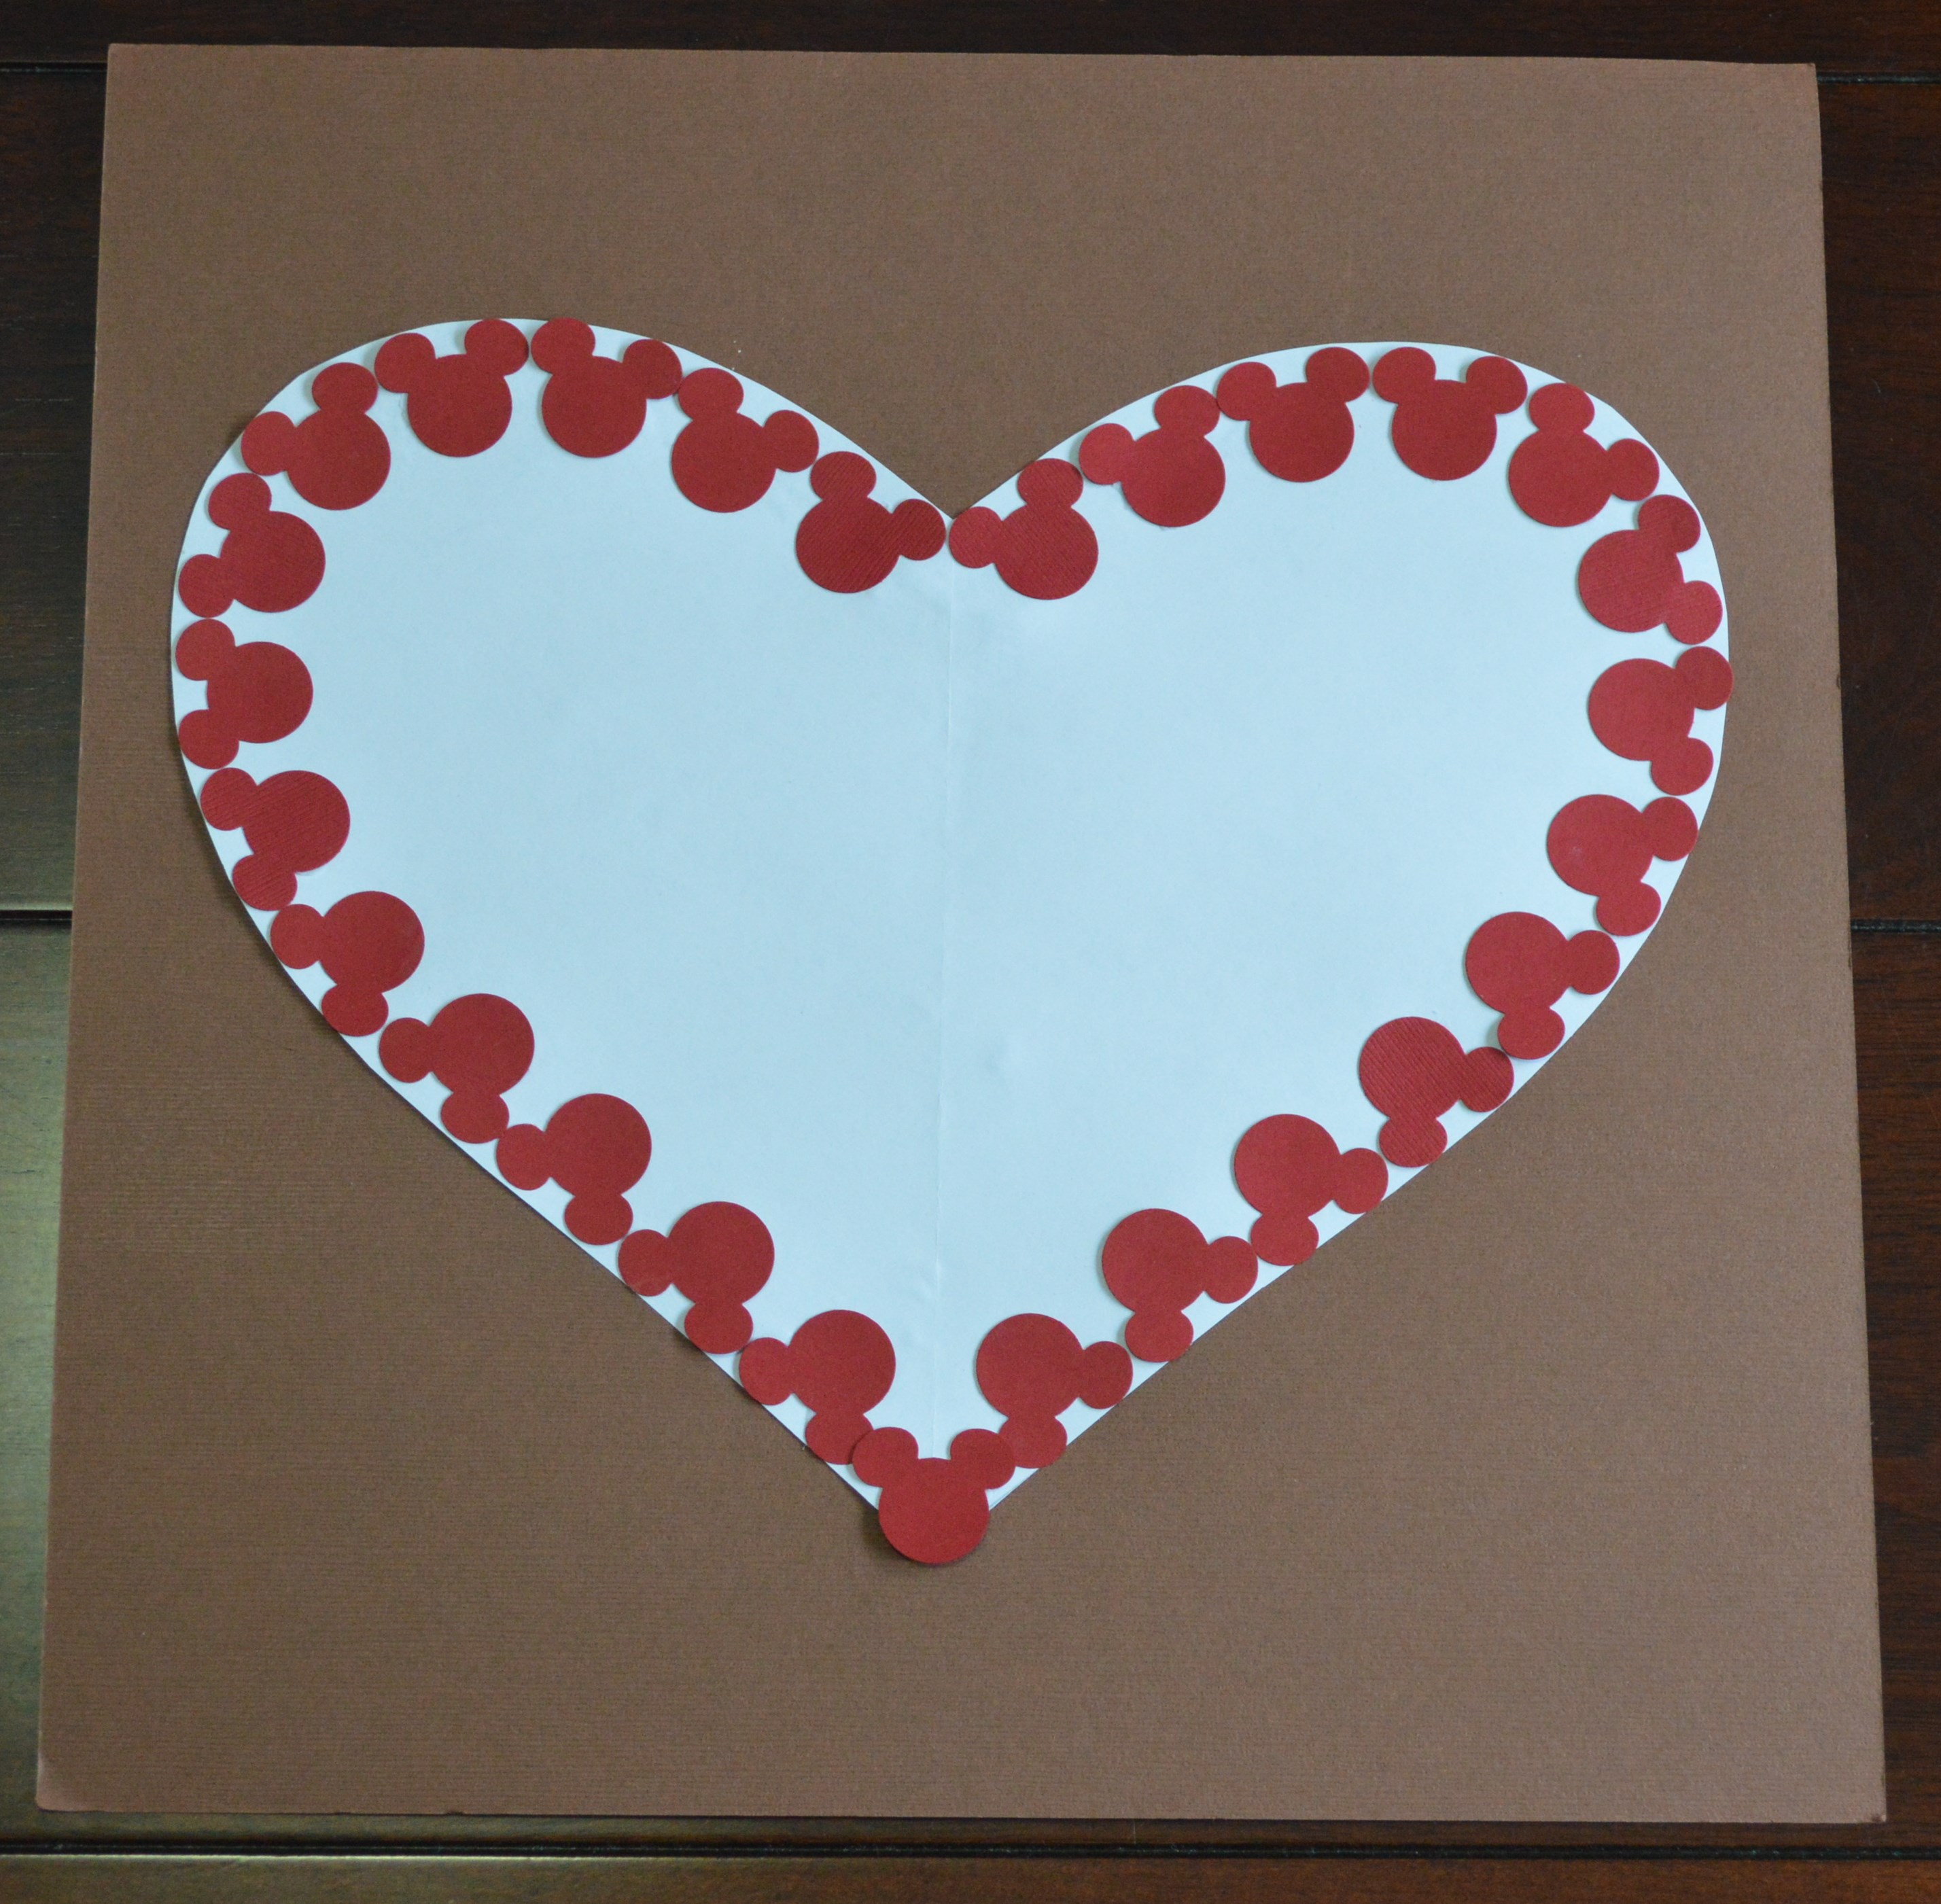
- 1″ hole punch
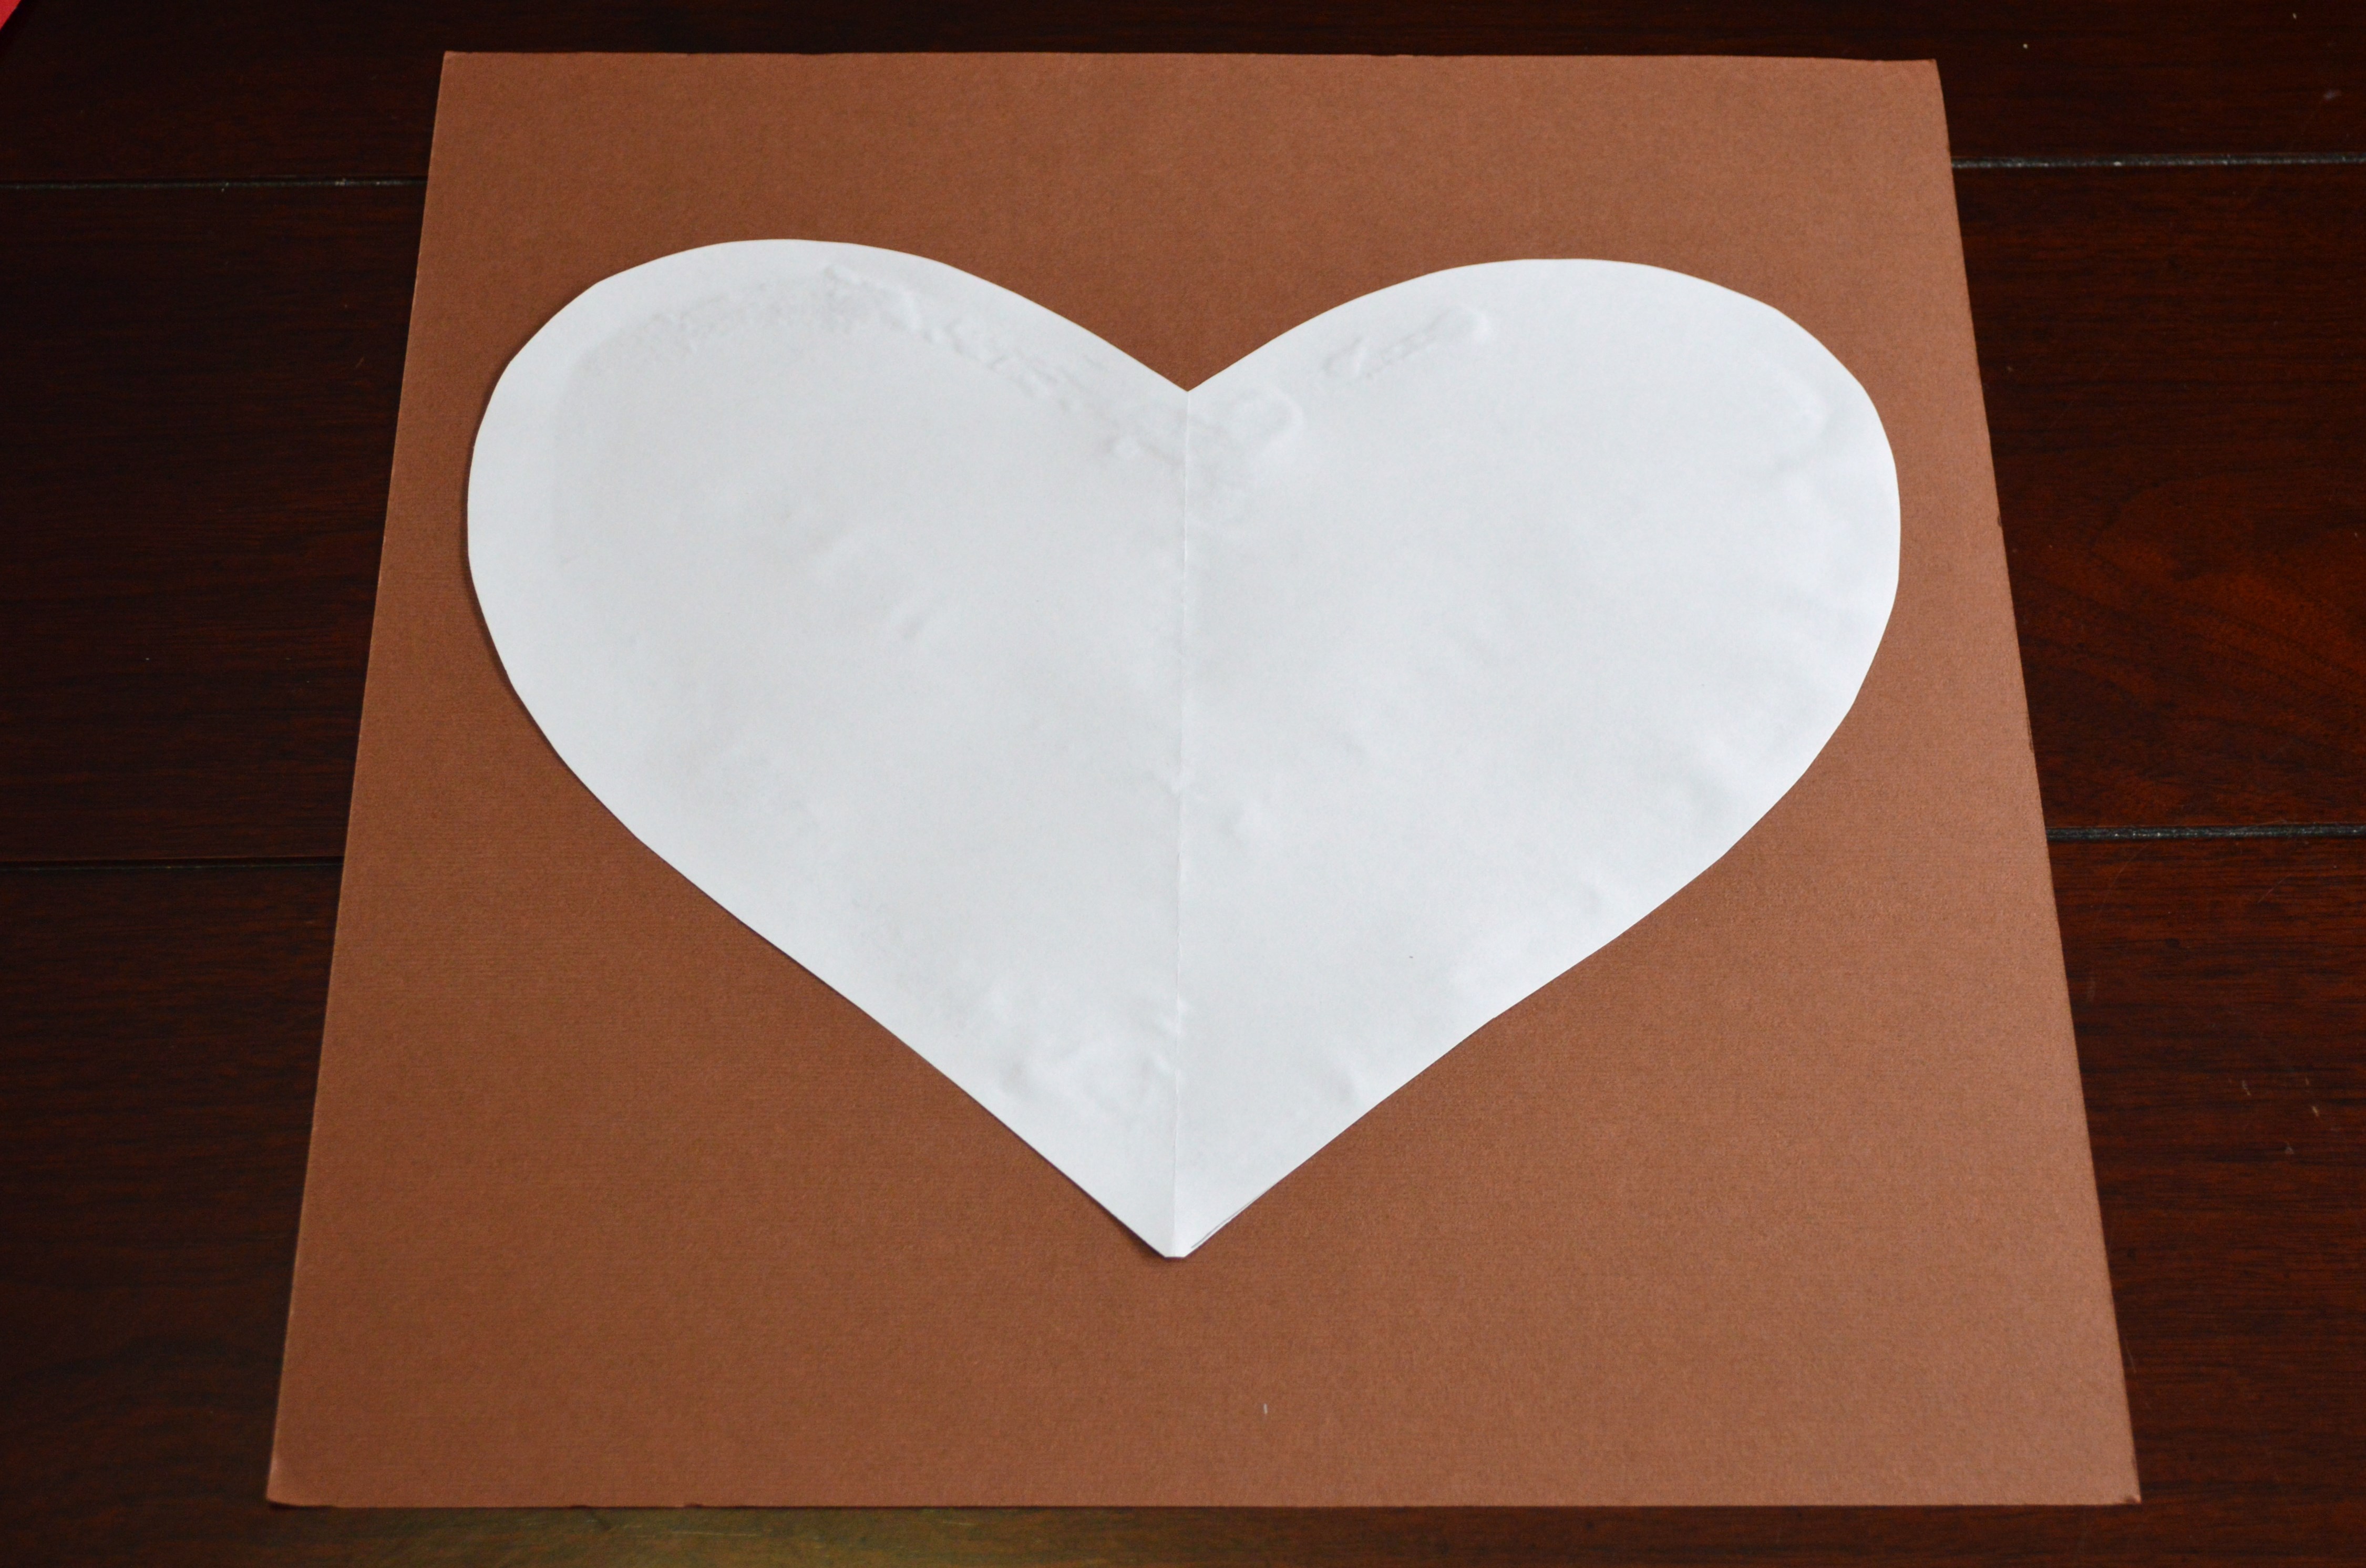
- two different size heart cookie cutters
- glue stick
- pencil
- ribbon
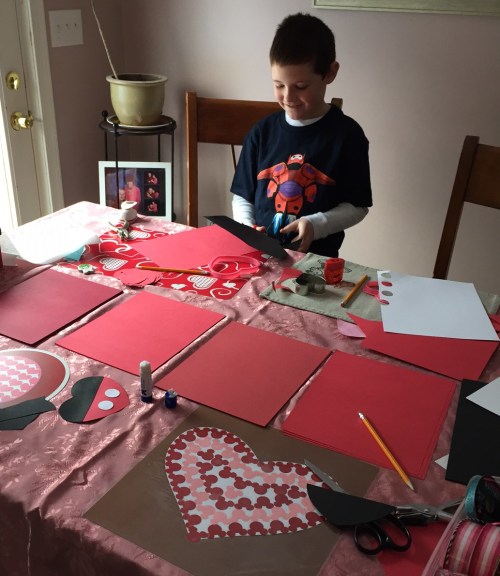
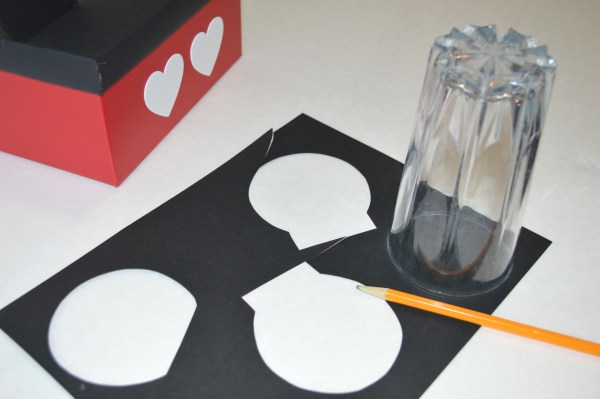
Now start tracing and cutting out your hearts from the red and black cardstock.
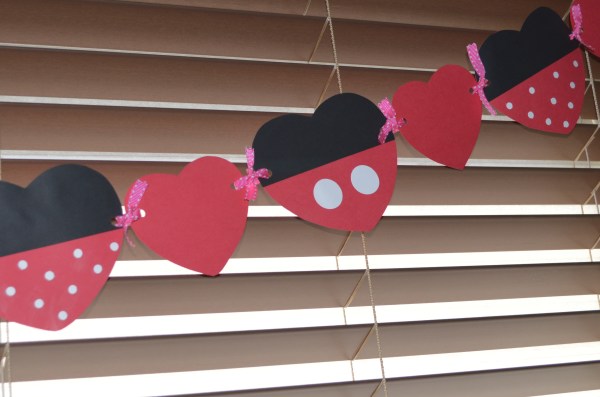
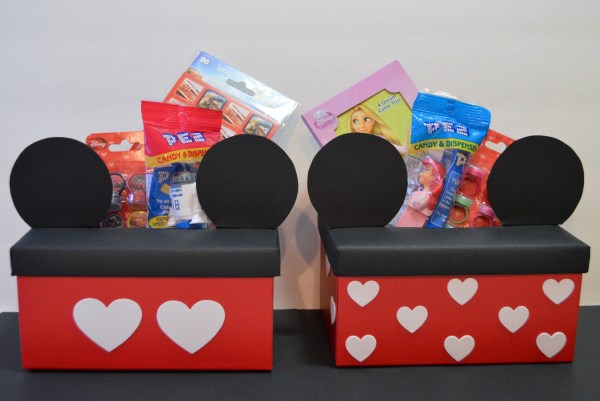
Both Mickey and Minnie Mouse hearts are made by cutting off the top half of a black heart and gluing the black piece onto the top half of a red heart. The Mickey Mouse inspired hearts have his two white buttons and the Minnie hearts have her polka dots. For Mickey’s buttons, punch two 1″ circles from the white card stock and glue the circles onto the red bottom half of a heart. For Minnie’s polka dots, we used a stand hole punch on white card stock and punched out 10 miniature circles. (Remember to empty your hole punch before making Minnie’s polka dots. It’ll save you from the clean up when your son dumps a hundred punches all over the table….experience has taught me.)
Once your hearts are glued and dried, use the standard hole punch to create holes on both sides of each heart. Connect the hearts together with some cute ribbons. Now you and your Mousketeers have made the cutest little Mickey and Minnie Valentine Garland in town!