 Decorating with Planes
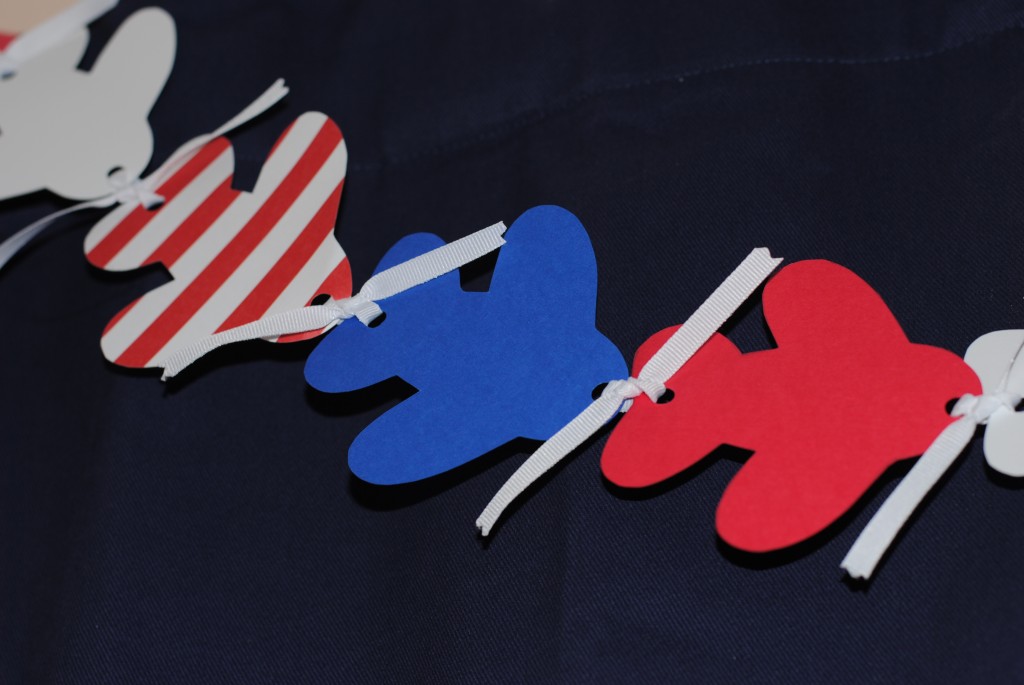
Do you live with a little aviator? If so, an airplane garland is the easiest and cheapest way to decorate his room with a touch of plane décor. He can even help you make it! All you need is cardstock, a hole puncher, ribbon and a pair of pinking shears. To get the consistent airplane shape I used a Wilton airplane cookie cutter as my “template”. If you can’t find this cookie cutter, I traced if for you. Just click on the Airplane template link below and print it out. I would recommend printing it on cardstock. It’ll make it easier to use it as a template.
Five Steps to Make an Airplane Garland:
- Trace the airplane cookie cutter or template on to cardstock.
- Cut out the airplane shapes.
- Punch one hole on front of each plane and one hole on the back of each plane.
- Cut ribbon.
- Tie the planes together with the ribbon.
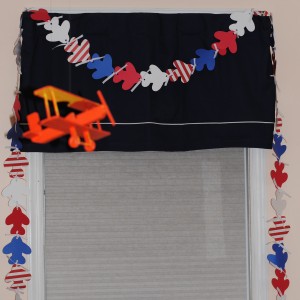
 At Gavin’s 6th birthday party, I used this garland on the front of the dessert table. His window valance is a dark navy, so the garland also worked perfectly in his room. Since then, he’s painted the orange plane you see hanging in this picture.
Now Gavin and I would like to make an Orange, White and Blue Airplane Garland for our new favorite Cropduster, Dusty!
If you’re looking for a fantastic deal on Disney’s “Planes” toys. The Disney Store is running a wonderful sale on their “Planes” toys. Here’s the link to take you straight there!
Online Exclusive. For a limited time, 40% off high-flying favorites from Disney’s Planes at Disney Store!