 Zero Turbulence Decorating Tutorial Courtesy of Sweet Diehl’s
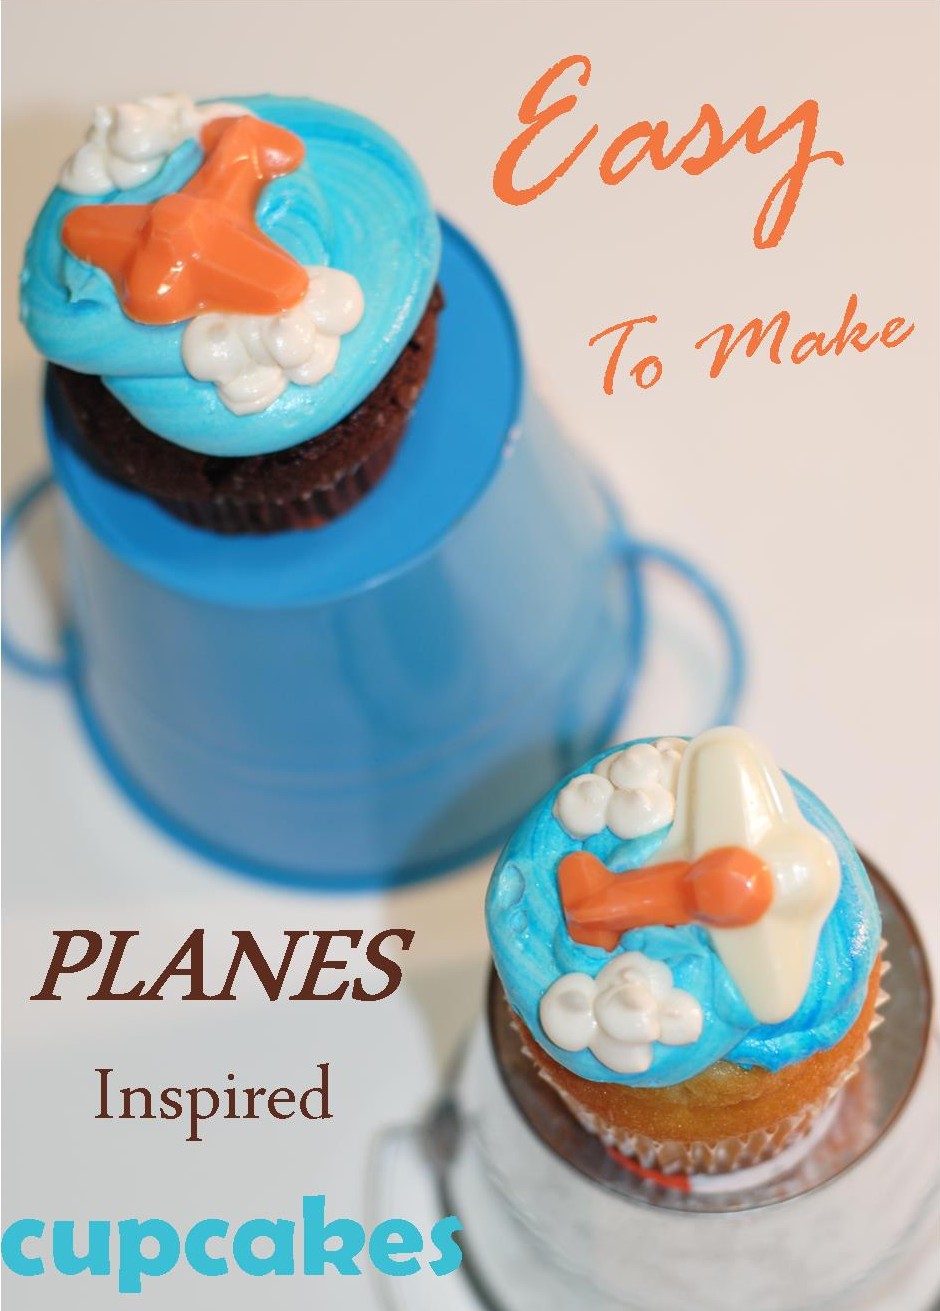
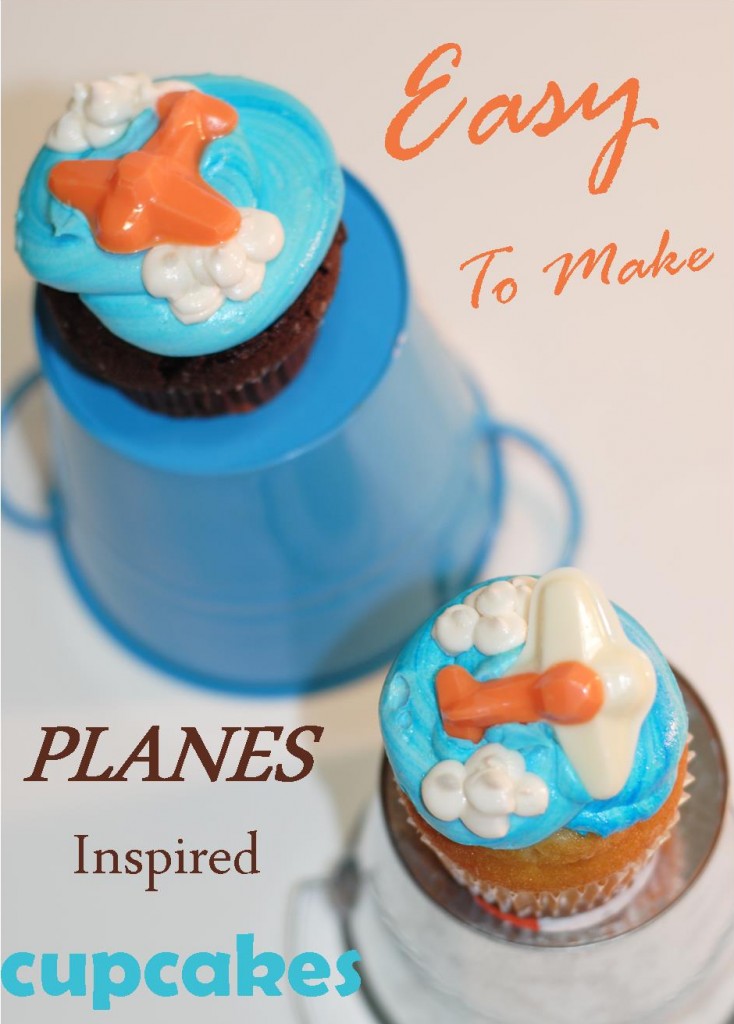
What an exciting day it is for the Mouse Ears Mom Blog! Today is not only the official theatre premiere of Disney’s “PLANES”, but I also get to welcome Mouse Ears Mom’s first guest contributor, Steph Diehl of Sweet Diehl’s !
I’ve worked with Steph on several occasions where she was able to custom design cupcakes for my children’s themed parties. She’s surpassed my expectations every time! The “PLANES” Inspired cupcakes that we are sharing with you today were co-created by Steph and myself. She made the amazing cupcakes and icing. I made the plane chocolate pieces that were placed on top.
Below is Steph’s wonderful tutorial for you to make your own “PLANES” cupcakes, including photos that she took while making them.
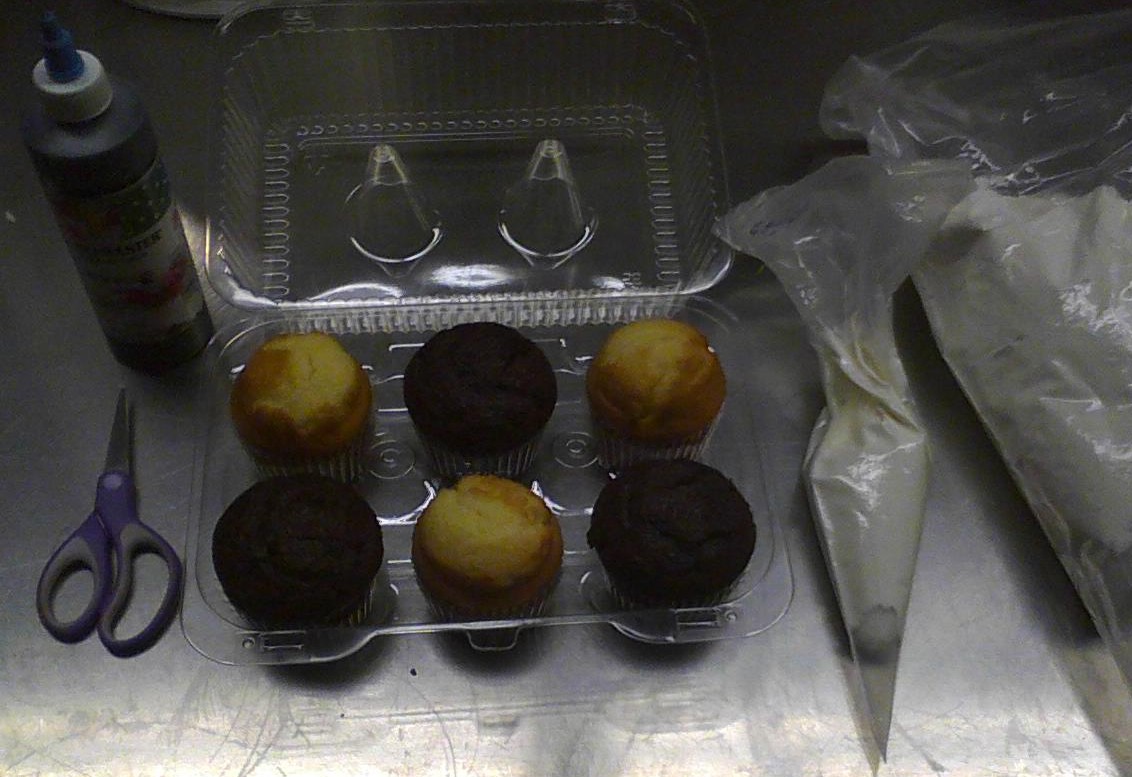 1. Here’s what you’ll need: cupcakes, of your choice, a large pastry bag (a zip lock bag will work), blue food dye, butter cream icing and scissors.
 2. Step two, place a comfortable amount of butter cream into the large bag and squeeze some blue food dye into the bag as well. The more food dye you put into the butter cream the darker the icing color will be. Use your hand to mix the icing and the dye together inside the bag to achieve your desired color.
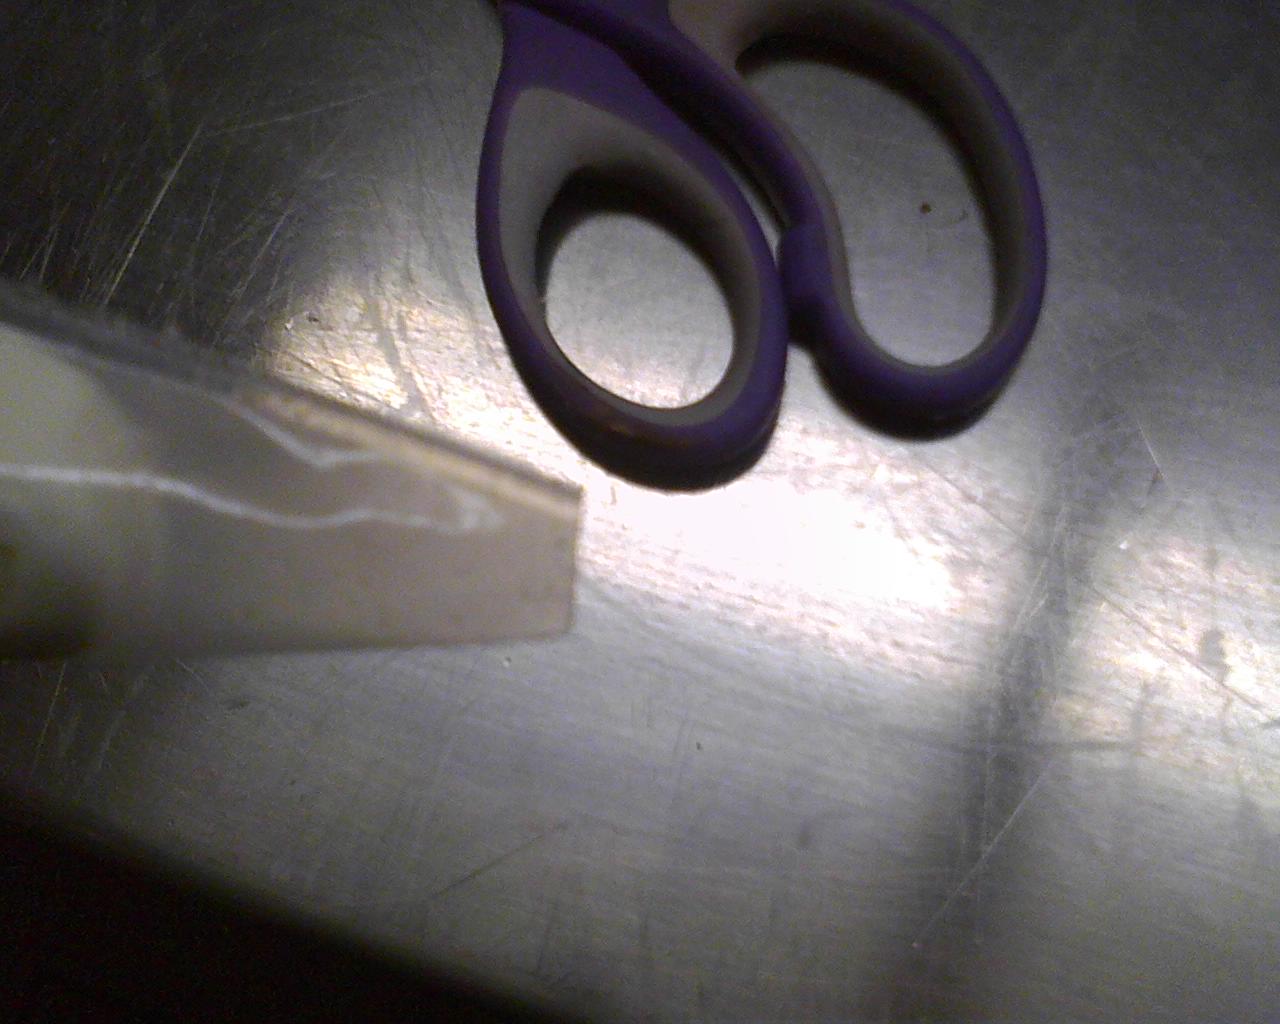
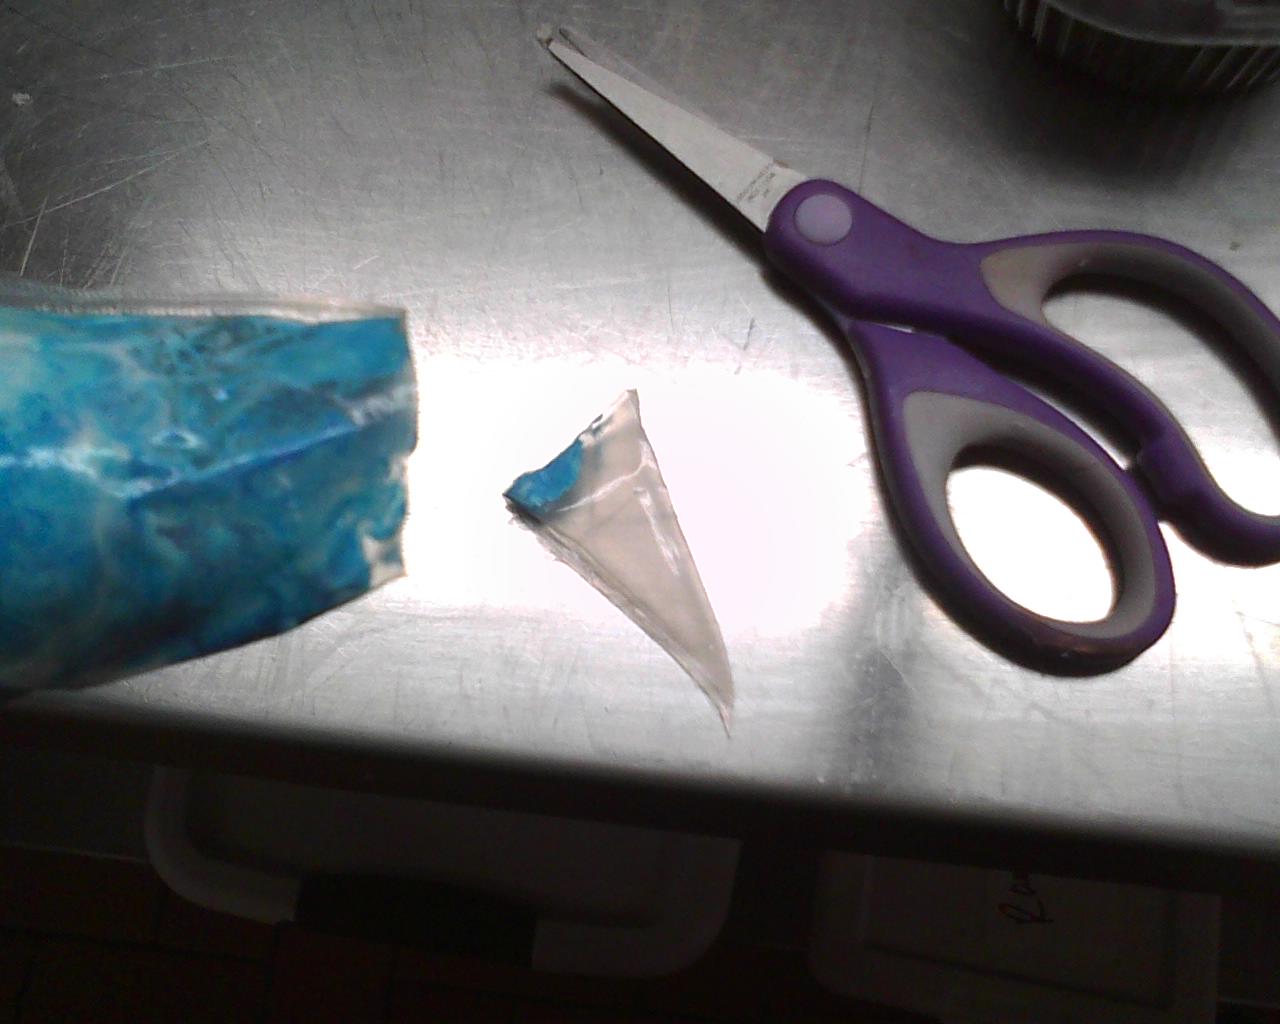 3.Step three. Cut a slightly large hole into the tip of the bag. If you have icing tips, you may use a large round tip for this.
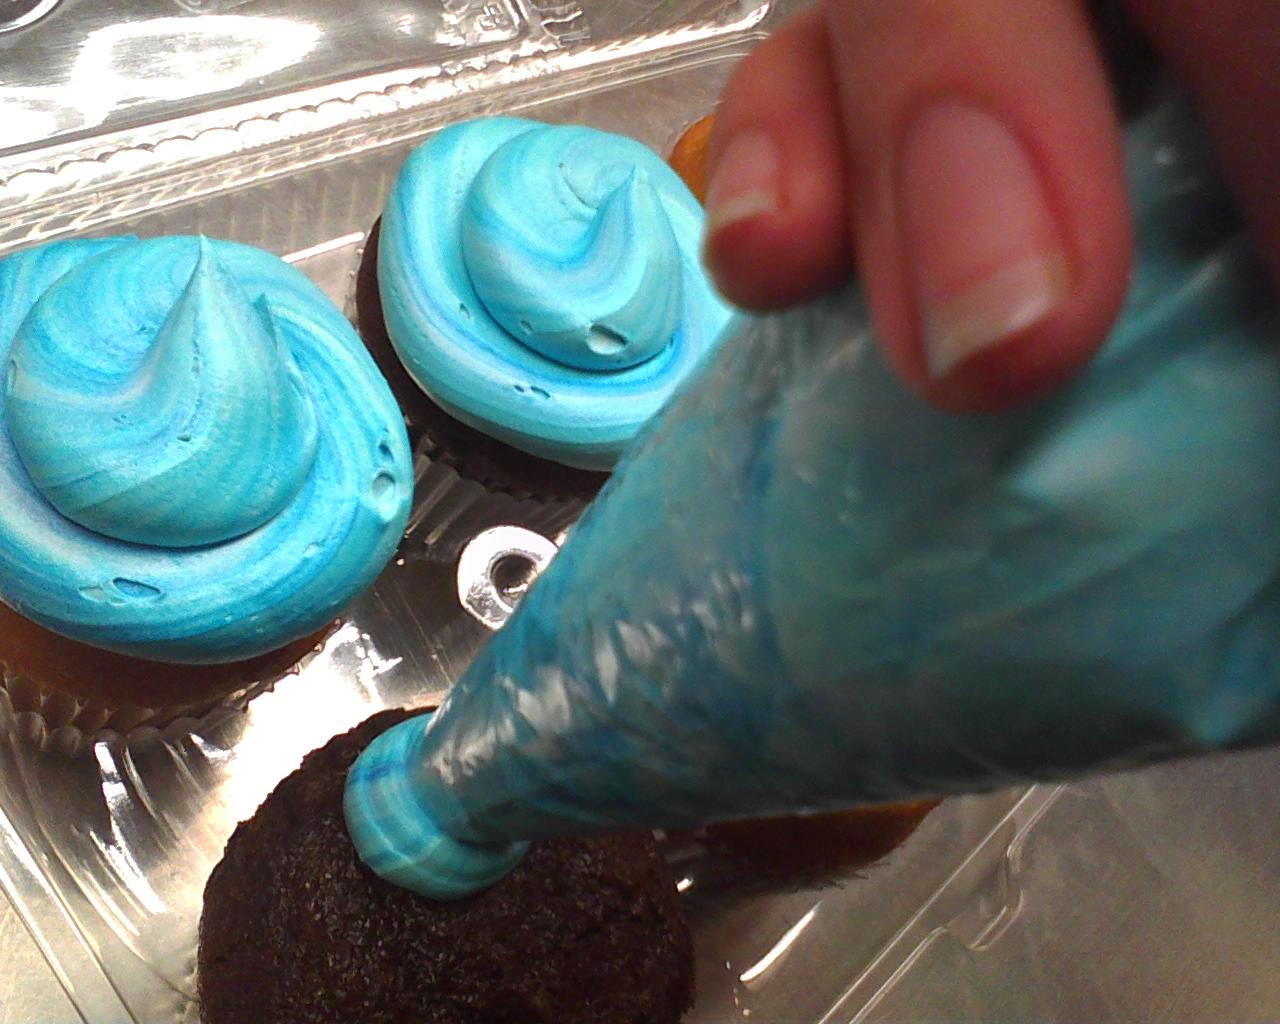 4. Step four. Position the now open tip over one of the cupcakes, start at the top an apply even pressure with your hand and make a basic upper case G motion to cover the top of the cupcake with the icing.
5. Step five. Next place more butter cream into a small bag, you do not have to colour this one at all, since this will be for the clouds.
 6. Step six. Cut a small hole into the tip of this smaller bag. If you have an icing tip I would use a small round tip for this.
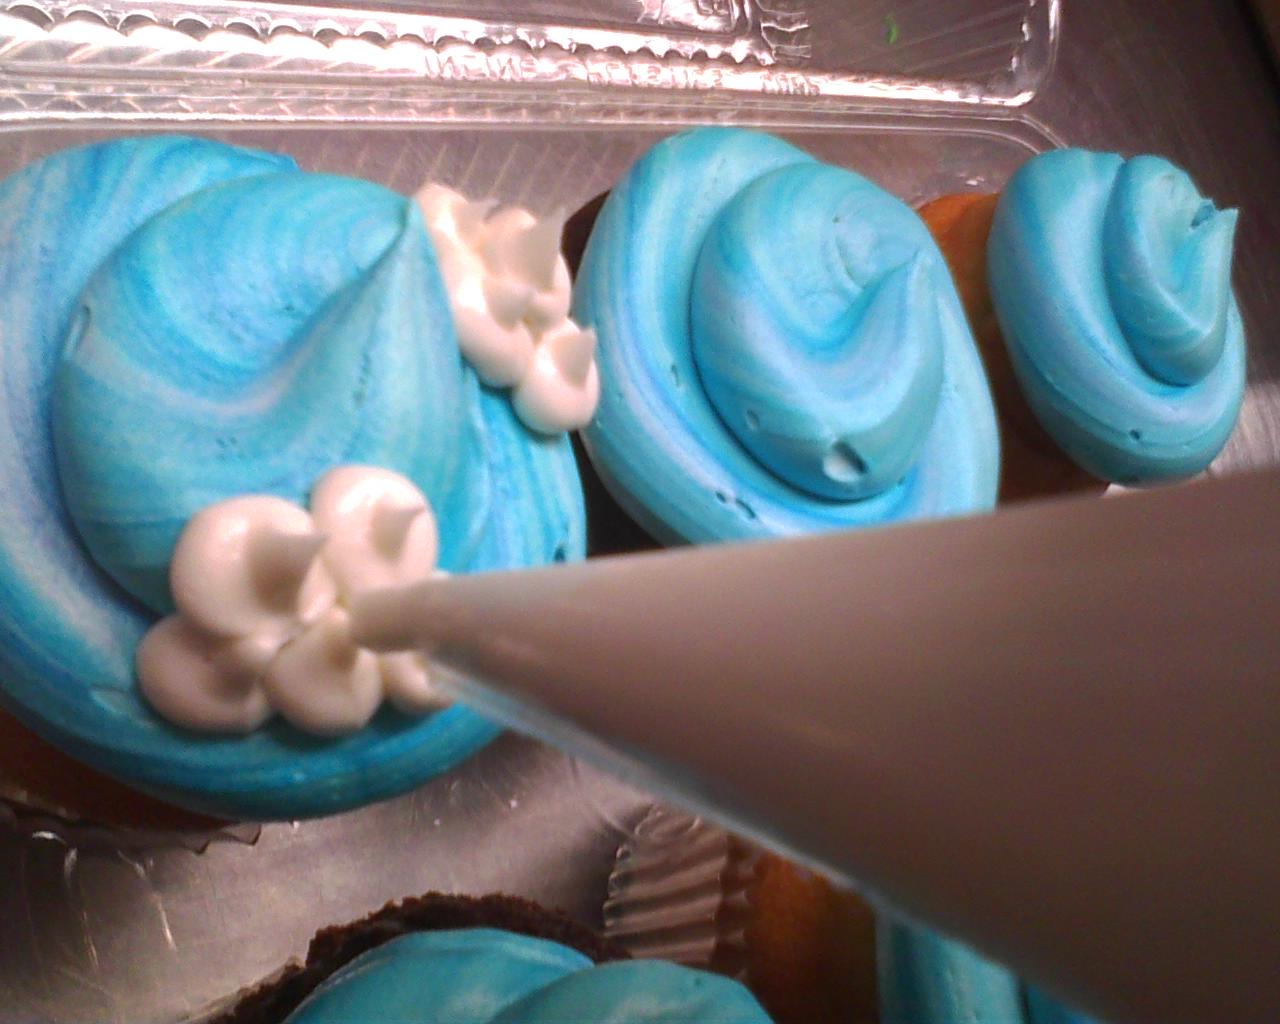 7. Step seven. Last step, very lightly squeeze the bag and make little dots onto the blue ‘sky’ of the cupcakes, to look like clouds. Then ta da! Your sky is complete.
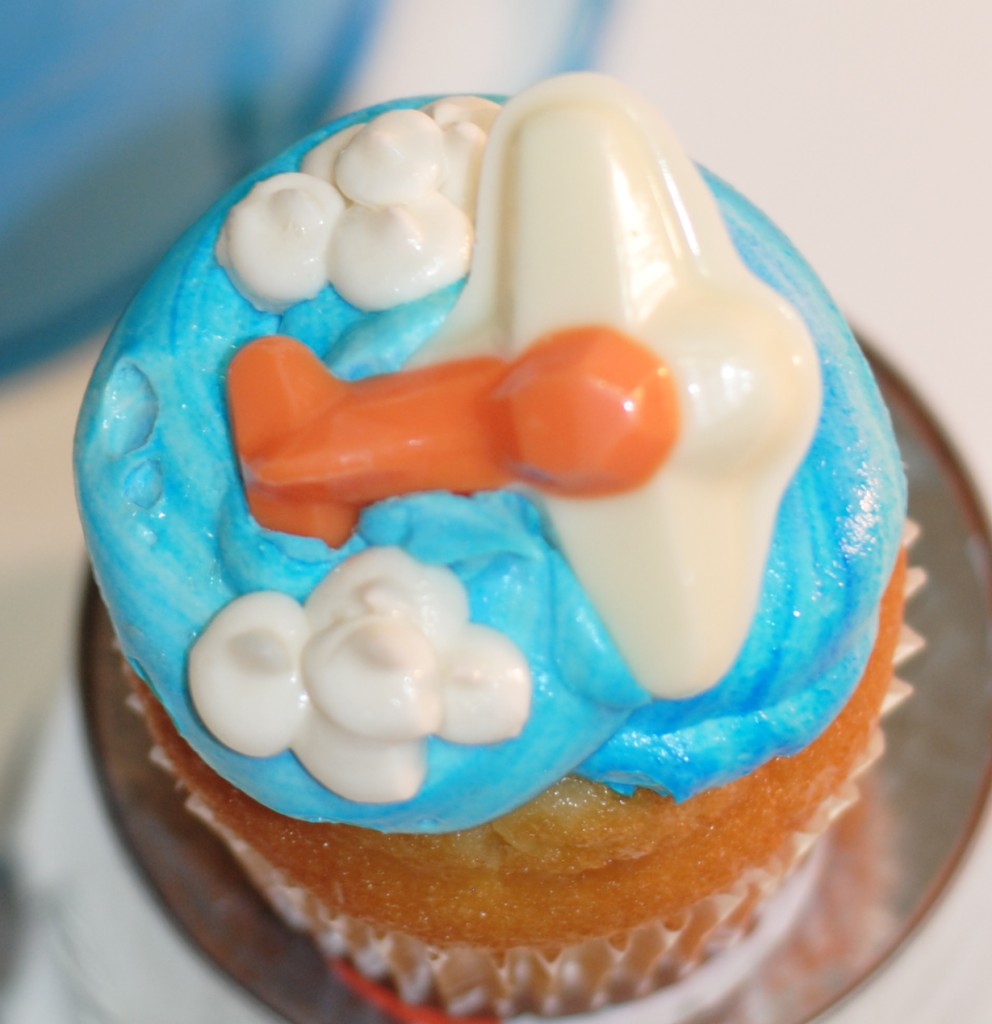
Isn’t the finished sky with clouds simply adorable?
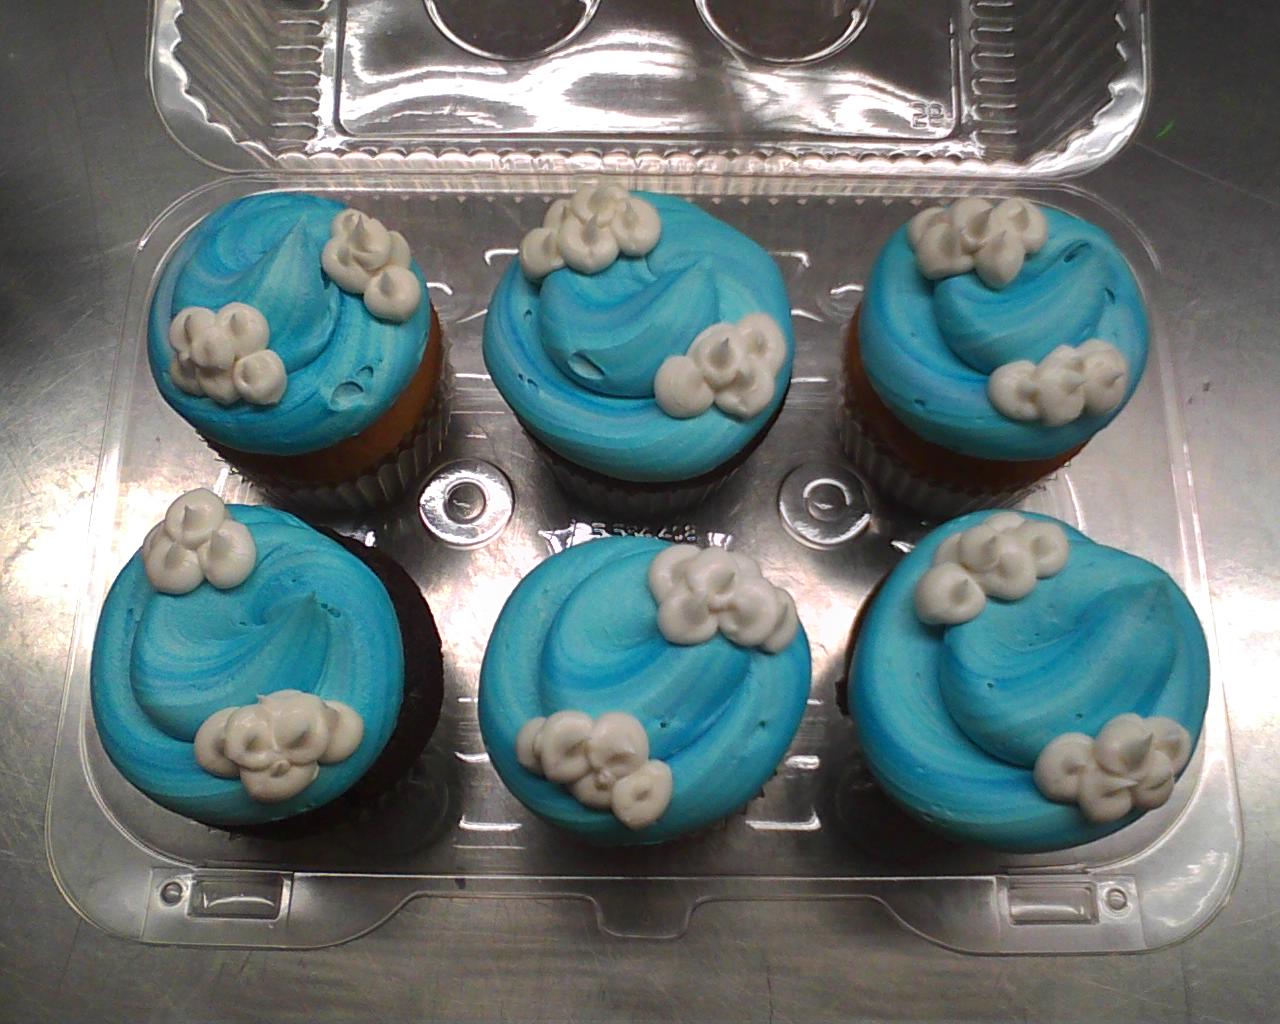
Once your sky with clouds is complete it’s time to make the airplanes.
To make the airplanes, I used a candy mold. Each airplane is 1-3/4 inches by 1-3/4 inches and I purchased the airplane candy mold on-line. Just Google airplane mold and you’ll find it. I wanted to make a few Dusty inspired planes, so I used orange and white chocolate melts. Melt both of your chocolate colors in separate containers. I find it easier to work with squeeze bottles, but you could also scoop the melted chocolate into plastic bags and then cut the tips cut off.
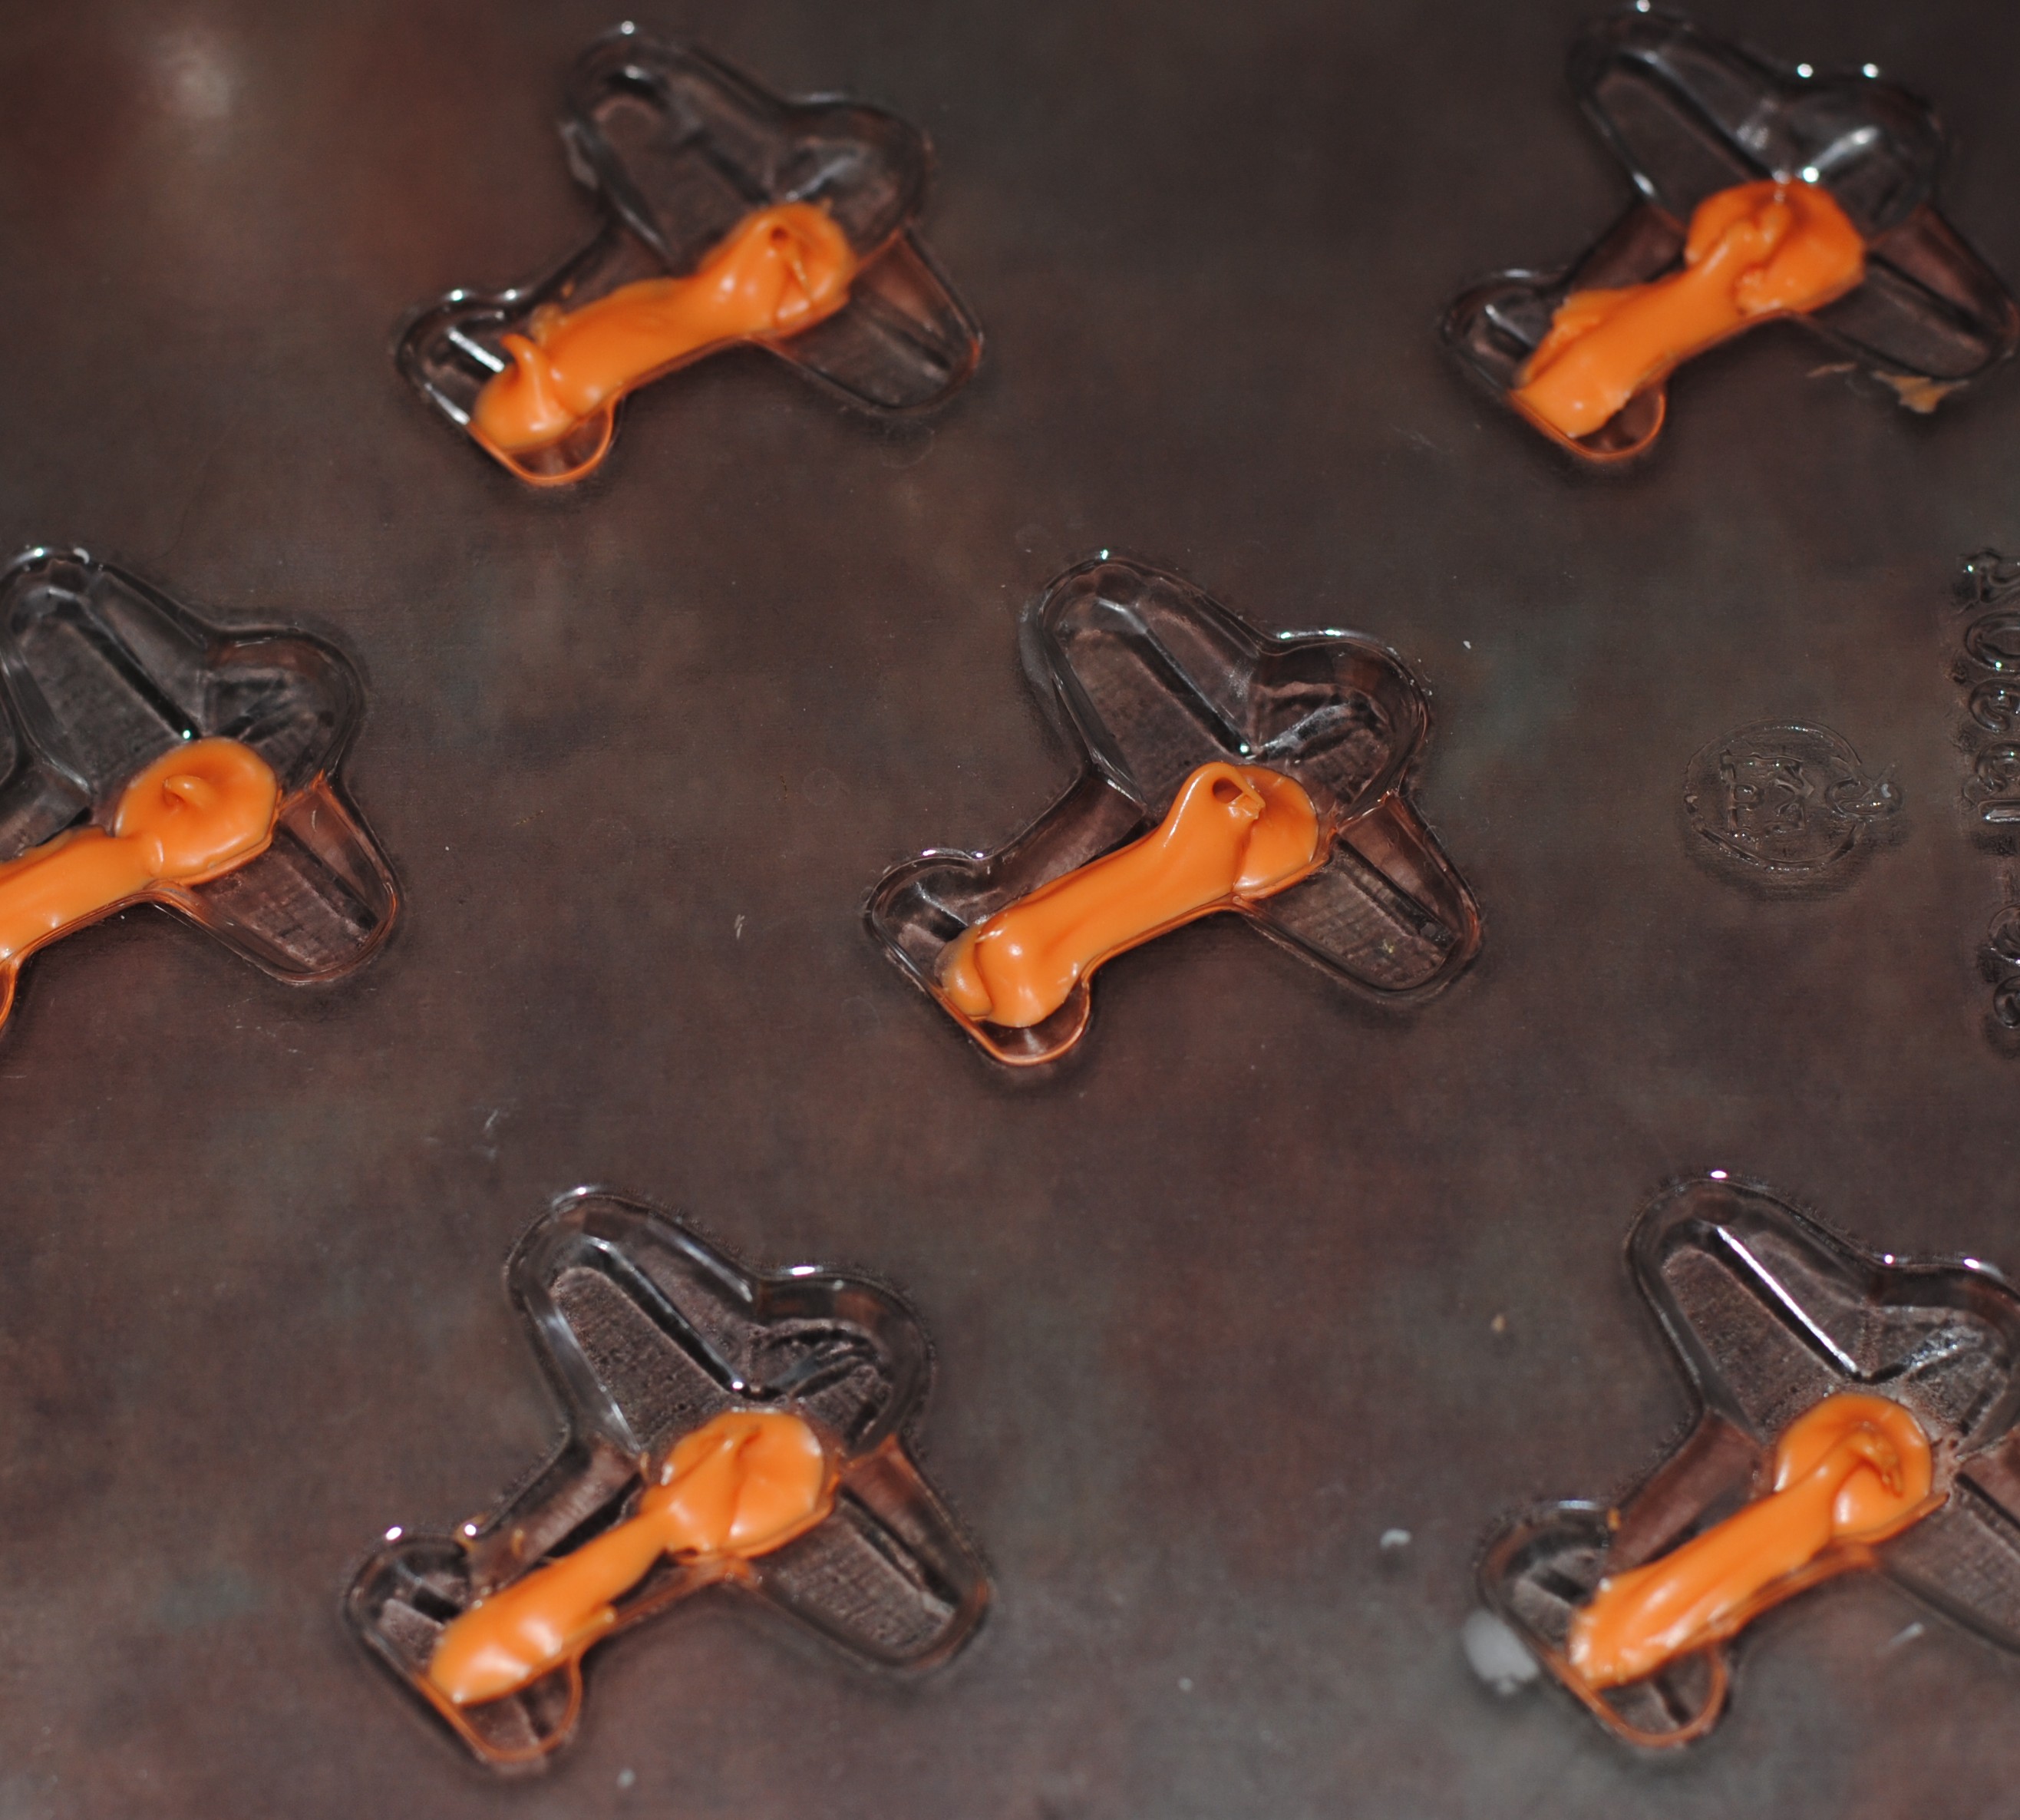 Pipe a strip of orange melted chocolate in the body and tail of the candy mold. Very shortly after, add the white chocolate to the remaining part of each mold. If the orange chocolate has hardened, it’s possible that you won’t have a seamless piece, so try to work fast.
After filling the rest of the candy mold with white chocolate, let them sit to harden for about ten minutes. Once they are solid, the airplanes will very easily pop out of the mold. If they’re not popping with a slight twist of the candy mold, then they’re not ready to come out yet.
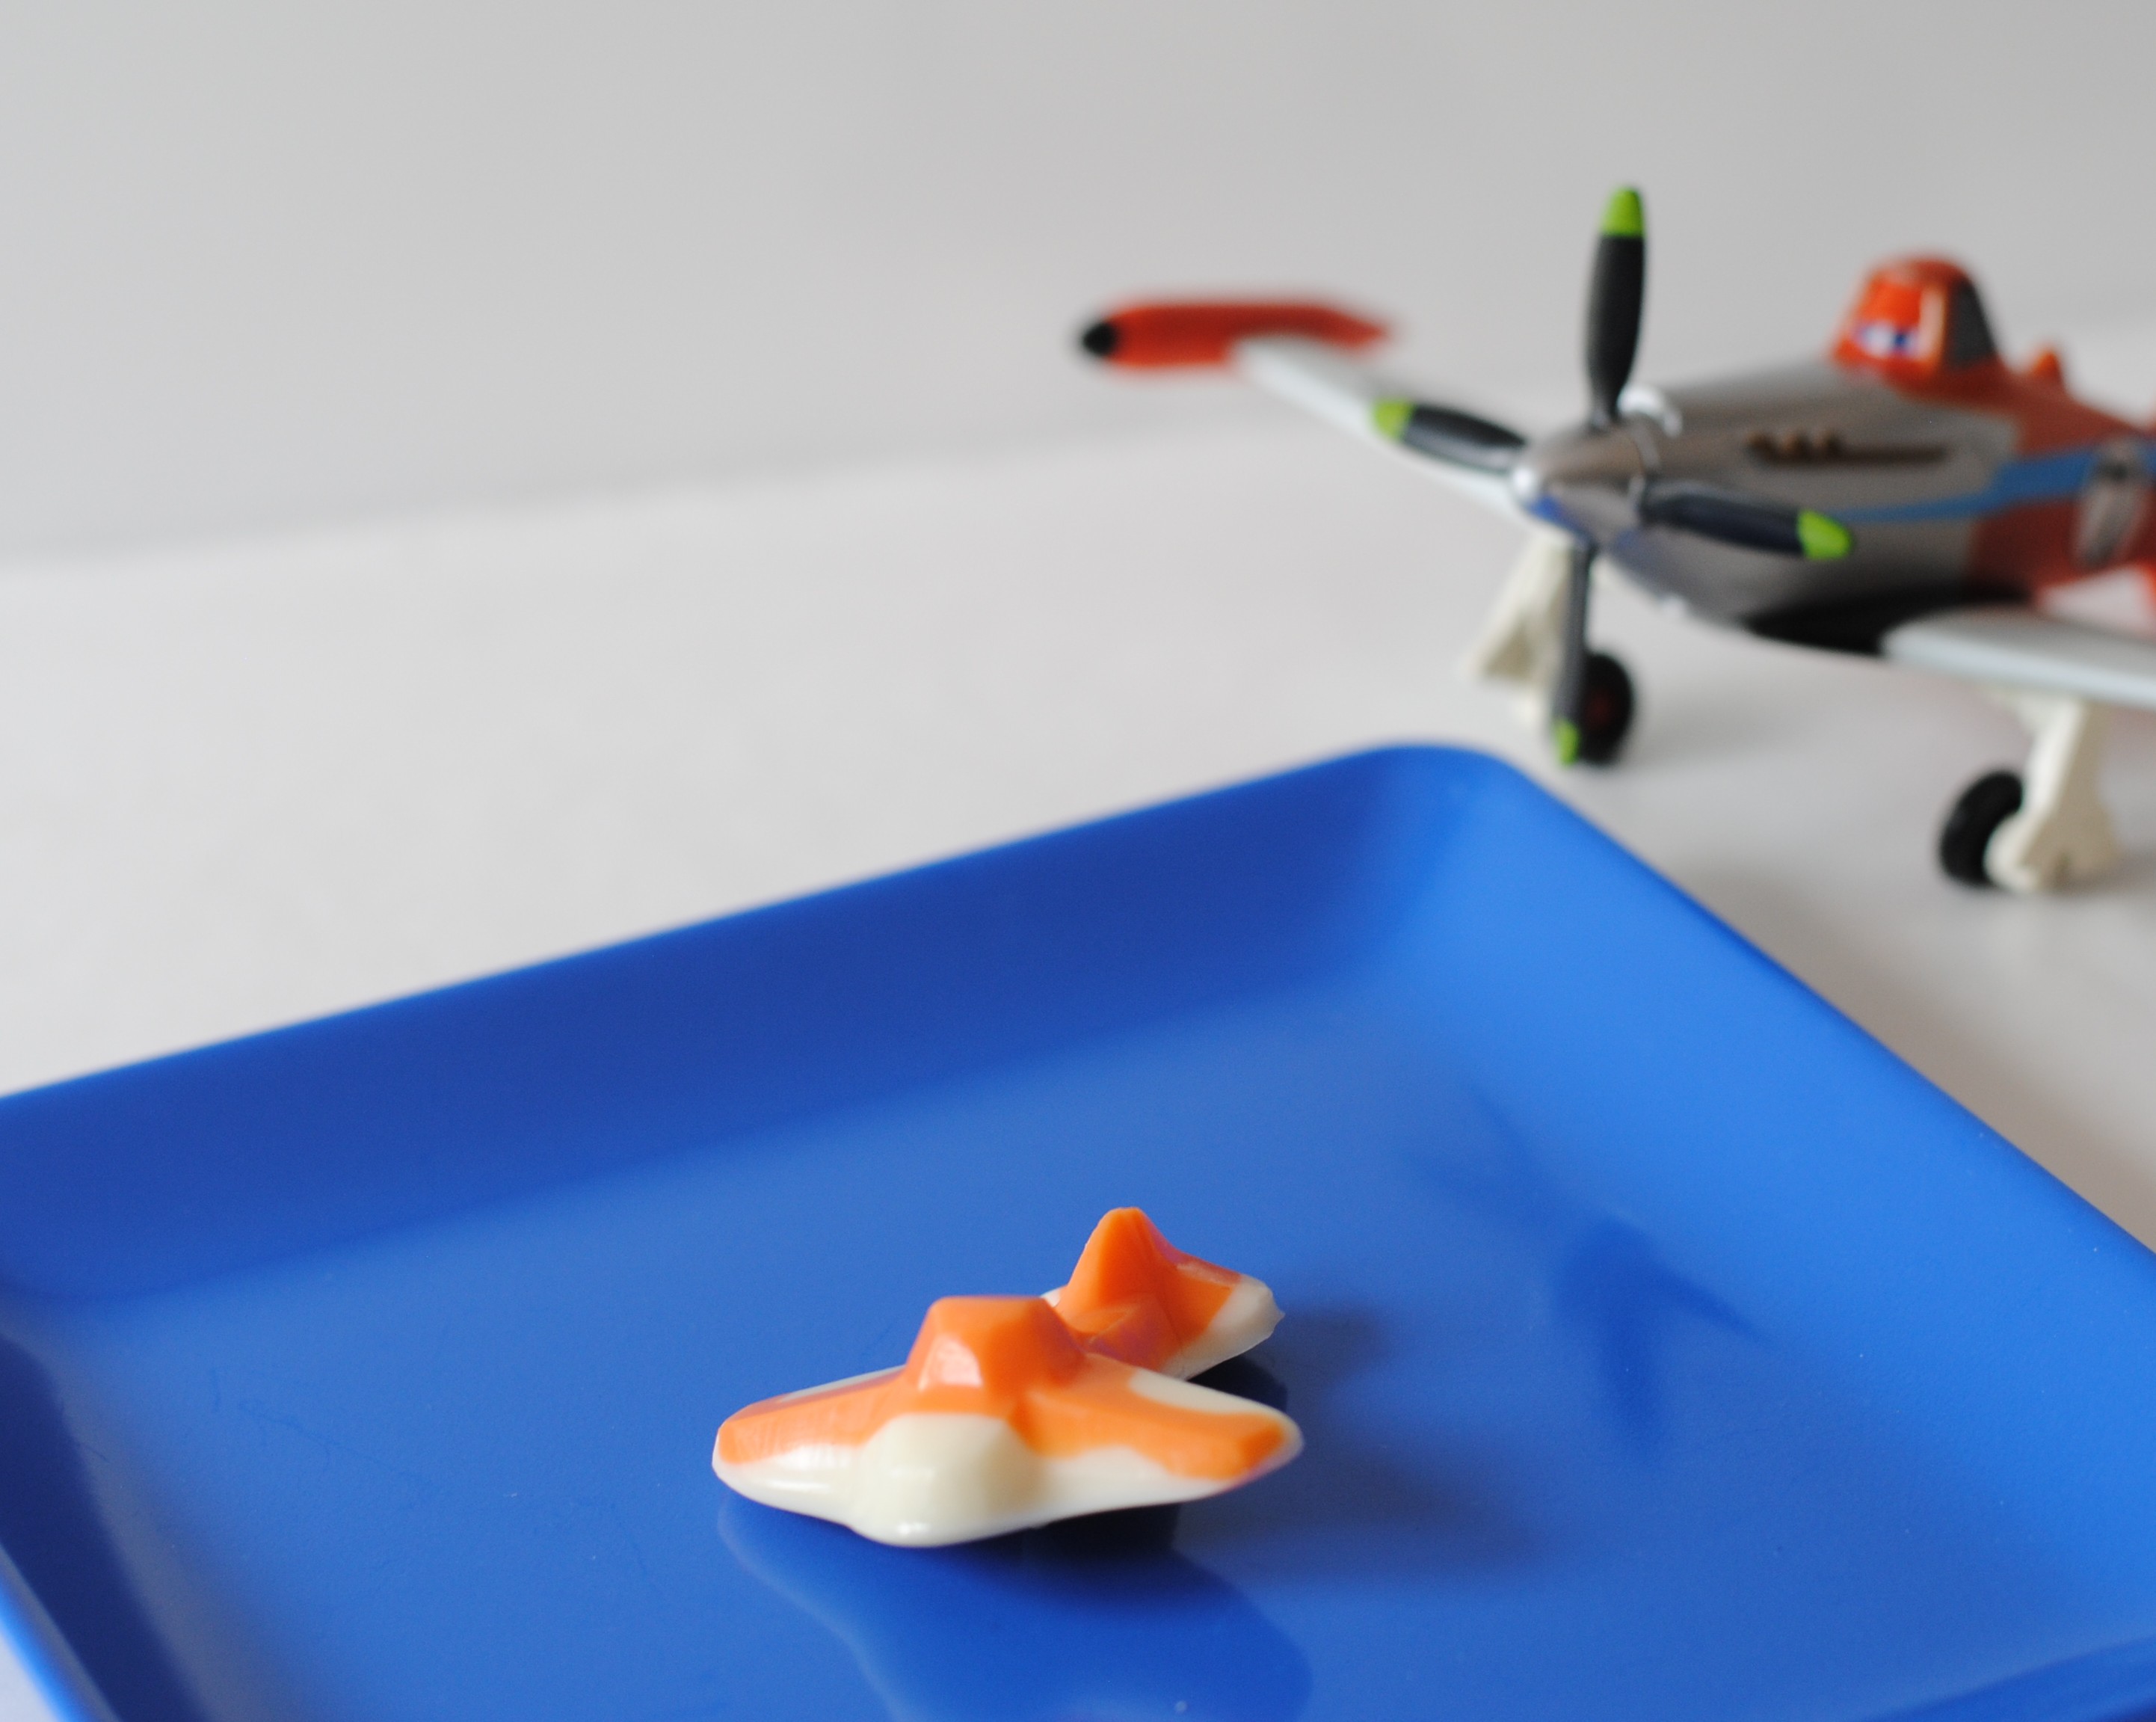
 This is my miniature version of Cropduster Dusty.
For the final step, place the chocolate piece on top of the decorated cupcake sky. Here is our final piece.
 Thank you again to Steph Diehl for providing us with a simple tutorial on how to make her adorable sky with clouds cupcakes! To see more of Steph’s creations you can find her on Facebook at

https://www.facebook.com/pages/Sweet-Diehls/138845126143748
If you’d like to see more Planes party ideas, here is the link to the post about my son’s birthday party. It includes everything from our themed food menu, to the themed treats, to the fun activities and thank you gifts.