Category: Disney-Inspired Crafts

Mickey Mouse Pocket Size Flashcards for Toddlers

pocket sized flash cardsMy Toddler Never Sits Still

The grocery store, a restaurant, the craft store, the pool where my son, Gavin has swim lessons, what do these all have in common?  They are places where my daughter becomes a hand full of energy as she dramatically tries to escape her seat.  Unless I have an entire bag of Goldfish crackers, it’s a battle.  At one of Gavin’s recent swim lessons, I pulled out a stack of memory game cards that I keep in my purse for Gavin, and gave them my two-year-old daughter, Victoria.  She loved them and it had her entertained, until I had to put them away.    The paper weight was too thin, so she was bending them and the cards were too big for her to handle, so she was dropping them all over the wet floor.

This past weekend I was at Lowe’s with my family.  Victoria and I explored the paint chip section.  She thought that section was the best part of the store!  So, I let her take some home and I decided to make her a set of five mini flash cards out of the paint chips.  They are  a perfect size for her little hands and for keeping in my purse. Of course I had to sprinkle a bit of Disney on them!

Here’s how I made them.

  1. Flash card supplies
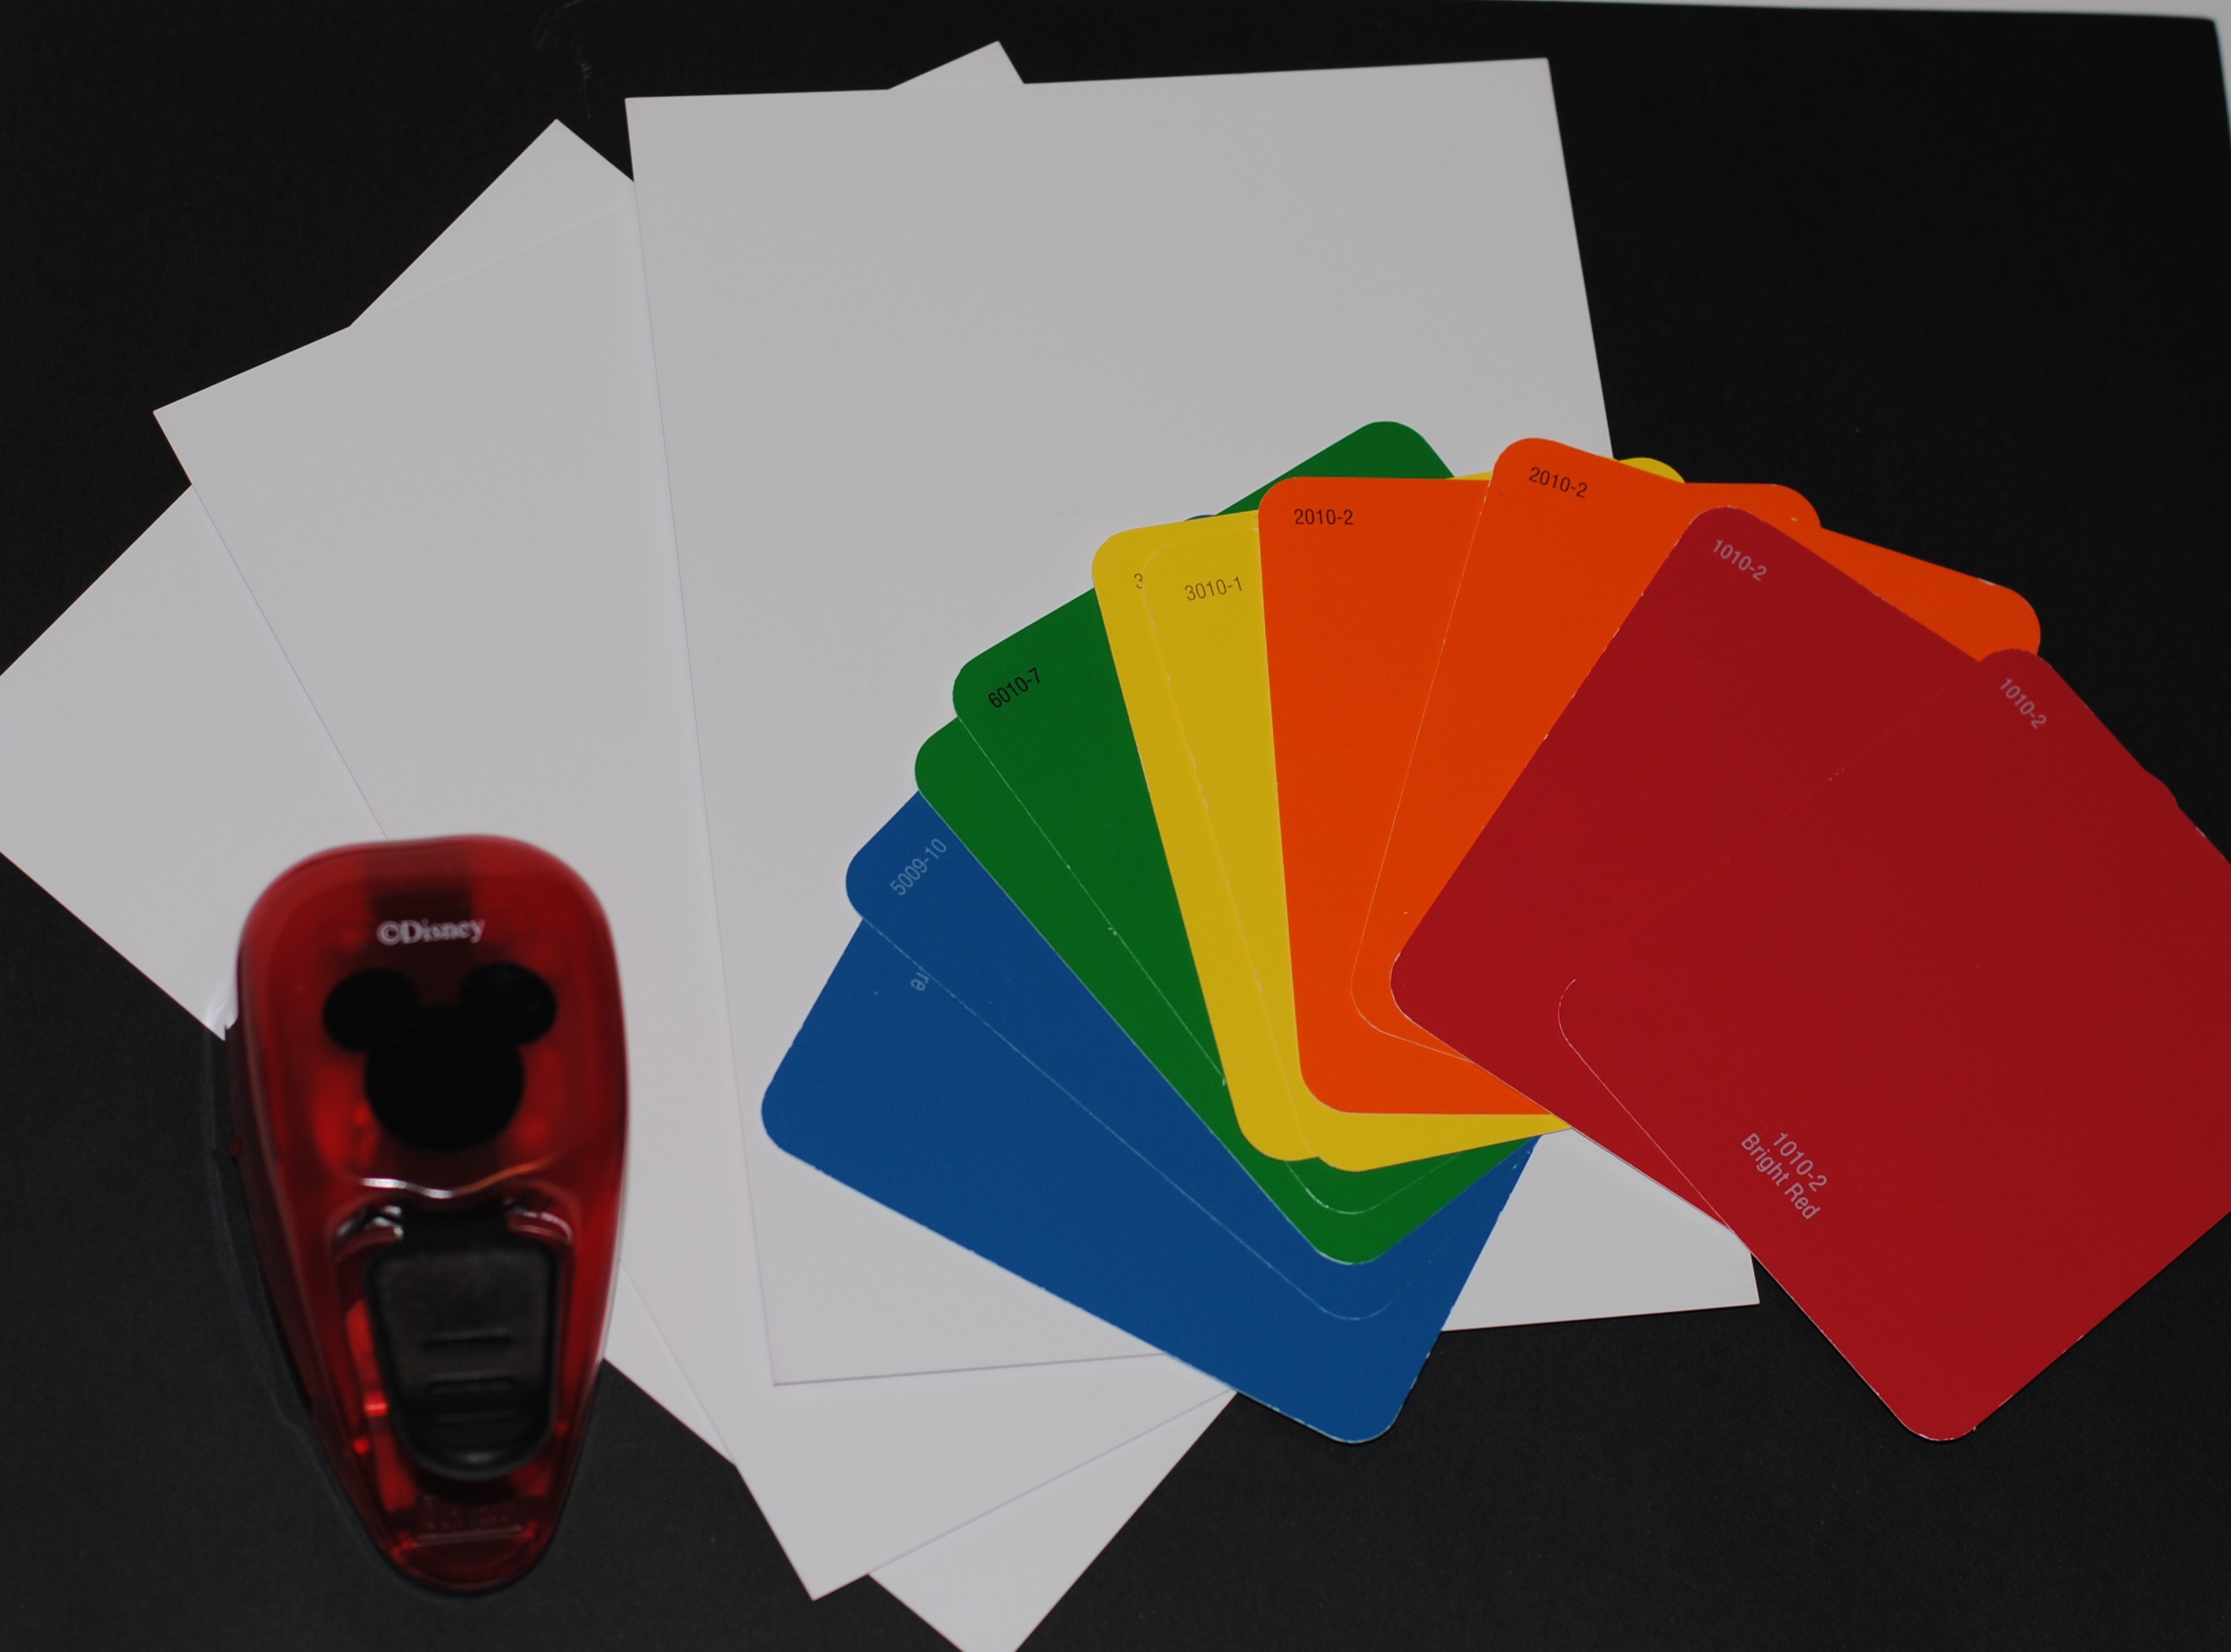
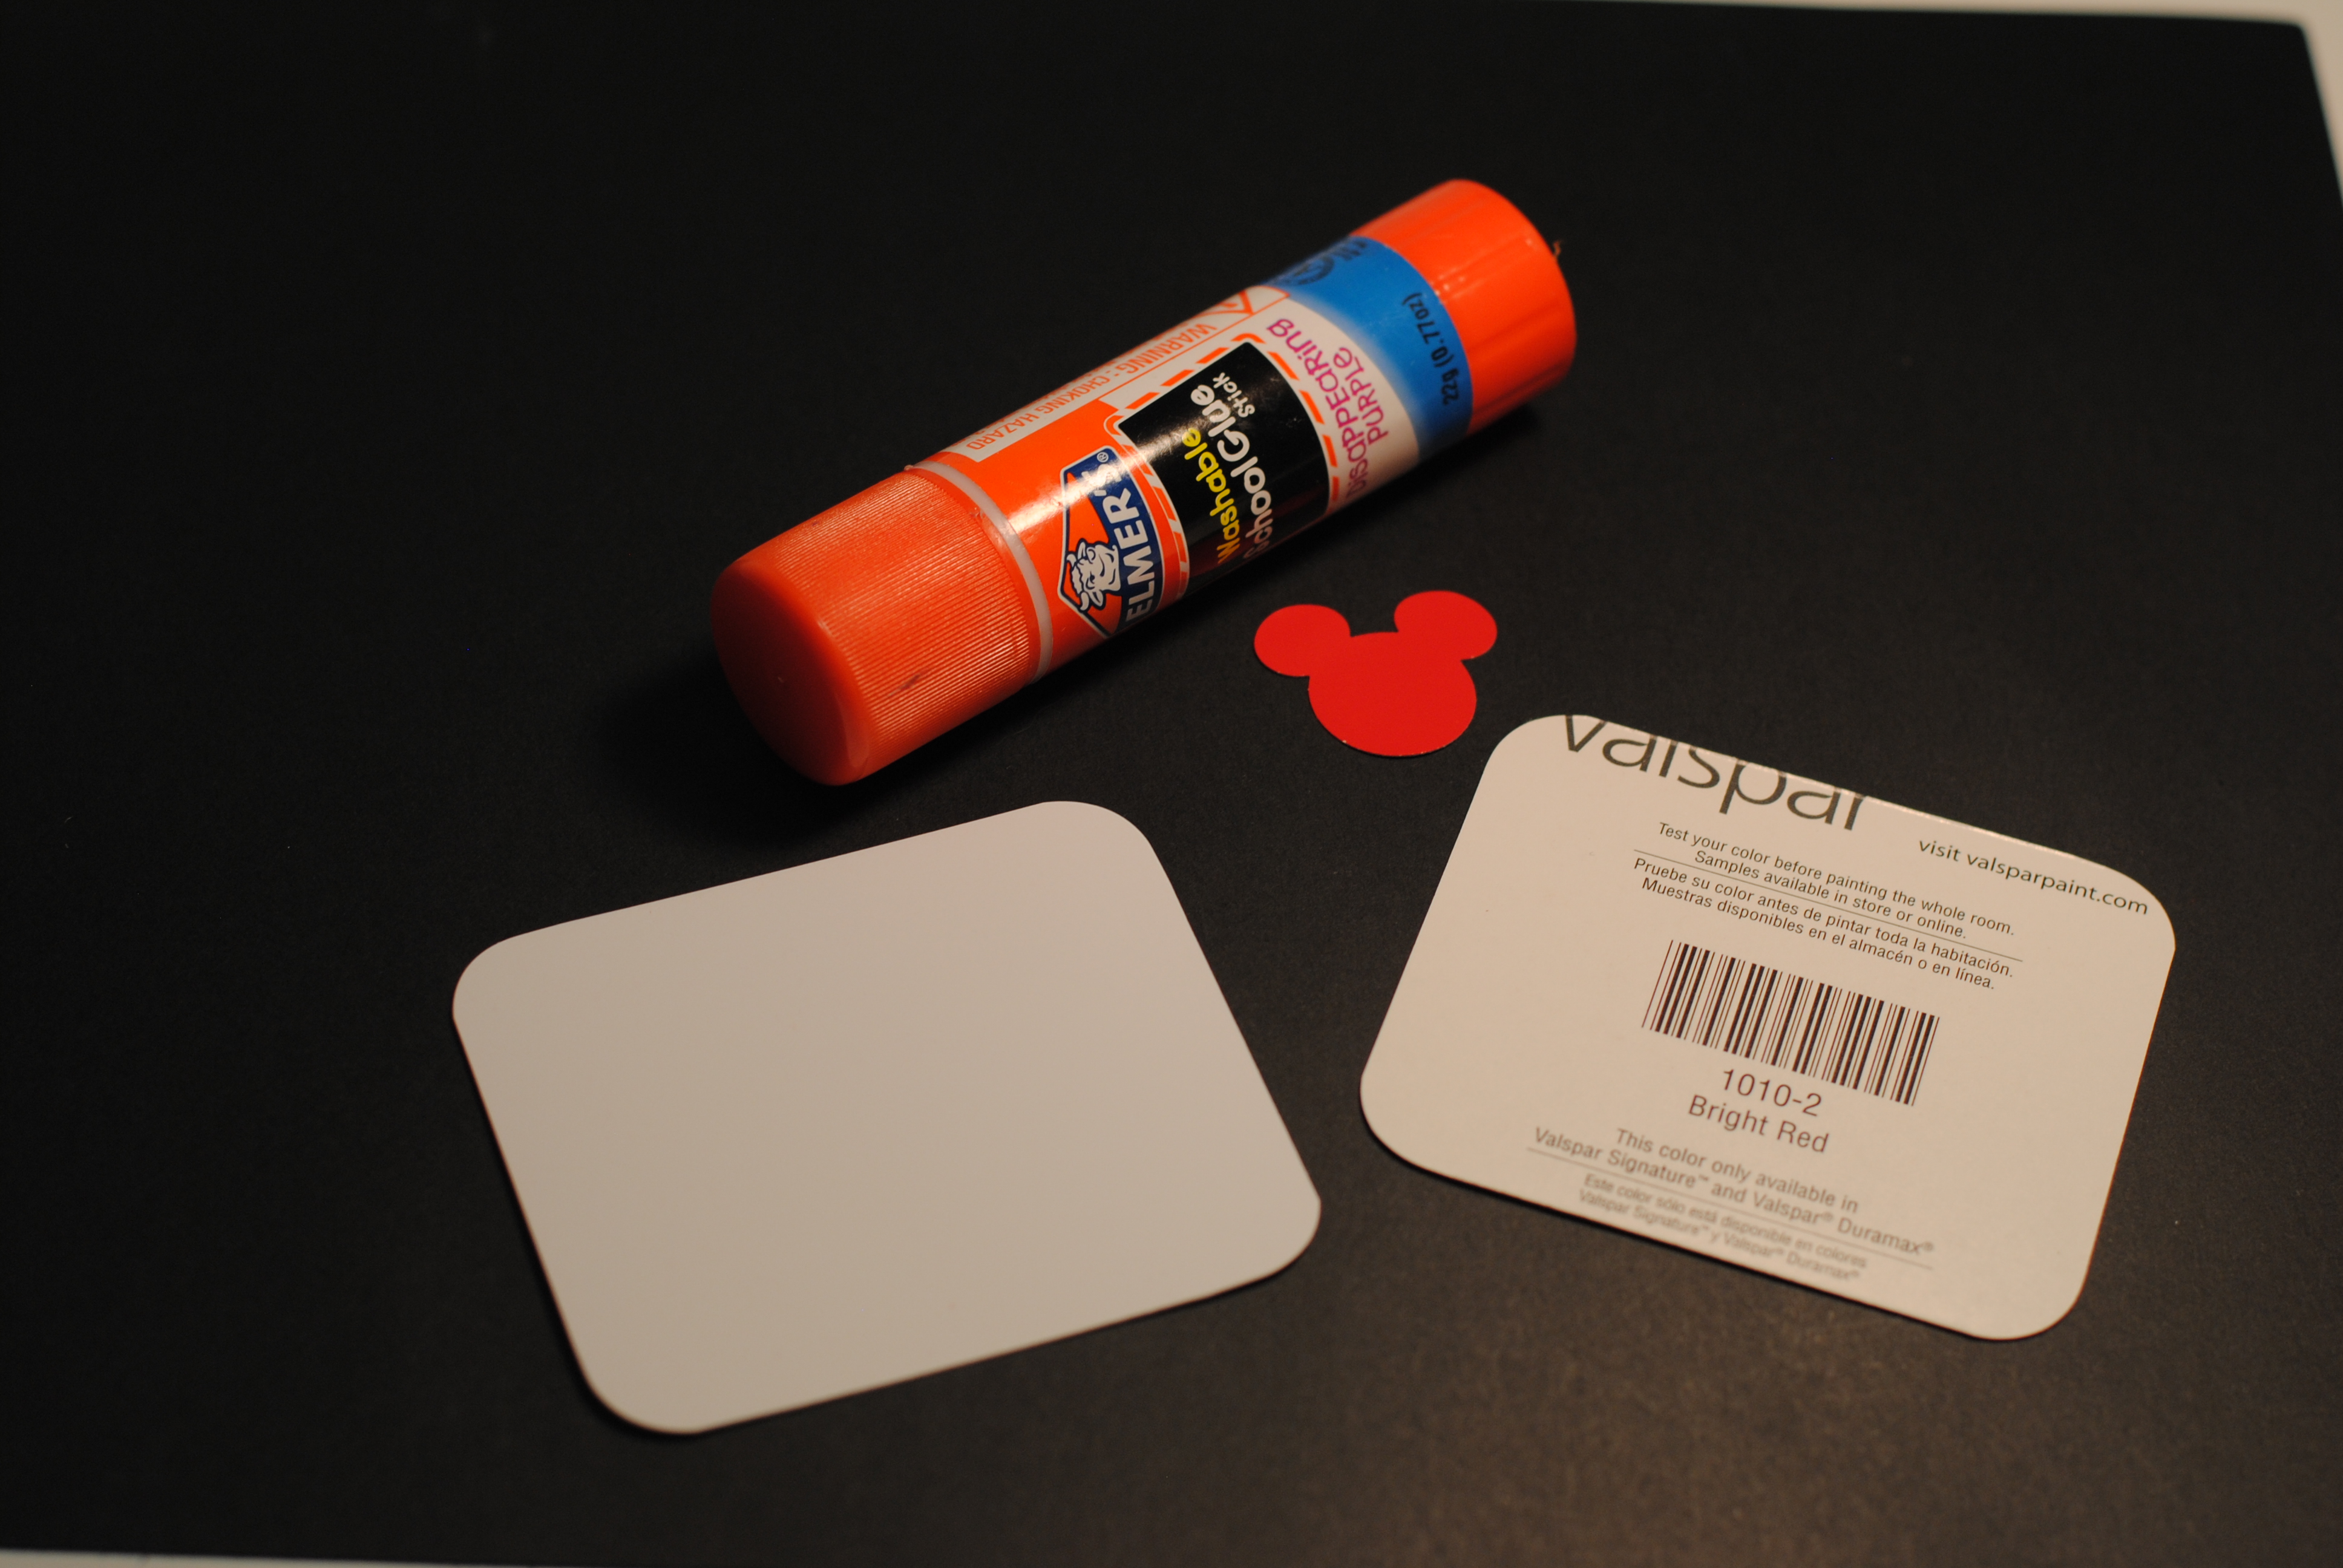
Gather supplies: white heavy weight card stock; 10 paint chips (2 of each color), glue stick, scissors or a paper-cutter, Mickey Mouse craft punch, hole puncher, and a piece of ribbon.
  2. DSC_2195Trim one of each different color paint chips down to 3″ x 2.5″.  This will take off the descriptive words on the paint chips.  Also cut down the white card stock to 3″ x 2.5″.  Use the remaining duplicate colored paint chips to make your Mickey Mouse craft punches for each flash card.
  3. DSC_2198
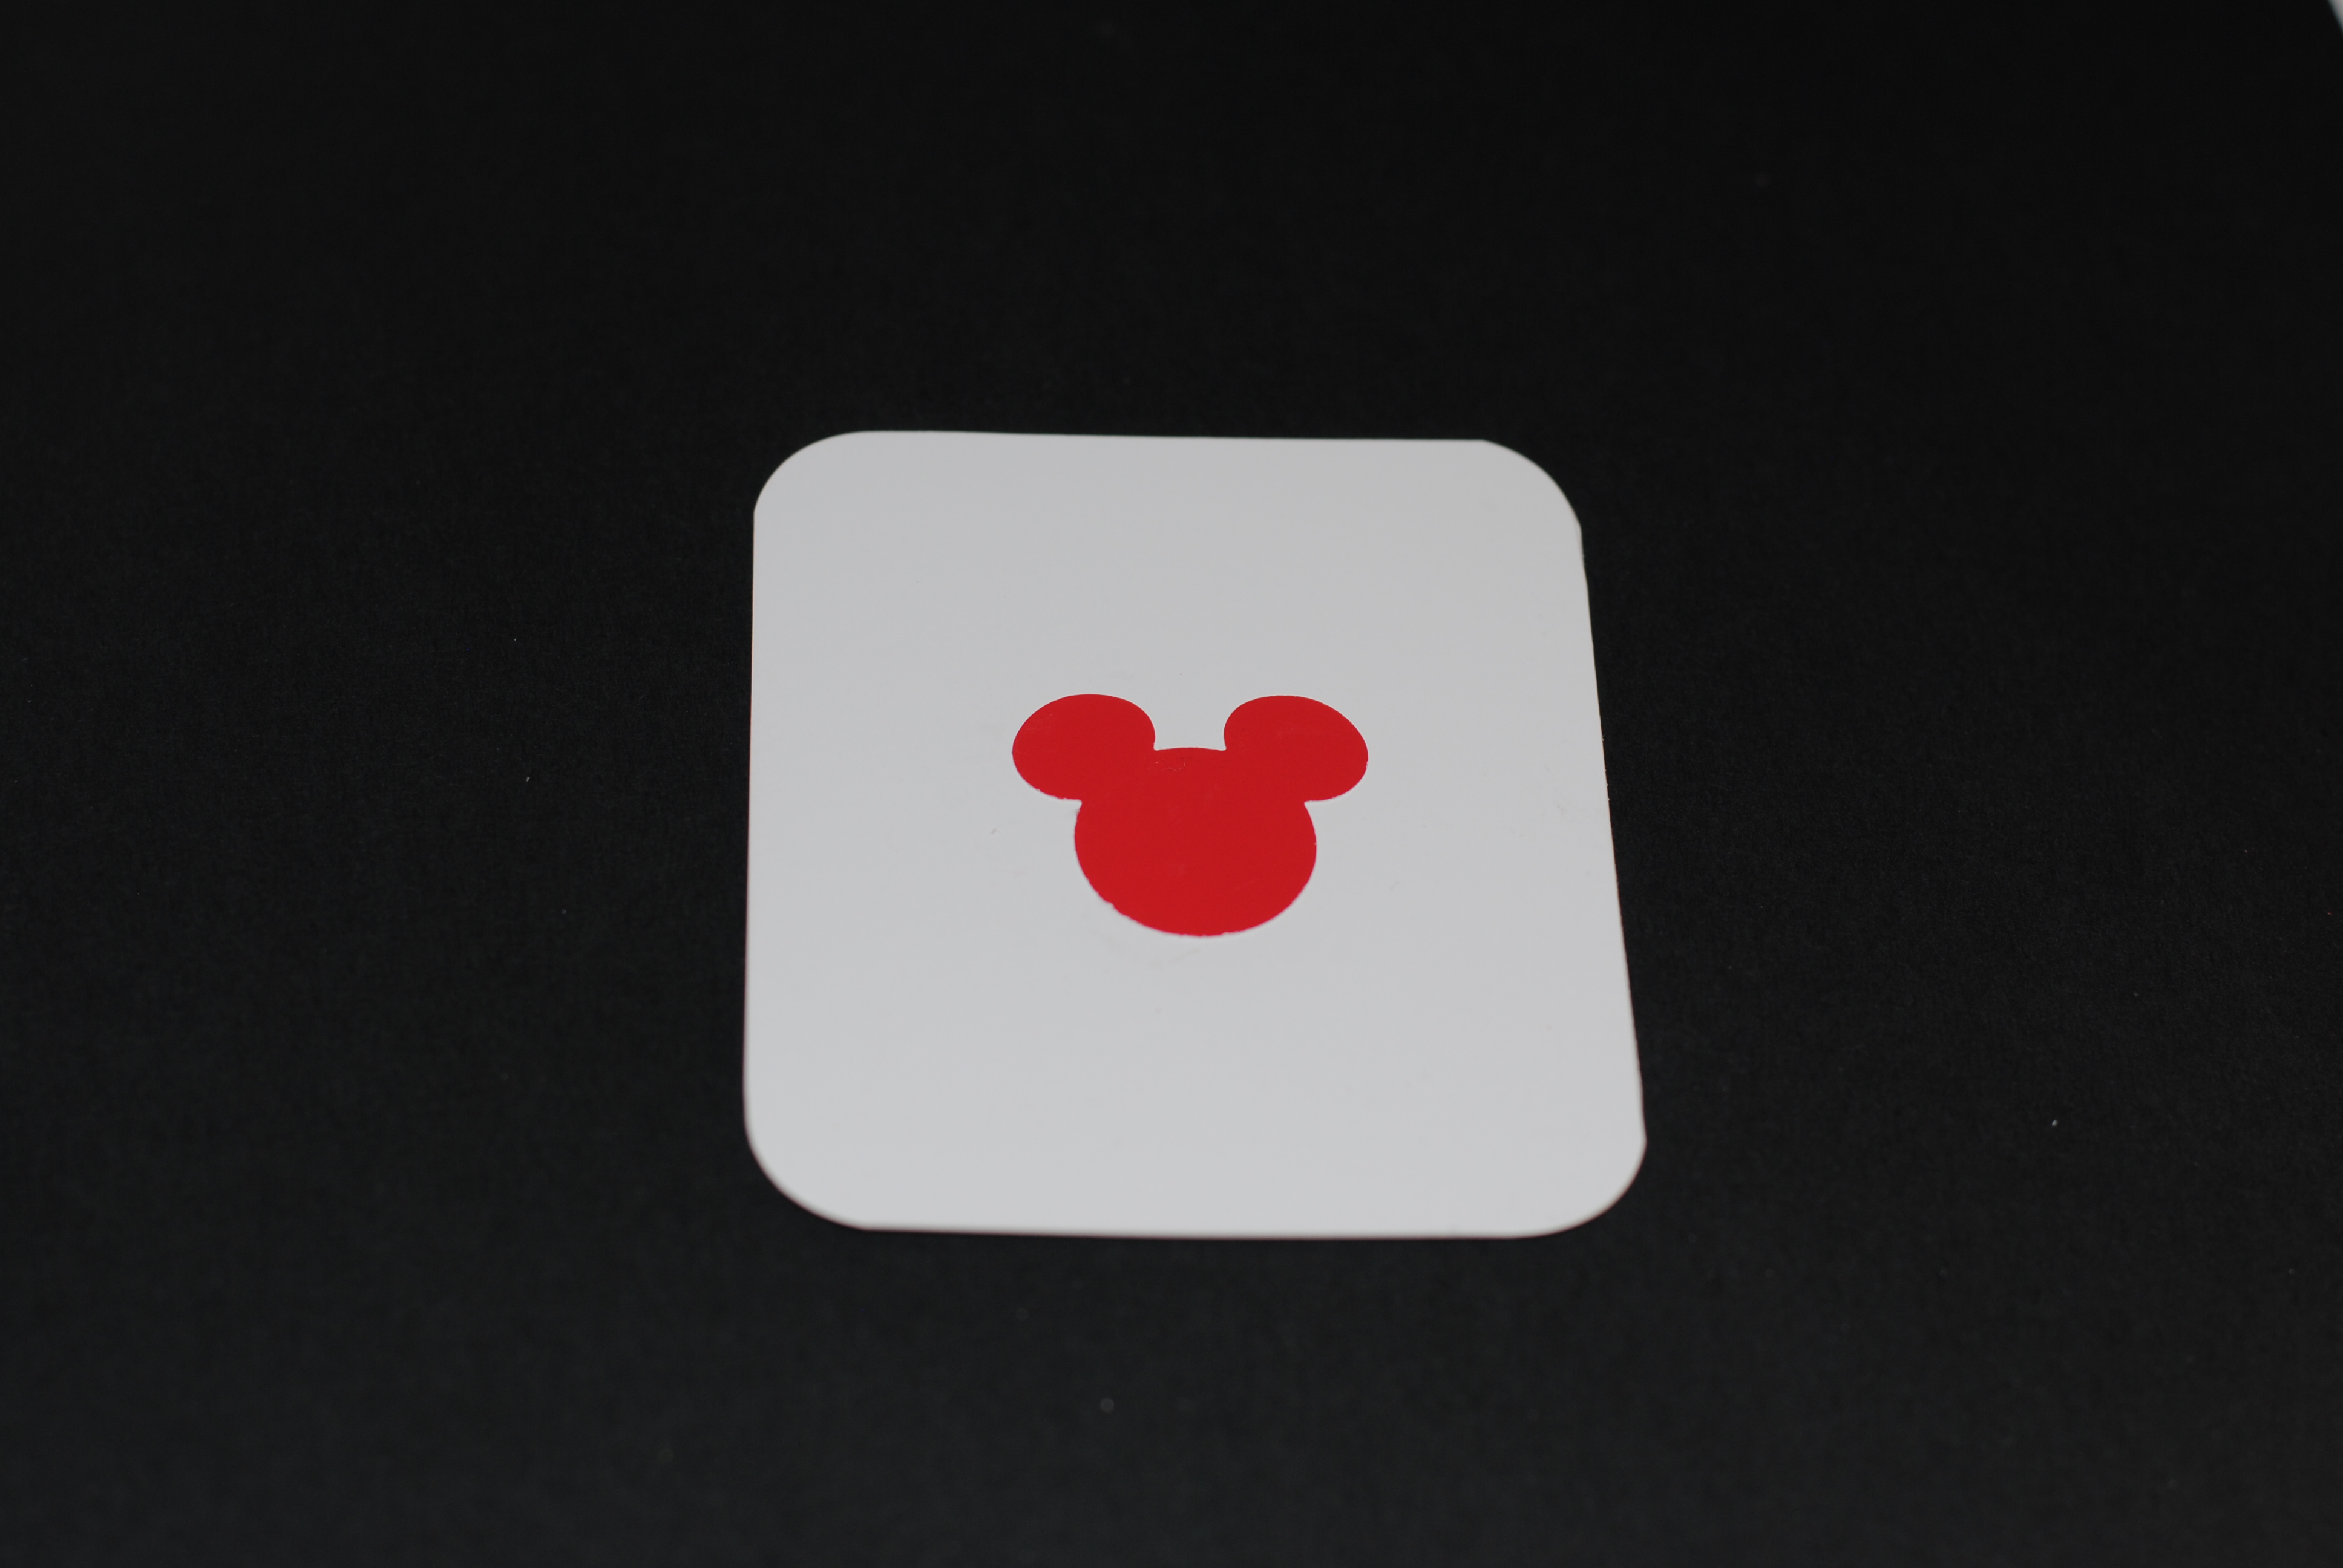
Glue the heavy weight white card stock to the back of the paint chip.  This side will be your “counting” side of each card.  Glue the Mickey craft punches to each card.
  4. DSC_2201
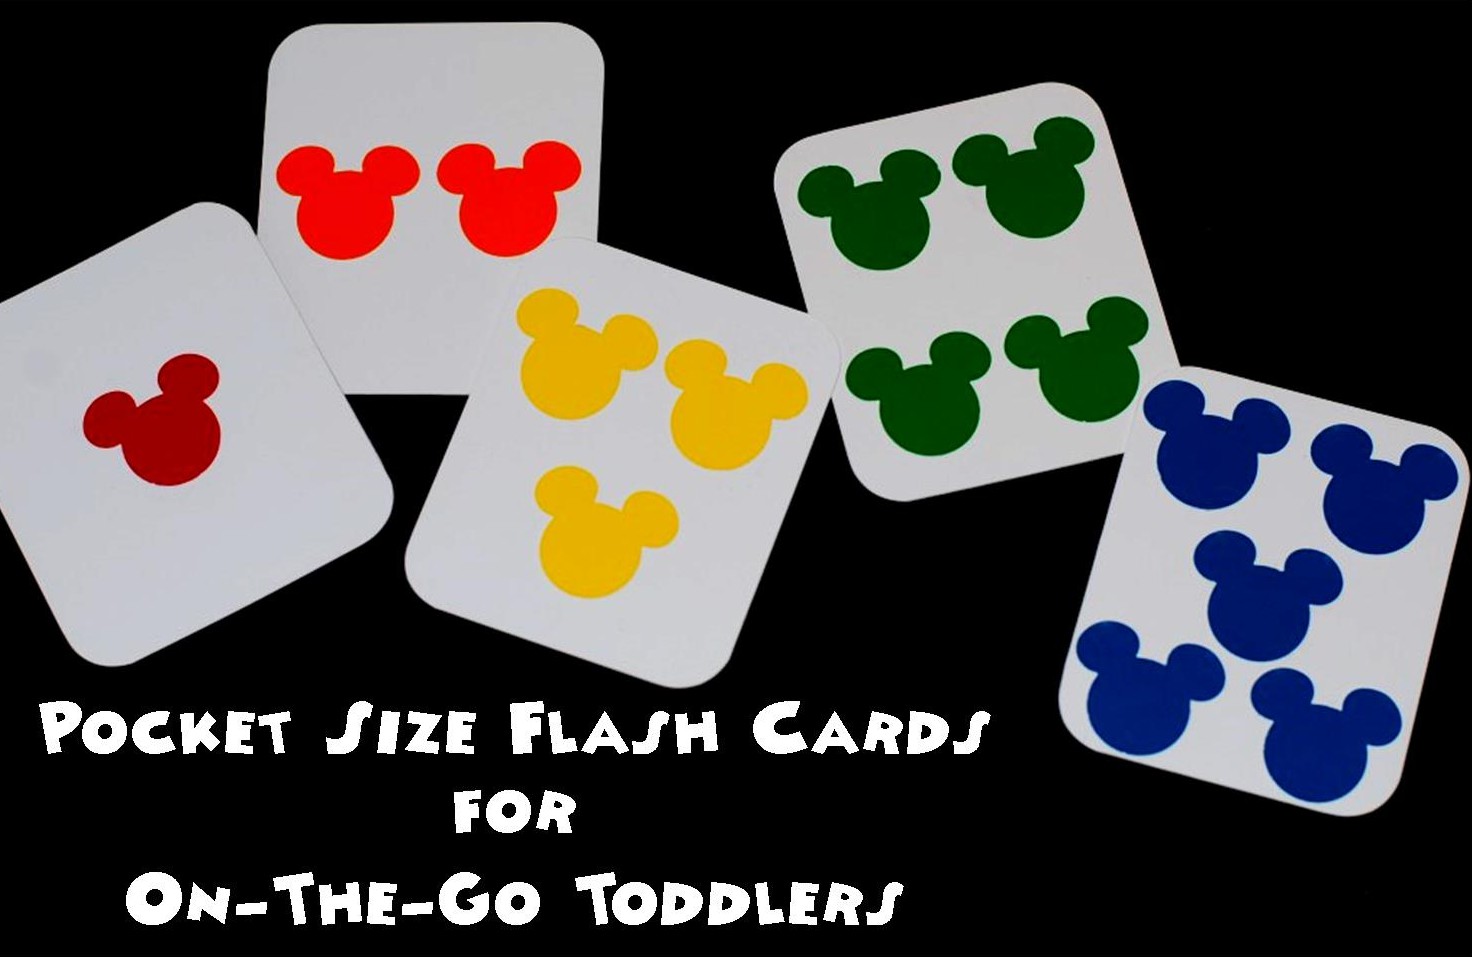
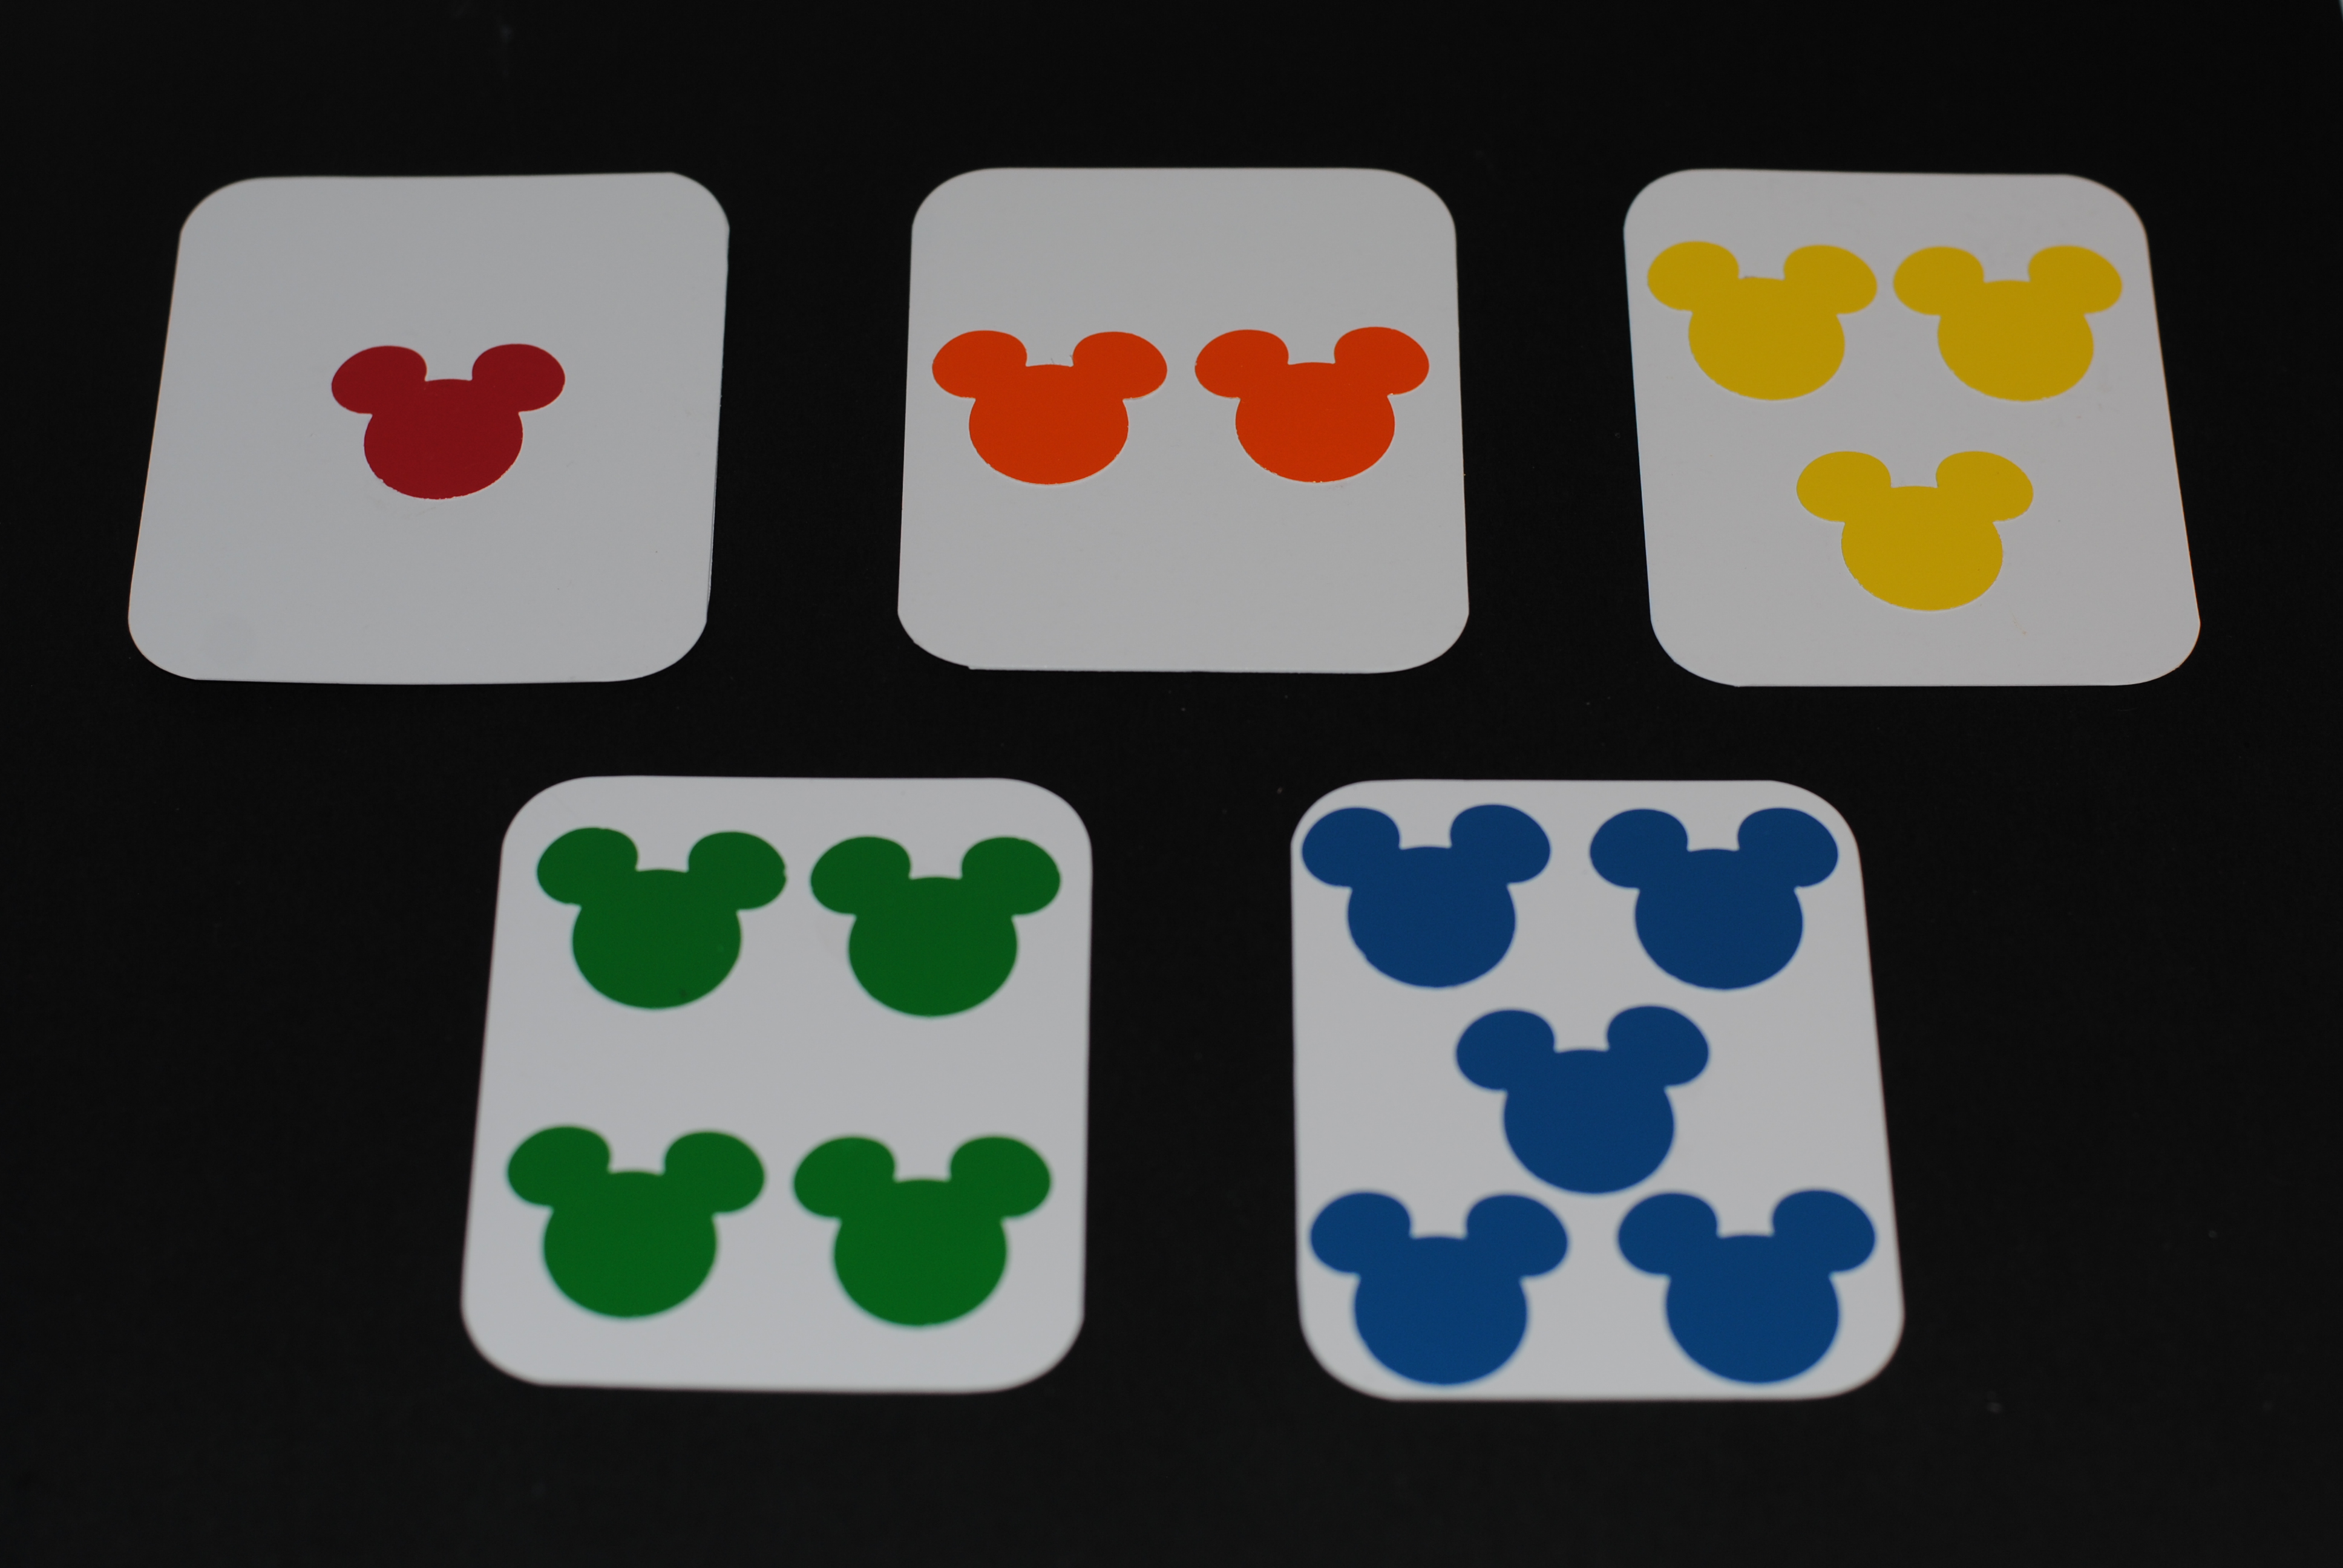
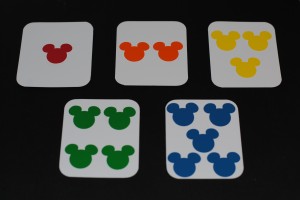
I used the rainbow to decide the order, one Mickey for red, two Mickeys for orange, three Mickeys for yellow, four Mickeys for green and five Mickeys for blue.
  5. DSC_2212
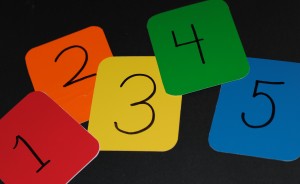
On the color side of the card use a Sharpie to write the corresponding number.
  6. DSC_2216
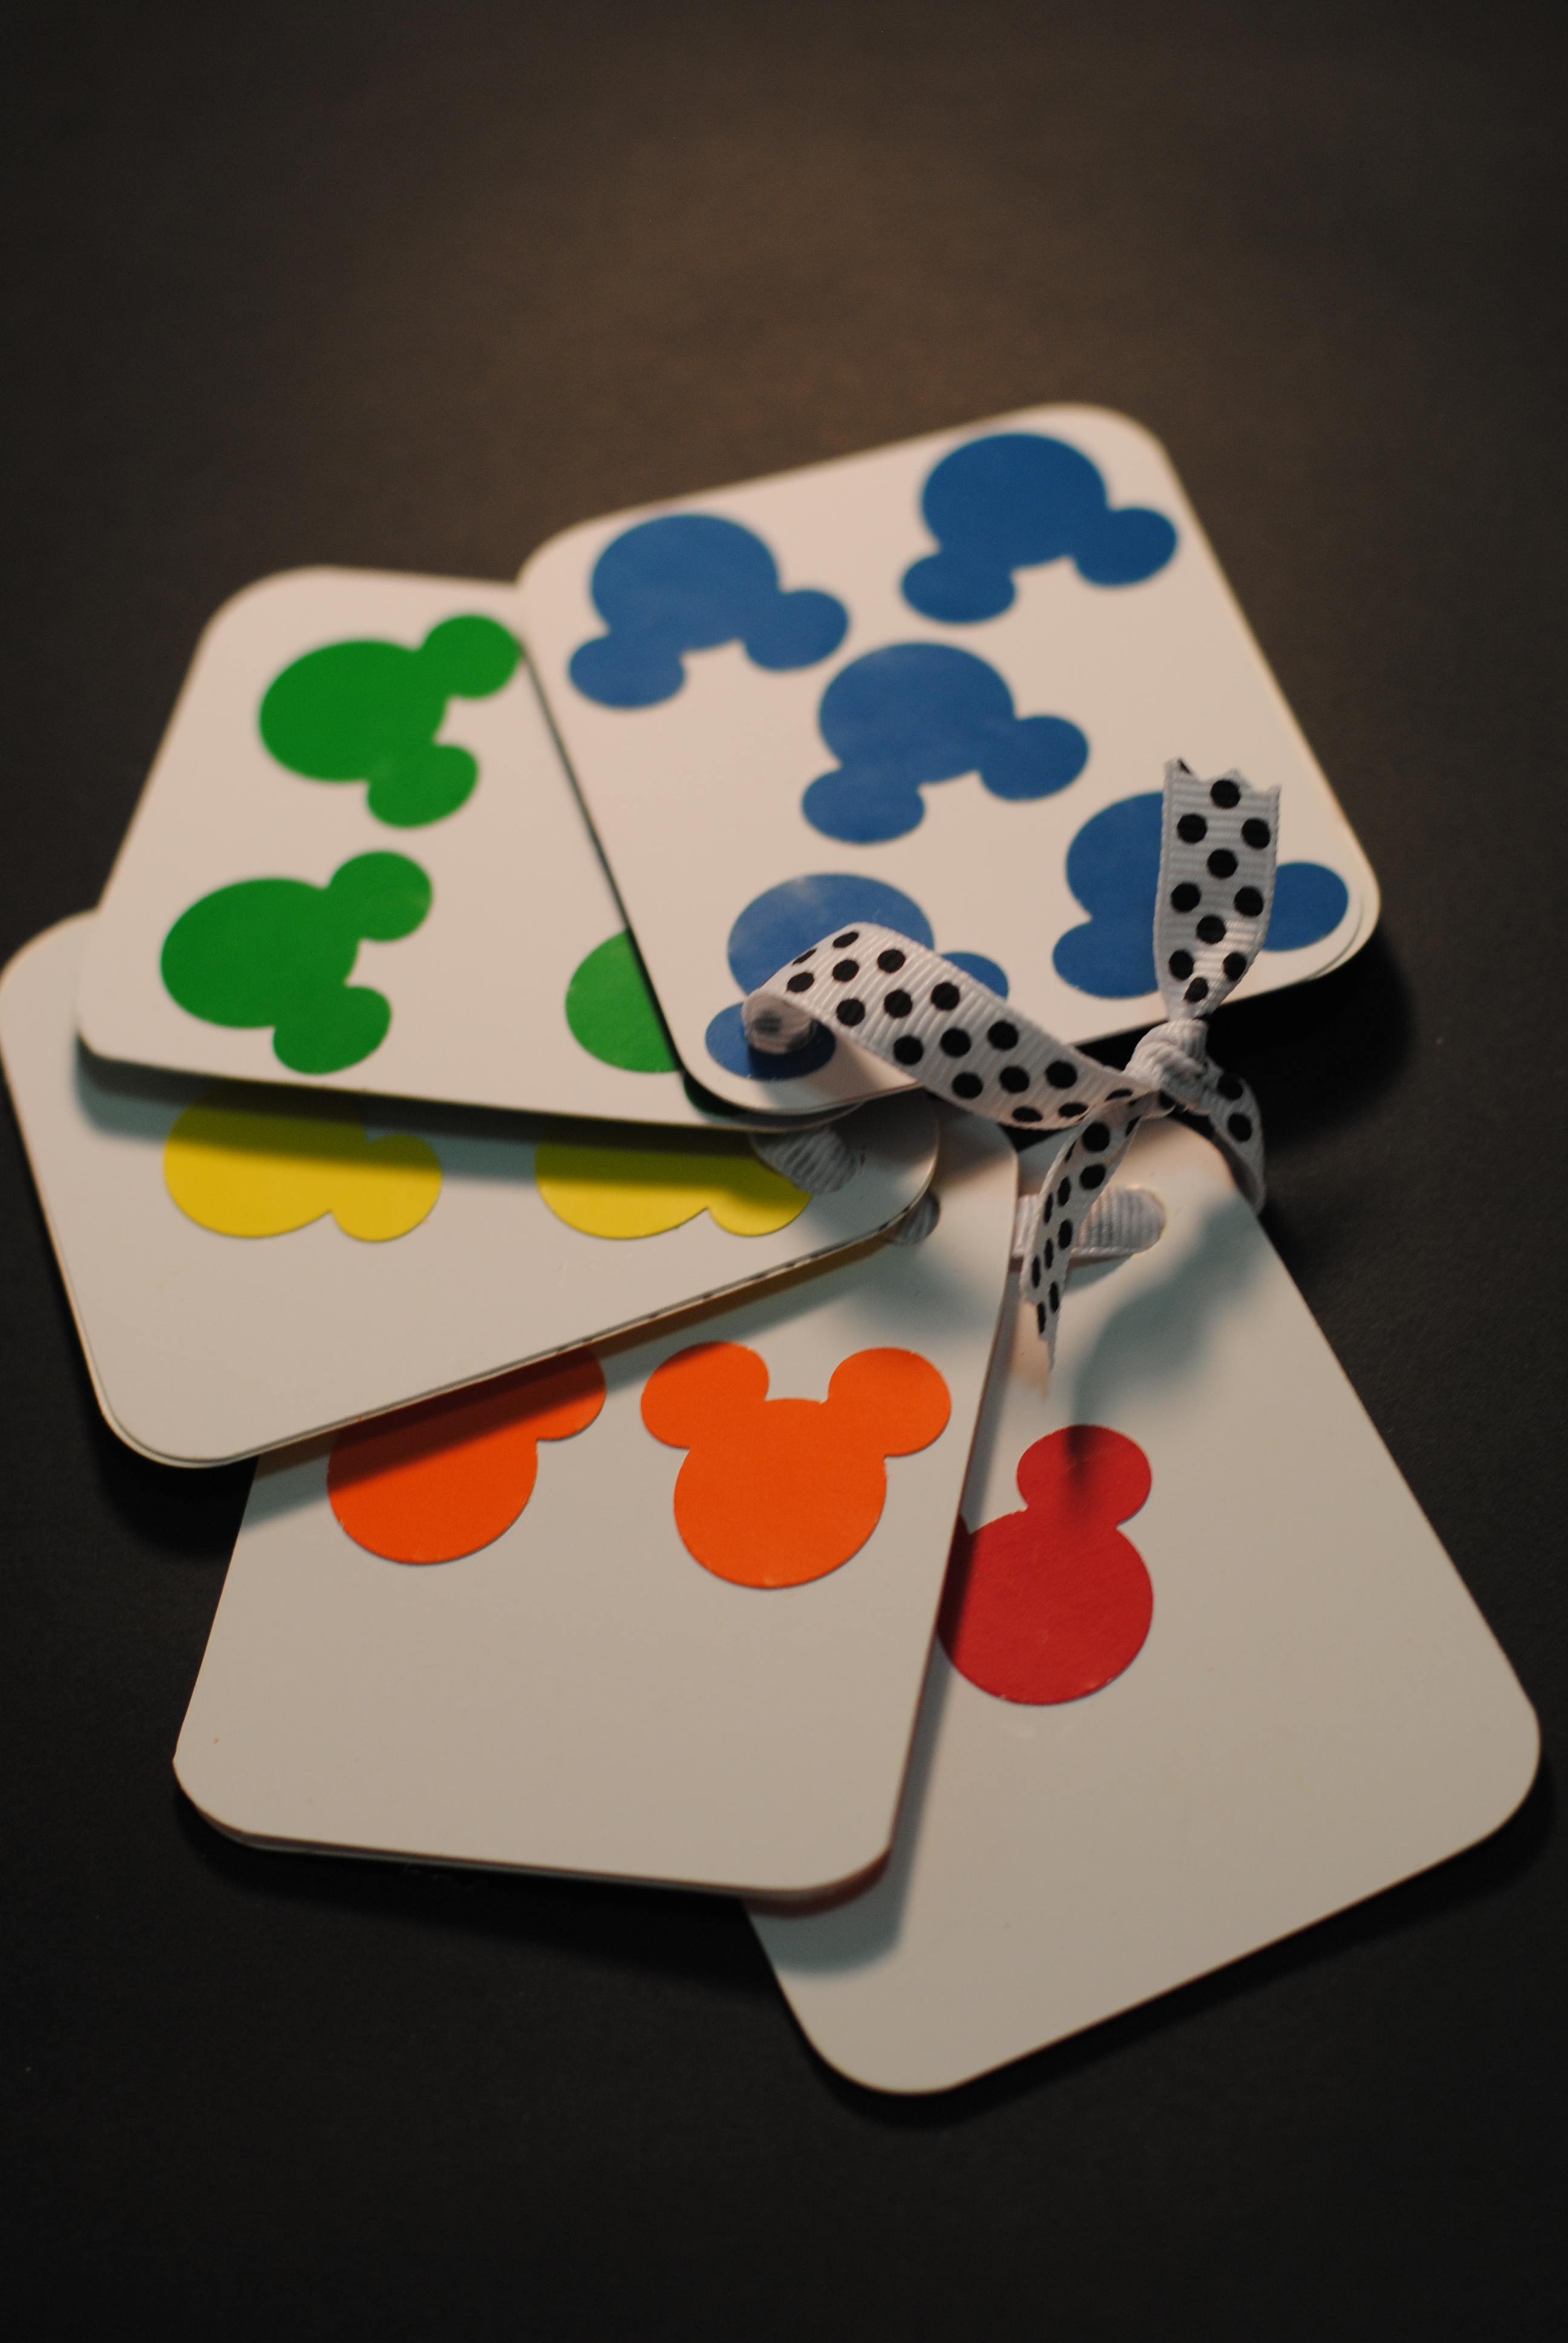
Last, hole punch the corner of each card and string ribbon to connect them all.  Now they’re ready for your toddlers next adventure in the store!

Easy as 1,2,3…4 and 5!


Teacher’s Simple Gift Idea {Free Printable}

teachers desk

Walt Disney has said so many outstanding inspirational statements during his amazing life journey.   As a gift for my son’s new teacher I thought I’d share one of those statements of inspiration.  It’s a simple gift and idea, but I believe it speaks volumes about the important role she plays in her students’ lives.

To make this gift, I purchased a 5″ x 7″ treasure box frame.  Cut a piece of red scrapbook paper down to 5″ x 7″ and printed out the quote on a standard size piece of white card stock.  I formatted the quote to be 4″ x 6″.  I finished the piece by using my Mickey Mouse craft punch for the two Mickey icons.  With the use of a simple glue stick, I was done!

If you’d like to give your child’s teacher a bit of Walt’s Wisdom, click on the link below to print out his quote.  The page size is standard 8.5″ x 11″.  The quote is outlined to fit a 5″ x 7″ frame or by cutting the inside line it will fit in a 4″ x 6″ frame.  Enjoy!

Walt Disney Quote

Do you have a favorite Walt Disney Quote that you think would be perfect for a teacher?  Please share!

Free Printable Airplane Garland Template

Airplane GarlandDecorating with Planes

Do you live with a little aviator?  If so, an airplane garland is the easiest and cheapest way to decorate his room with a touch of plane décor.    He can even help you make it!  All you need is cardstock, a hole puncher, ribbon and a pair of pinking shears.  To get the consistent airplane shape I used a Wilton airplane cookie cutter as my “template”.  If you can’t find this cookie cutter, I traced if for you.  Just click on the Airplane template link below and print it out.  I would recommend printing it on cardstock.  It’ll make it easier to use it as a template.

Airplane template

Five Steps to Make an Airplane Garland:

  1. Trace the airplane cookie cutter or template on to cardstock.
  2. Cut out the airplane shapes.
  3. Punch one hole on front of each plane and one hole on the back of each plane.
  4. Cut ribbon.
  5. Tie the planes together with the ribbon.

DSC_2183At Gavin’s 6th birthday party, I used this garland on the front of the dessert table. His window valance is a dark navy, so the garland also worked perfectly in his room.  Since then, he’s painted the orange plane you see hanging in this picture.

Now Gavin and I would like to make an Orange, White and Blue Airplane Garland for our new favorite Cropduster, Dusty!

If you’re looking for a fantastic deal on Disney’s “Planes” toys. The Disney Store is running a wonderful sale on their “Planes” toys. Here’s the link to take you straight there!
Online Exclusive. For a limited time, 40% off high-flying favorites from Disney’s Planes at Disney Store!


Airplanes Birthday Party

Sept. 2012-May 2013 273Flying Fun!

This week, the kids and I are so excited that Disney’s “Planes” premieres in theatres on Friday, August 9th. I don’t know about your kids but my son, Gavin, has been talking about the film’s release for months.  Having been a plane enthusiast since the young age of one, this year Gavin really wanted to have a Disney’s “Planes” themed birthday party.  Well, Gavin was born two months premature and let me say, if he had gone full term then the Disney “Planes” supplies might have been out in time for this party!  Regardless, there was not a single “Planes” product available when I was planning his party and at that point, other than what was said in the original preview we knew little about the film.  So, the party theme was tweaked a bit and was transformed into a “Flying” theme.  This also gave me the opportunity to be creative with planning his special day around him, instead of a specific character. With the theatre release of Disney’s “Planes” this summer, I’m certain quite a few more children will also want to have a “Planes” birthday party this year.

Today, I thought I’d share some of the details of my son’s “Flying” party that you could incorporate into a Disney’s “Planes” Inspired Party.

Check In Desk (Presents!)Check In Table (Present Table)

Kids and Parents TableParents and Kids Table

I wanted to do a kids table but attending the party were a lot of small children that needed Mom or Dad’s help to eat.  I decided to create runway style seating that included cloud place mat settings for parents and their children. At each child’s cloud flew a Match Box plane with a banner attached to it that said the child’s name.  At the head of the table, blocked by the balloons in this photo, was a control tower.

 Flight TrainingActivities

Activities of the day included Flight Training, which involved making, decorating and flying paper airplanes.  Aviators also completed Plane Maintenance, a.k.a. painting their own wooden plane.  This station was featured in the first photo of this blog post.  At the end of the party, we brought the kids outside and launched rockets.

Juice Boxes Chocolate dipped plane cookies

Plane Birthday CakeFlight Inspired Food

There were two food areas, a Food Court and the Pilot’s Lounge.  In the Food Court, we offered party guests a buffet of Gavin’s favorite food, Pizza.  There was Chicken Wingman Pizza, Broccoli and Alfredo Flying Pizza, Flying High Cheese Pizza Pies, Pepperoni Pie in the Sky and Ham and Cheesy Flight Attendants Pizza.  In addition we had prepackaged chips, like you’d find in a food court, plane propellers (fruit on a skewer) and Jet Fuel (a variety of drinks).

At the Pilot’s Lounge is where all the goodies, including cake, could be found.  The photos above show a few items offered, chocolate-dipped airplane sugar cookies, juice boxes and the birthday boy’s cake.

Guest Gift Bag "Baggage Claim" TableBaggage Claim (Favor bags for babies, kids and adults)

Before Gavin’s guests left the party, they headed over to collect their baggage (favor bag).  The babies that attended took their personalized mini luggage filled with a travel size baby body wash.  Kids, two years old and above, were given one of the larger brown luggage pieces, shown in the middle of the table.  Each luggage piece had a personalized luggage tag and thank you note.  Inside was enough room for their painted plane, paper airplane, Match Box plane, and some surprises, such as a plane kite and a chocolate plane lollipop.  The adults at the party left with their “In Flight” peanuts and a thank you note.

In Flight PeanutsI’d like to thank Kerri Nichols for the wonderful Bi-Plane cake and Jeff, of Jeff D’Angelo’s Design Group, for the use of the vintage luggage pieces. Find out more about Jeff D’Angelo’s Design Group at:

 https://www.facebook.com/pages/Jeff-DAngelos-Design-Group/132909703465772

If your child asks for a Disney’s Planes birthday party this year, I hope these “Flying” party ideas will help you plan a party that Soars to Spectacular!

Back to School Craft

Ducktape DisneyTurn ordinary pencils into Disney pencils in less than a minute!

Popular with children of all ages, Duck Tape creations have taken over the crafting world.  Honestly, I haven’t a clue how to make the Duck Tape detailed works of art that I see on display at our local craft store.  However, using it to spruce up school supplies is not only fun, but fast and simple.  I encourage you to take your child to a craft store and have him pick out a color or printed pattern Duck Tape roll and let him transform his folders, notebooks,  and pencils.

photo (29)Duck Tape Brand has three Disney themed offerings, Minnie Mouse, Mickey Mouse and Tinkerbell.  I purchased the Minnie Mouse Duck Tape to decorate my daughter’s $1 flash card case and over sized Pre-K pencils.  The pencils took less than one minute to cover!  What’s fantastic about this product is that it is so user friendly that my six year old can enjoy using it to decorate his school supplies too.

Have you ever used Duck Tape to make a Disney creation?  I’d love to see it and share it on our Facebook page!