Category: Disney-Inspired Party Planning

Classmate Halloween Gift Idea

Mike bag
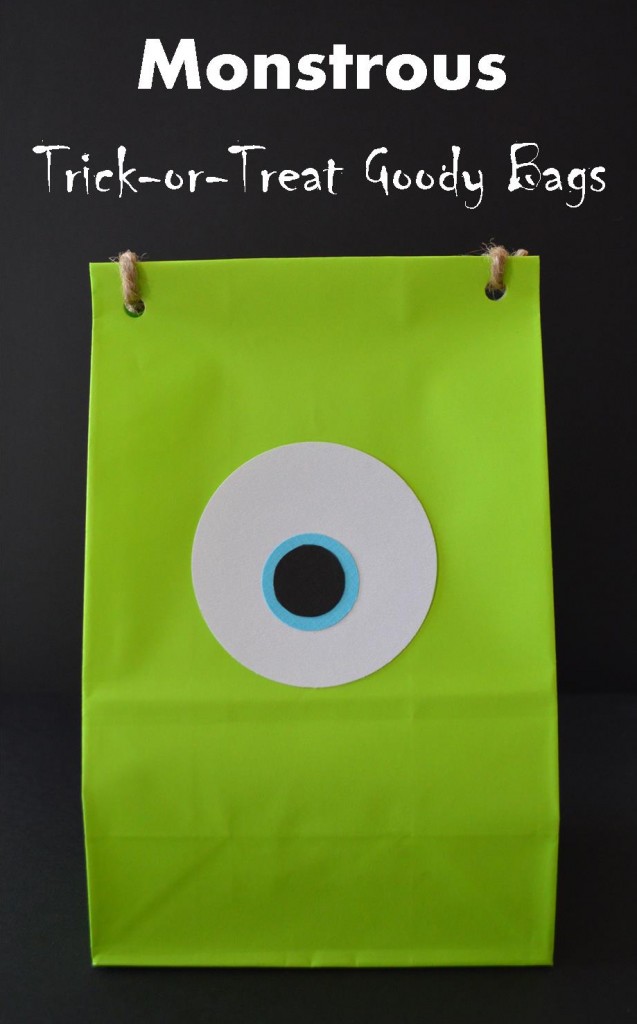
Monsters University Favorite, Mike Wazowski makes a perfect Monstrous goody bag.Roba's 2013 092
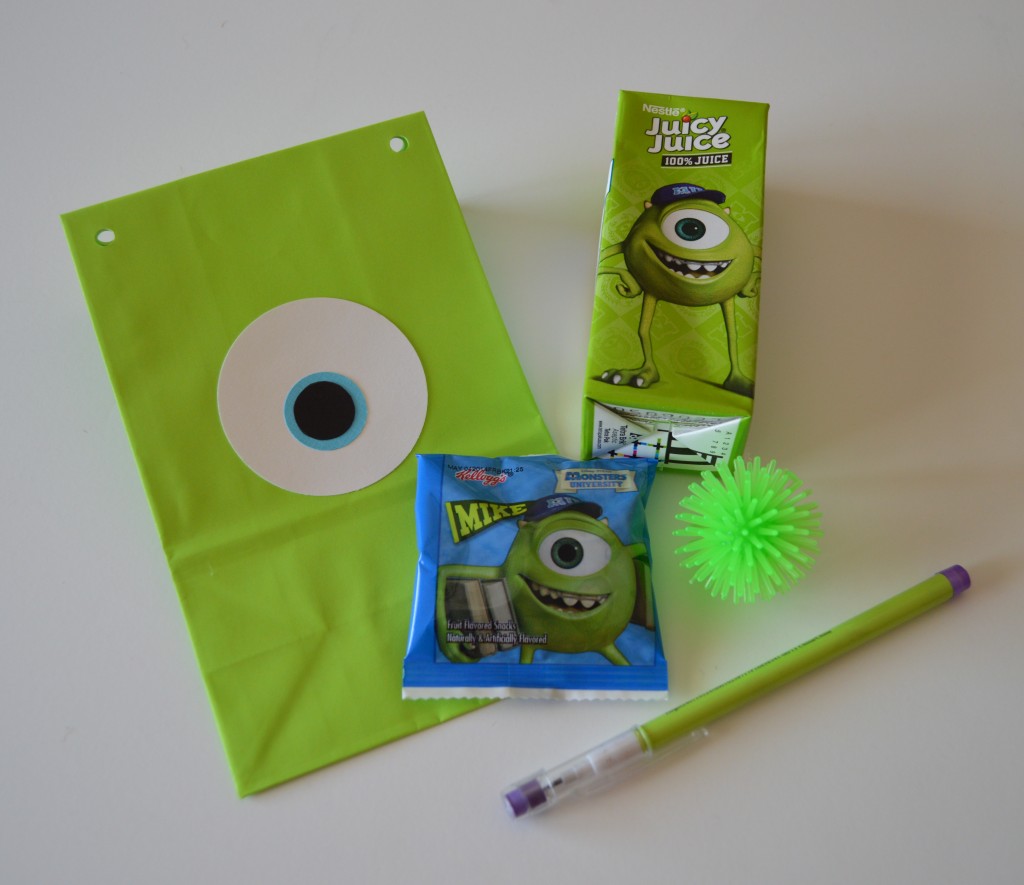
Put these little goodies in the Mike bag and little monsters will be screaming happy.

This year for my son’s 1st grade classmates,  I wanted to make a Halloween treat that wasn’t super scary, could be for a girl or a boy and it had to be easy to make since there are 19 little “Monsters” in his class.  I made this little treat bag in less than 10 minutes and the goodies were staring at me with one big eye.

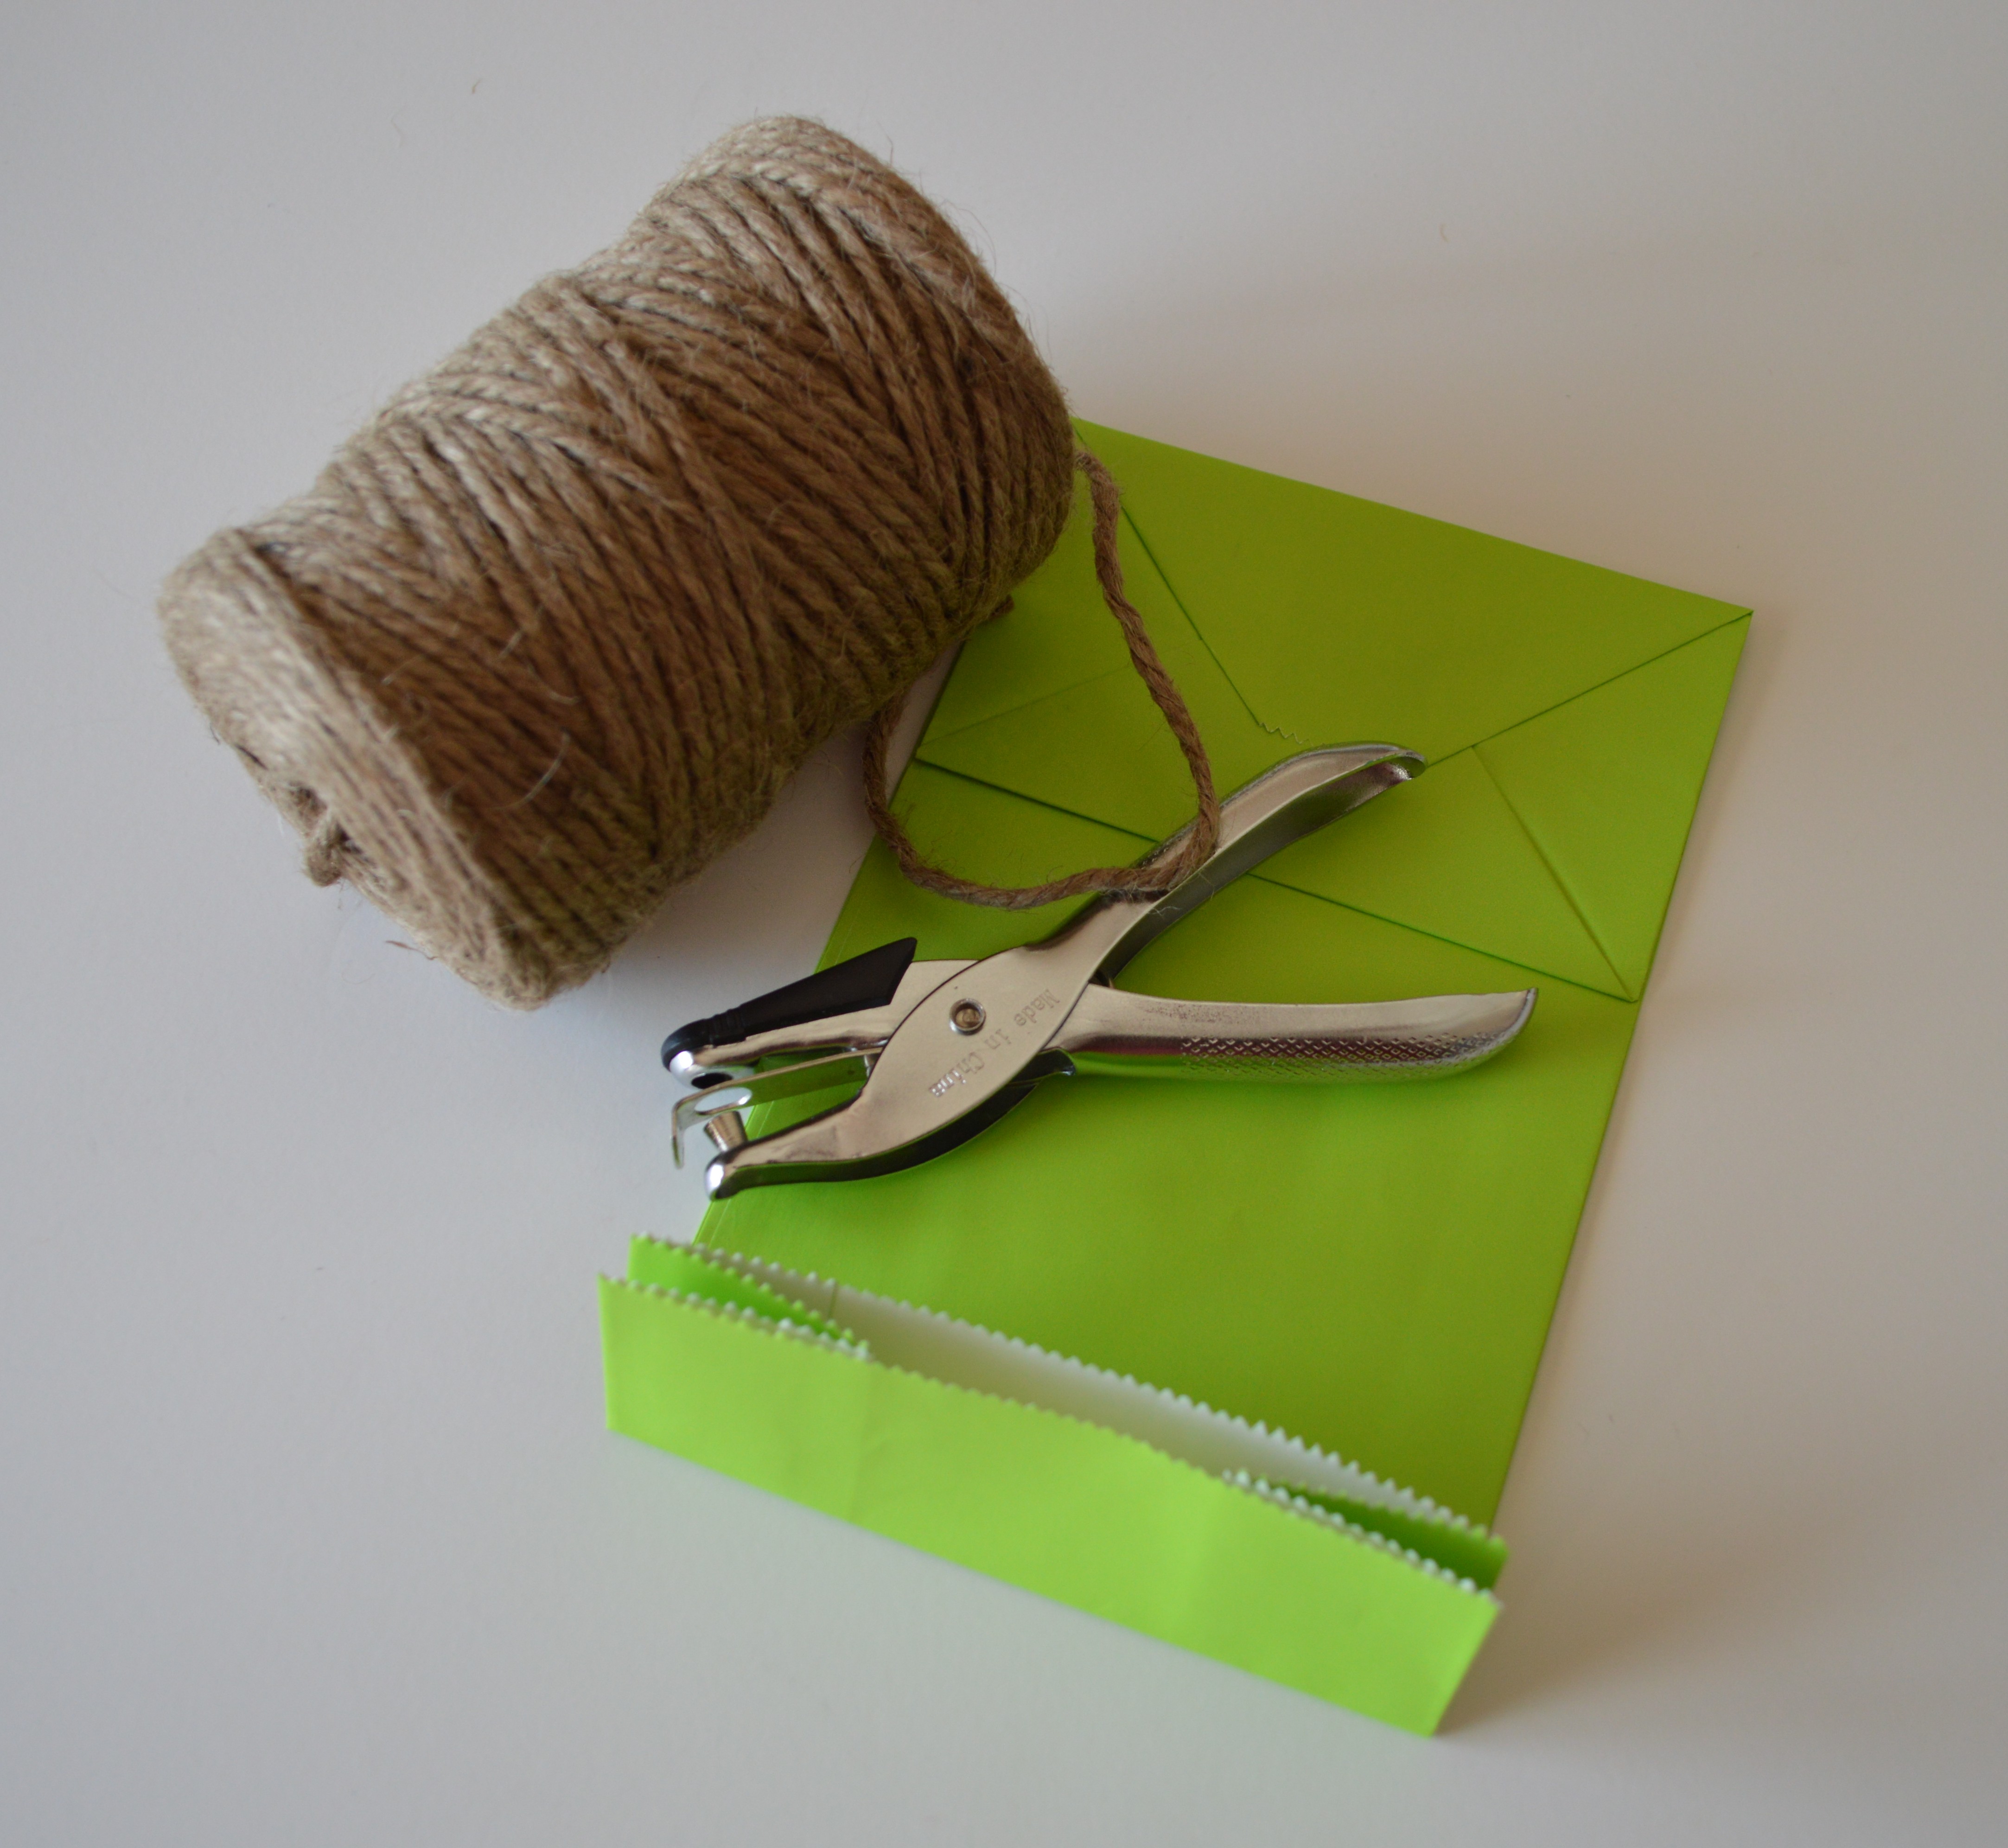
If you’d like to make your child’s classmates this one-eyed monster bag, here’s what you’ll need: white, black and blue scrapbook paper, a 3″ hole punch, a 1″ hole punch, a dime, glue stick, everyday hole puncher, twine, scissors, and lime green paper sacks.  I found these treat bags at Michael’s Craft Store.  They were only $3 for a bag of 12. The bag dimensions are 4.7″ x 2.8″ x 8.9″. Mike Goody Bag Supplies

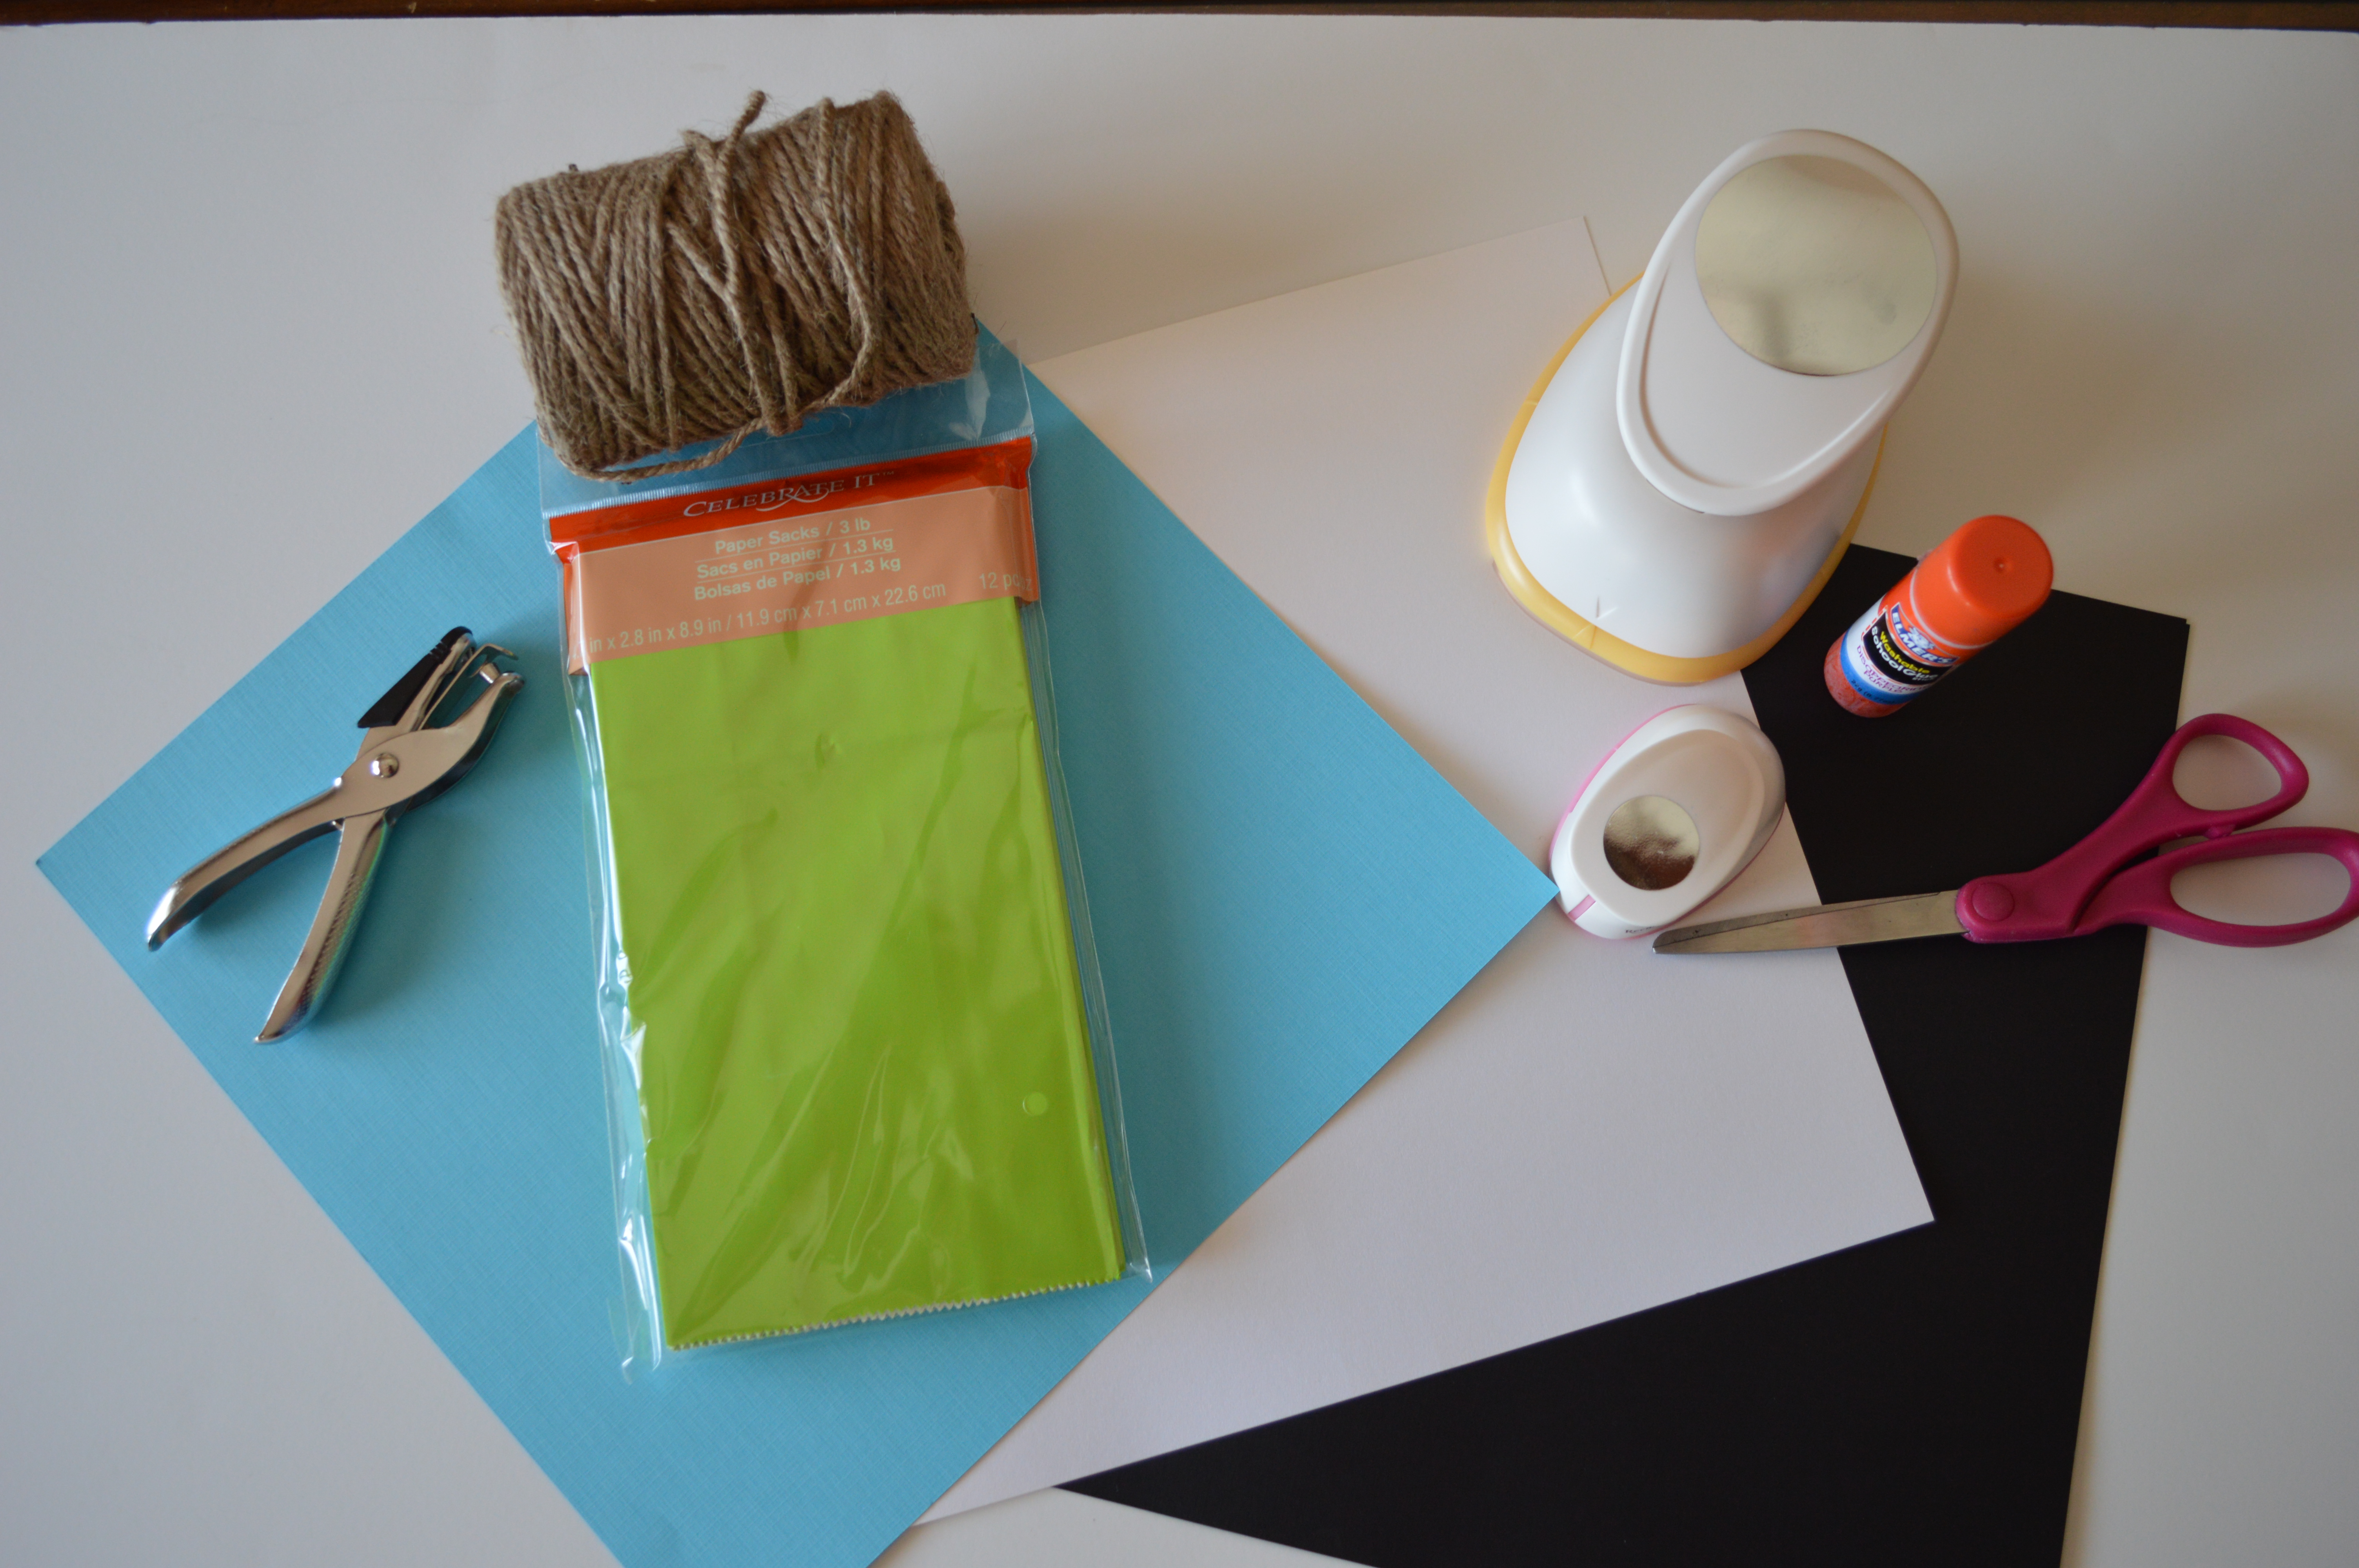
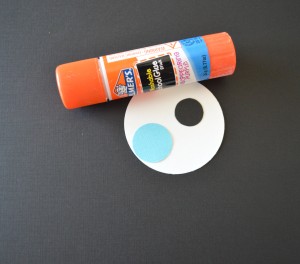
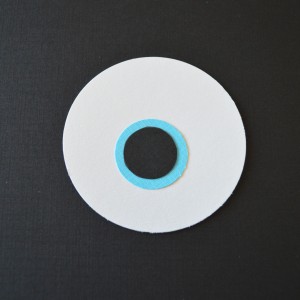
Start the project by using hole punches.

You will need a 3″ punch in white and a 1″ punch in blue.  I didn’t have the right size hole punch for the black of his eye. I used a dime as a template. Trace the dime on the black paper and cut it out.

Mike's Eye
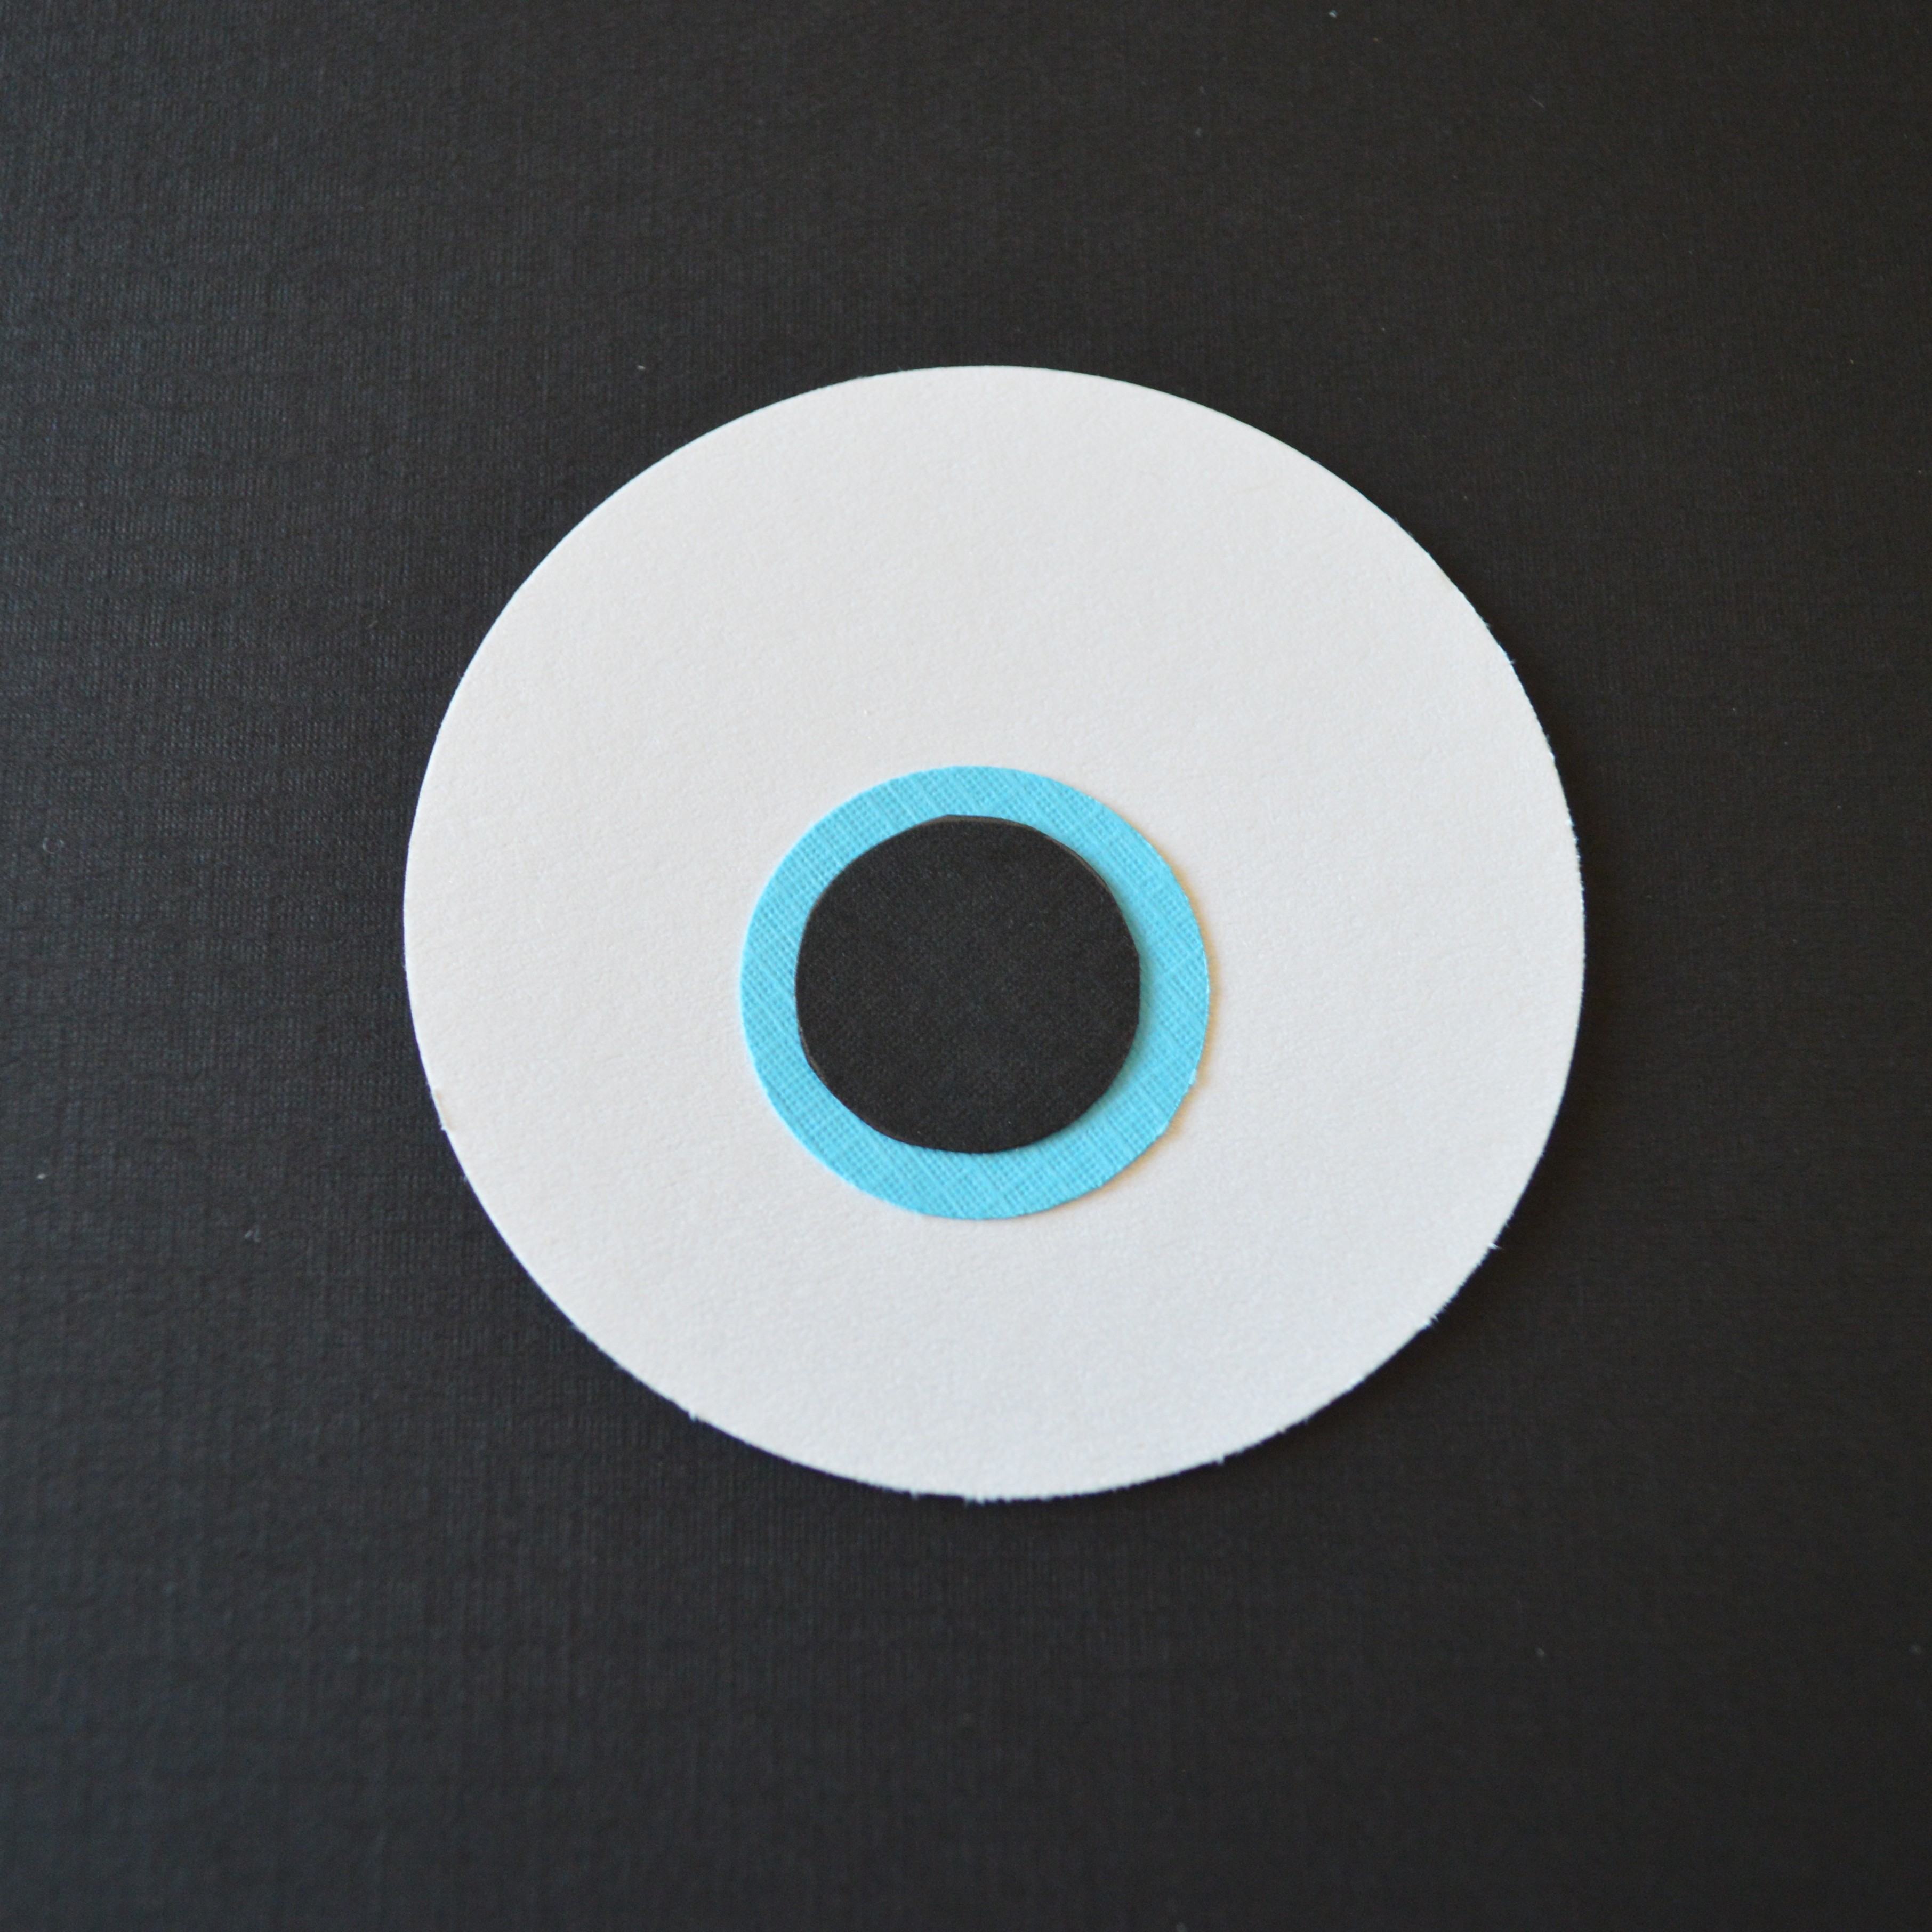
Then glue Mike’s eye together.

Eye
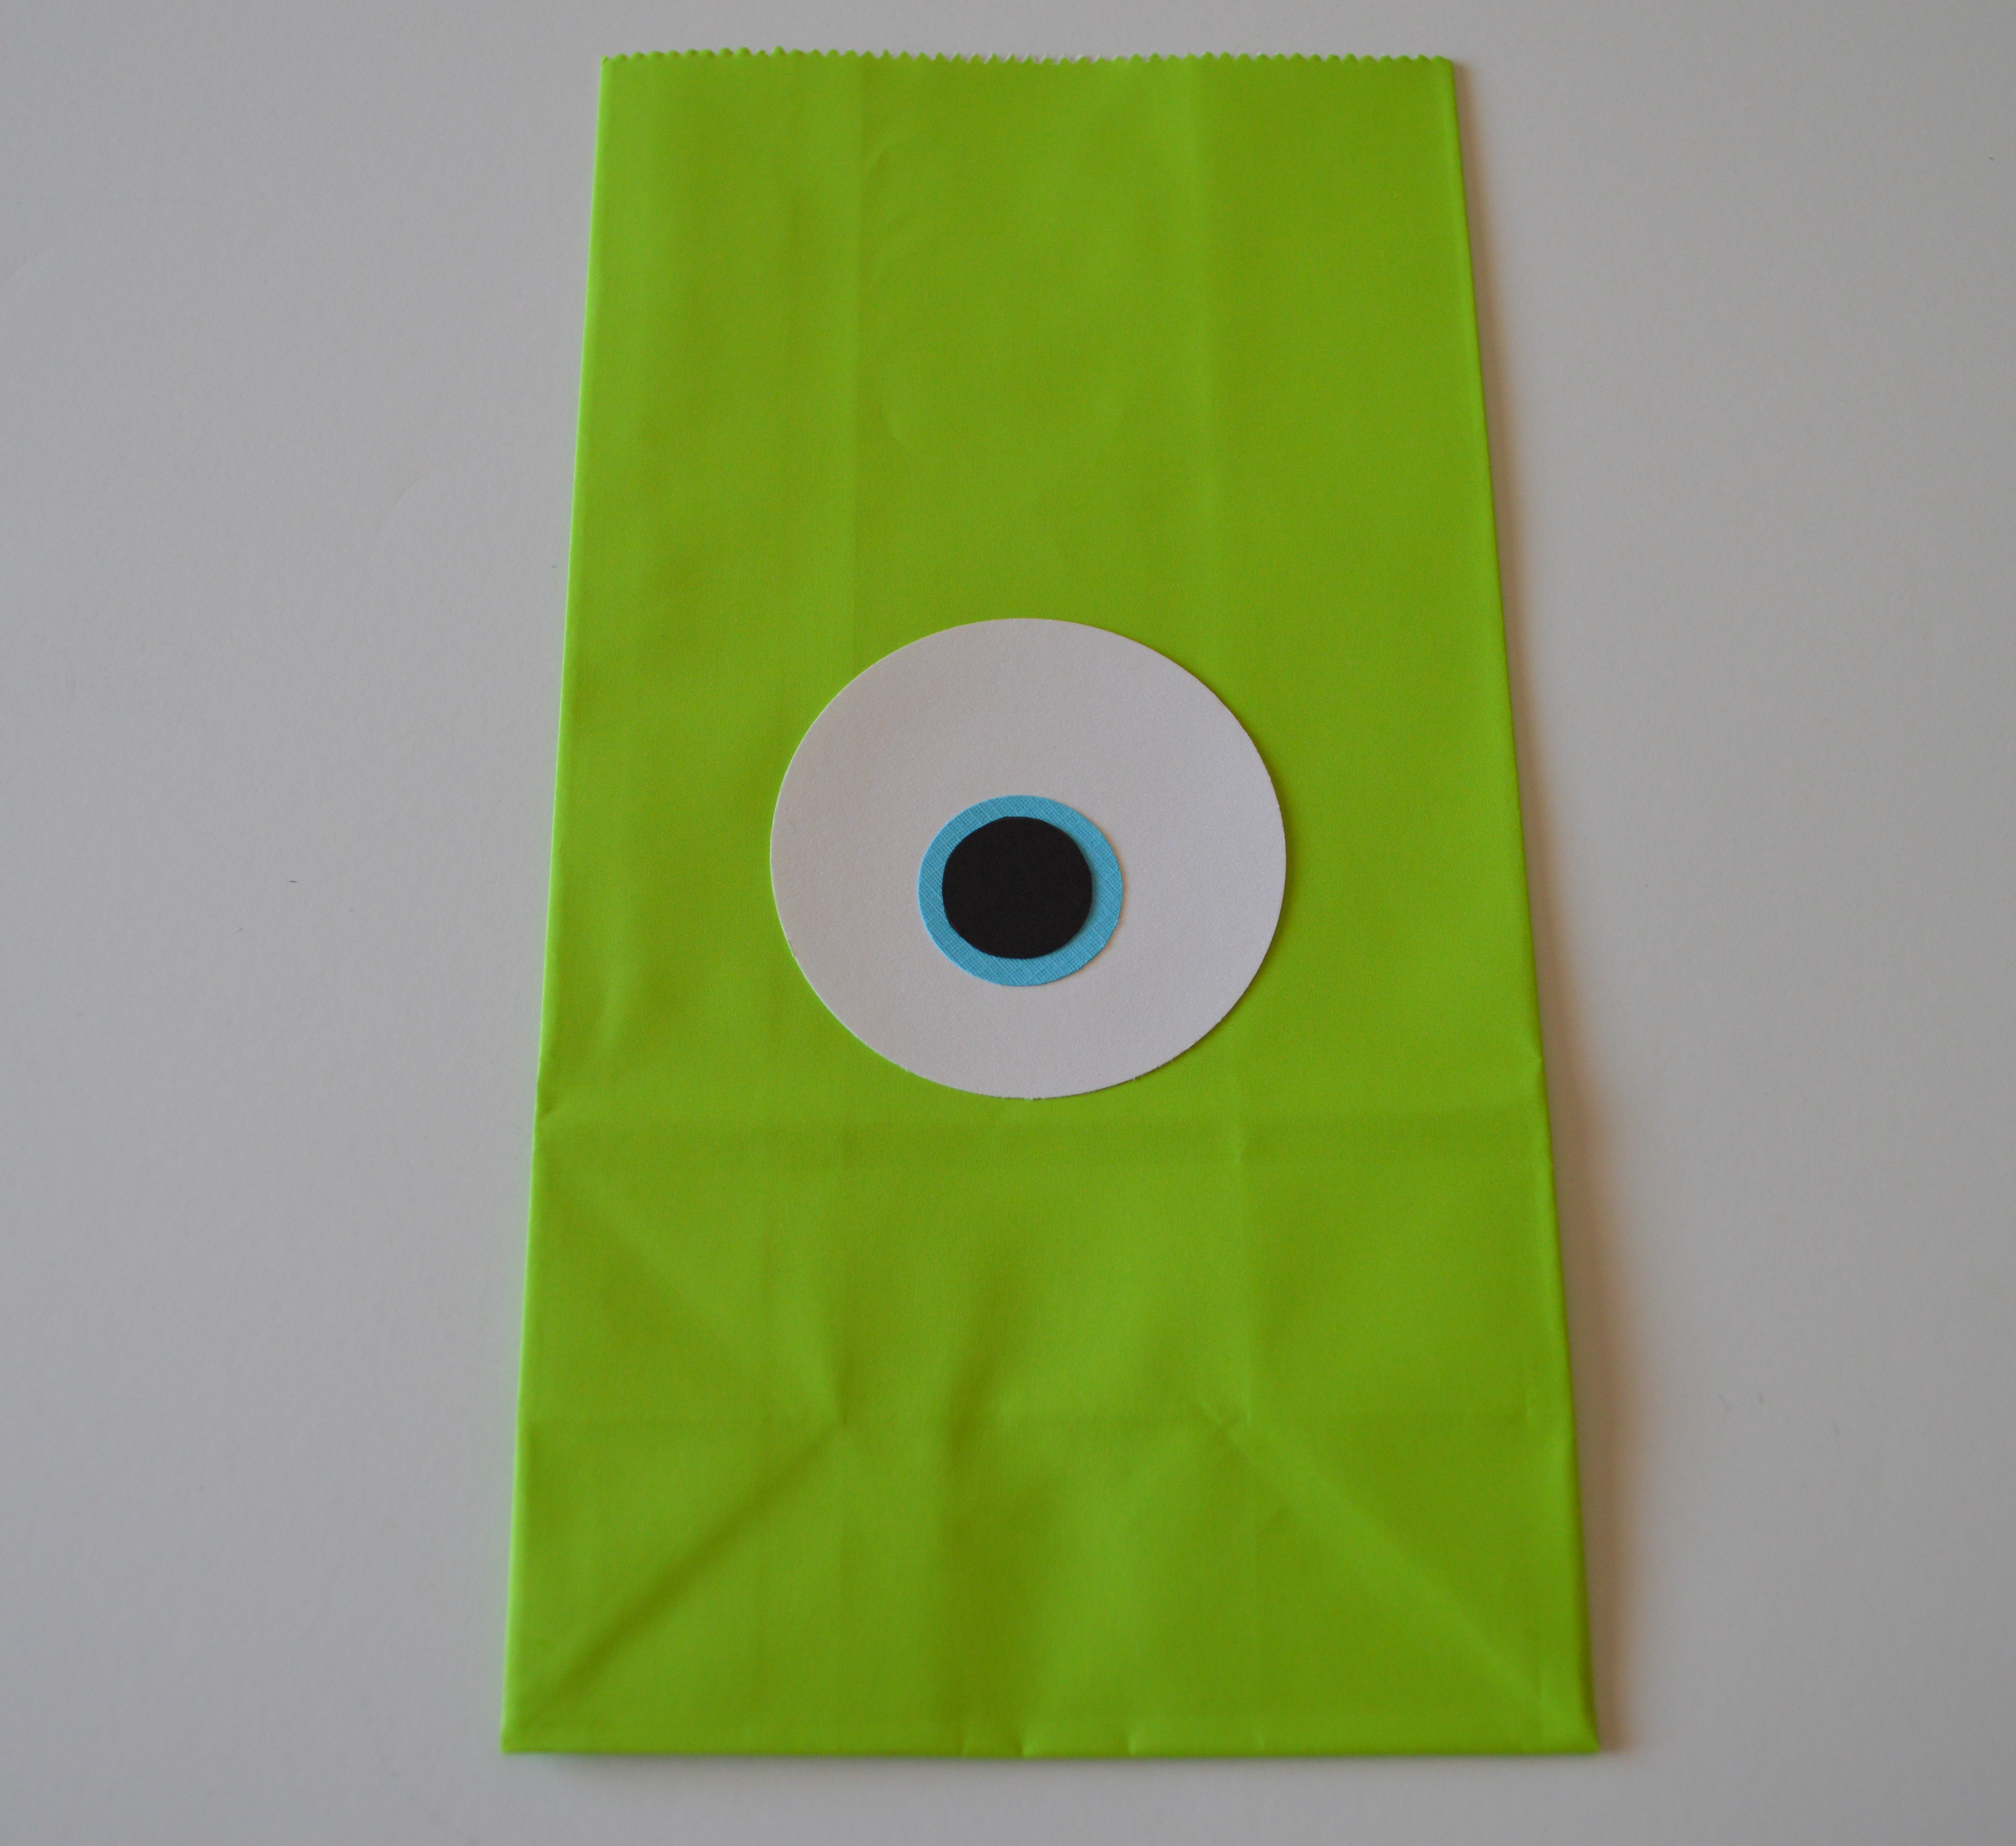
Glue the eye to the middle of the bag.

Glue Eye

Fold back the top of the bag.

Goody Bag FoldHole punch the corners of the top through the fold.

Roba's 2013 090

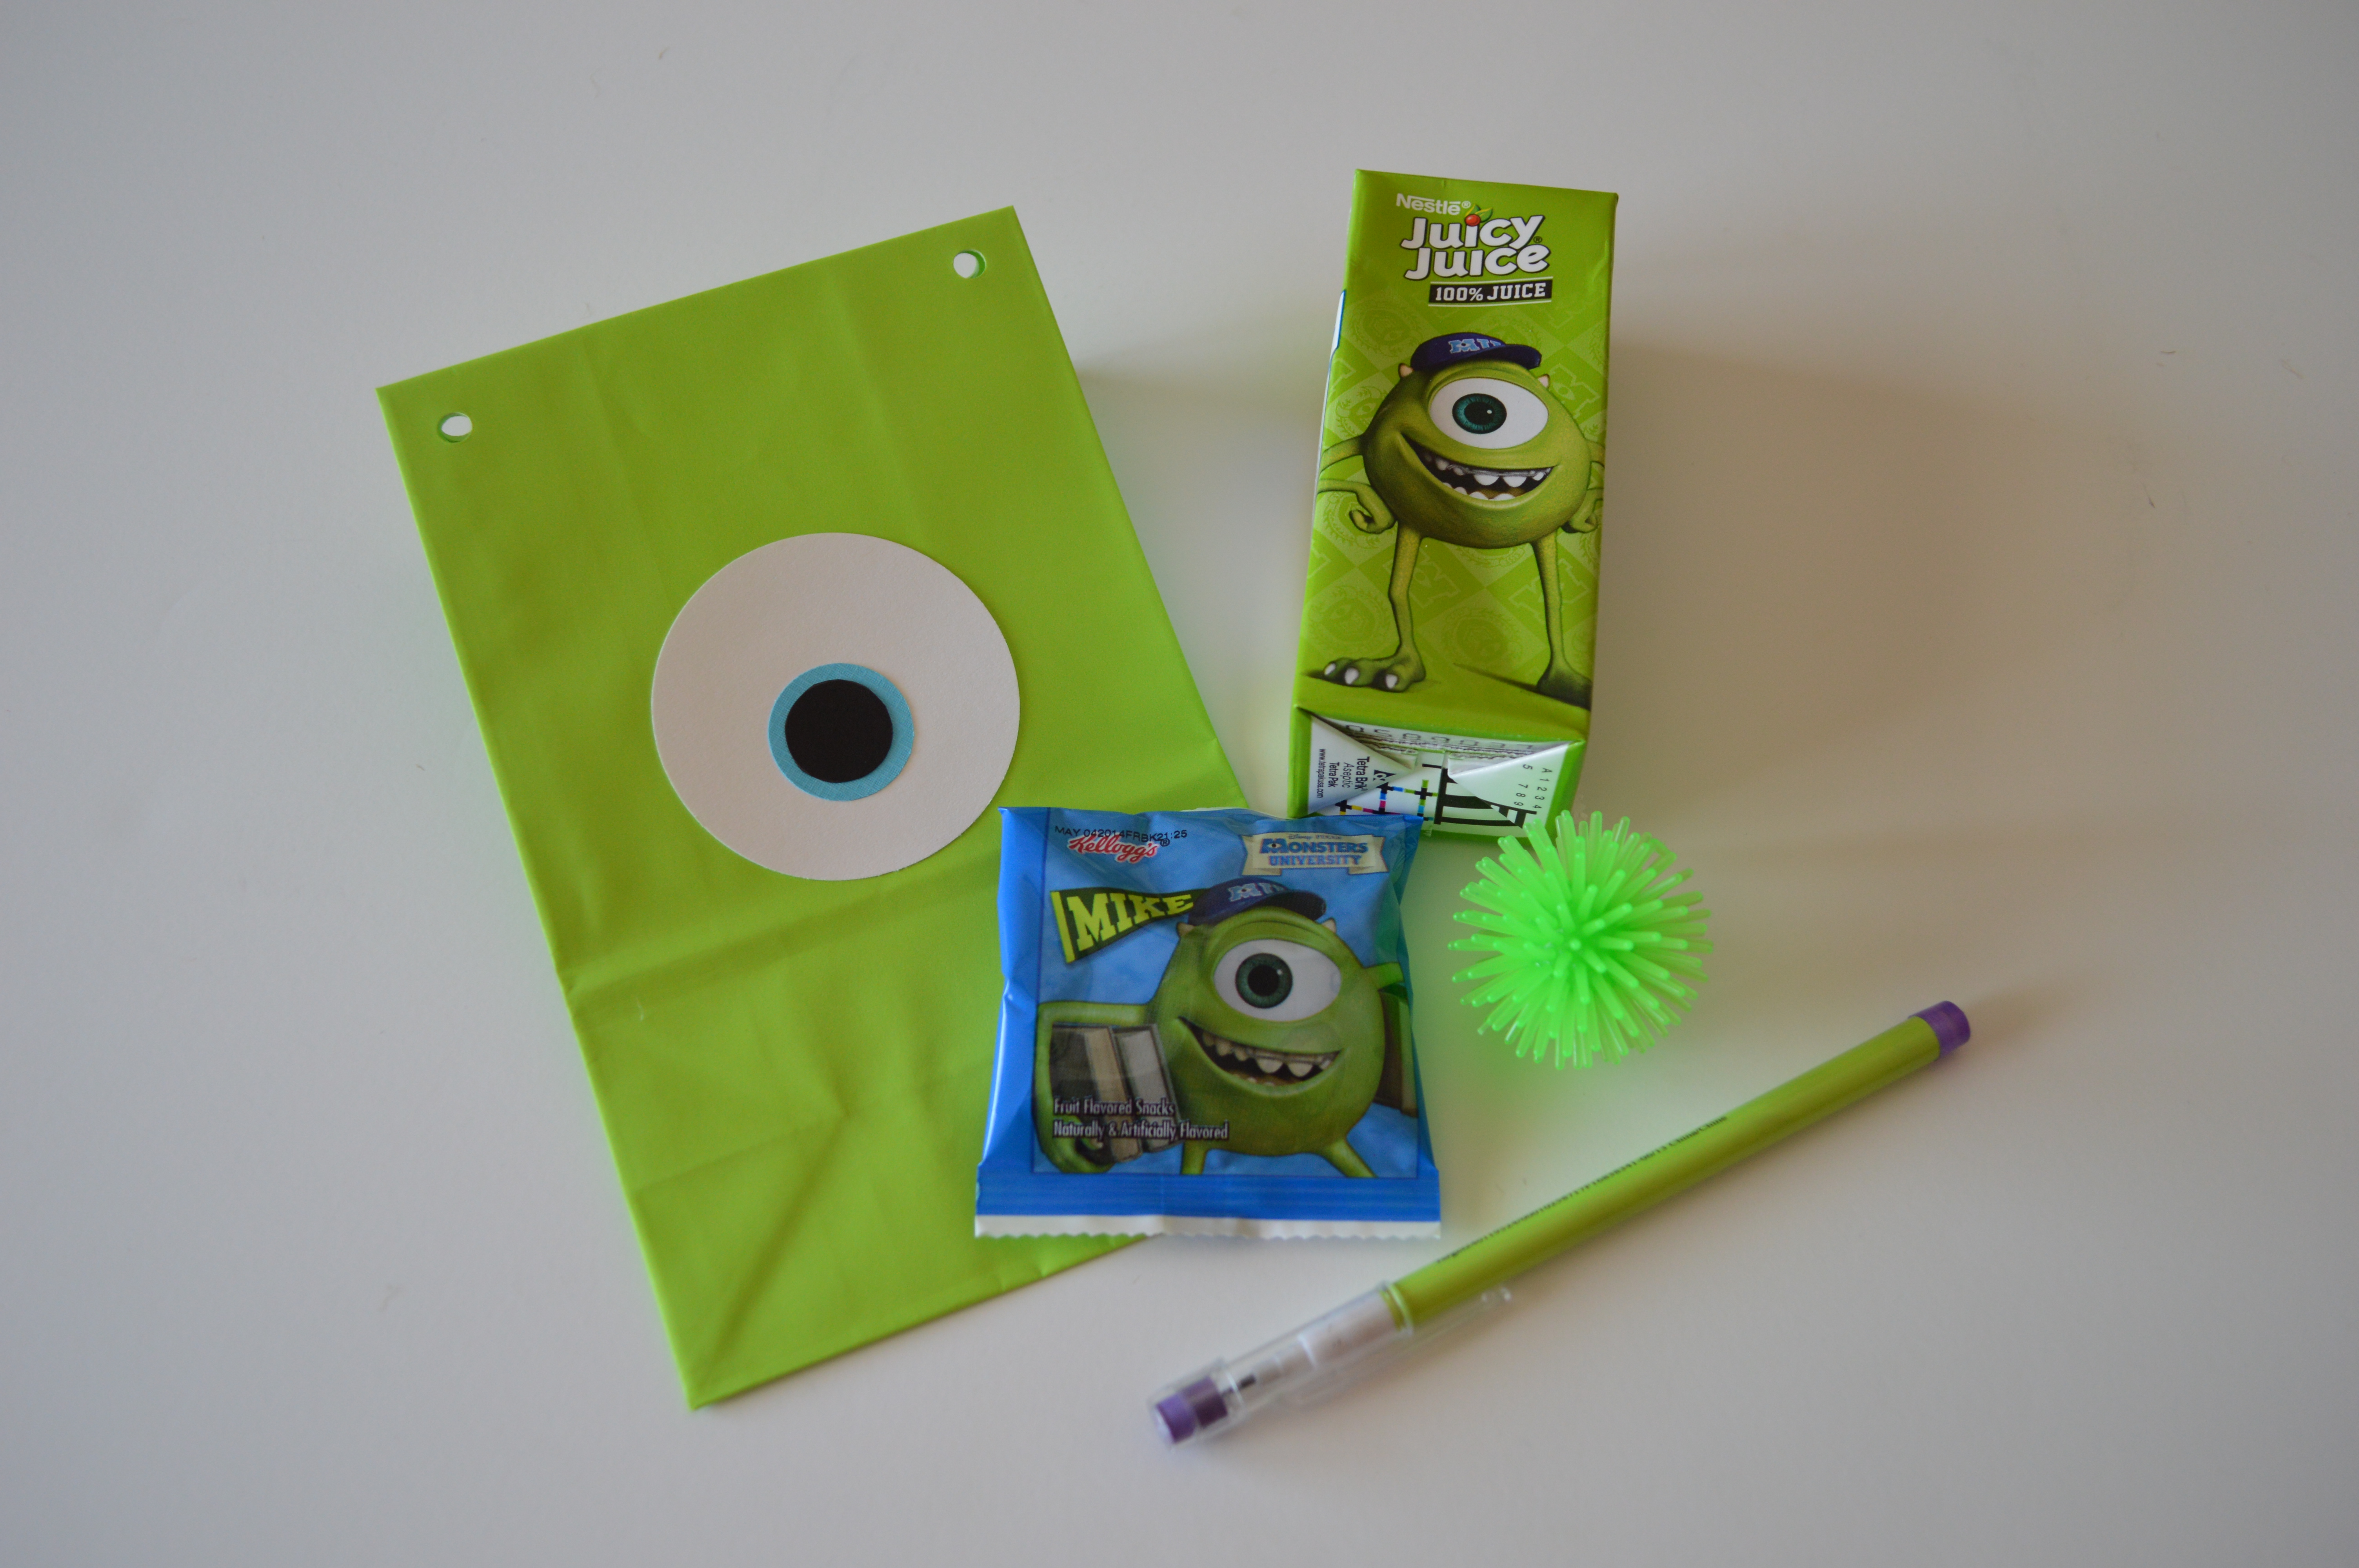
Open your bag up and fill it with Monster treats.

I chose to stay true to my one-eyed friend and purchased Monster University Juicy Juice Apple Juice Boxes and Monsters University themed Kellogg’s Fruit Snacks.  In one part of the Monsters University movie the monsters were afraid of spiky balls.  I found these mini spiky balls at Target.  They come six in a pack for $1.  The matching pencil in Mike’s lime green color was also from Target’s Halloween section, $3 for a pack of 24.

After adding all your treats, the final step is to tie each side with the twine.  I knotted each side on the back and cut the ends short.

I hope my son’s 1st grade class of little Monsters enjoy!


Mickey Mouse Ghost Cupcakes on The Disney Moms’ Blog

Mickey Mouse Ghost CupcakesLast week my family and I had a wonderful adventure attending Mickey’s Not-So-Scary Halloween Party.

This week we are back from vacation.  To keep the Disney Halloween spirit alive, yesterday I made these spooky little Mickey Mouse Inspired Ghost Cupcakes for a special treat.  If you’d like to see the simple tutorial, stop by The Disney Moms’ blog.  This is the second time I have contributed to the site and I’m thrilled to be part of a great group of moms.  Below is a link that will take you directly to The Disney Moms blog.

http://thedisneymoms.com/2013/10/13/mickey-mouse-ghost-cupcakes/

Today we’re off to the pumpkin patch!  Hope you have an opportunity to sprinkle your weekend with some fall fun!


Disney Villain Cruella de Vil Cupcakes

Cruella de Vil cupcakeLook Out For Cruella Cupcakes!

From her hair to her style, Cruella de Vil is hard not to love.  Pair her with tons of sweet spotted puppies and talk about a fantastically evil cupcake!

This Halloween season on the blog you’ll find tutorials for my favorite Disney Villain Inspired cupcakes!  Here’s how to make this wickedly sweet Cruella de Vil cupcake.

  1. Start by making white cake cupcakes.  I found awesome zebra print baking cups made by Wilton and thought instantly of Cruella.  If you don’t want to purchase these, black baking cups will work.Cruela Devil 001
  2. Once the cupcakes have cooled you’ll need your leaf decorating tip and black and white icing.  I’ve never had success with trying to make my own black icing, so I took the simple route and used Wilton’s black decorating icing tube and their leaf decorating tip.  They worked perfectly.
  3. Outline half of the cupcake in black icing. Fill in the semi-circle with a base coat of icing.  This will give the icing “hair” some height.Cruela Devil 005
  4. Attach the leaf decorating tip to your icing tube, or icing bag filled with icing.  At a 90 degree angle apply icing by allowing icing to pool then release the pressure on the icing bag as you pull the tip straight up.  This will create Cruella’s crazy hair effect.  Continue to do this until the entire semi-circle is full of hair spikes.
  5. Repeat Step 4 with white icing.Cruela Deville

If you love Disney’s Villains, watch out for more Villain cupcake tutorials to appear this spooky season!

Royal Princess Dessert Favorite: Pink Princess Pearls

Sweet Princess PearlsA Super Easy and Super Yummy “Princess” Treat

A favorite dessert item at the Princess Baby Shower, these little bites of creaminess were gone before the shower was over!  I thought I’d share their simple recipe with you today. I think they would be a perfect addition to any Princess themed event!

I found the original recipe on Kraft’s site. My Princess Pearls are actually Kraft’s Nilla-Strawberry Cookie Balls’ recipe altered just a smidge. I think a Princess Pearl is a much better name than a Nilla-Strawberry Cookie Ball.  What do you think?

Regardless, if you’d like to check out their page, which includes nutritional information please find it below.

http://www.kraftrecipes.com/recipes/nilla-strawberry-cookie-balls-121577.aspx

Here’s how I made them.

Ingredients:

1 pkg.  (8 oz.) PHILADELPHIA Strawberry Cream Cheese Spread, softened

50 NILLA Wafers, finely crushed (about 1-2/3 cups) I used Reduced Fat NILLA Wafers and thought they tasted great!

4 drops of red food coloring

12 ounces of pink chocolate

Wilson White Sparkling Sugar

 How to make our Princess Pearls

  1. Mix the cream cheese, crushed cookies and drops of red food coloring.
  2. Roll about a 1/2 inch ball.  (Kraft suggests a one inch ball but I think they’re a bit too big.)  Lay each ball on a cookie sheet lined in wax paper.
  3. Freeze 10 min.
  4. Melt your pink chocolate and dip the balls in the chocolate.
  5. After dipping each ball place it back onto the cookie sheet and sprinkle it with the sparkling sugar.  I love the touch of Pixie Dust!
  6. Once your pearls are all dusted with sugar, place them in the refrigerator until the chocolate has hardened.

It’s that simple! Enjoy!


Disney Princess Themed Baby Shower

Preparing for a PrincessA Royal Baby Shower Inspired by the Disney Princesses

Last fall I had the honor of planning a Disney Princess-Inspired Baby Shower.  Of course this was immensely fun and I’m thrilled to share some of the Princess touches with you!

The Princess Shower Invitation with Insert

Princess Shower Invitation

Each envelope  held a party invitation and an insert requesting each guest to bring their favorite Princess storybook.  Here is the wording of the storybook request, if you’d like to use it in the future.

Once there was your favorite princess story book;

That you gazed upon for hours and just looked and looked.

We chose our favorite princess story when we were very young.

Now it’s Gwynn’s turn to join in our princess fun.

 Please bring Gwynn a copy of your favorite princess story book,

So now she can sit for hours and just look and look and look.

Party Details

Table Setting

What could be a better centerpiece at a Disney Princess Shower than a Cinderella Fairytale Pumpkin? I found this beautiful centerpiece, along with multiple other white pumpkins at a local farmers market.

With the shower being held at the beginning of the Fall season, the pumpkin icon of Cinderella’s coach was used for the party favors.  Guests were also given a box to gather the Princess themed sweets of their choice from the Royal Dessert Table.

Royal Dessert Table

Princess Baby Shower Treat Table

The two menus on the table told of how each treat was themed after a Disney Princess.

2012 249Royal Desserts menu

The Baby Princess Shower Cake

Princess Gwynn Cake

The Princess Shower Games

Baby shower creative game

Onsie Upon a Time Decorating Contest

baby showerThe shower took place within my little Cape Cod Cottage, so space was limited.  I decided the perfect place to host this “Game” was in my daughter’s nursery.  I purchased a few different sized white onsies, added some royal scripted material to cover classic wooden clothes pins and used ribbon as a clothes line to set up the game.  Took my children’s very sturdy Pottery Barn table and chairs and placed them in the center of the room.  Guests of the shower were teamed into two and given 10-15 minutes to create a “Onsie Fit for a Princess.”  They used scissors, ribbon, fabric squares in the color scheme of the baby’s room, some images that I had cut out ahead of time for those not wanting to start from scratch and of course Iron On material and fabric glue to make it all stick.  The Mommy-To-Be then chose the winner!

downloaded October 2012 560Talk about Princess Couture!

In addition to the Onsie Upon a Time Game, we played a game of Disney Princess Charades.  Ahead of the shower, I made a small personalized Princess notepad for each guest.  On the last page of the notebook the guest would find a picture of the Princess they were to act like.  Just in case the guest did not know whom this princess was, I included a little wiki about each in the notepad.  The guests totaled eleven, each being a different princess.  For about 15 minutes, guests role played as if they were their given Princess name.  This was hysterical to watch them try to communicate.  At one point one woman dropped to her hands and knees and started to pretend she was cleaning my kitchen floor!  At the end of the 15 minutes, they gathered their notes on each other.  And I announced each Guest’s Princess name.  We actually ended up with than one person who knew every Princess present at the shower!

Princess Party Favors

2012 270Each guest took home a silver or gold princess pumpkin, perfect for the fall season.  Adorned with a Royal Princess thank you sticker, the shower guests’ treat boxes were also filled with their choice of Disney Princess Themed treats, destined for those Princes at home waiting for a snack!

downloaded October 2012 564


Now that Princess Gwynn has arrived, I wonder…will she be requesting a Royal Gala for a future birthday party?  I hope so!