Month: August 2013

“PLANES” movie review

planeslogoThere are two different ways that I can review this film, as a mom or as a Disney File, so I’ll do both.

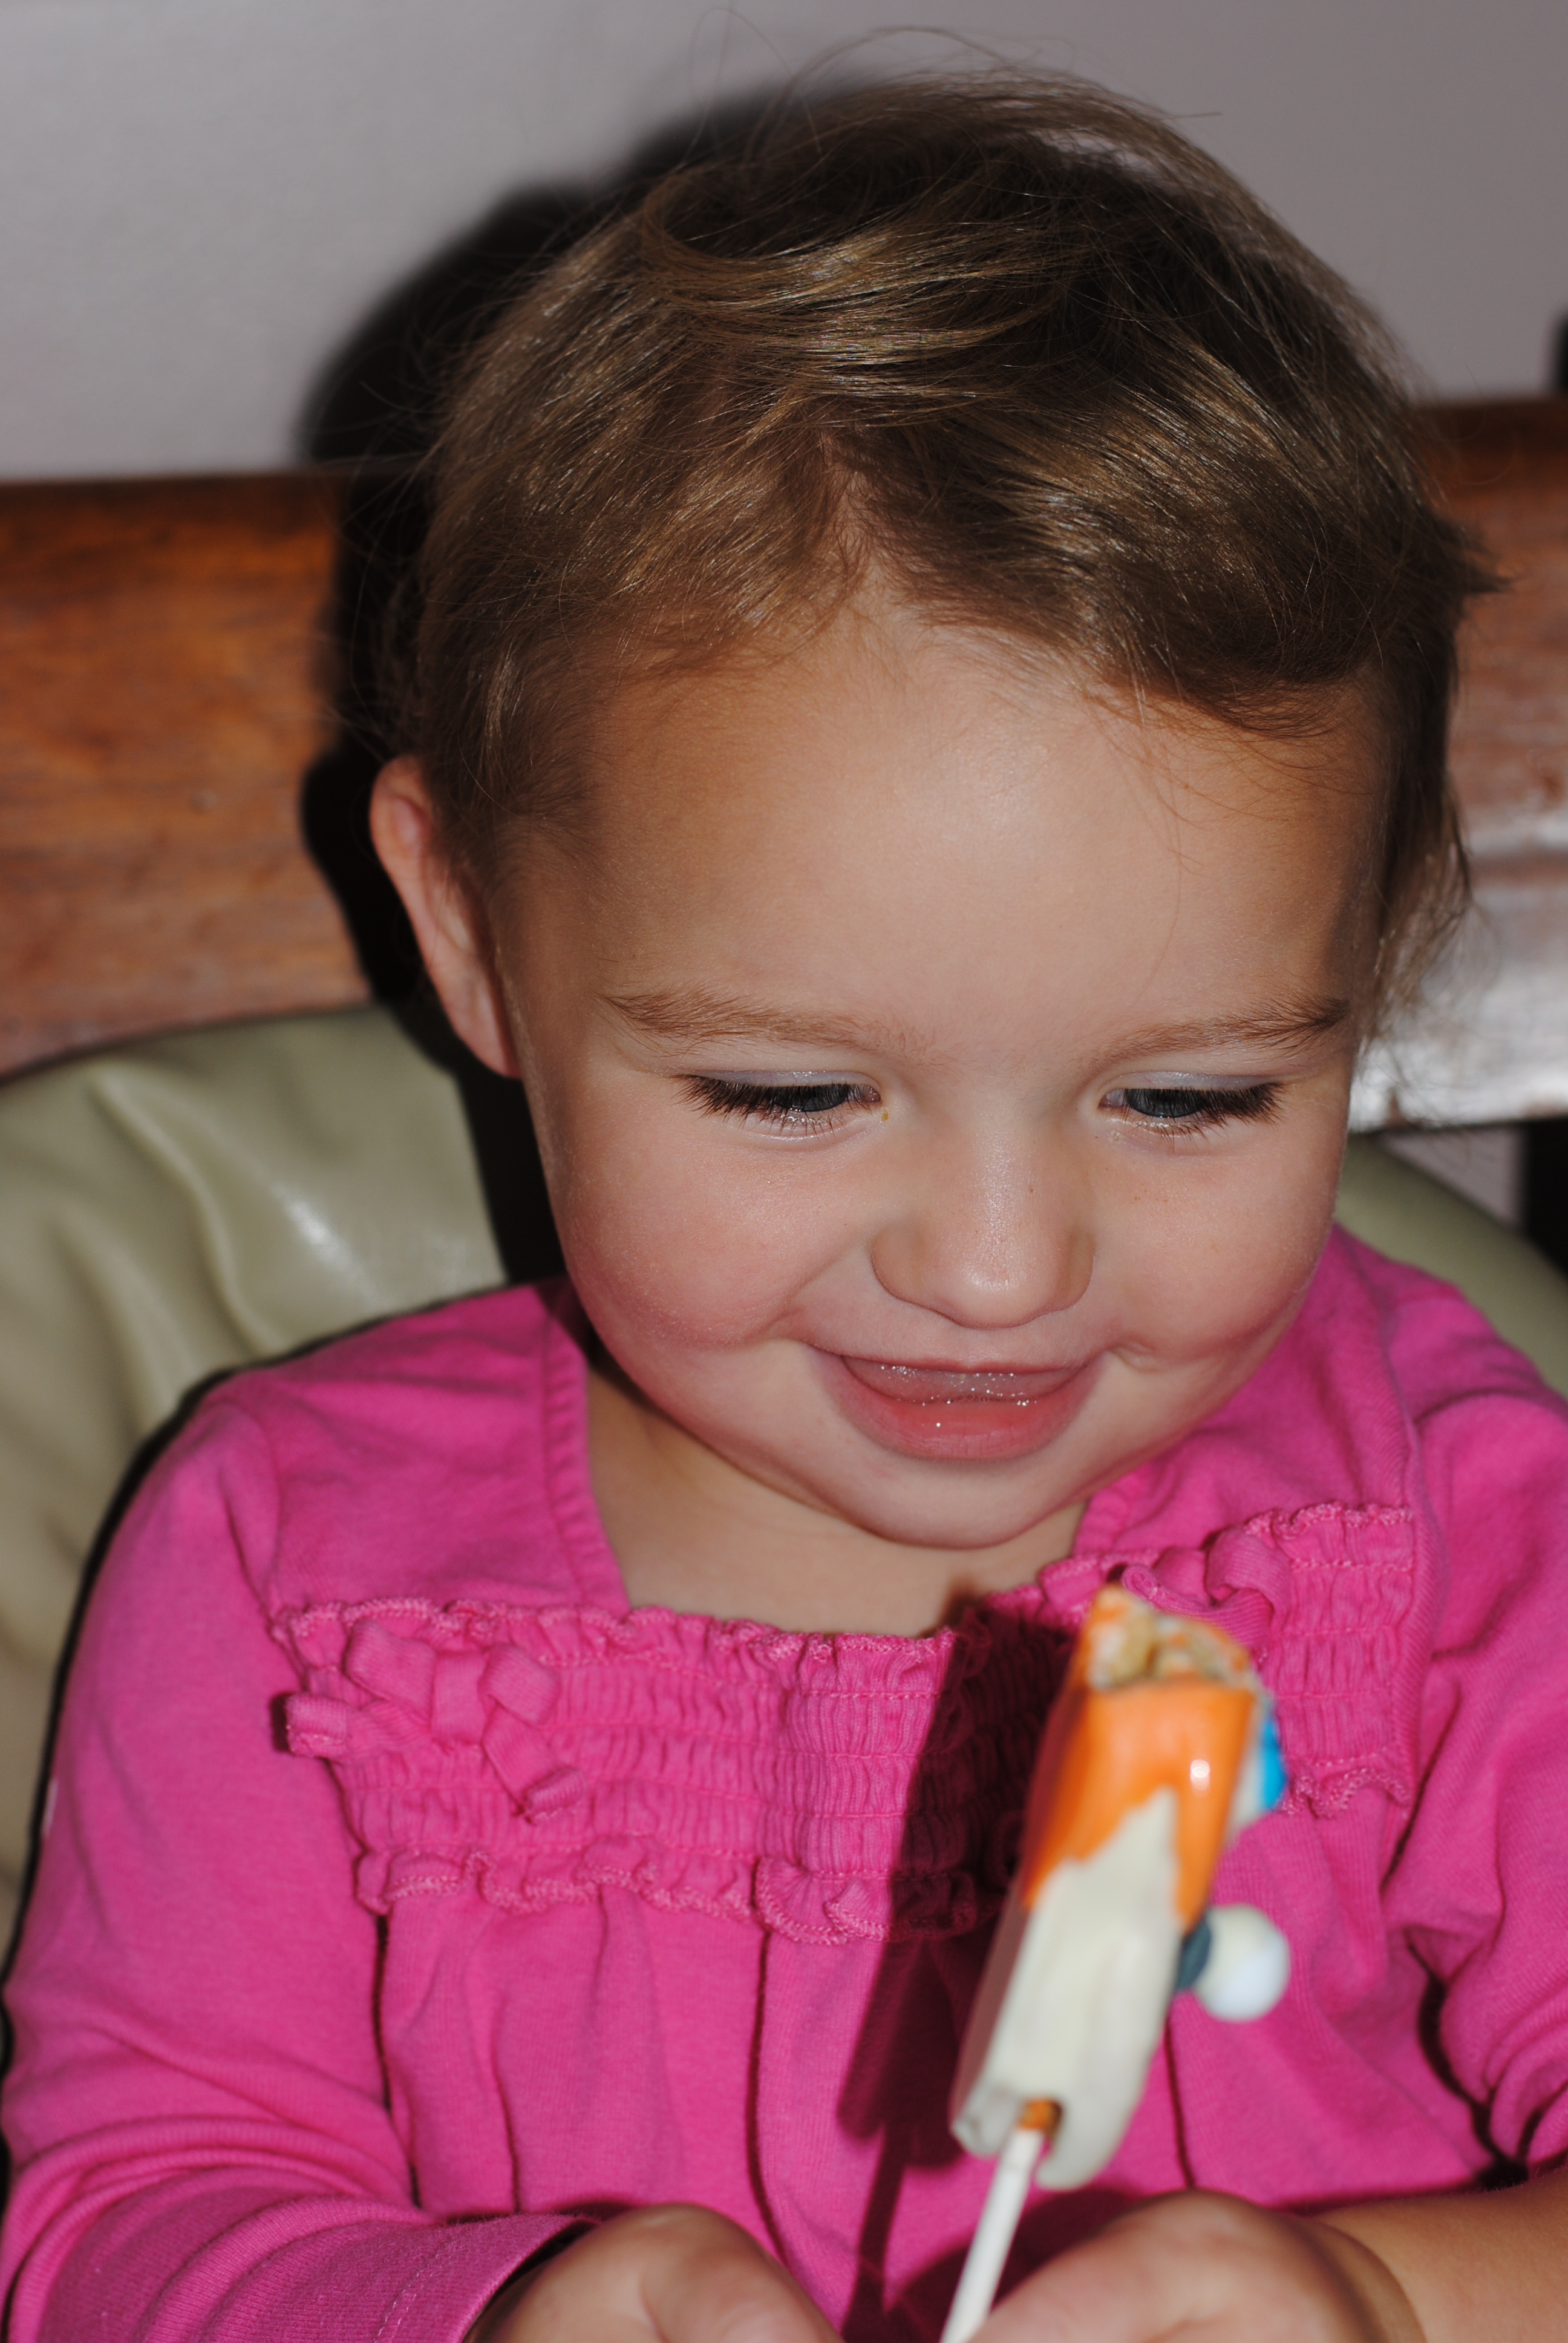
I’ll start this review in my most important role, a mom of a Plane Enthusiast six-year-old boy.  Gavin LOVED this movie.  I can’t express in my writing how much he enjoyed the film.  In his mind, it’s better than Monsters University, better than “other” studios’ summer movie releases, and even better than Pixar’s “Cars”!    From the second the film started, he was smiling, laughing and occasionally whispering something IMPORTANT to me about the film.  The DVD is already on his Christmas List!  I don’t believe he was alone in his thoughts. The theatre was full and this was the 3 pm showing during Friday afternoon.   After the film’s ending, we went to Target to purchase a new plane.  Every single Disney Plane was sold out.  Then we went to Wal-Mart.  They also, were sold out.

Seeing the joy that he received from the film, made me love it too.  The film is overall lighthearted and adorable.  The storyline is really simple for young children to follow.  It does mention planes dying throughout the movie, which was really the only darkness related to the film. Most of the death references were in a joking context and the villain in the film is tame when it comes to Disney villains. The film moves very fast, which keeps the kids attention and the movie length is about an hour and a half.  If you have a young child, three years or older, they’ll love this film.

As a Disney Fanatic, I was disappointed, but not entirely surprised.  I knew that this film was slotted as a direct to DVD release, then after the company saw interest in the film arise, it went into the theatre.  Here’s my overall issue with the movie:  The Disney PIXAR brand has earned the top spot in animation excellence.  Again I want to emphasis, EARNED this spot.  Does Disney truly believe that showing the word DISNEY( without the word PIXAR) in front of the title “PLANES” would lead people to think, “Oh, this isn’t a Disney/Pixar film so I shouldn’t expect it to be that good?  The general public is going to believe it is a Pixar film because of how it’s been marketed so closely with “CARS”. Therefore, viewers may be highly disappointed and in turn it will put a blemish on the Disney/Pixar name.  That bothers me.  The movie wasn’t up to their standards.  The storyline was cute, but not heart capturing.  The character development wasn’t deep enough.  They didn’t spend enough time getting the audience to fall in love with the dozen characters in the film.  It felt like a cheapened version of “CARS”.  Disney animation is always fantastic.  However, after seeing Monsters University just over a month ago, it made this film’s animation appear mediocre.  In my opinion the animation came across as inconsistent.  There were a couple of moments in the film where I said, “OK, now here is the breathtaking animation that I was looking forward to seeing.”  Then they’d show a crowd shot and it was horrible to watch as the planes made the strangest “fan cheering” movements.  I believe that this film could have been spectacular, if it was only given enough time in development.  Bottom line, Disney Toon Studios will most likely be releasing many spin offs in the near future and the animation quality will be sub par to the studios traditional releases.  Hopefully the audience will realize this before Pixar is blemished.

Planes Fire and Rescue
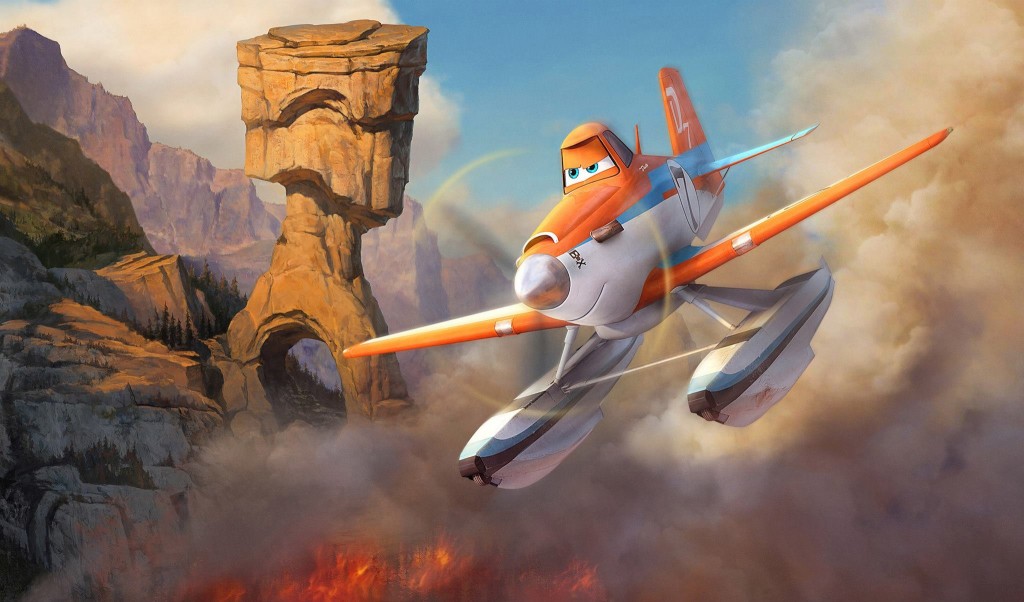
The sequel to PLANES, “Planes: Fire & Rescue”, is already in development, with a theatre premiere date of July18, 2014.  My hope is that when they start the “TRAINS” films that they take a little more time and release them under Disney Pixar, instead of Disney Toon Studios.

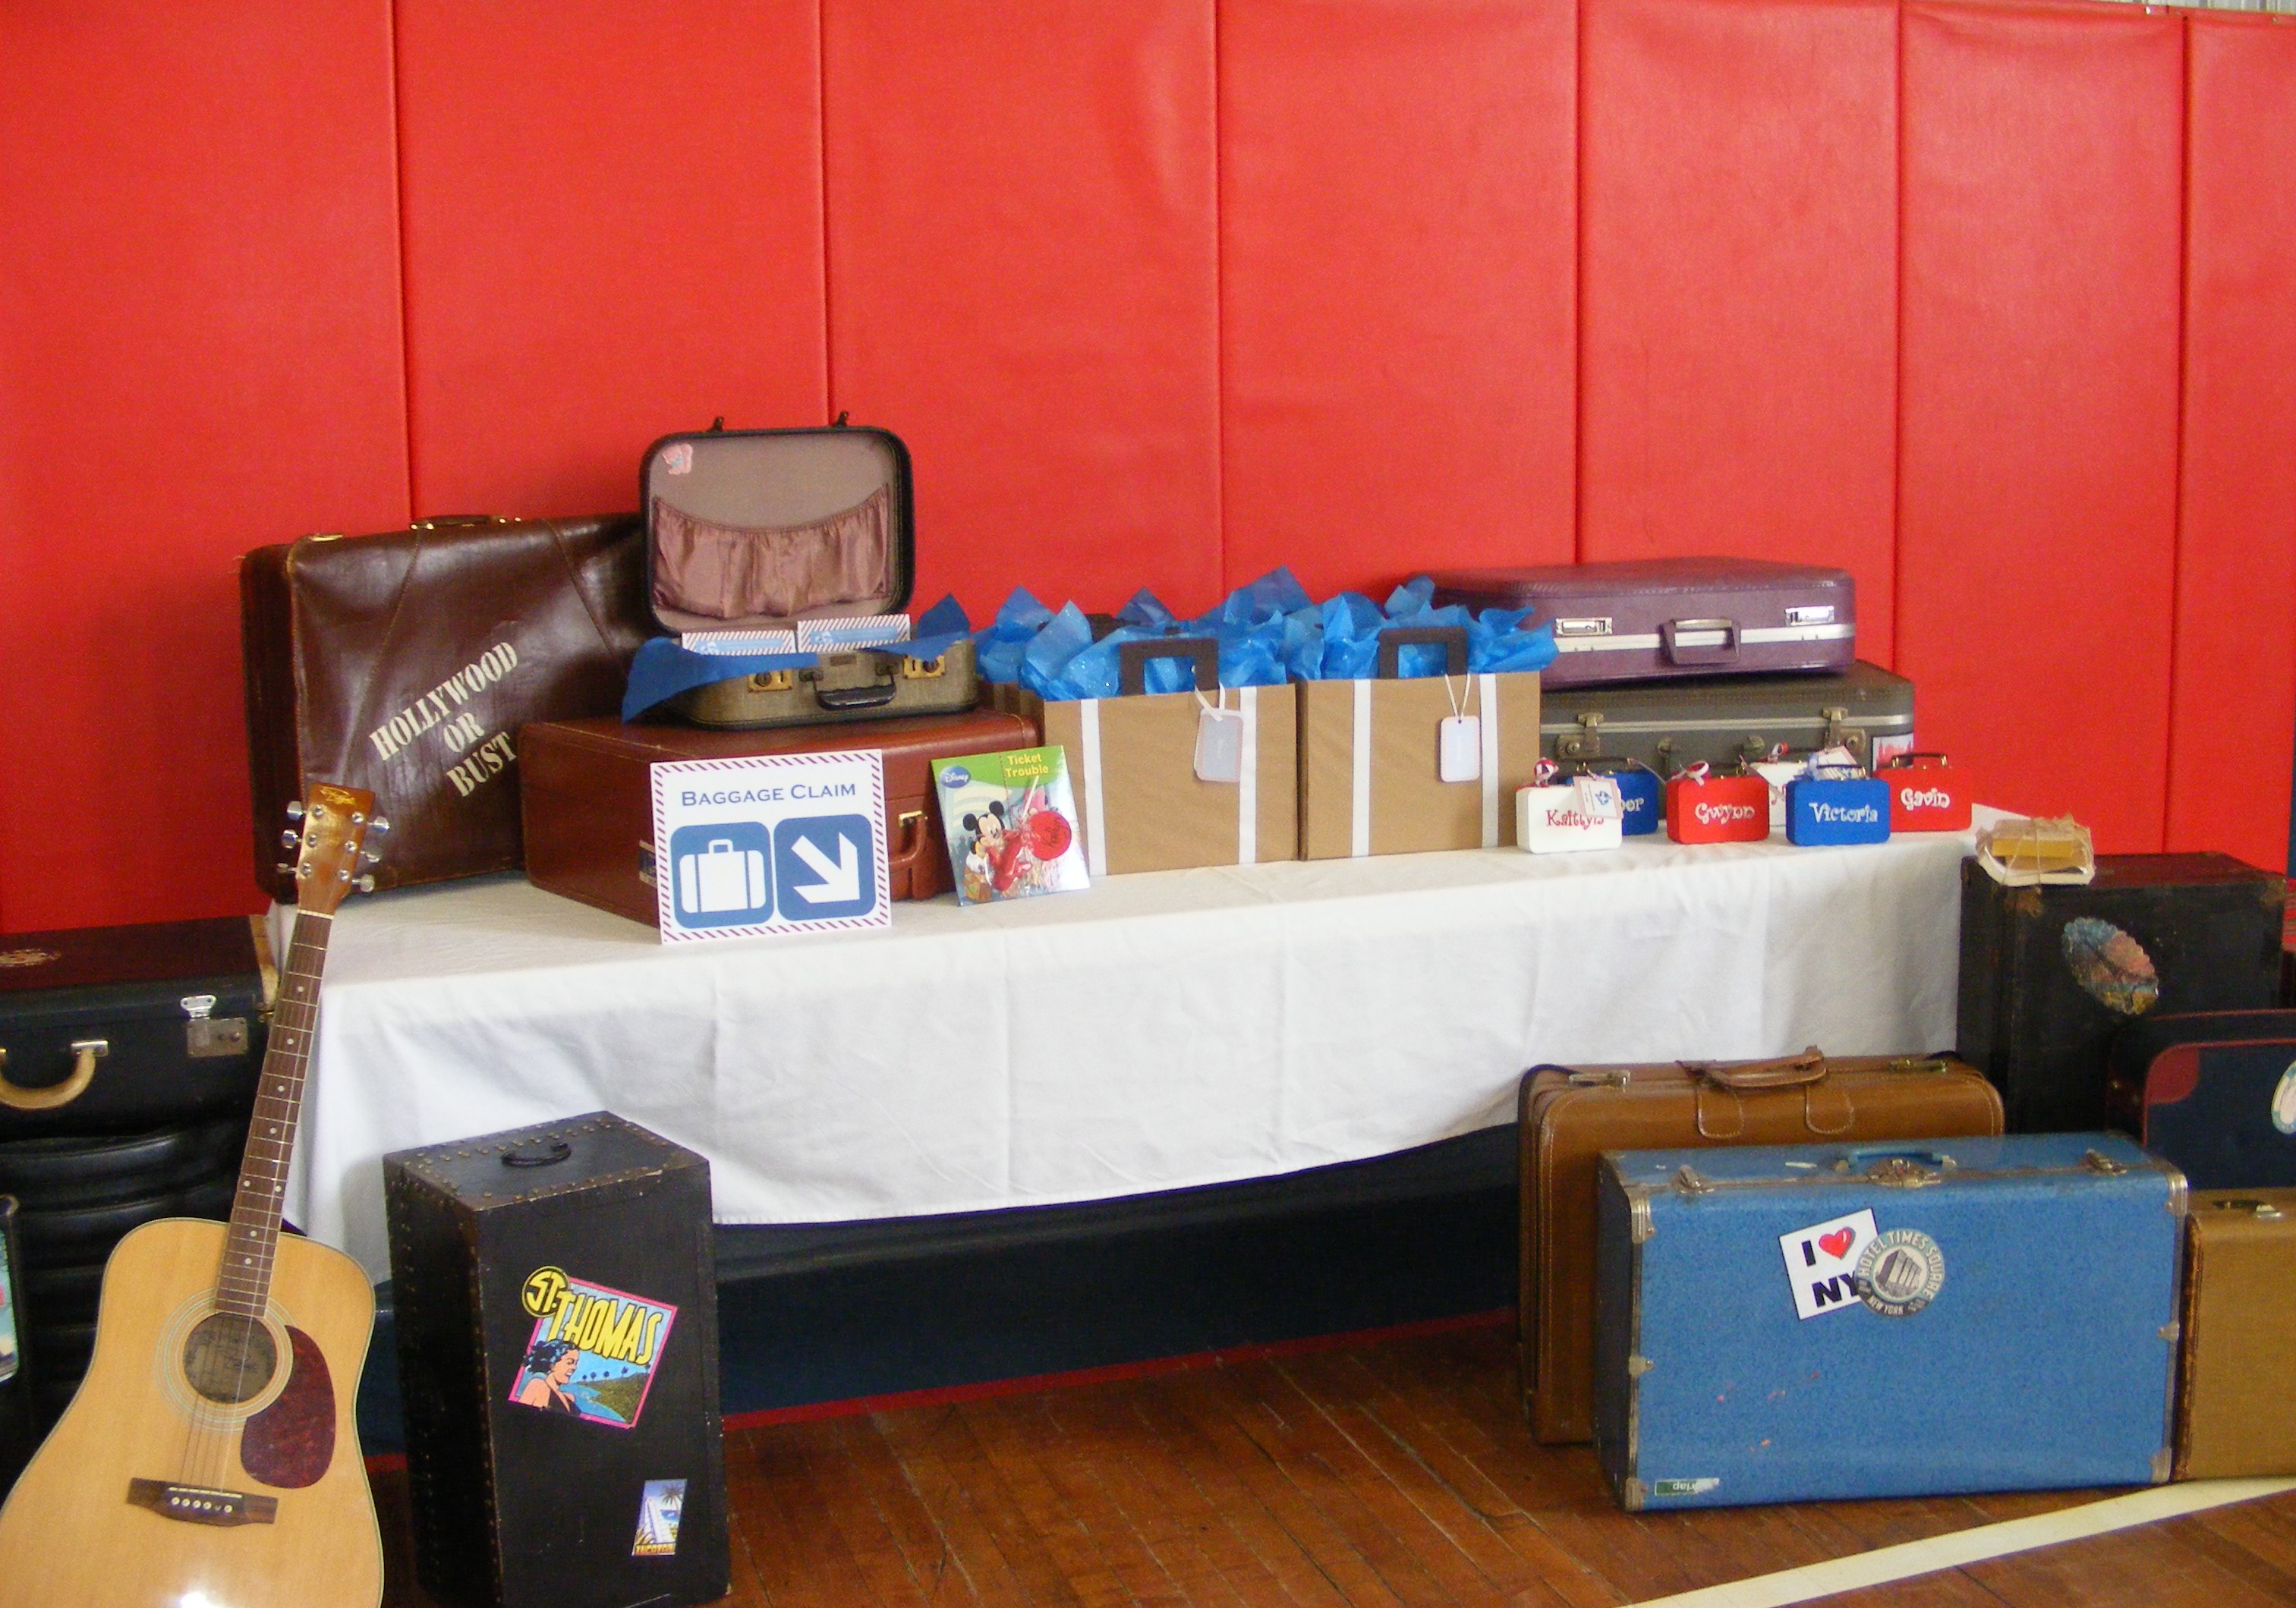
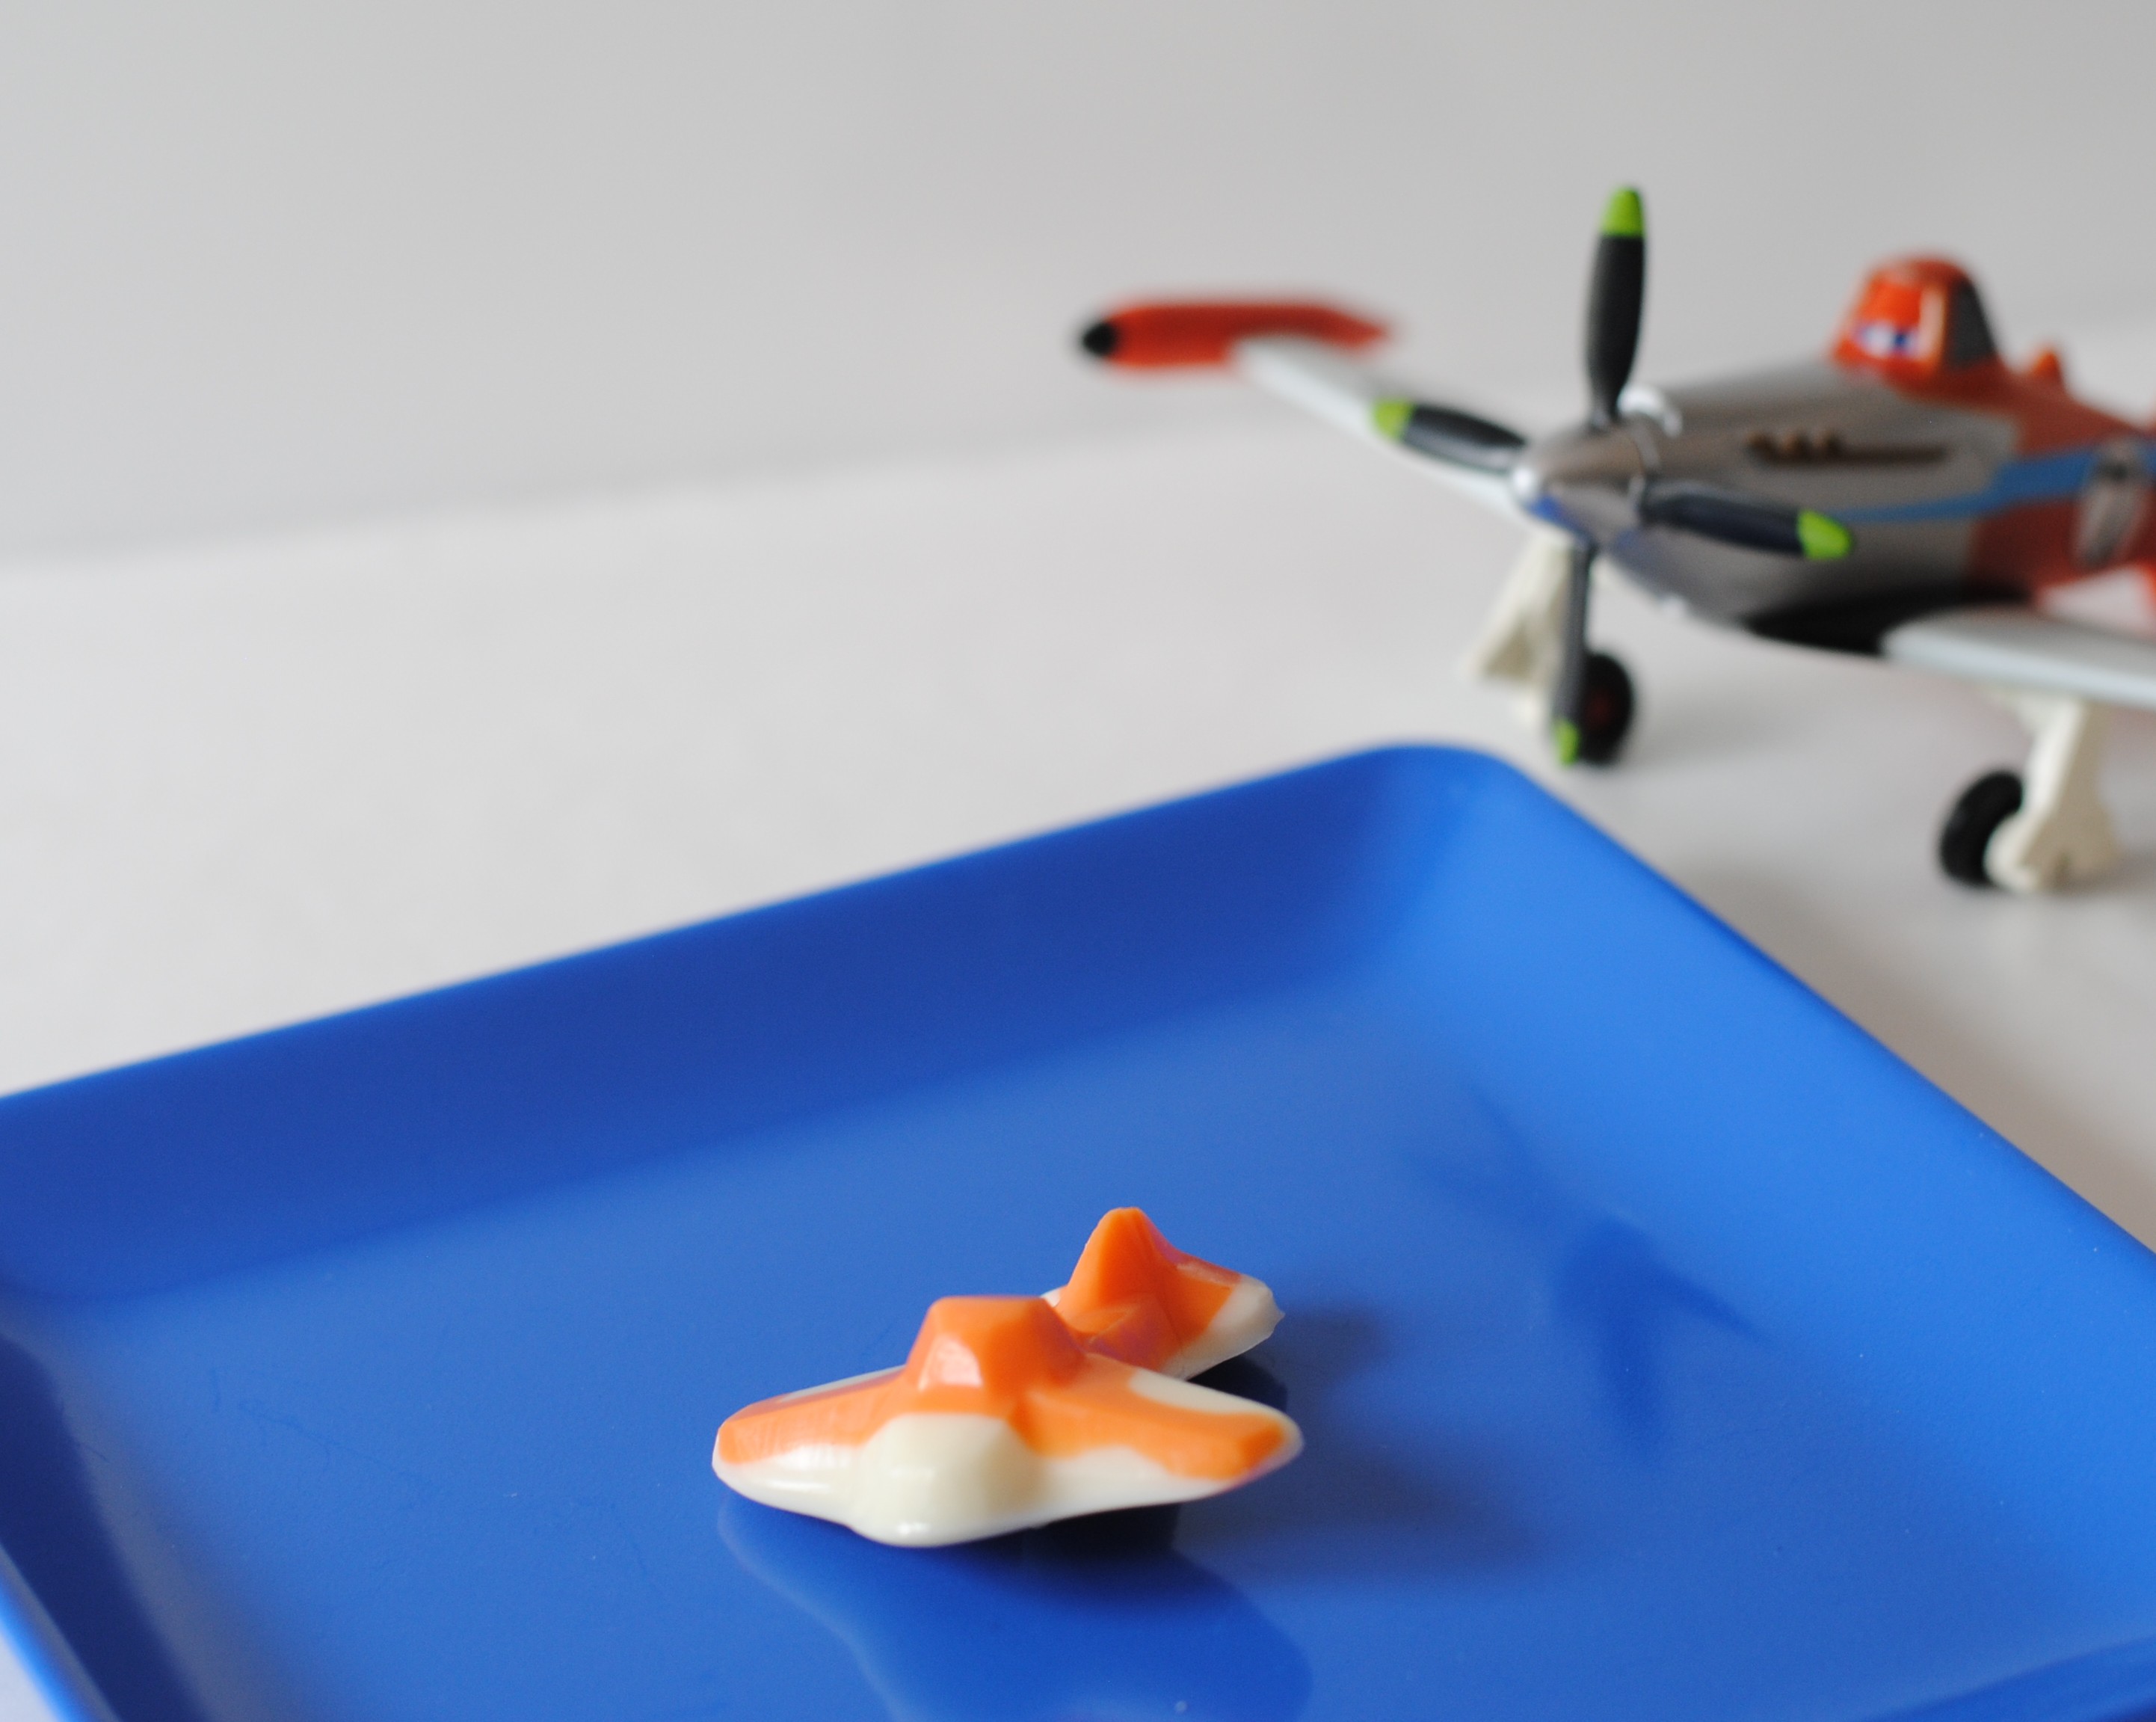
Regardless of my disappointment, my purse will still be opening to purchased licensed products with Dusty stickers all over it.  He is adorable…


How to make PLANES cupcakes

Planes cupcakesZero Turbulence Decorating Tutorial Courtesy of Sweet Diehl’s

What an exciting day it is for the Mouse Ears Mom Blog!  Today is not only the official theatre premiere of Disney’s “PLANES”, but I also get to welcome Mouse Ears Mom’s first guest contributor, Steph Diehl of Sweet Diehl’s !

I’ve worked with Steph on several occasions where she was able to custom design cupcakes for my children’s themed parties.  She’s surpassed my expectations every time!  The “PLANES” Inspired cupcakes that we are sharing with you today were co-created by Steph and myself.  She made the amazing cupcakes and icing.  I made the plane chocolate pieces that were placed on top.

Below is Steph’s wonderful tutorial for you to make your own “PLANES” cupcakes, including photos that she took while making them.

start1. Here’s what you’ll need: cupcakes, of your choice, a large pastry bag (a zip lock bag will work), blue food dye, butter cream icing and scissors.


mixcolour2. Step two, place a comfortable amount of butter cream into the large bag and squeeze some blue food dye into the bag as well. The more food dye you put into the butter cream the darker the icing color will be. Use your hand to mix the icing and the dye together inside the bag to achieve your desired color.


largetip3.Step three. Cut a slightly large hole into the tip of the bag. If you have icing tips, you may use a large round tip for this.


sky4. Step four. Position the now open tip over one of the cupcakes, start at the top an apply even pressure with your hand and make a basic upper case G motion to cover the top of the cupcake with the icing.


5. Step five. Next place more butter cream into a small bag, you do not have to colour this one at all, since this will be for the clouds.

smalltip6. Step six. Cut a small hole into the tip of this smaller bag. If you have an icing tip I would use a small round tip for this.


clouds7. Step seven. Last step, very lightly squeeze the bag and make little dots onto the blue ‘sky’ of the cupcakes, to look like clouds. Then ta da! Your sky is complete.

Isn’t the finished sky with clouds simply adorable?finished

Once your sky with clouds is complete it’s time to make the airplanes.

To make the airplanes, I used a candy mold.  Each airplane is 1-3/4 inches by 1-3/4 inches and I purchased the airplane candy mold on-line.  Just Google airplane mold and you’ll find it.  I wanted to make a few Dusty inspired planes, so I used orange and white chocolate melts.  Melt both of your chocolate colors in separate containers.  I find it easier to work with squeeze bottles, but you could also scoop the melted chocolate into plastic bags and then cut the tips cut off.

DSC_2172Pipe a strip of orange melted chocolate in the body and tail of the candy mold.  Very shortly after, add the white chocolate to the remaining part of each mold.  If the orange chocolate has hardened, it’s possible that you won’t have a seamless piece, so try to work fast.


After filling the rest of the candy mold with white chocolate, let them sit to harden for about ten minutes.  Once they are solid, the airplanes will very easily pop out of the mold.  If they’re not popping with a slight twist of the candy mold, then they’re not ready to come out yet.

Airplane chocolateThis is my miniature version of Cropduster Dusty.

 For the final step, place the chocolate piece on top of the decorated cupcake sky.  Here is our final piece.

DSC_2215Thank you again to Steph Diehl for providing us with a simple tutorial on how to make her adorable sky with clouds cupcakes!  To see more of Steph’s creations you can find her on Facebook at

https://www.facebook.com/pages/Sweet-Diehls/138845126143748

 If you’d like to see more Planes party ideas, here is the link to the post about my son’s birthday party.  It includes everything from our themed food menu, to the themed treats, to the fun activities and thank you gifts.

Airplanes Birthday Party

Free Printable Airplane Garland Template

Airplane GarlandDecorating with Planes

Do you live with a little aviator?  If so, an airplane garland is the easiest and cheapest way to decorate his room with a touch of plane décor.    He can even help you make it!  All you need is cardstock, a hole puncher, ribbon and a pair of pinking shears.  To get the consistent airplane shape I used a Wilton airplane cookie cutter as my “template”.  If you can’t find this cookie cutter, I traced if for you.  Just click on the Airplane template link below and print it out.  I would recommend printing it on cardstock.  It’ll make it easier to use it as a template.

Airplane template

Five Steps to Make an Airplane Garland:

  1. Trace the airplane cookie cutter or template on to cardstock.
  2. Cut out the airplane shapes.
  3. Punch one hole on front of each plane and one hole on the back of each plane.
  4. Cut ribbon.
  5. Tie the planes together with the ribbon.

DSC_2183At Gavin’s 6th birthday party, I used this garland on the front of the dessert table. His window valance is a dark navy, so the garland also worked perfectly in his room.  Since then, he’s painted the orange plane you see hanging in this picture.

Now Gavin and I would like to make an Orange, White and Blue Airplane Garland for our new favorite Cropduster, Dusty!

If you’re looking for a fantastic deal on Disney’s “Planes” toys. The Disney Store is running a wonderful sale on their “Planes” toys. Here’s the link to take you straight there!
Online Exclusive. For a limited time, 40% off high-flying favorites from Disney’s Planes at Disney Store!


“PLANES” Cookie Pops

Dusty cookie pops
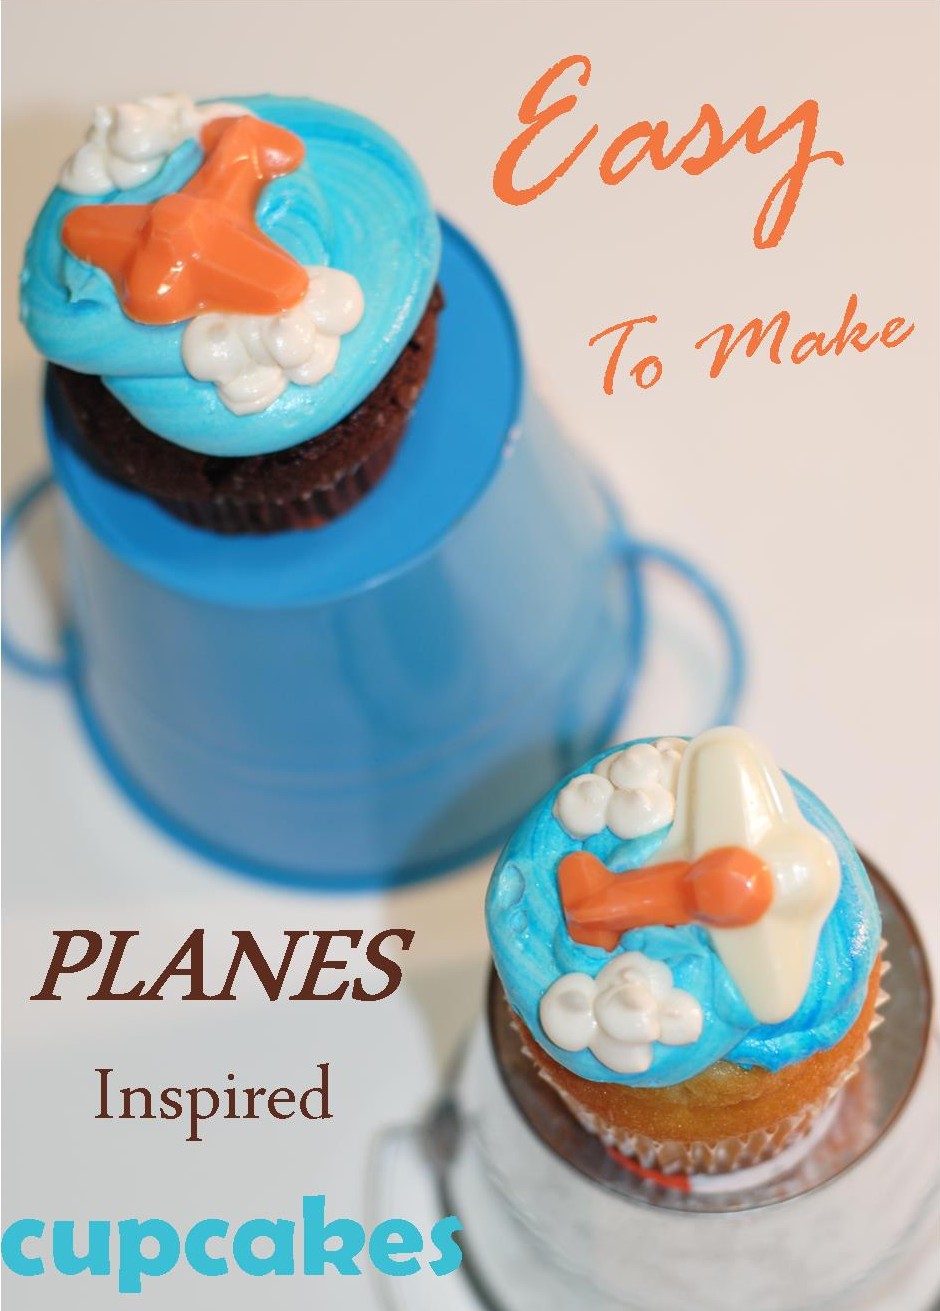
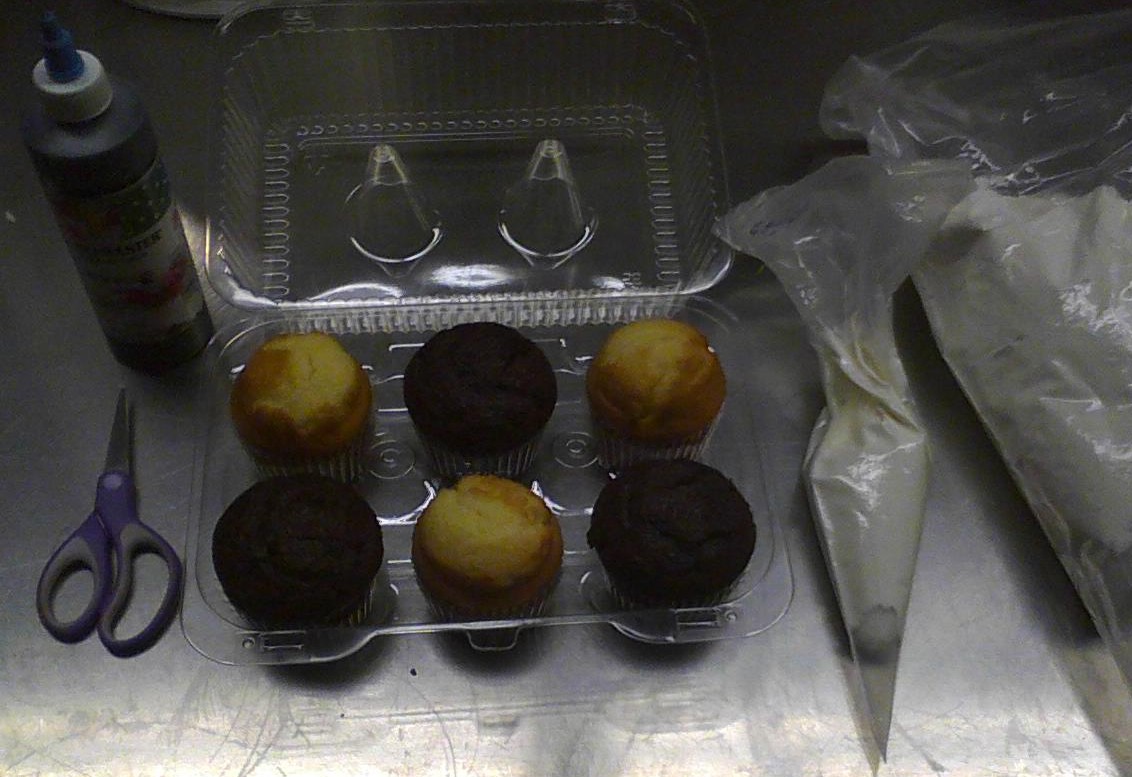
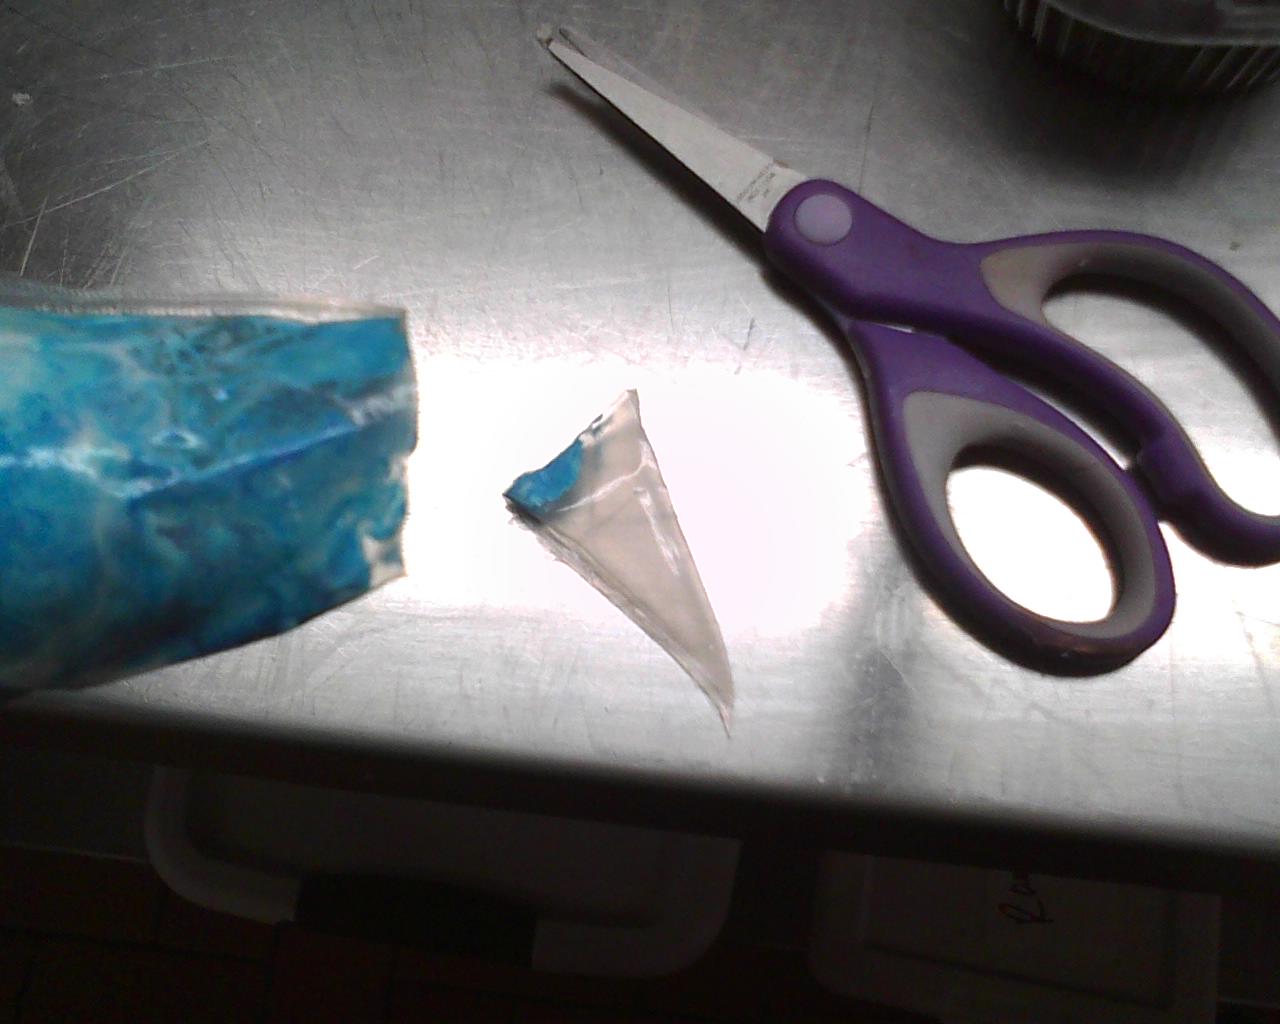
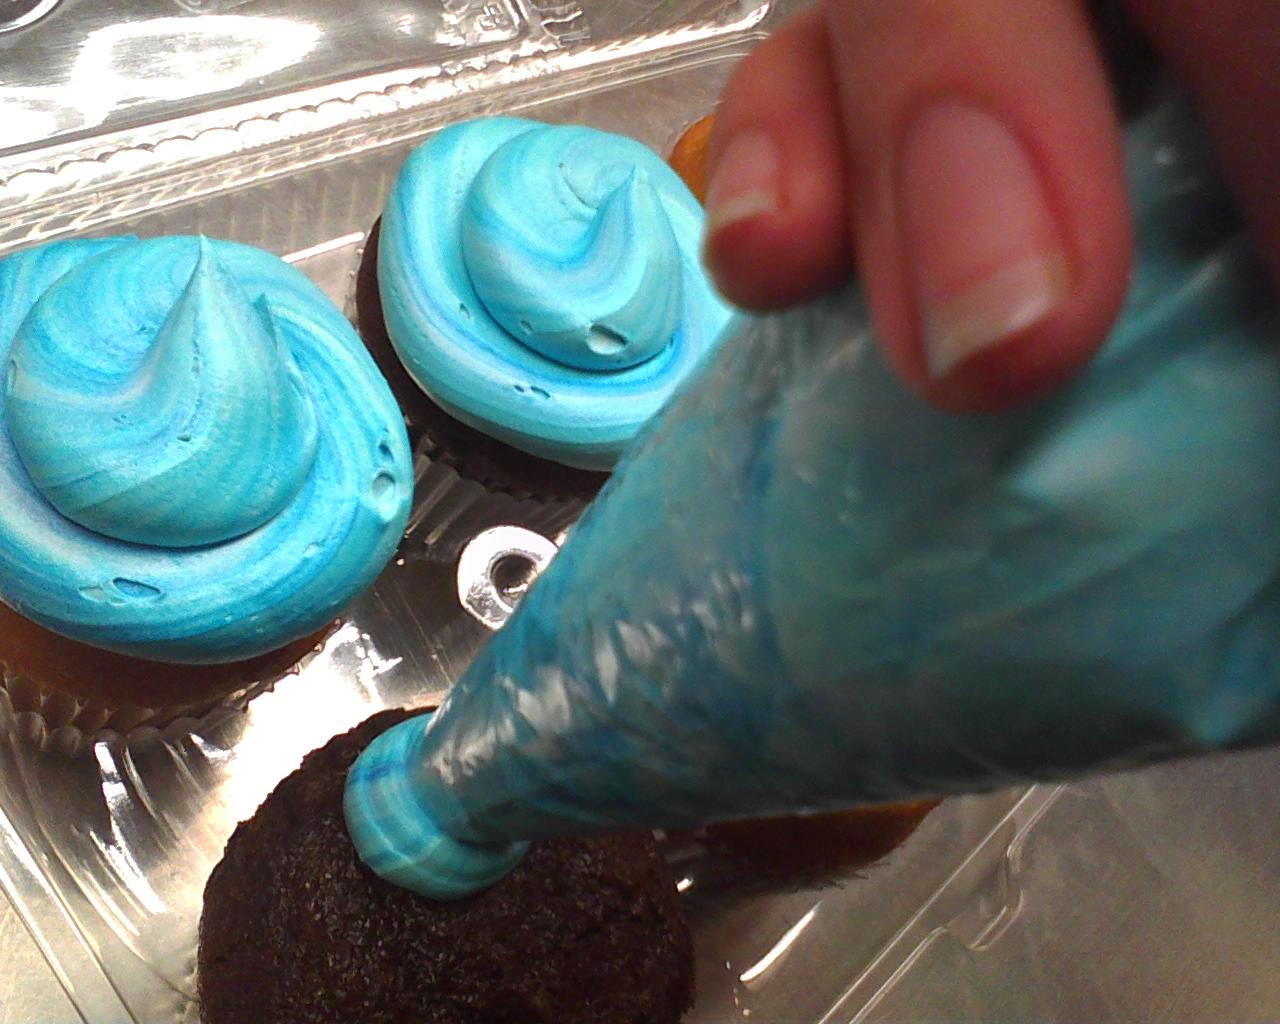
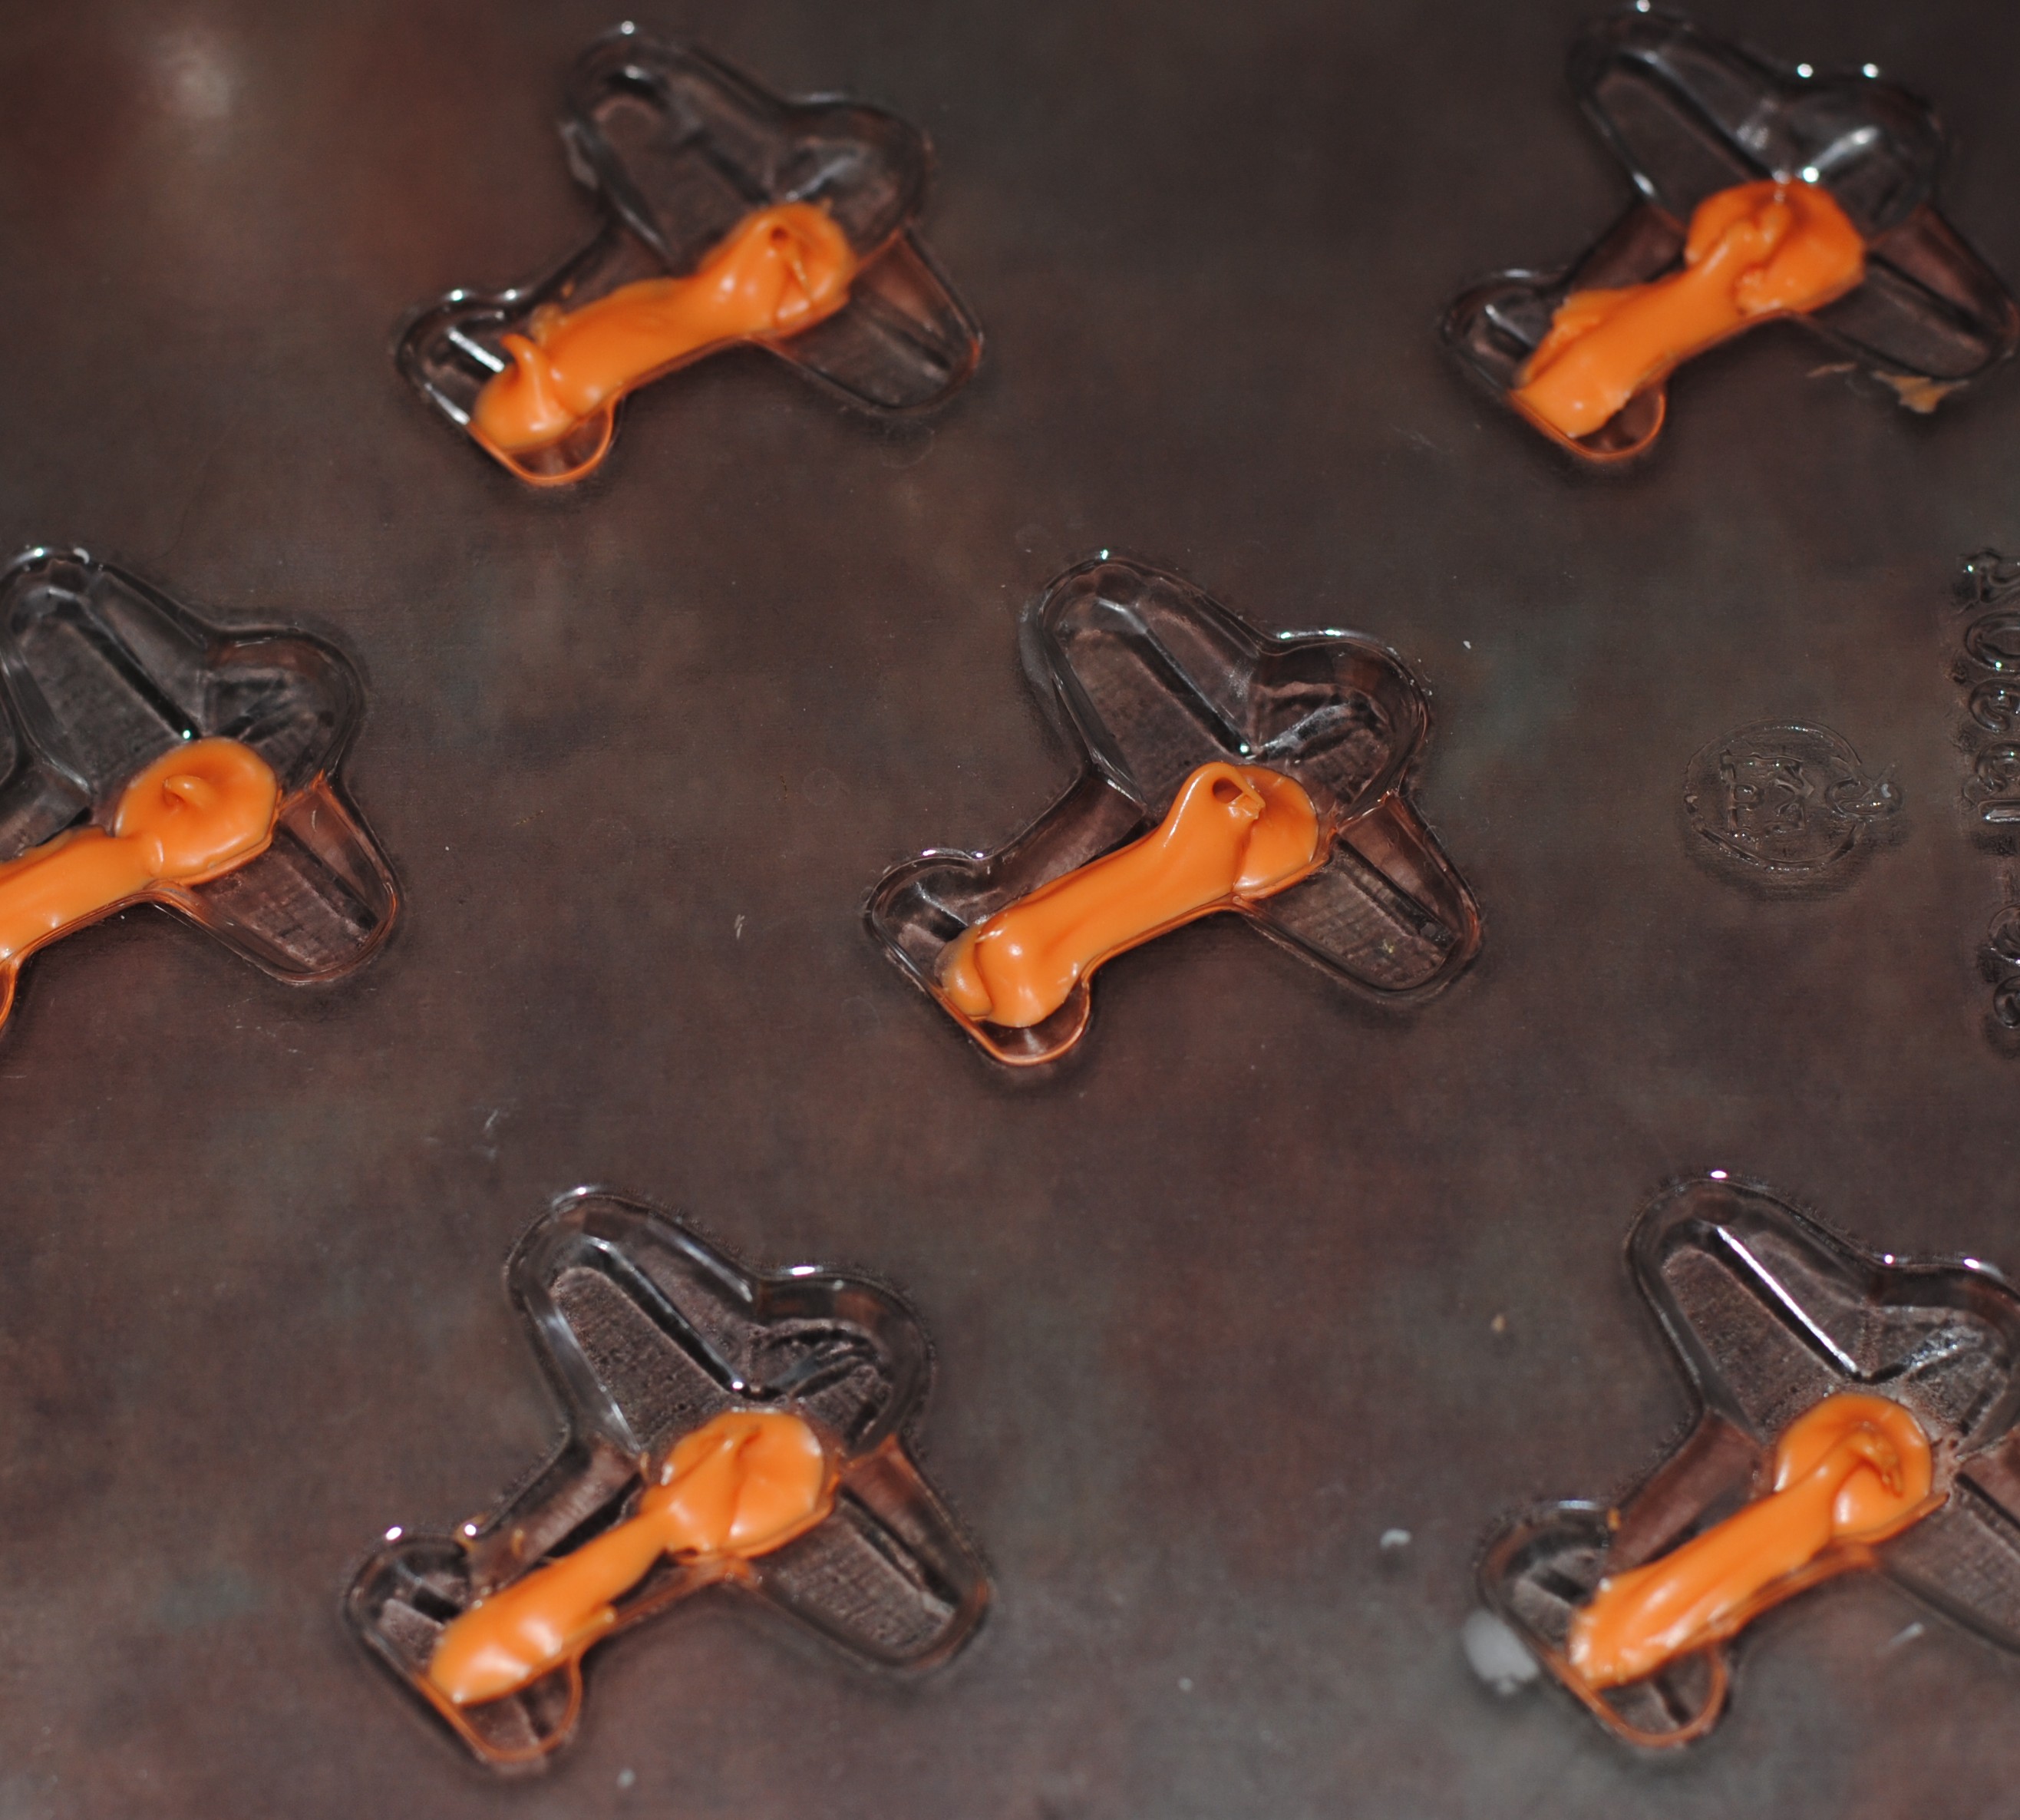
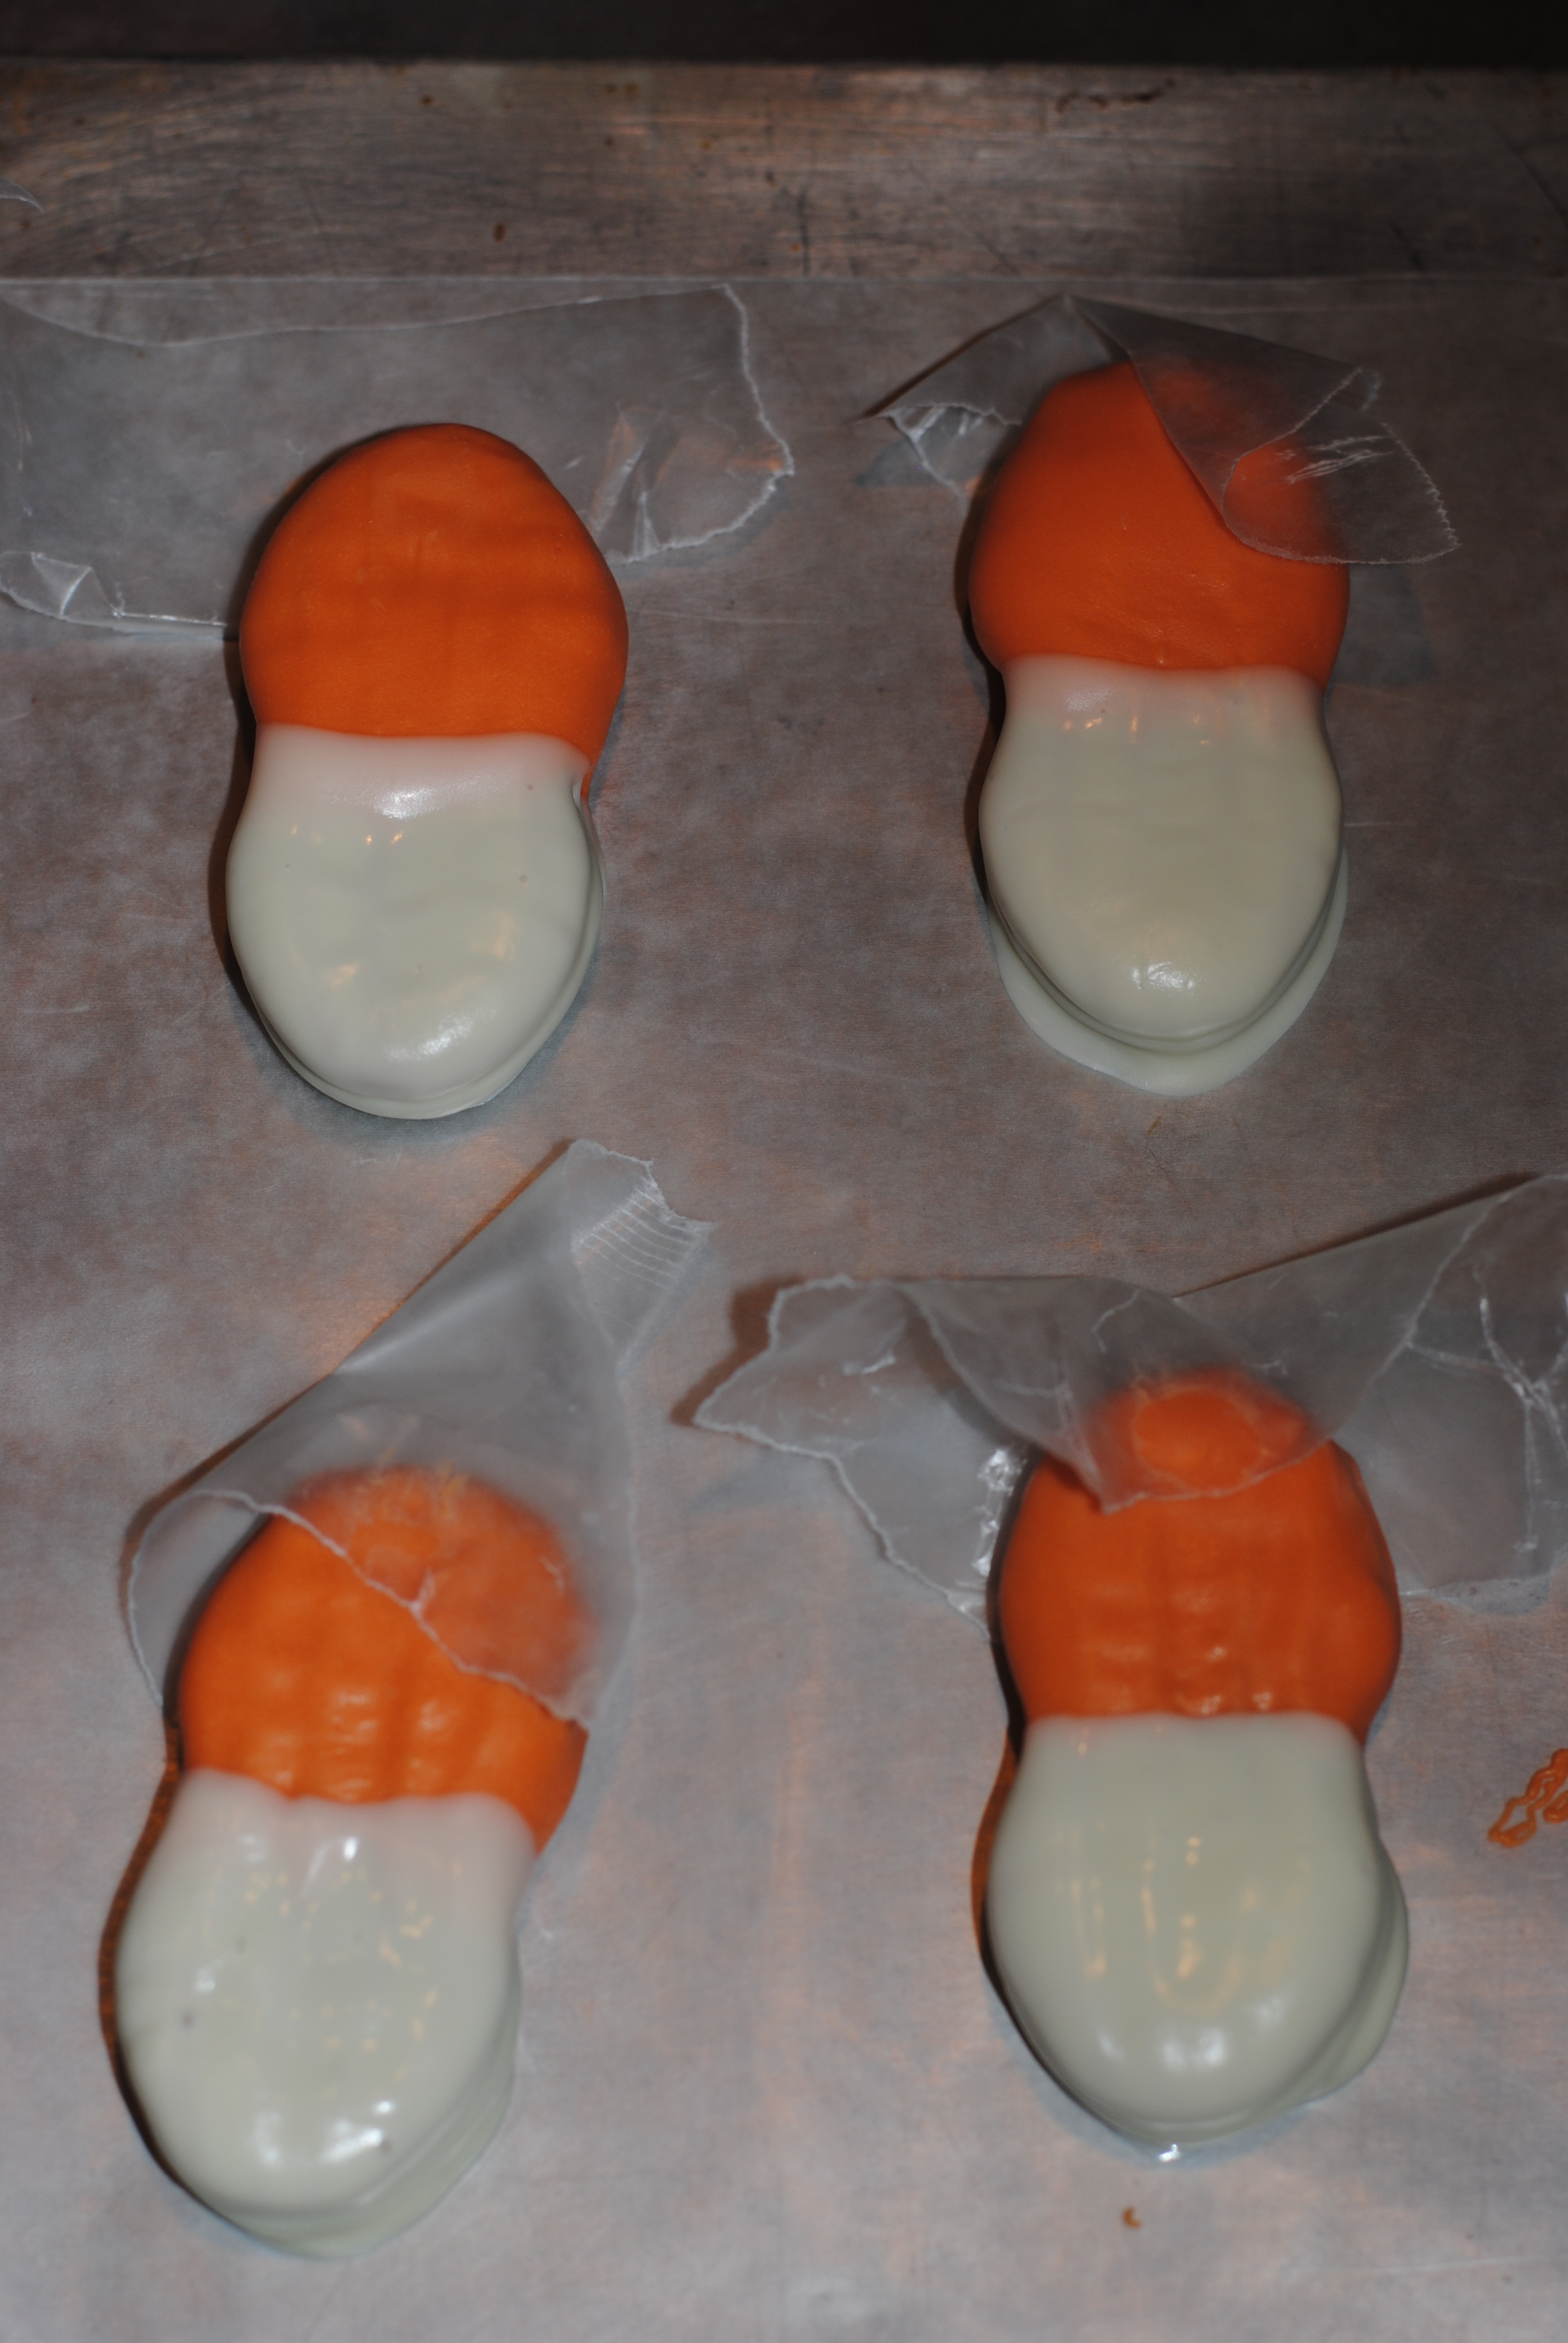
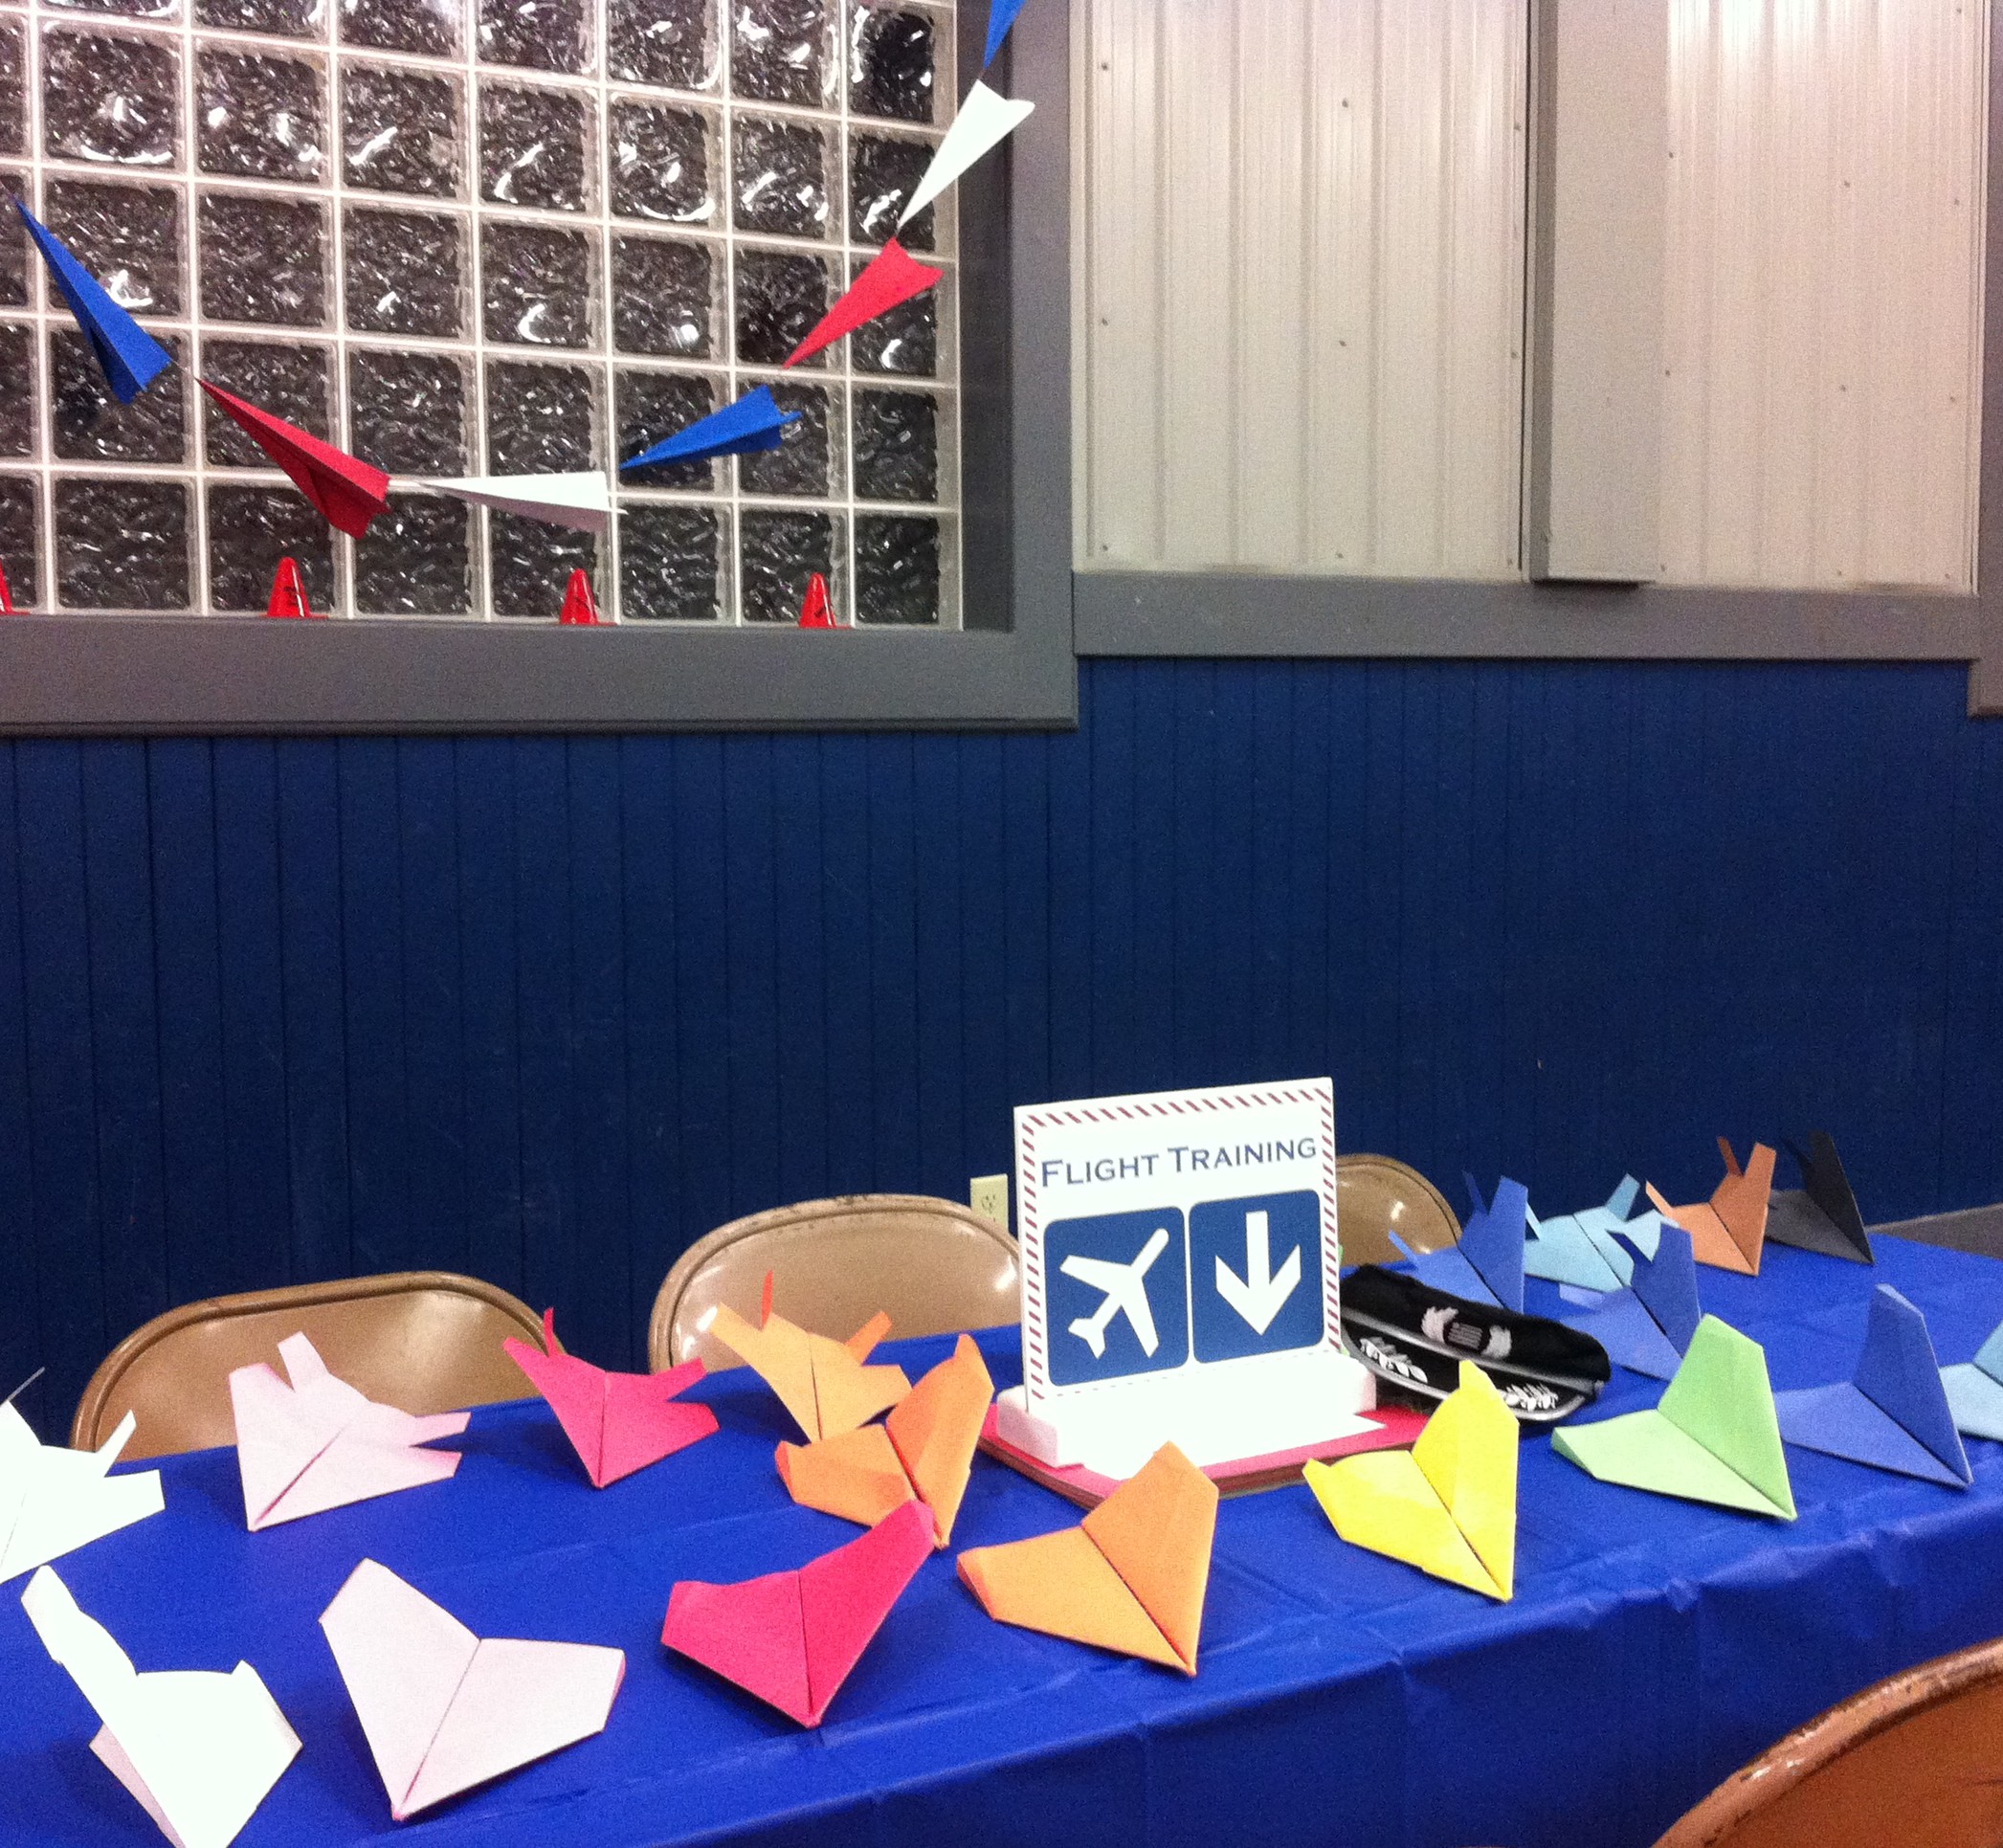
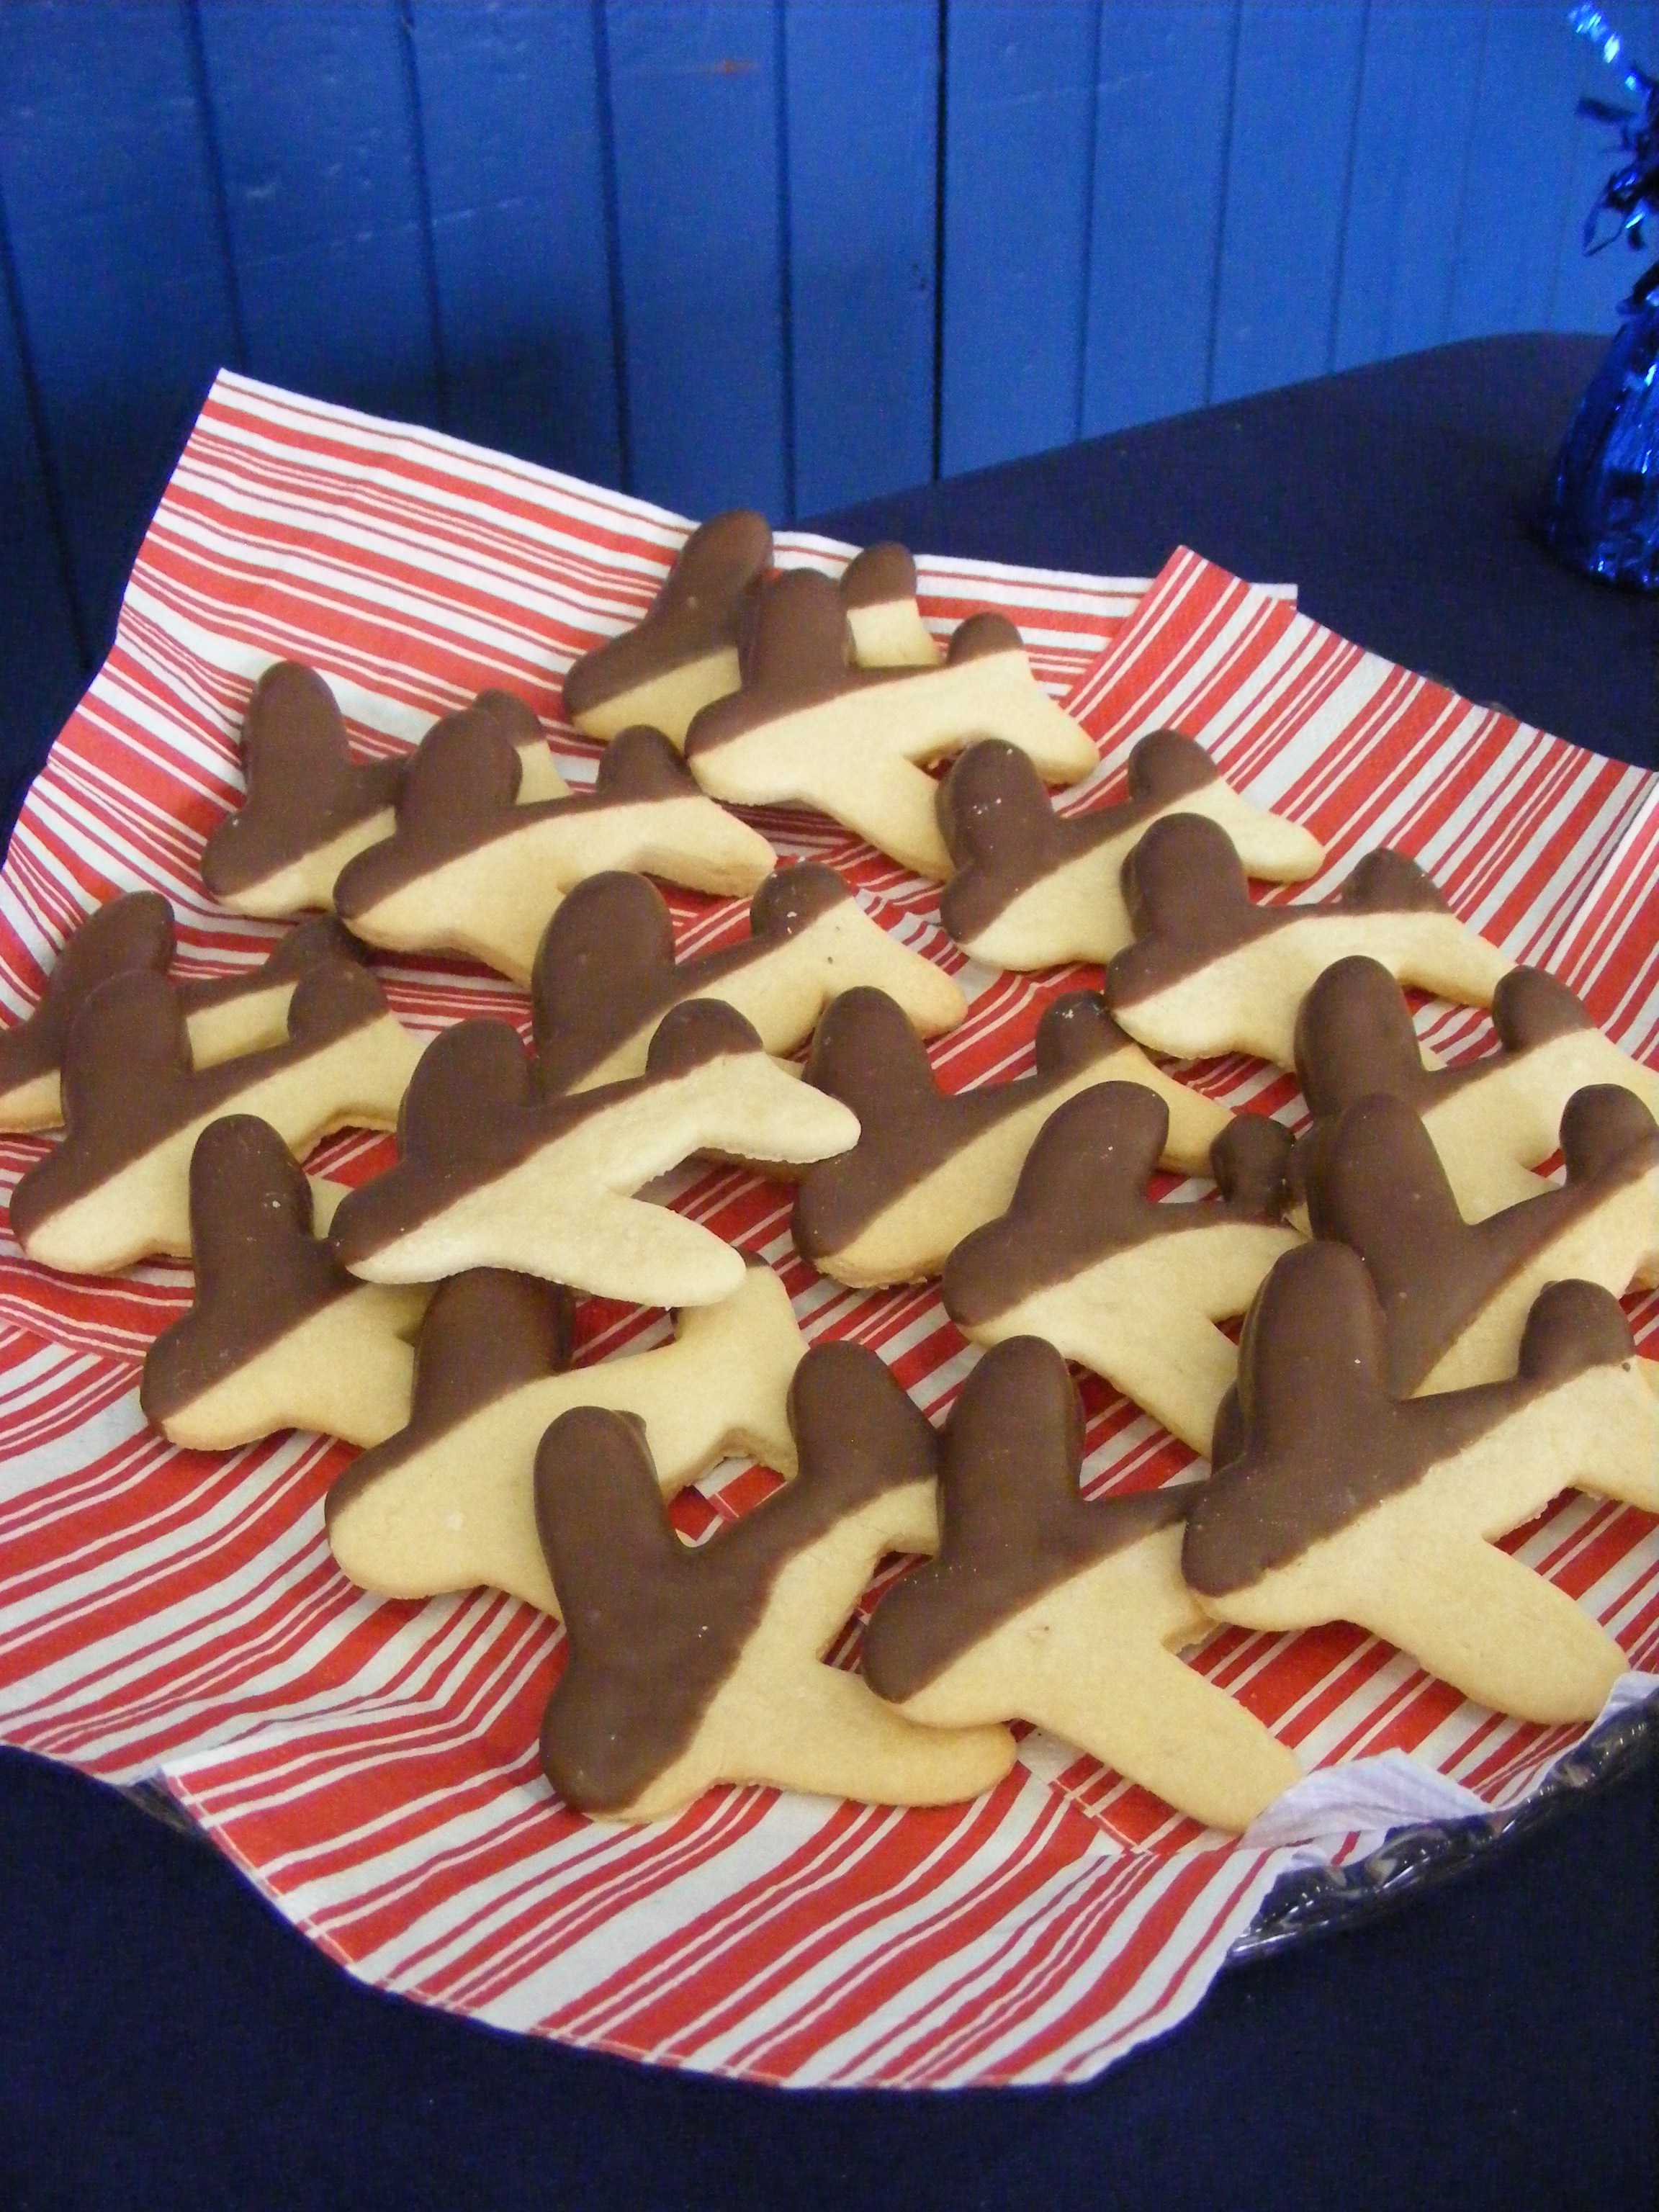
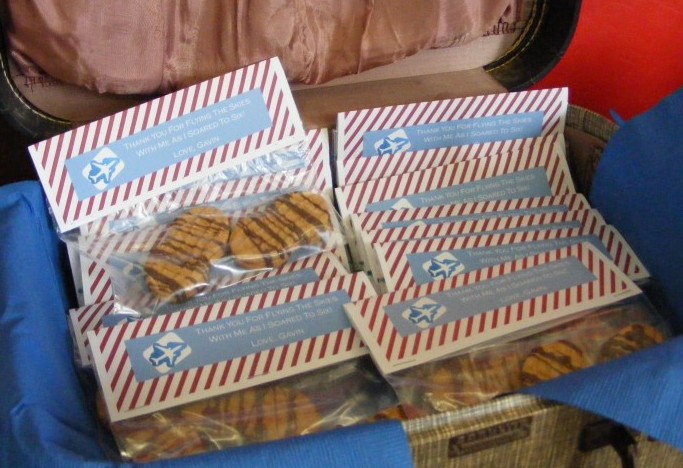
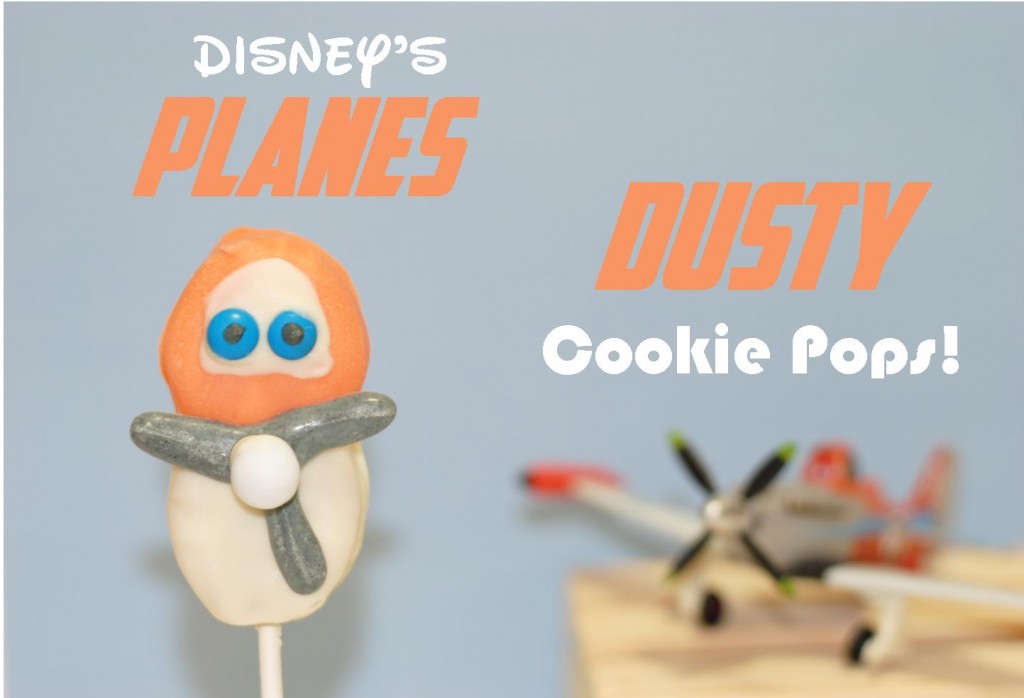
Chocolate Covered Nutter Butter Plane’s Inspired Dusty Cookie Pops!

I’m certain everyone knows by now that my household is pretty excited about this weekend’s premiere of Disney’s “Planes”.  So in celebration of the premiere this week we are having some High Flying Fun!  Last night, I decided to try to turn a Nutter Butter Cookie into the face and nose of Dusty the crop duster lead character of Planes.  Pictured above is my end result.  If you’d like to make a Cookie Pop Dusty, these are the steps that I took, including a few photos that I took along the way.

  1. Gather all your supplies.  I used white and orange chocolate melts, black icing coloring, plastic sandwich bags, scissors, a skewer, wax paper, pencil and one piece of paper, white Dutch mints, mini blue M&M’s, cookie pop sticks and Nutter Butter Cookies.
  2. There are two ways to make this cookie, with or without the cookie pop stick.  If you do not want your Dusty cookies on a stick, then skip this step.  If you would like to make the cookie pop version, then you’ll start by attaching the stick to the cookie.  To do this, gently separate the Nutter Butter cookie by sliding the two piece apart.  Then melt your chocolate wafers.  It doesn’t matter which color chocolate you use. Take your cookie stick and dip the top third of the stick within the melted chocolate.  Lay the dipped portion of the stick on top of the center of the opened cookie.  Gently put the cookie back together, with the stick in the center.  Place them in the refrigerator for five minutes.  This will allow the chocolate to harden around the cookie pop stick.
  3. For those of you that chose to skip the cookie pop stick this will be your first step.  Dip your Nutter Butters half way into the orange chocolate and lay them on top of a cookie sheet lined with wax paper.  If you’re making the cookie pop version, dunk the entire Nutter Butter in white chocolate first .  Then let them harden on the wax paper.Orange half dipped Nutterbutters
  4. Once the chocolate has hardened, move onto dipping the bottom half white.  Cookie Pop version, this is when you would dip the top in orange chocolate.  Below is a photo of how your cookies should look.DSC_2178
  5. Next, dip your skewer in the white chocolate and draw Dusty’s white face directly in the middle of the orange part of your cookie.  Allow this to dry for a couple of minutes.
  6. Take two mini M&M’s and place them on the bottom of white face that you drew.
  7. Now to make the propellers!   On a piece of paper, draw your propellers. FYI- Dusty has three blades.  Place the drawing in between your wax paper and your cookie sheet.  You’re going to use this drawing as a guide for making the propellers in chocolate.  At this point, you’ll most likely have to melt your white chocolate again.  After melting, I scooped the chocolate into a sandwich bag and added a touch of black icing coloring.  Work the black dye into the white chocolate by kneading the bag between your fingers.  This will turn it into a silver color.  Cut a small snip out of a bottom corner of the bag and start piping the propellers.  After making the blades, add a Dutch mint to the top.  You might have to dip the mint in additional chocolate to make it stick.  Move the paper along as a guide for each propeller. Let them dry for at least five minutes before moving to the next step.
  8.   Add a small dab to the bottom of the propeller and place it in the center where the orange and white chocolate touch.  Make sure you don’t block Dusty’s eyes.
  9. Let the entire cookie set for a few minutes  You’re done!

DSC_2191Victoria enjoyed few bites!

These cookie pops are perfect for a Planes party or a special treat!  I do want to caution you that these cookies are very sweet. Shortly after this photo was taken, Victoria shared the rest of the cookie with others. It’s a little too much chocolate for a two-year old aviator.  As you can see, she enjoyed it!

Airplanes Birthday Party

Sept. 2012-May 2013 273Flying Fun!

This week, the kids and I are so excited that Disney’s “Planes” premieres in theatres on Friday, August 9th. I don’t know about your kids but my son, Gavin, has been talking about the film’s release for months.  Having been a plane enthusiast since the young age of one, this year Gavin really wanted to have a Disney’s “Planes” themed birthday party.  Well, Gavin was born two months premature and let me say, if he had gone full term then the Disney “Planes” supplies might have been out in time for this party!  Regardless, there was not a single “Planes” product available when I was planning his party and at that point, other than what was said in the original preview we knew little about the film.  So, the party theme was tweaked a bit and was transformed into a “Flying” theme.  This also gave me the opportunity to be creative with planning his special day around him, instead of a specific character. With the theatre release of Disney’s “Planes” this summer, I’m certain quite a few more children will also want to have a “Planes” birthday party this year.

Today, I thought I’d share some of the details of my son’s “Flying” party that you could incorporate into a Disney’s “Planes” Inspired Party.

Check In Desk (Presents!)Check In Table (Present Table)

Kids and Parents TableParents and Kids Table

I wanted to do a kids table but attending the party were a lot of small children that needed Mom or Dad’s help to eat.  I decided to create runway style seating that included cloud place mat settings for parents and their children. At each child’s cloud flew a Match Box plane with a banner attached to it that said the child’s name.  At the head of the table, blocked by the balloons in this photo, was a control tower.

 Flight TrainingActivities

Activities of the day included Flight Training, which involved making, decorating and flying paper airplanes.  Aviators also completed Plane Maintenance, a.k.a. painting their own wooden plane.  This station was featured in the first photo of this blog post.  At the end of the party, we brought the kids outside and launched rockets.

Juice Boxes Chocolate dipped plane cookies

Plane Birthday CakeFlight Inspired Food

There were two food areas, a Food Court and the Pilot’s Lounge.  In the Food Court, we offered party guests a buffet of Gavin’s favorite food, Pizza.  There was Chicken Wingman Pizza, Broccoli and Alfredo Flying Pizza, Flying High Cheese Pizza Pies, Pepperoni Pie in the Sky and Ham and Cheesy Flight Attendants Pizza.  In addition we had prepackaged chips, like you’d find in a food court, plane propellers (fruit on a skewer) and Jet Fuel (a variety of drinks).

At the Pilot’s Lounge is where all the goodies, including cake, could be found.  The photos above show a few items offered, chocolate-dipped airplane sugar cookies, juice boxes and the birthday boy’s cake.

Guest Gift Bag "Baggage Claim" TableBaggage Claim (Favor bags for babies, kids and adults)

Before Gavin’s guests left the party, they headed over to collect their baggage (favor bag).  The babies that attended took their personalized mini luggage filled with a travel size baby body wash.  Kids, two years old and above, were given one of the larger brown luggage pieces, shown in the middle of the table.  Each luggage piece had a personalized luggage tag and thank you note.  Inside was enough room for their painted plane, paper airplane, Match Box plane, and some surprises, such as a plane kite and a chocolate plane lollipop.  The adults at the party left with their “In Flight” peanuts and a thank you note.

In Flight PeanutsI’d like to thank Kerri Nichols for the wonderful Bi-Plane cake and Jeff, of Jeff D’Angelo’s Design Group, for the use of the vintage luggage pieces. Find out more about Jeff D’Angelo’s Design Group at:

 https://www.facebook.com/pages/Jeff-DAngelos-Design-Group/132909703465772

If your child asks for a Disney’s Planes birthday party this year, I hope these “Flying” party ideas will help you plan a party that Soars to Spectacular!