Category: Disney-Inspired Crafts

Christmas in July! Free Printable Nemo Template

Nemo Garland templateYay A Present!

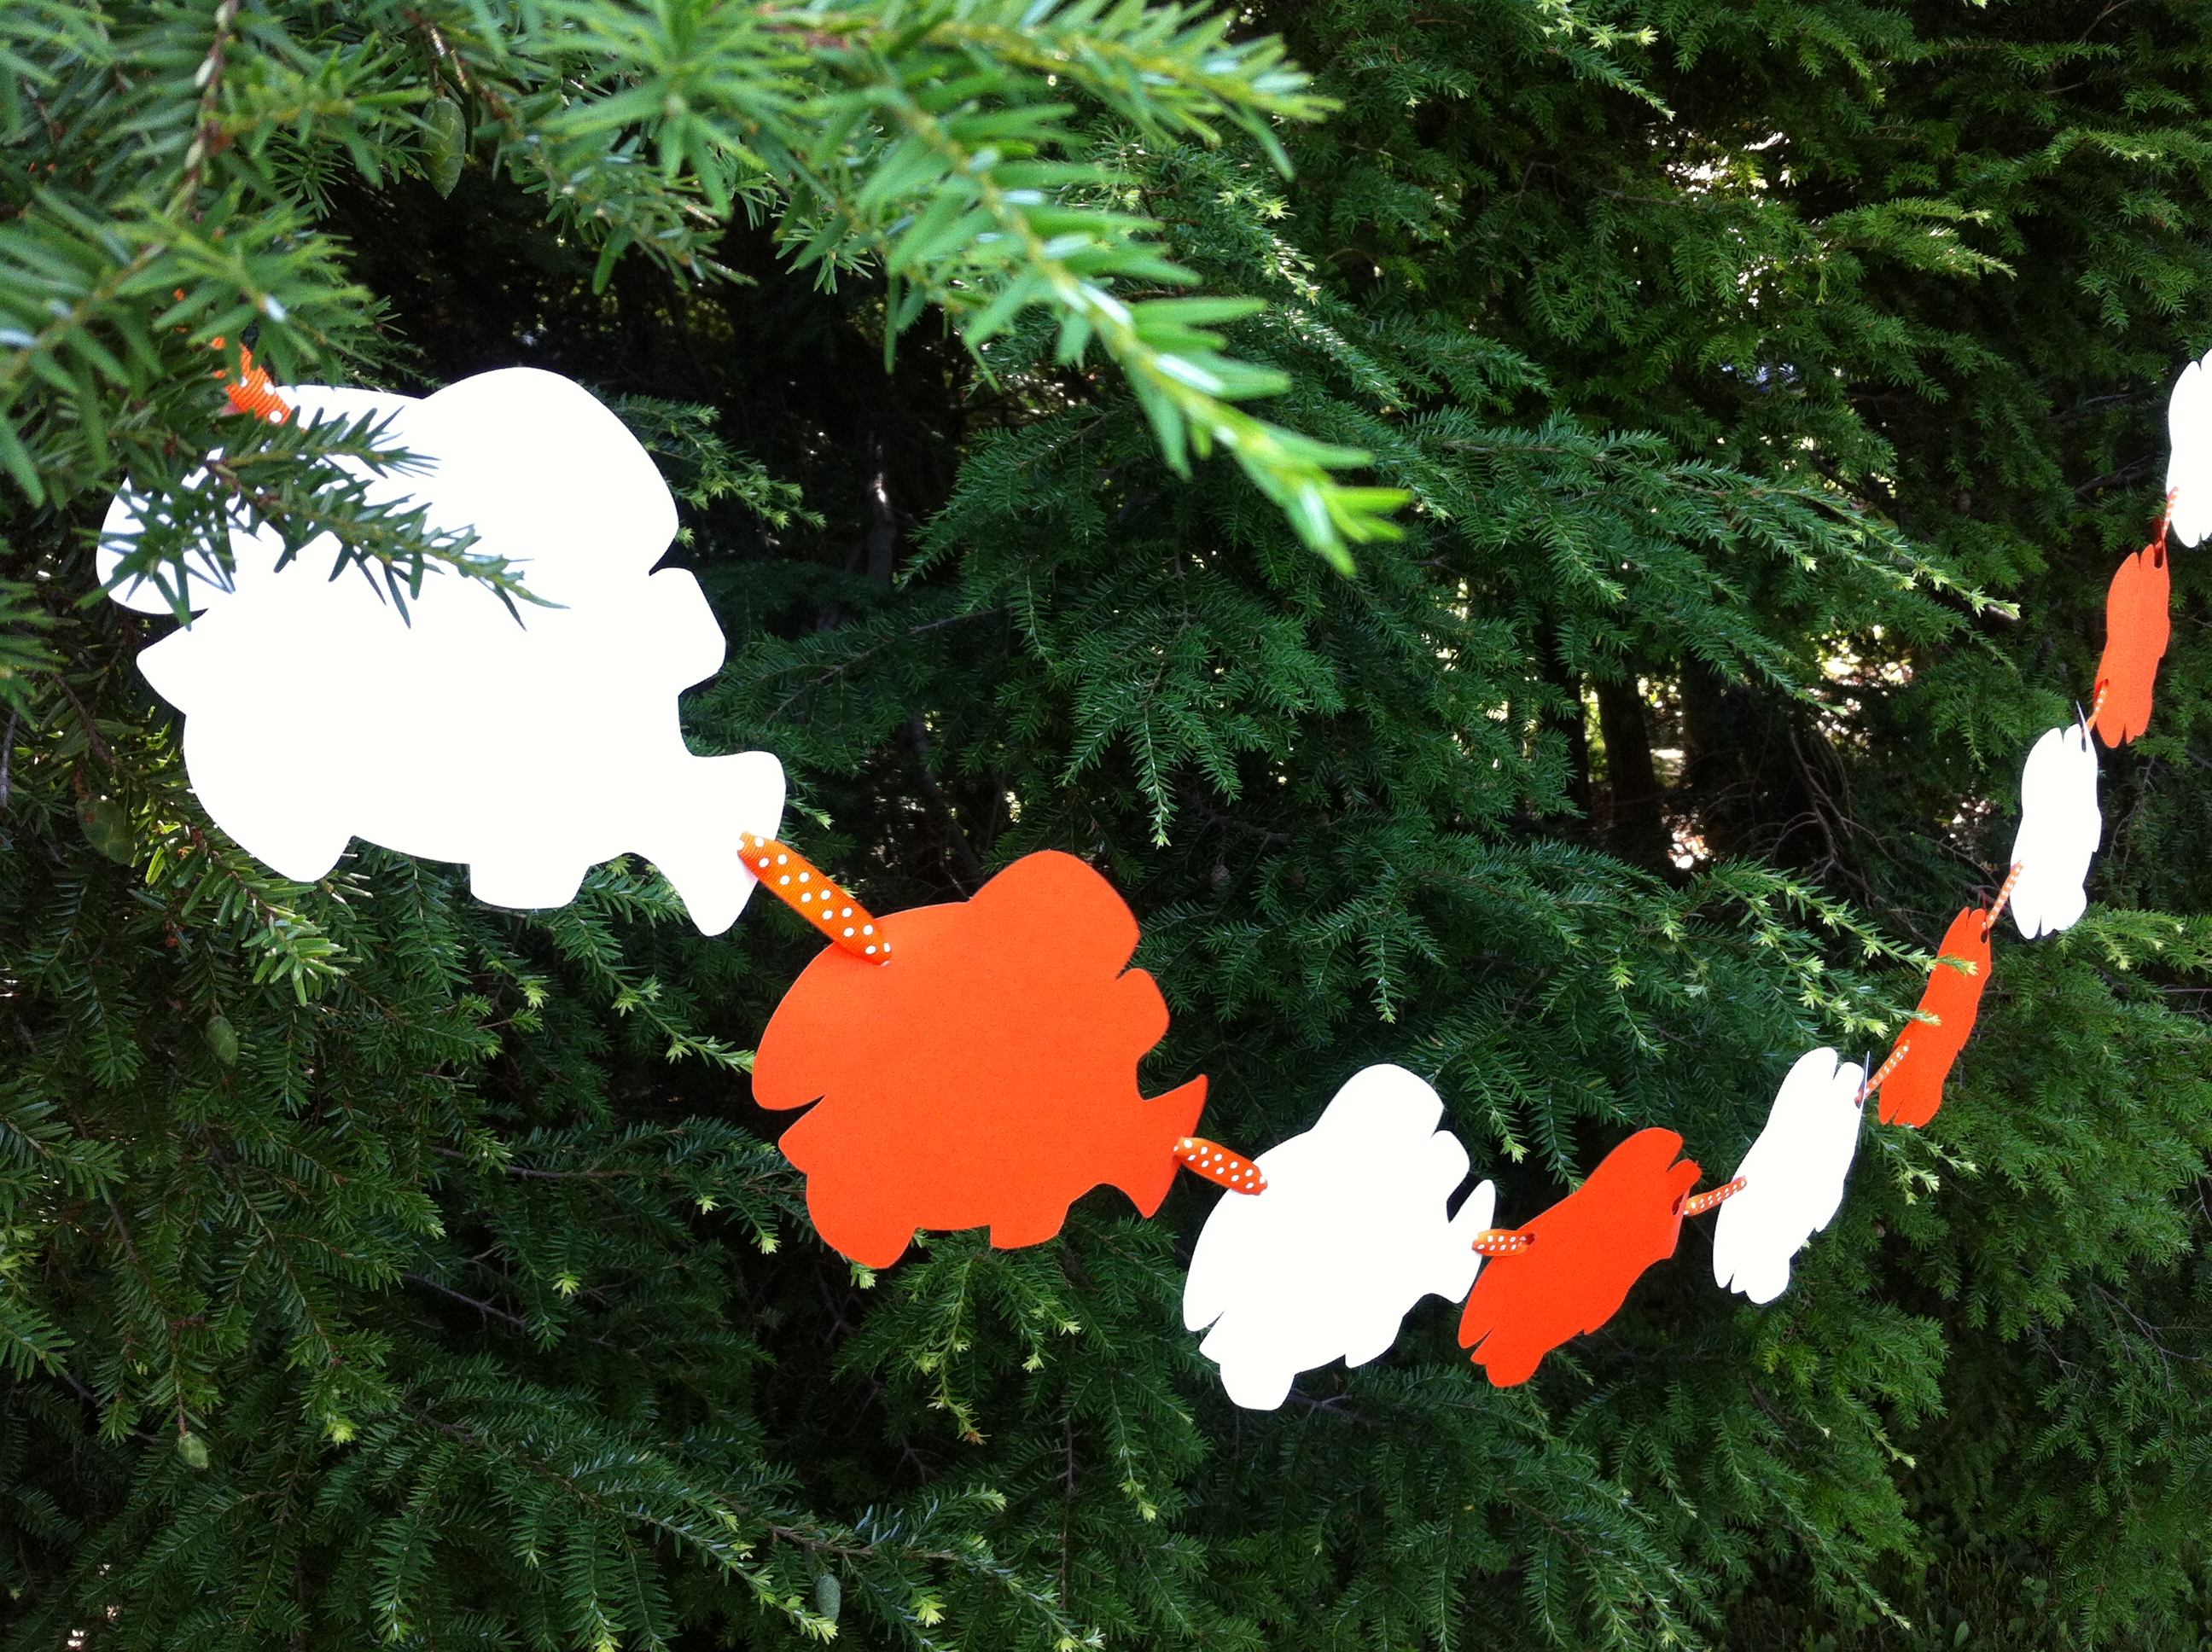
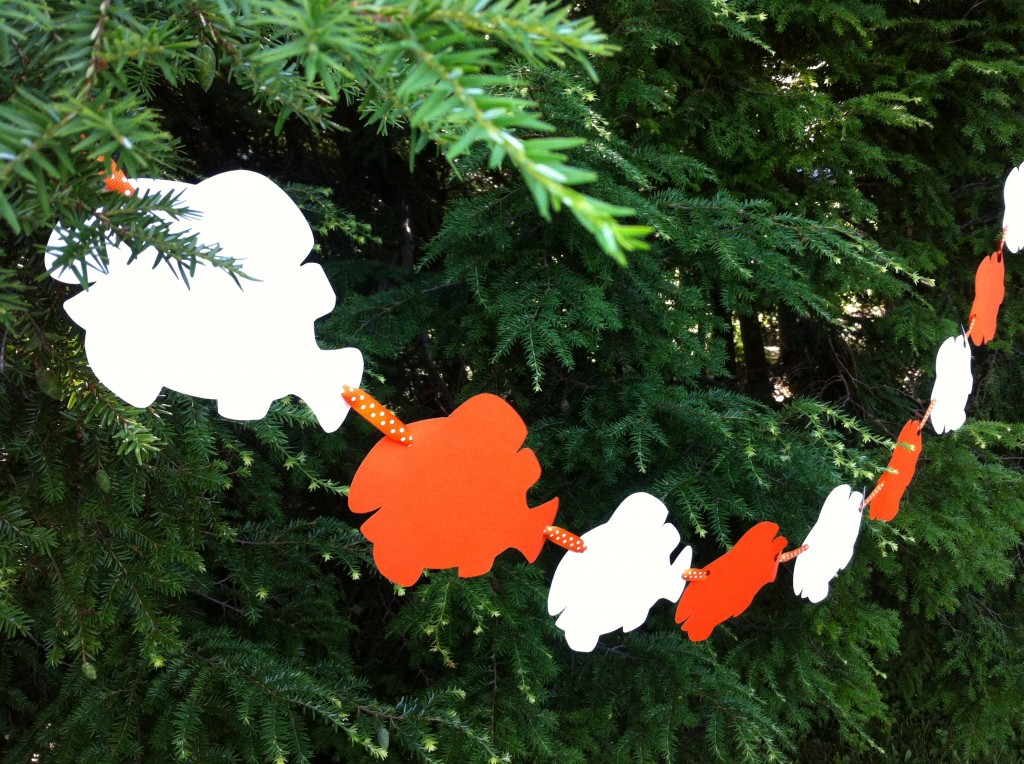
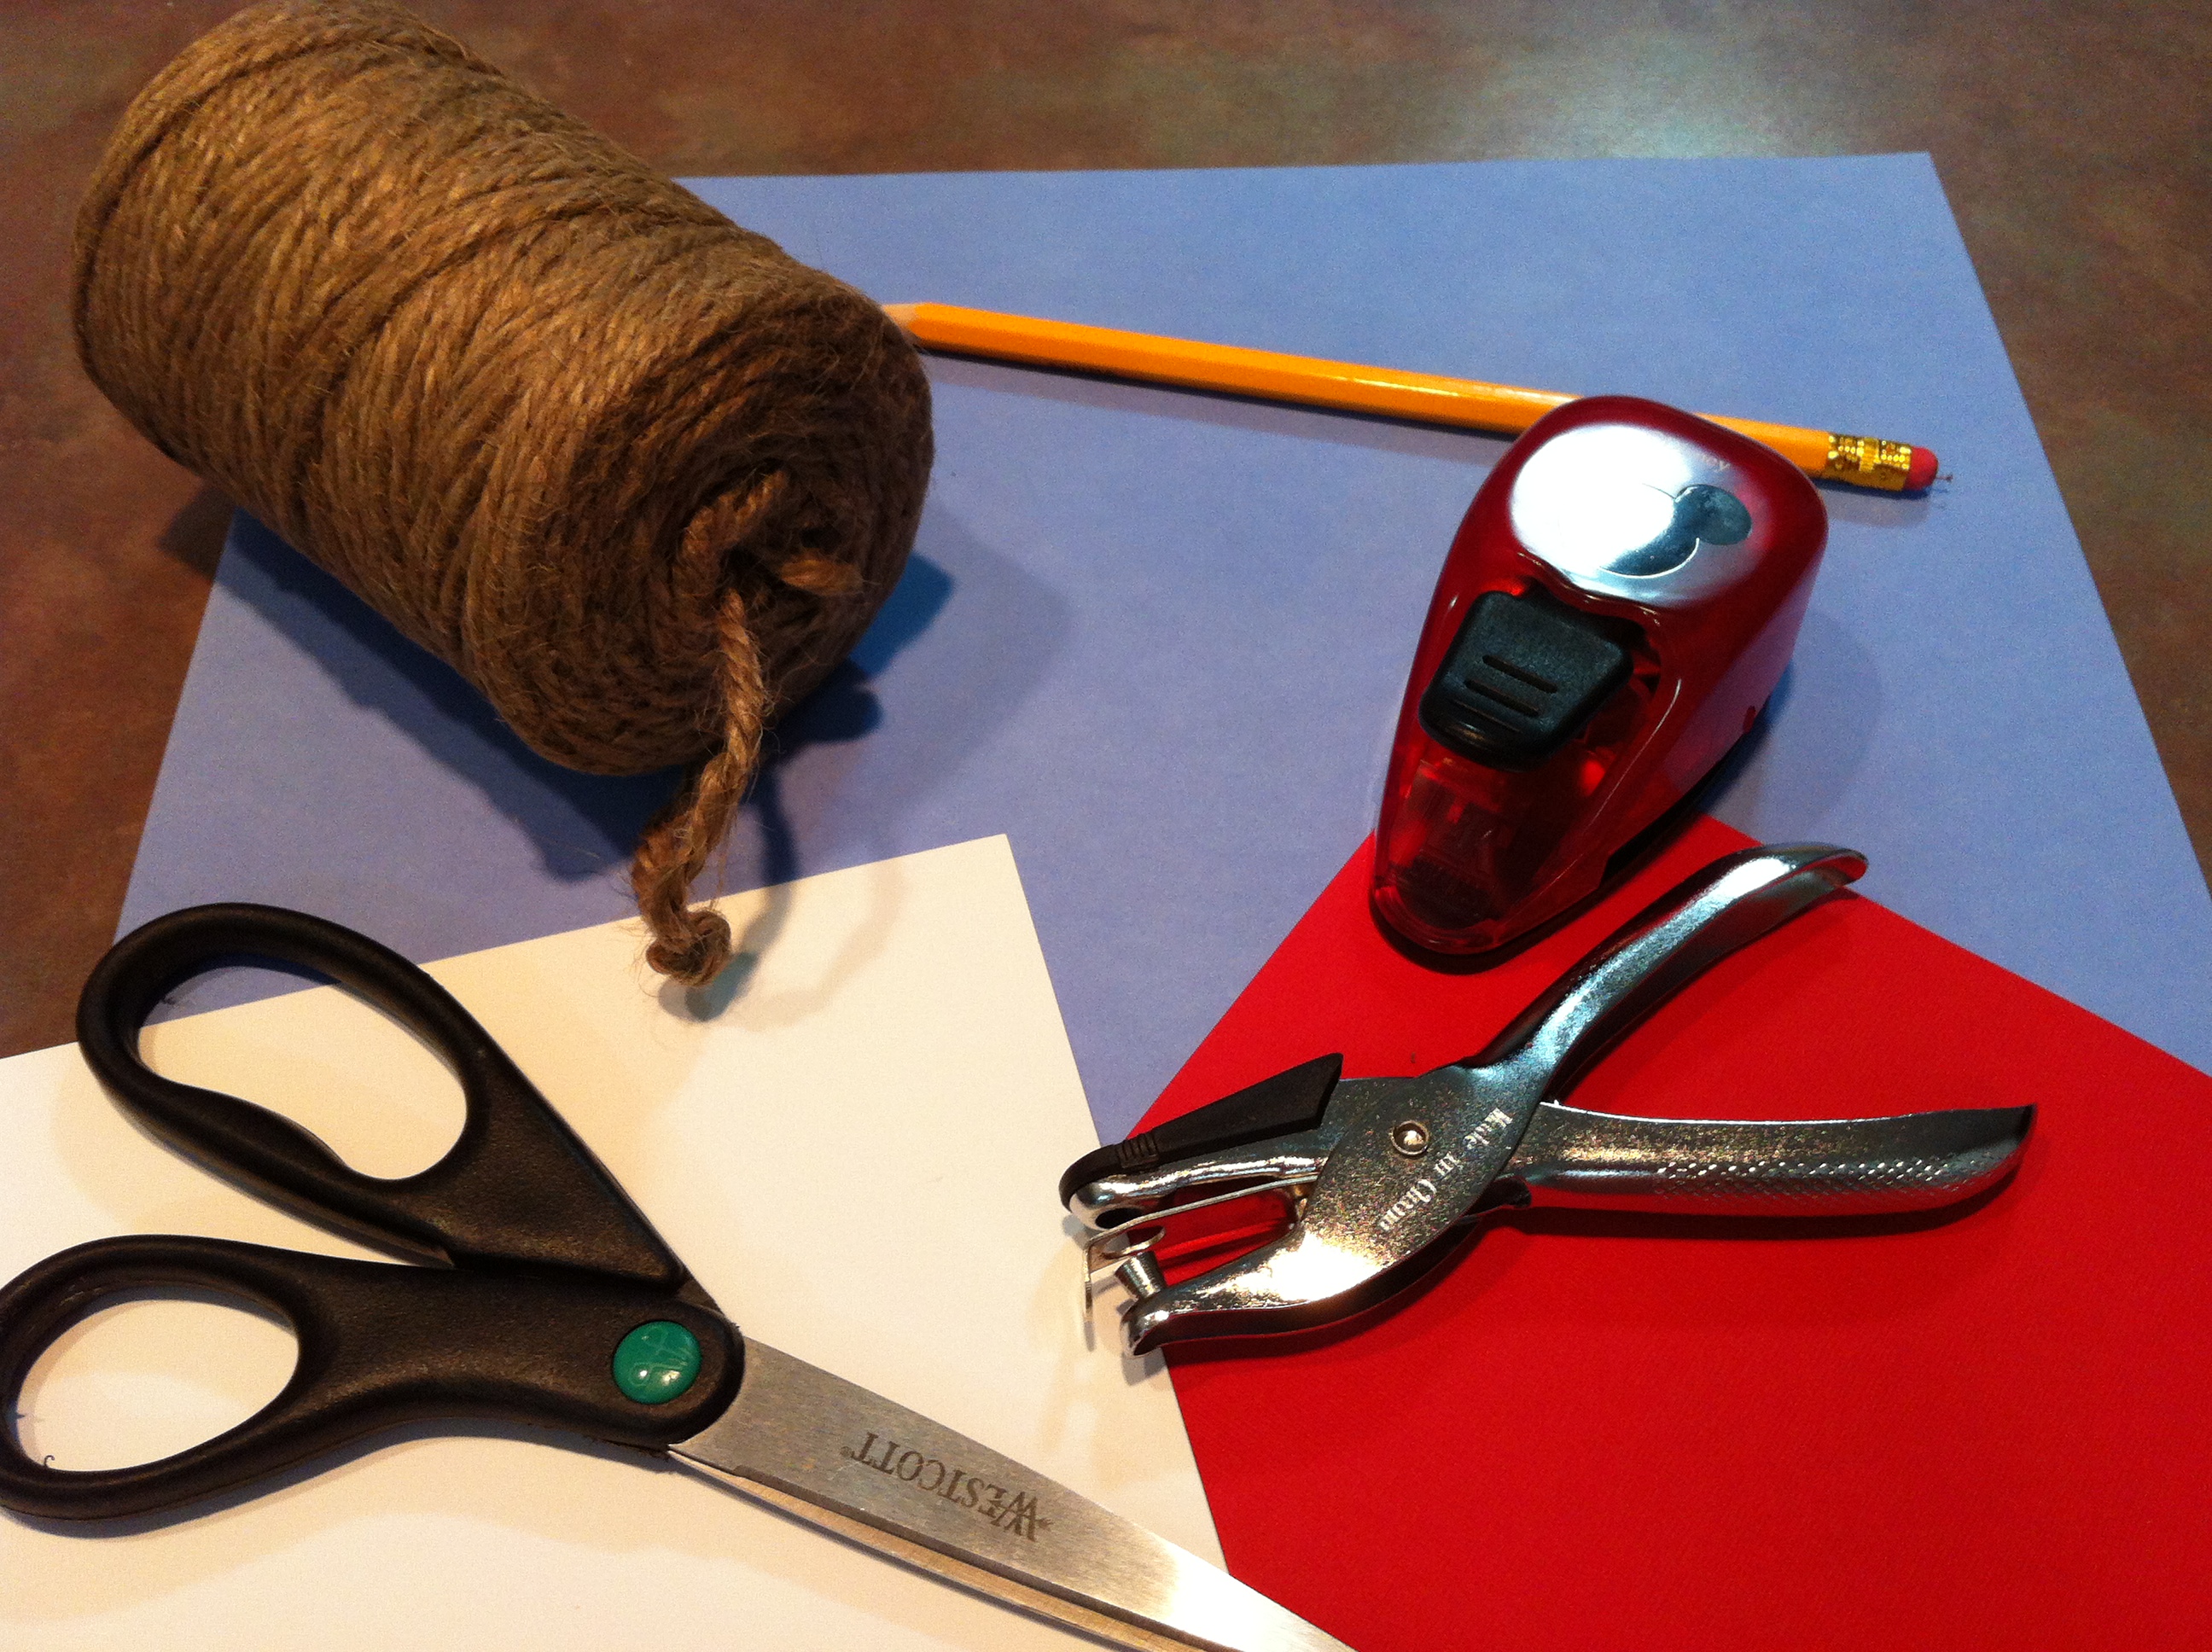
In my last post, I featured my daughter’s Finding Nemo inspired birthday party.  One of the fun décor items that I created for the party was a Nemo garland that was used on the front of the cake table.  If you’re planning a little summer pool party and would like to create your own Nemo garland, click on the pink link- Nemo Inspired Template found at the end of this post.  You’ll find two pages, each showing one fish.  Print at least one of the two pages on white card stock… it’s always nice to have an extra though.  Now get out your scissors, pencil, card stock colors of your choice, hole puncher and ribbon.  You’re ready to go!

Simply cut out “Nemo” to create your template and use him to trace the image on your colored card stock.  Then cut out each colored card stock “Nemo” and hole punch around the middle of his tail, then line up a hole punch for the front of the fish.  Going forward make sure all the fish are hole punched in the same spot so the garland is uniform.  I used nine fish to complete the garland for a six-foot long table.  Once you are done with your fish, simply use your ribbon to string them.  Talk about easy!

For your treat table by the pool, an orange and white “Nemo” garland would offset an aqua table-cloth beautifully.  With the aqua color of your pool in the background, and the use of some orange paper plates, napkins, cups and straws. The look should be fabulous!  A rainbow-colored “Nemo” garland would be so much fun too!  I’d love to see how you use the template.  Please share your photos featuring your “Nemo” inspired garland and I’ll post them to Mouse Ears Mom Facebook page for everyone to enjoy!

Nemo Inspired Template

Merry Christmas in July and “Just Keep Swimming.”

Patriotic Mickey Pops

Patriotic Mickey Pops

Showing American Pride Couldn’t Be Sweeter!

My sister-in-law’s birthday is on July 4th.  She’s a big Mickey fan and her FAVORITE cookie is Double Stuffed Oreos. I think that these patriotic Mickey pops will be a perfect birthday treat for her…so shhh, don’t tell her that I made these for her!

If you’d like to make these yummy treats, below is a short tutorial for you to use:

  1. Gather susome suppliespplies: red, white and blue candy melts, cookie lollipop sticks, regular size Oreos as well as mini Oreos, melting cups to use for dipping (I use a 4 cup Pyrex glass measuring cup), squeeze bottles for drizzling, wax paper,  cookie sheets and candy wrapper bags.  I used the large size candy bags that are pictured to the right.  When Mickey’s ears are attached, it’s very hard to fit the pop in a smaller bag.
  2. Separate the top from the bottom of the regular size Oreos. Place the cookie, with the filling still attached, on a waxed covered cookie sheet with the filling side facing up.
  3. Melt the white chocolate in a squeeze bottle.  Once melted, pipe a circle of white chocolate on top of the white Oreo filling.  In that circle of chocolate, place your lollipop stick and then place the top of the cookie back on the cookie, pushing very gently (as to not snap the top of the cookie in two…guess who did that like ten times!).  Continue to do this for all of the cookies you’ve placed on your cookie sheet.
  4. Place the cookies with the lollipop sticks in the refrigerator for five minutes.  This will harden the chocolate, acting like glue and secure the sticks for dipping.
  5. While you Mini Oreoswait for the chocolate to harden, lets move on to Mickey’s Ears. Line another cookie sheet with wax paper.  Then melt the red and blue chocolate in microwave safe cups that are suitable for dipping your cookies. Depending on your preference, dip the mini Oreo in either the red or blue chocolate.  I chose to do both and dipped half of my container of cookies in red and the other in blue.  To dip, I tossed the entire mini cookie in the melted chocolate and used a spoon to take it out, letting the extra chocolate slowly drip off of the cookie’s side, then placed on the cookie sheet.  When finished with them all, place them in the refrigerator and take out your regular size Oreos with the sticks.
  6. A bit less chocolate for the little Mouseketeers.
    A bit less chocolate for the little Mouseketeers.

    Dip the full size Oreos in the remaining red and blue chocolate, and place back on the cookie sheet. Once you’ve completed them all, take the mini Oreos out of the refrigerator, dip the edge of them one more time in their coordinating color and attach them to the full size cookie.  To help everything set, place them back in the refrigerator for another five minutes.  SPECIAL NOTE: To the left I have a picture of what it looks like if you chose to only dip half way.  I did this for my little Mouseketeers, that of course want to try them too!  It’s a touch less chocolate than the full dip and therefore not as heavy on little tummy’s.

  7. Once the ears are set, the drizzling starts!  A quick back and forth motion works well.  You could use a spoon to drizzle your remaining red and blue chocolate or as I did, drizzle white first with my squeeze bottle; let them set for a few minutes, then reused my bottle for the remaining color.
  8. Last but not least, wrap each pop in a candy bag and tie it shut.  Place all of your Patriotic Mickey pops in an air tight container and keep the container in a cool location.

Happy 4th of July Everyone!


Mickey Americana Pennant

Mickey Americana
“You’re a Grand Mickey Flag…”

Here’s a fun Mickey inspired way to celebrate Independence Day!  Below you will find the five easy steps, with photos, to make this pennant just in time for your 4th of July party.

Supplies1. Gather all your supplies.  You’ll need, red, white and blue card stock, a pencil, scissors, standard size hole puncher,  a Mickey Mouse craft punch, jute twine and your favorite form of adhesive.


creating patterns
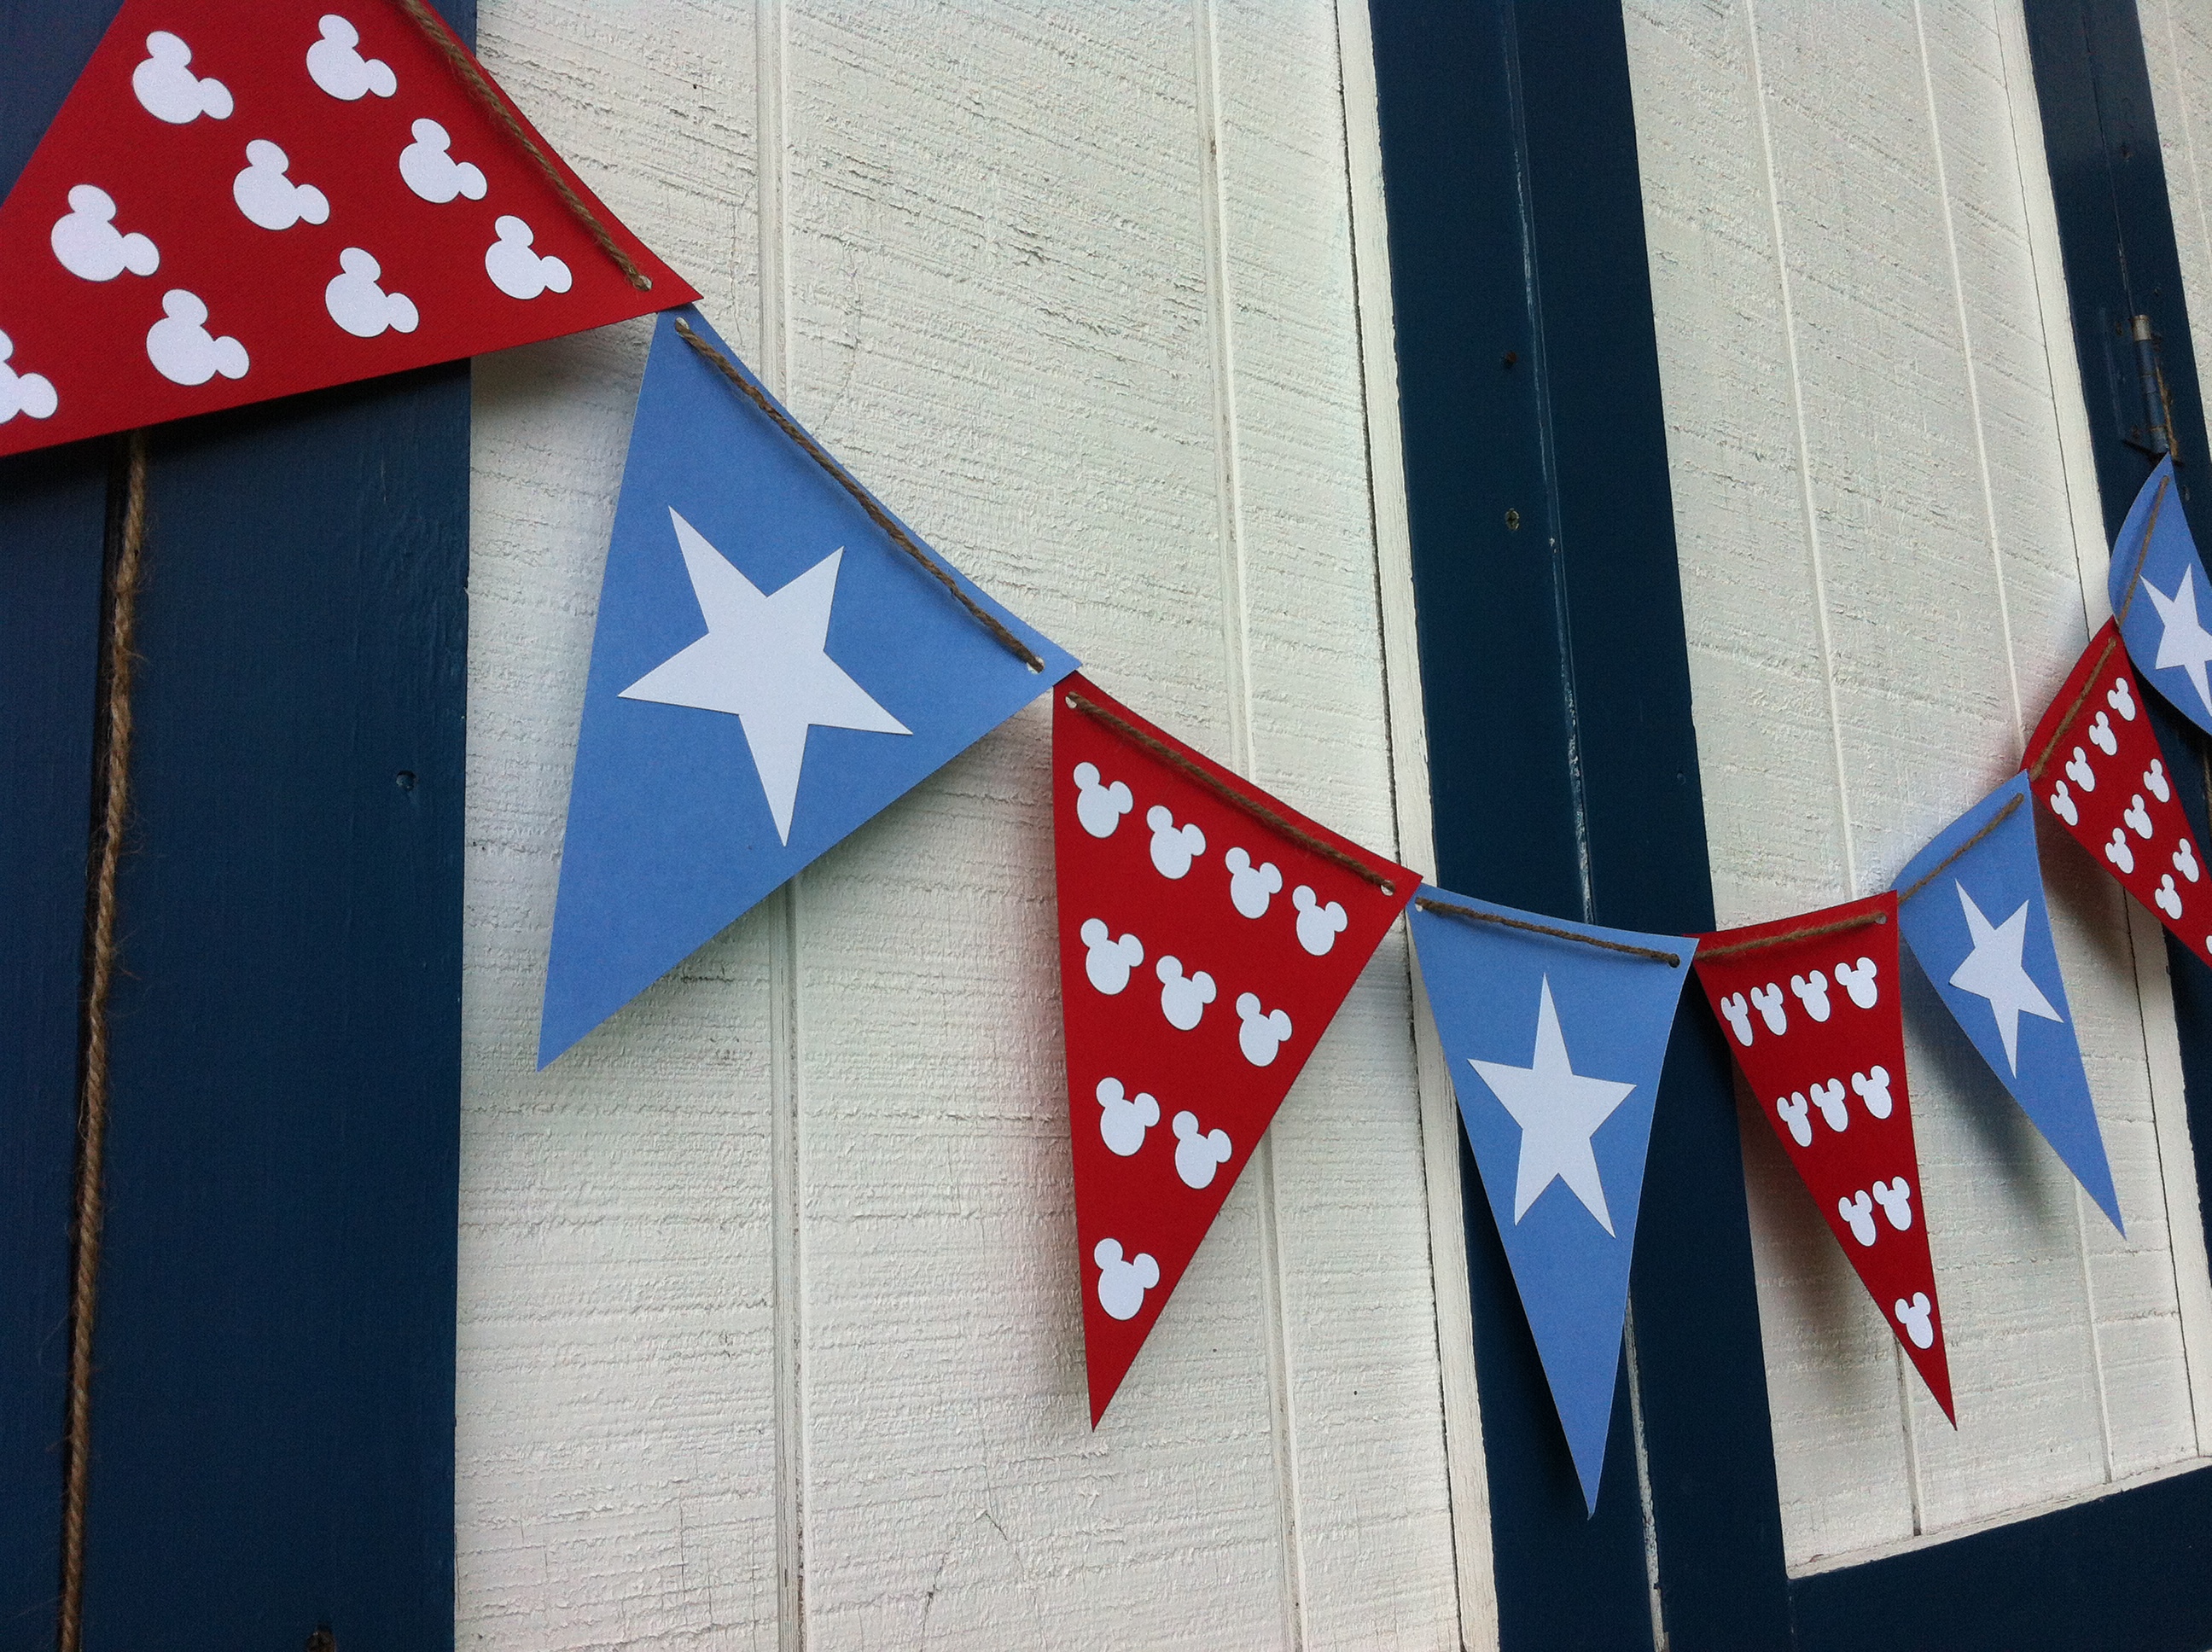
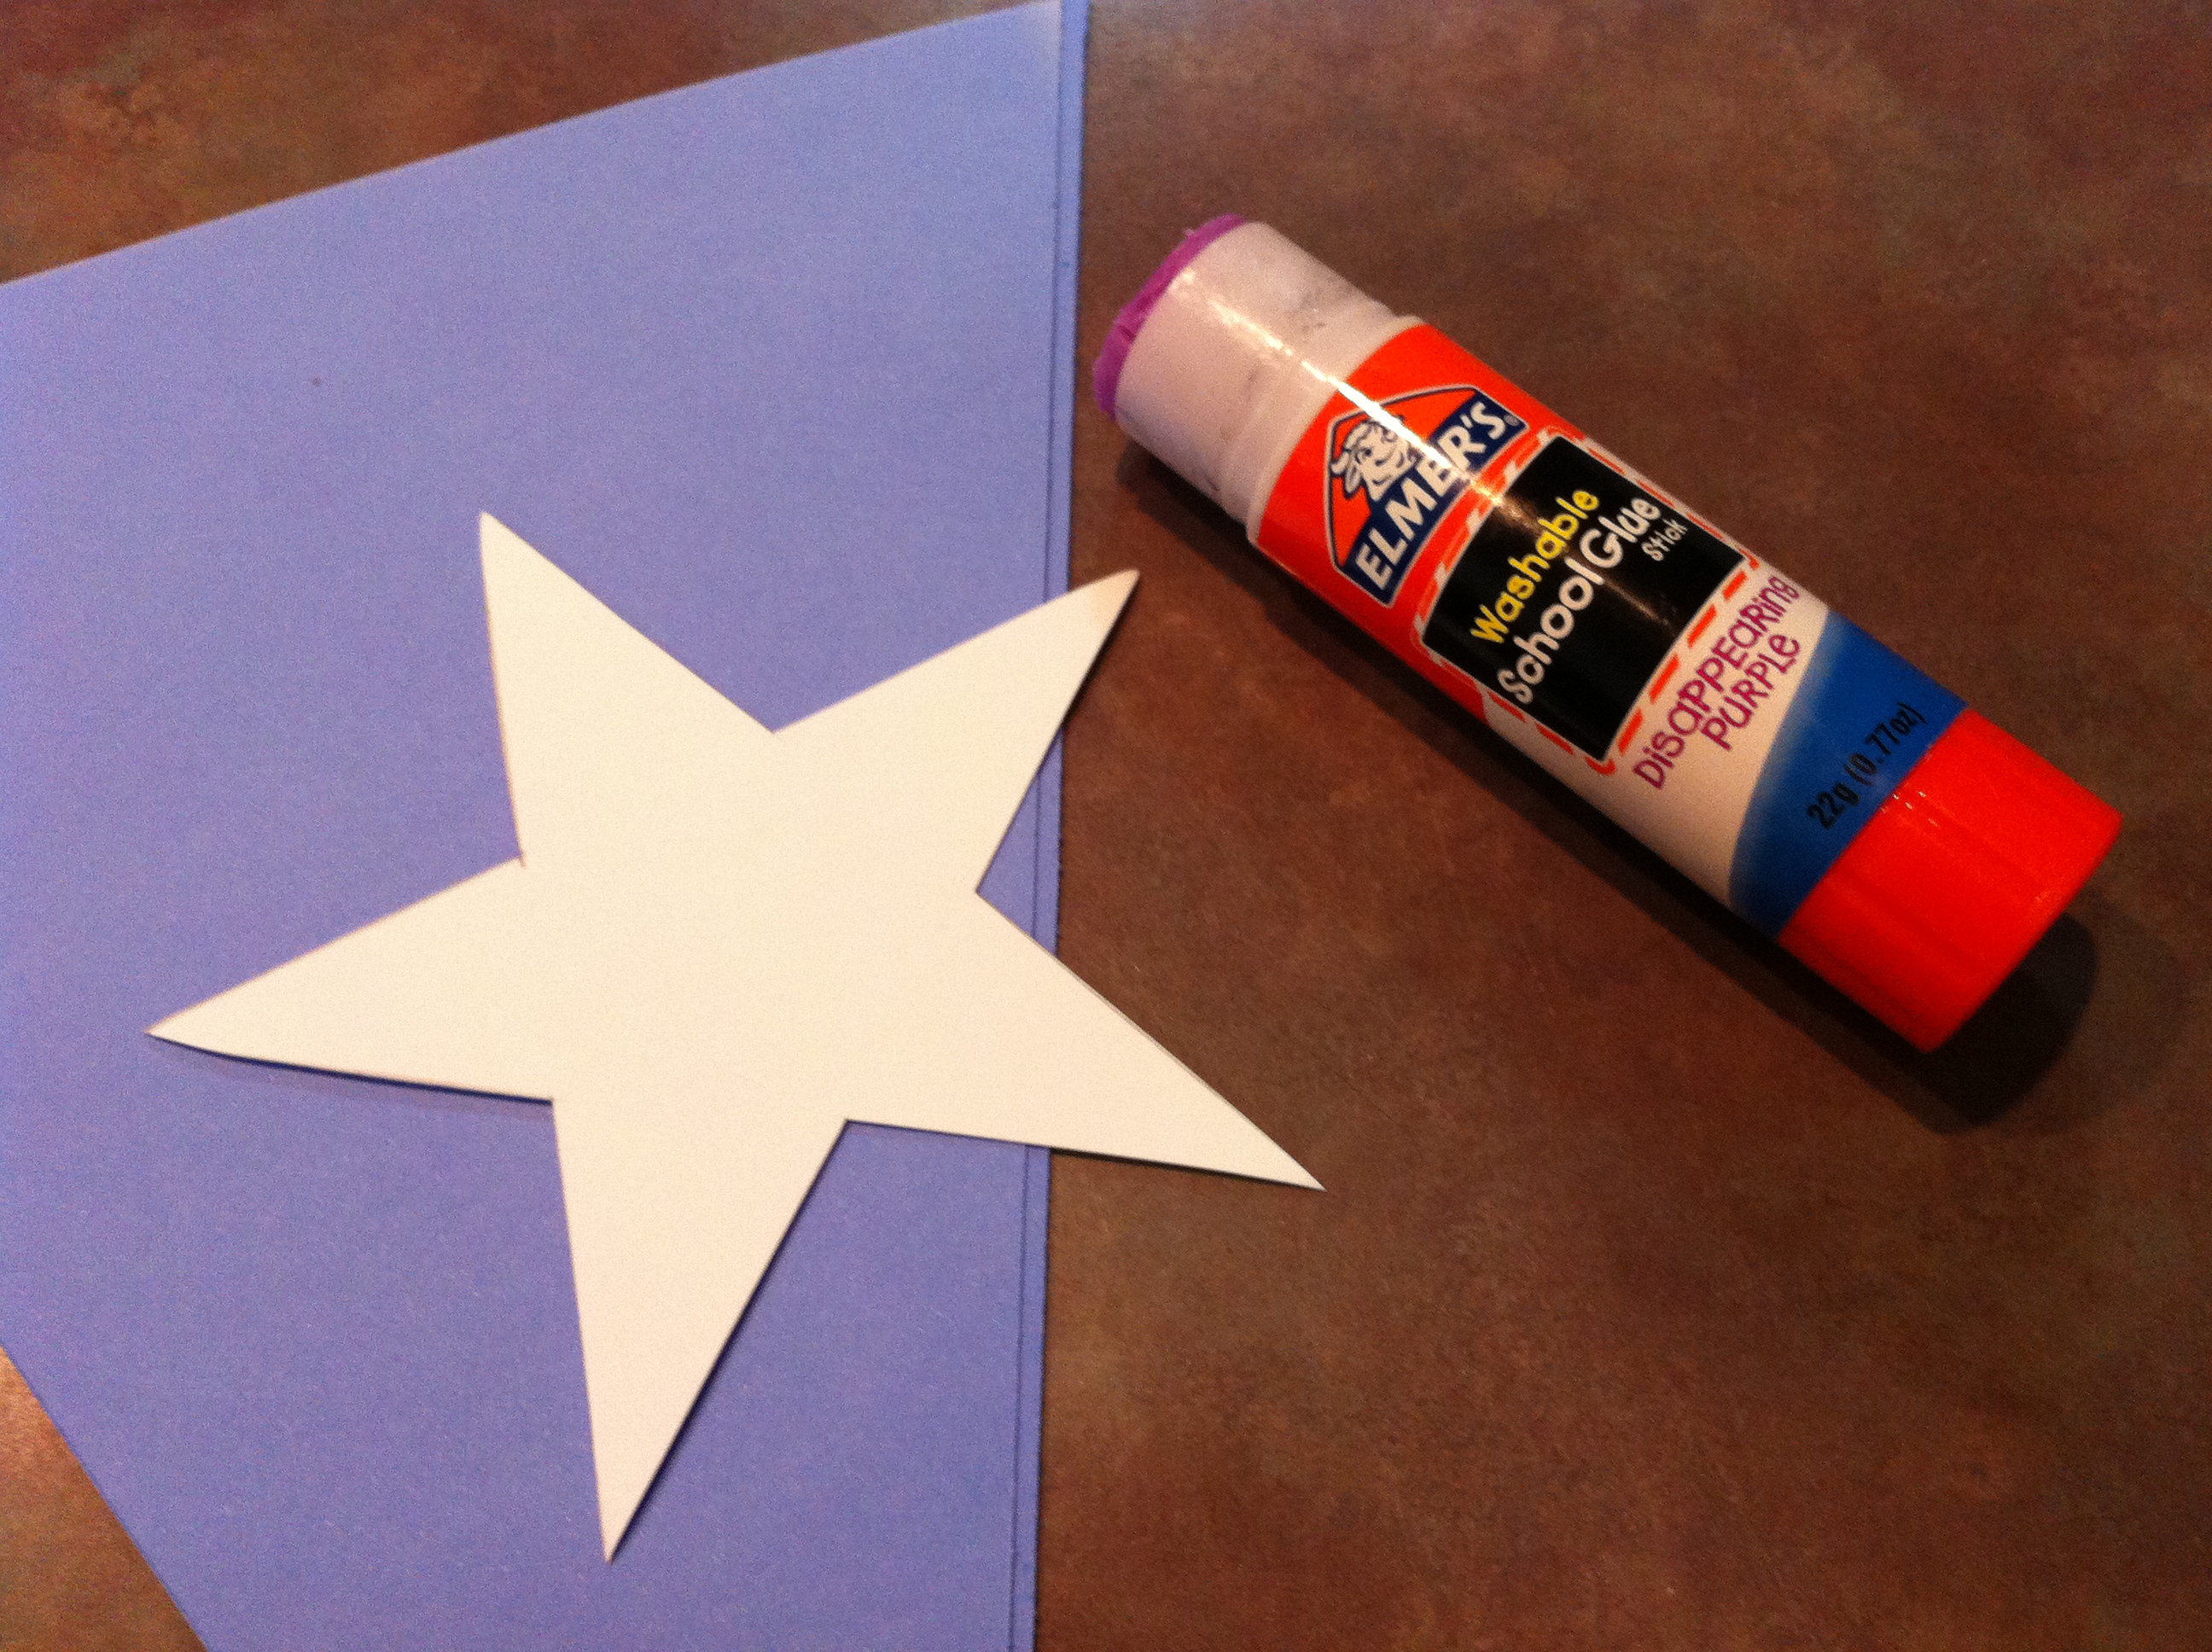
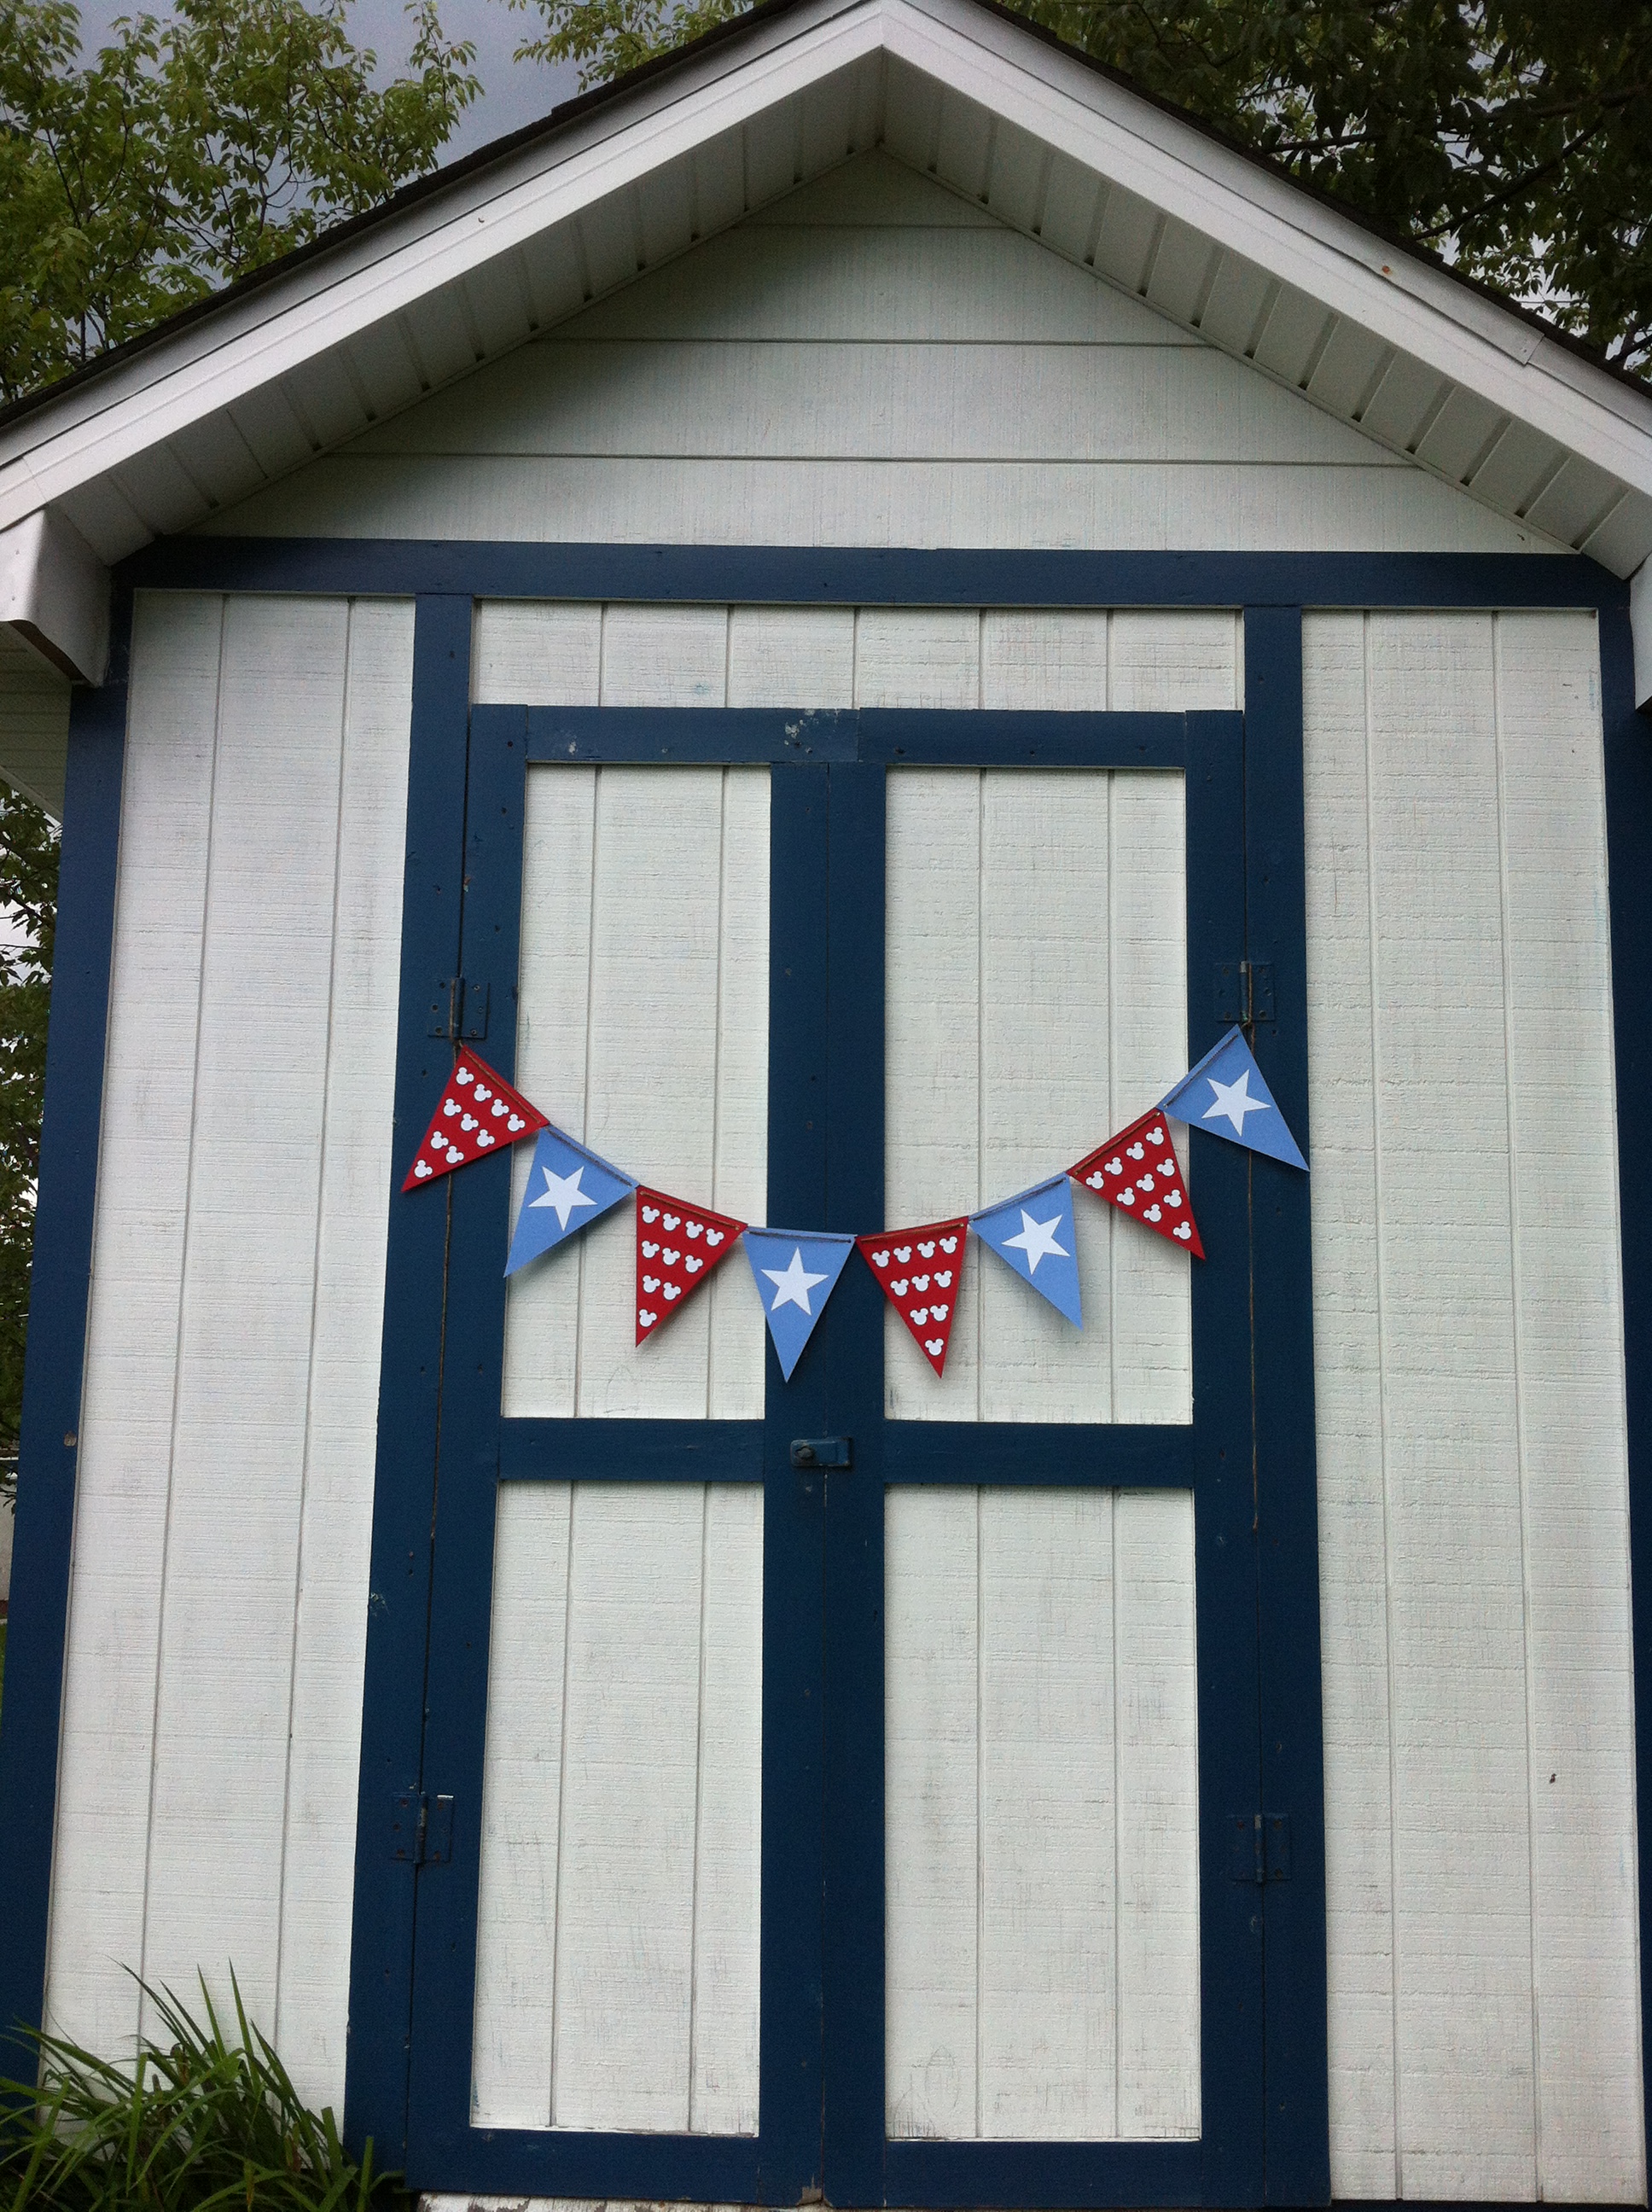
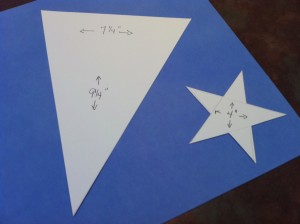
2. Create a template to use for each triangle shape flag and star.  You could easily do this using the computer, but that takes ink, so I chose to make them by hand.  The triangle is 7 1/4″ wide, by 9 1/4″ long.  The star is 4″x4″.  Once the flag template is cut, use it to make four red flags and four blue flags.   Then use your star template to make four white stars out of your white card stock.

Mickey craft punch3.  Each red flag will need ten white Mickey Mouse craft punches, so  you will need forty Mickey Mouse punches.  To make the Mickey stripes on this flag, start by measuring down from the top and marking each red flag at the following measurements: 1″, 3″, 5″, and 7″.  The top of each Mickey ears row will be in line with each mark.  Lay the Mickeys out as follows- 4 Mickeys at 1″, 3 Mickeys at 3″, 2 Mickeys at 5″ and 1 Mickey at 1″.


Glue Stick!4.  Now is the time to start adhering the Mickey’s to the red flags and the stars to the blue flags.  For placement of the stars, measure down from the top 1″ centered.  Make a small pencil mark at that spot, prepare the star to line up with the mark.  I like using my son’s craft glue stick for projects like this.  It’s a lot less expensive the scrapbooking tape and I love how it dries clear and cleans up with a little bit of water if I get it on the table.

Using Jute twine

5. Last but not least, using your hole puncher, punch a hole on the top right and left side of each flag.  Then string your twine, through the holes to connect the flags together.

Now just hang where ever you chose!  I hope you and your family enjoy a happy and safe Independence Day!


Monsters University Cupcake Creations

Cupcake Sulley and Cupcake Mike

As school came to a close this June, we couldn’t be more excited to jump into a new semester at Monsters University!  My son, Gavin and I decided to design some cupcakes to look like students we might meet at MU.  Off to Wegman’s bulk candy department we went to collect our supplies before making our creations.Monster Making Supplies

With licorice, M&M’s, candy eyes, jelly beans, cashews and lots of blue, purple and green icing in hands, we were ready to create Monsters University’s newest students.  My Sulley inspired cupcake was created using cashews for horns, Wilton candy eyes and lots of blue and purple icing.  Mike’s cupcake was made using green icing, a large squirt of white icing, topped by a small squirt of blue icing and a mini brown M&M to complete his eye and his little horns were made by cutting a Jelly Belly Cream Soda jelly bean in half.  I don’t think decorating a cupcake could be any easier!

Our version of some students you might see at Monsters University

Disney Pixar movies are the most creative and inspiring films to watch.  I hope these inspired monsters will inspire you to go out and make your very own Monstrously sweet cupcakes!