Category: Disney-Inspired Treats

Donald Duck Cupcakes

Donald Duck birthday blog hop

Happy Birthday Donald Duck!

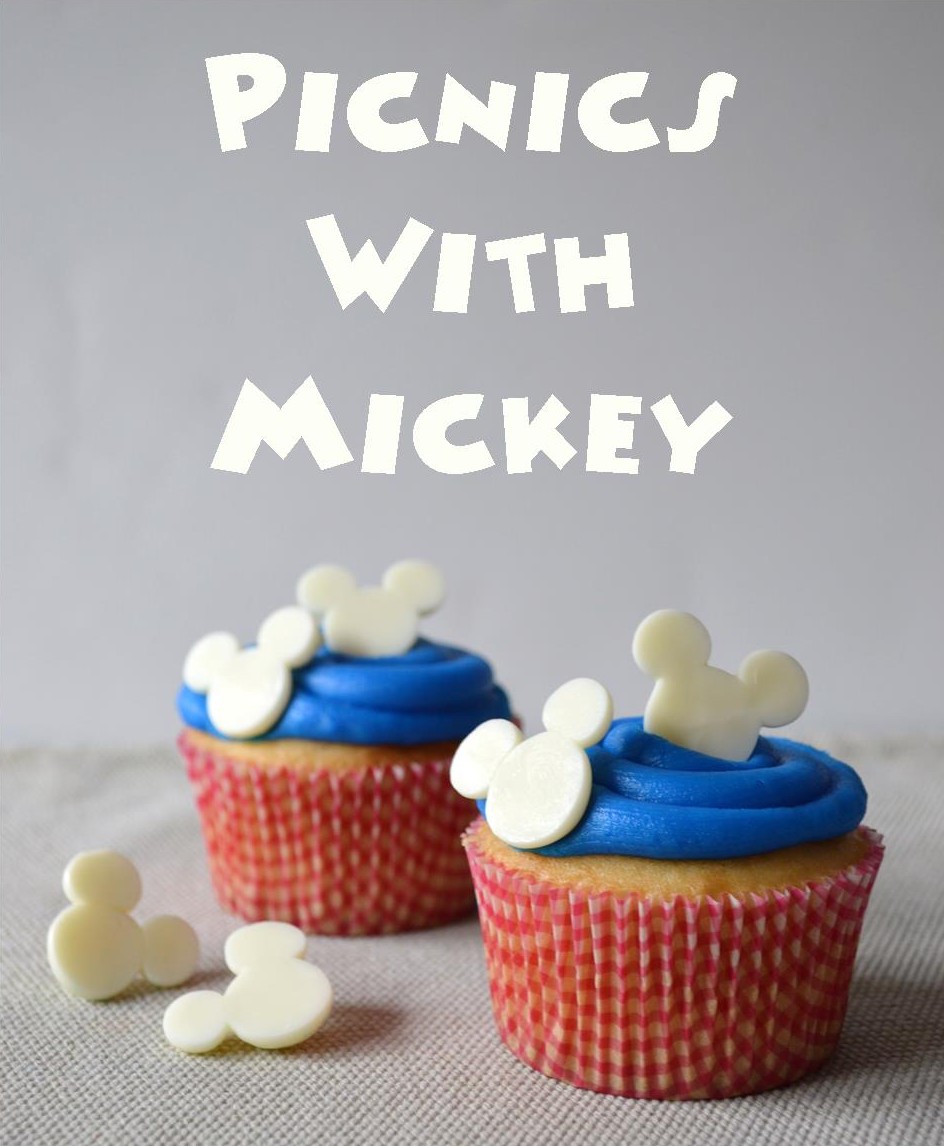
Today, I’m so excited to be participating in a Birthday Blog Hop for my favorite hot-headed feathered friend.  Let’s get this party started with some Donald Duck inspired cupcakes!

Donald Duck cupcakes

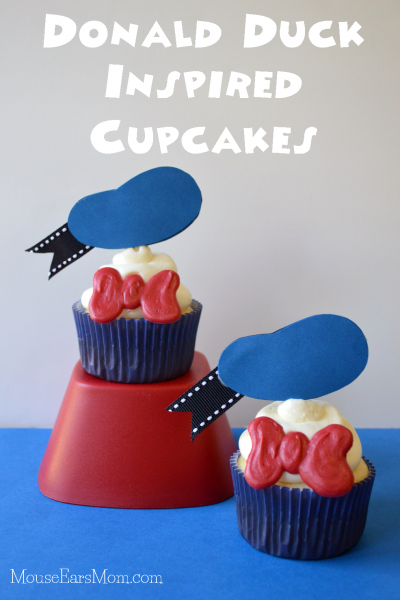
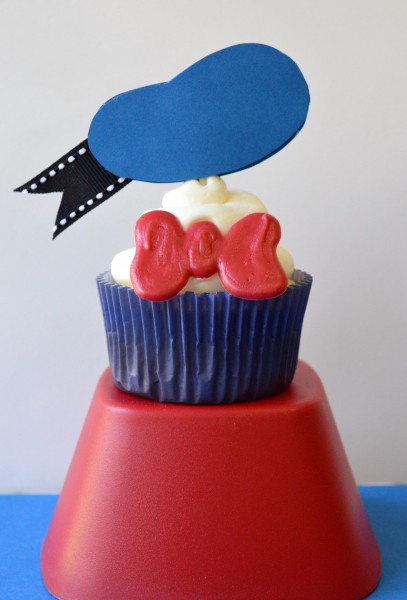
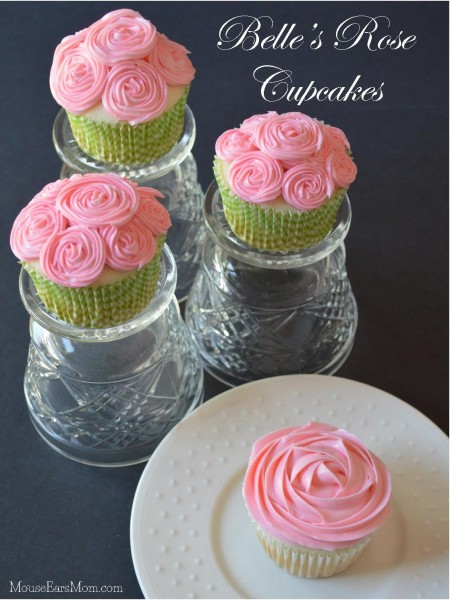
 Are you ready to start celebrating?  Here’s a photo tutorial on how to make these super simple Donald Duck inspired cupcakes, including a printable hat template.

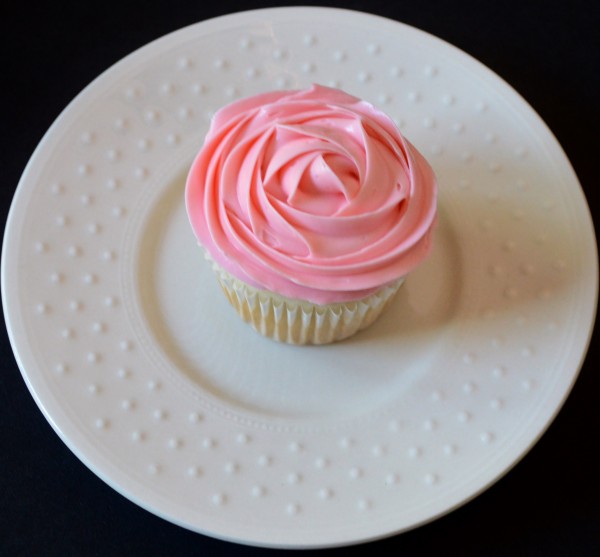
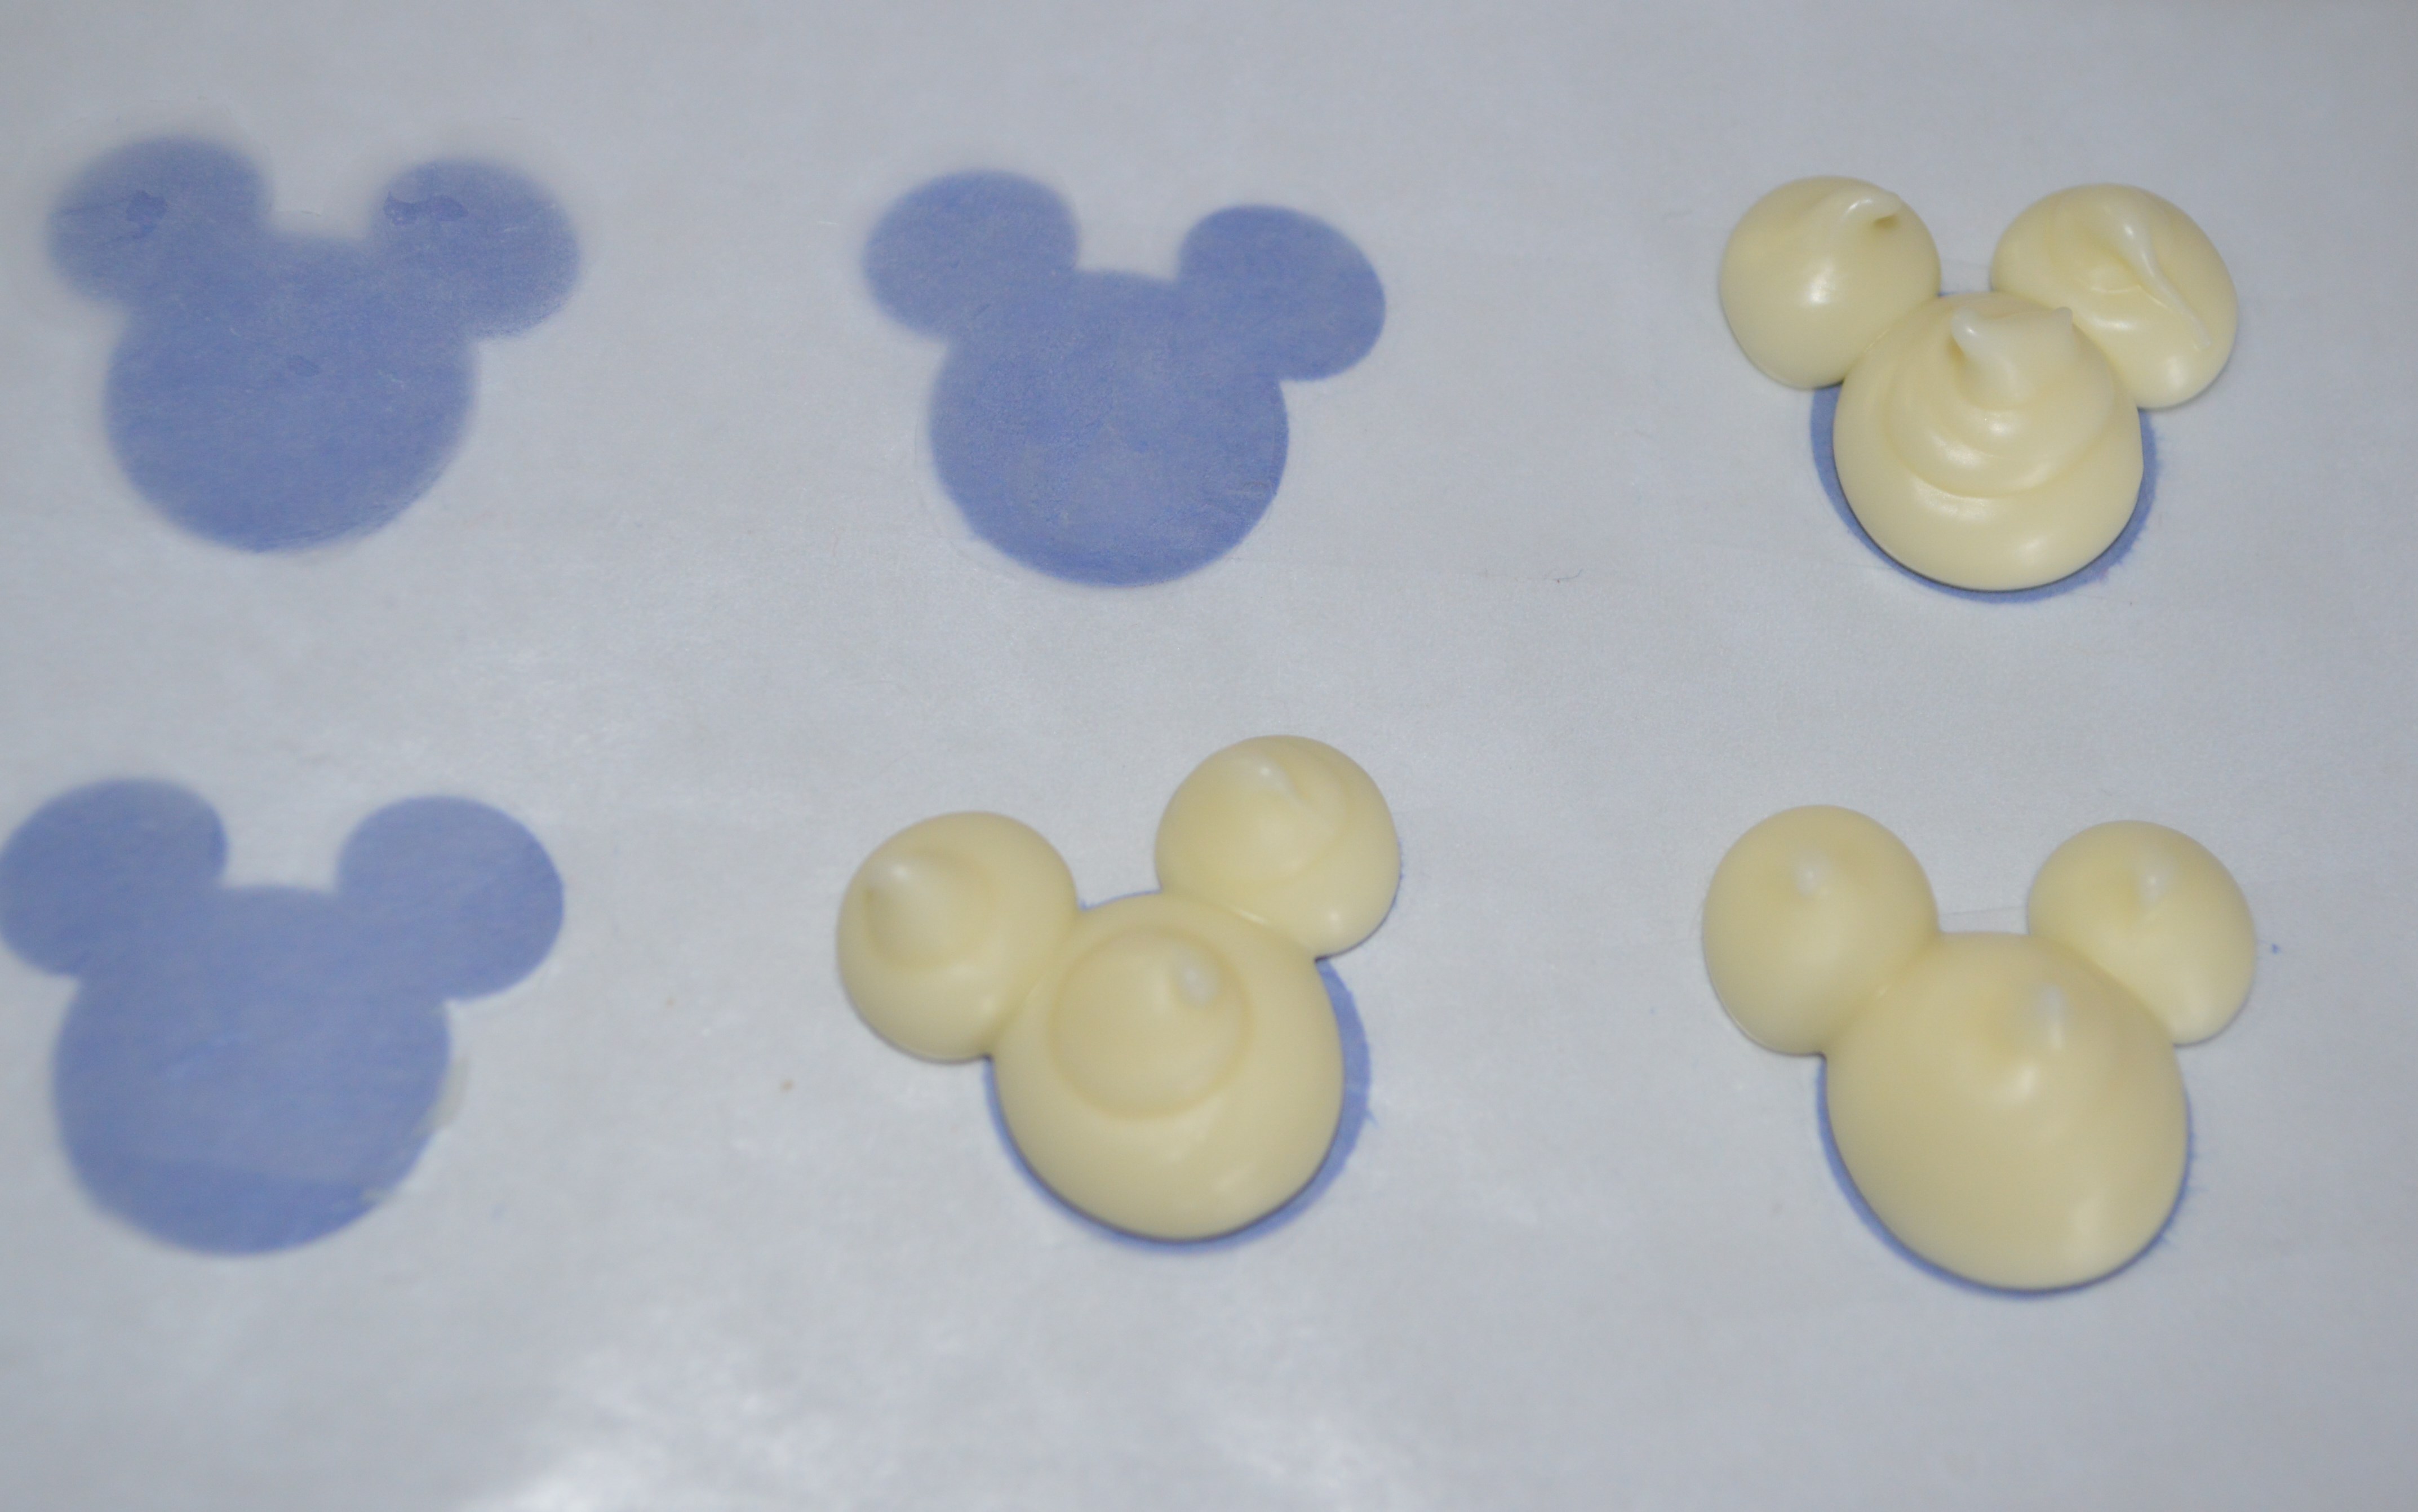
Since Donald has white feathers, I chose to make white cake cupcakes.  After baking and cooling, I iced them in a simple swirl formation by starting on the outside of the cupcake and making my way to the center.  After one swirl, I made a second swirl on top to give it height.

Donald Duck cupcake 020At this point (pun intended), my son walked into the room and said, “Cool Mommy, you made Donald Duck butts!”

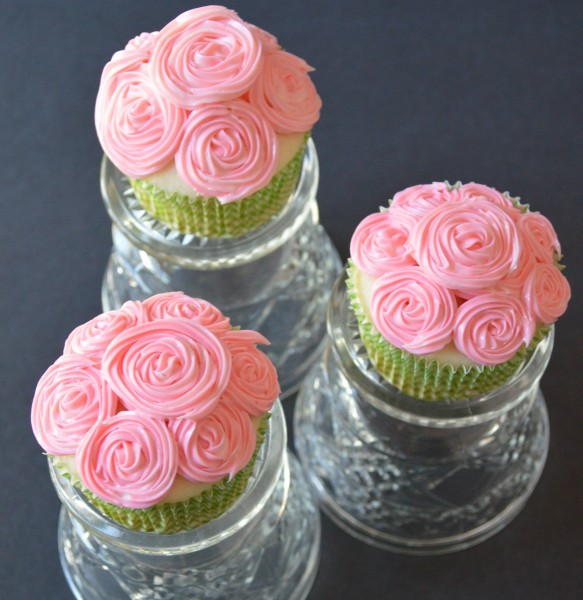
I have to admit, I agreed with him.  They do look like Donald’s butt.  If you’d like to celebrate Donald’s birthday today and you’re pressed for time, then I’m certain you’ll get a chuckle or two from your kids when you present them with Donald Duck butts after school today.

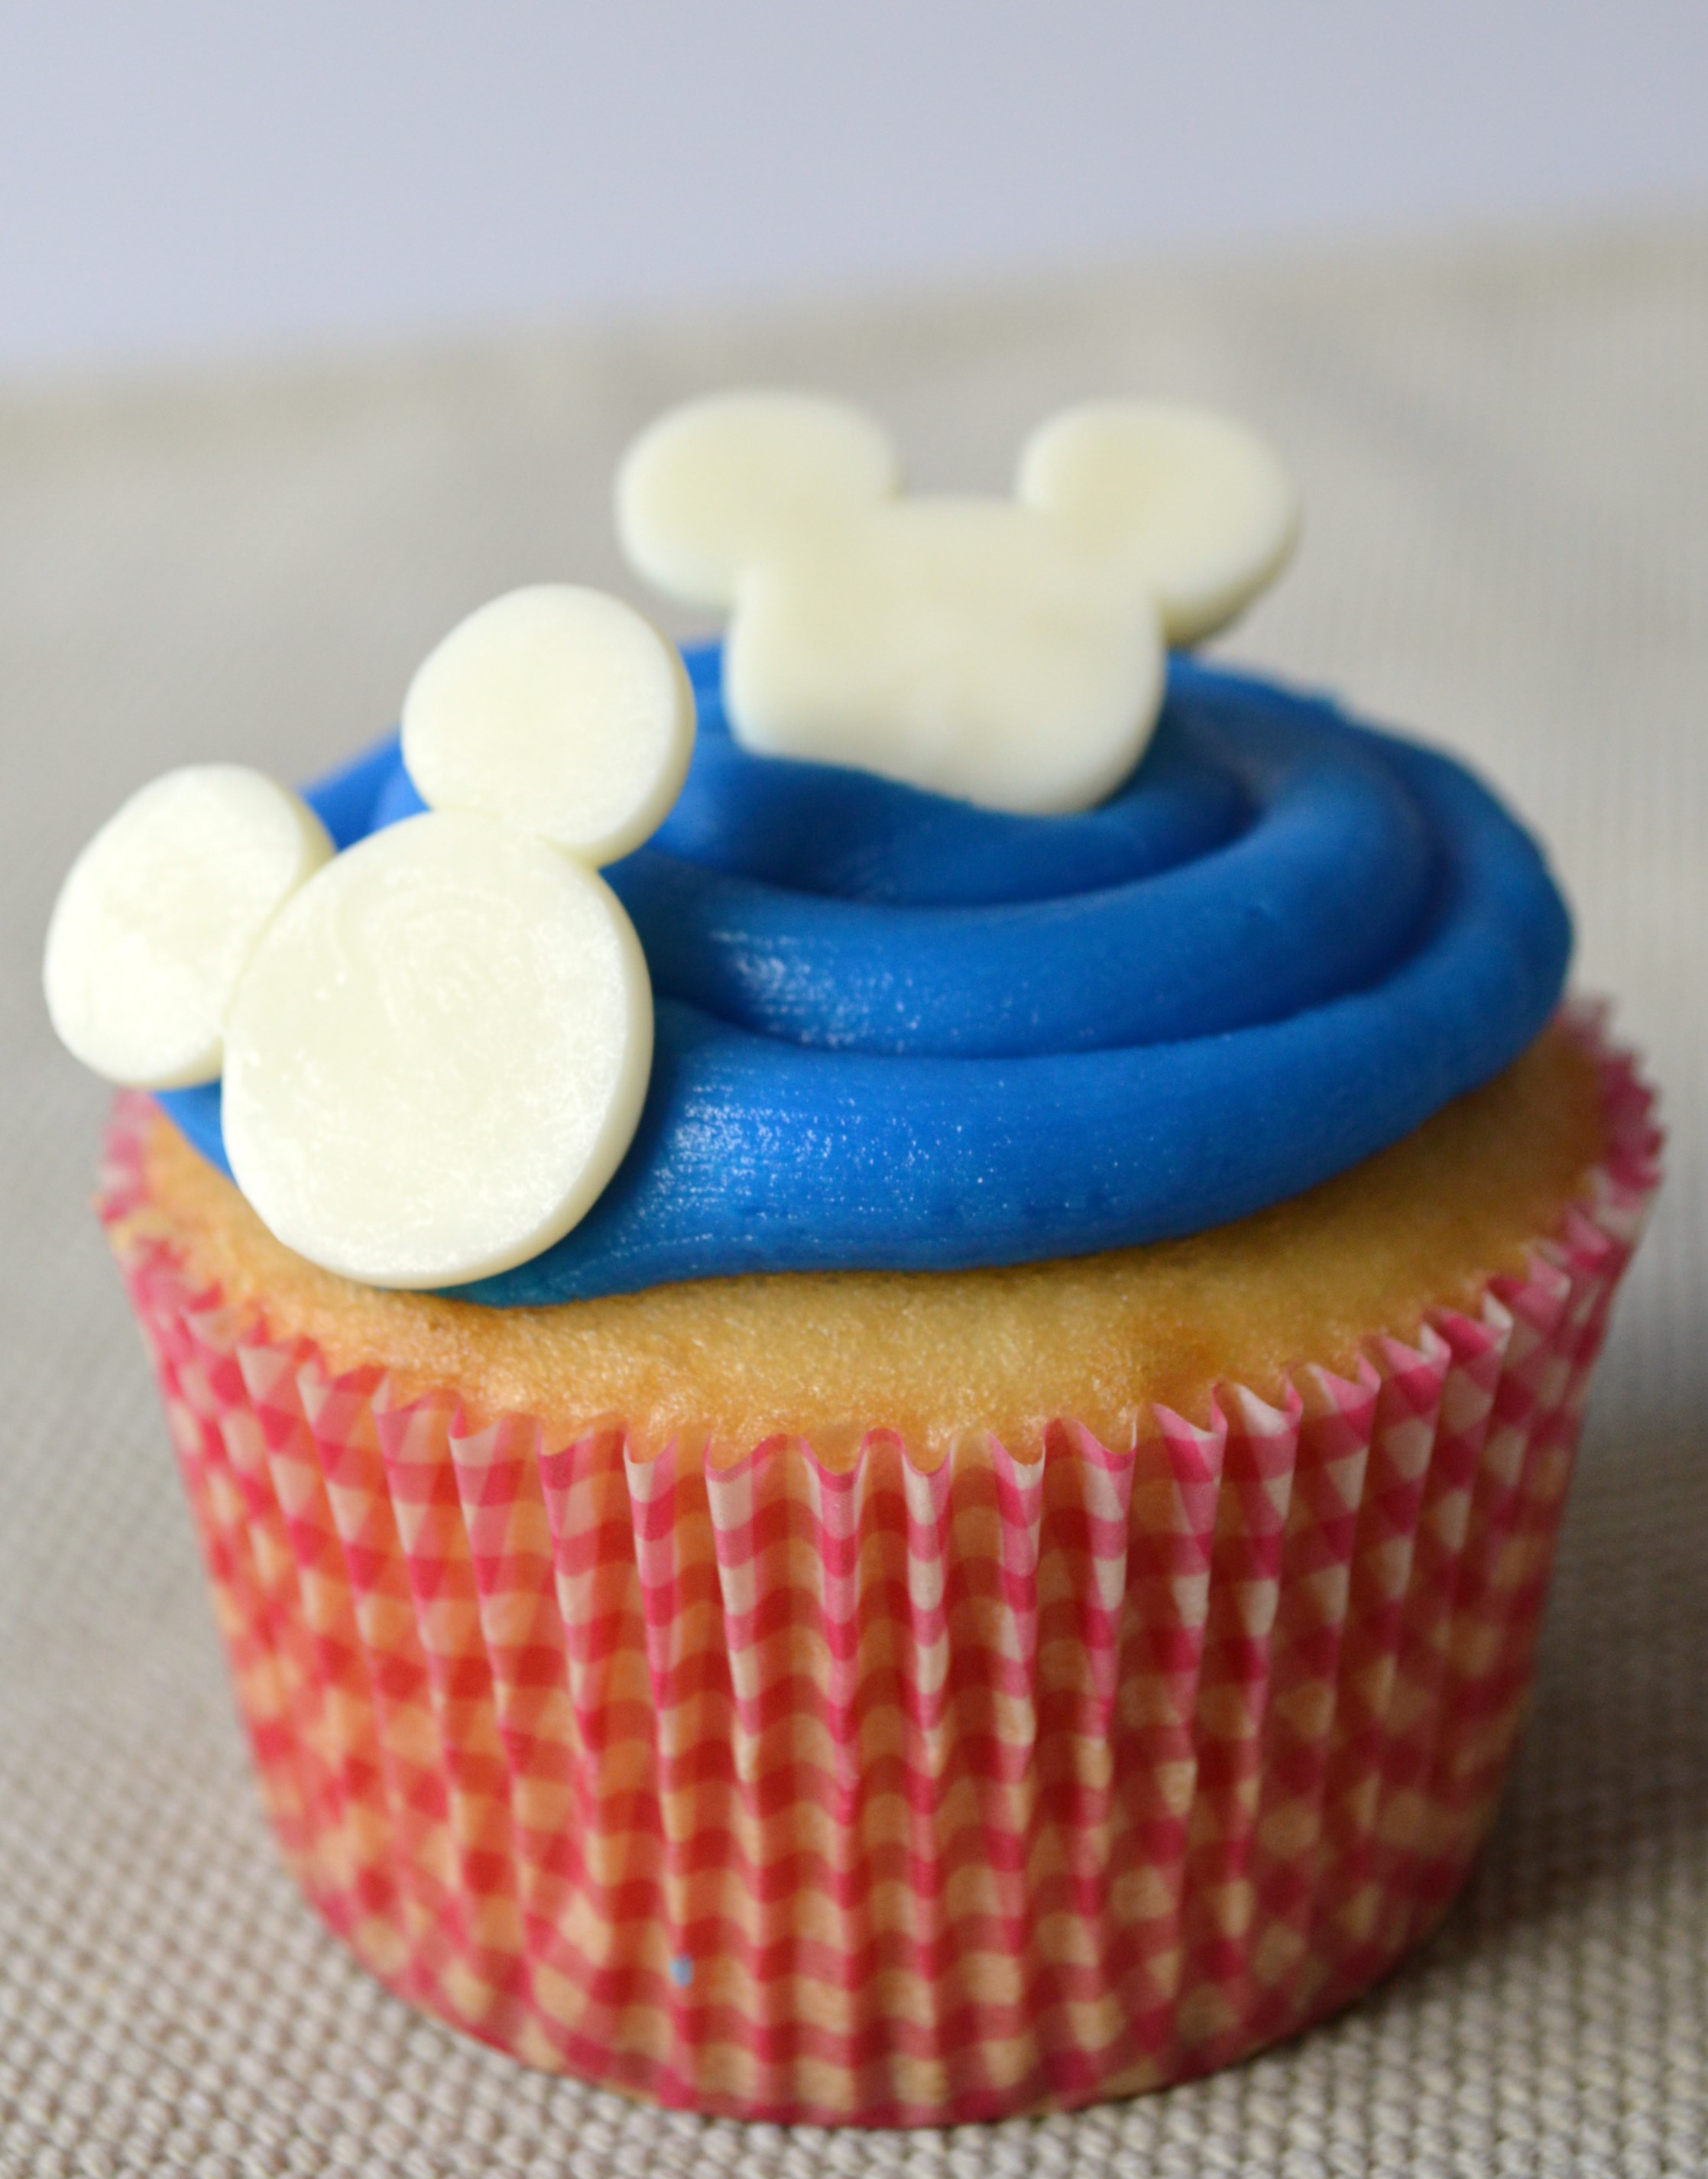
However, if you’d like to make the cupcakes I featured at the beginning of this post, let’s continue to the next step.

Donald Duck cupcake 002

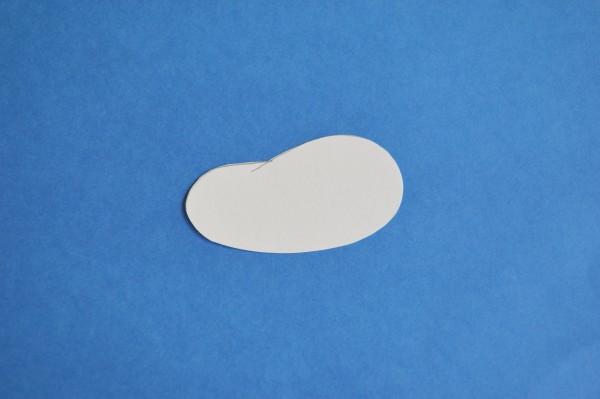
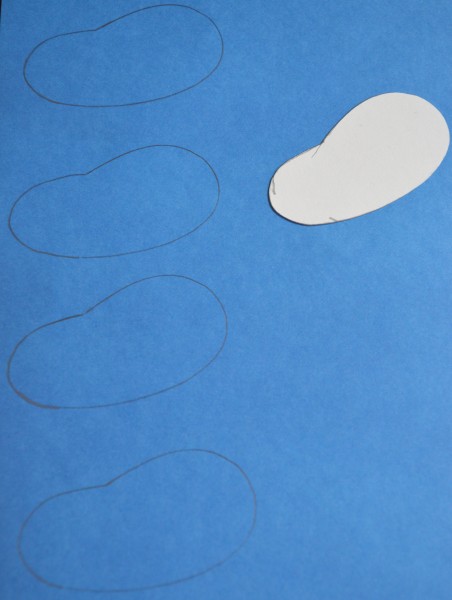
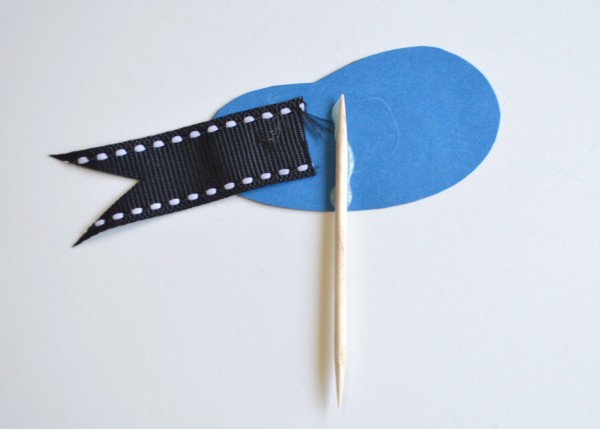
Print out this Donald Duck template below and trace it on a piece of blue card-stock.  You’ll need two hats for each cupcake.

Donald Duck Hat Template

Donald Duck cupcake 003

Hot glue a toothpick and a piece of black ribbon to each hat.

Donald Duck cupcake 005

Add a second Donald hat on top with another dab or two of hot glue.

Donald Duck cupcake 009


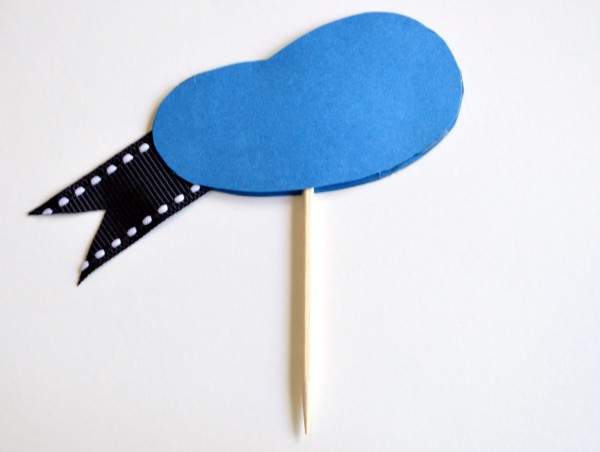
Donald’s hat is now complete and it’s time to move onto his bow-tie.

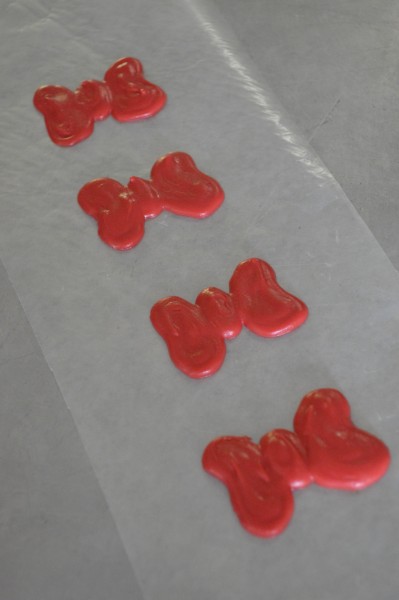
Using red candy melts in a squeeze bottle, pipe bow-ties on wax paper.  To keep my ties consistent, I drew a bow-tie on a piece of paper and used it as a template under the wax paper to trace with chocolate.  Allow the chocolate to fully dry before placing them on your iced cupcakes.

Donald Duck cupcake bowties

Isn’t he such a dapper duck?

Donald Duck cupcake

Happy Birthday Donald!

Don’t let the party stop here!  Visit the other blogs on this Donald Duck Birthday Blog Hop for more fun!

Belle Party Cupcakes

Belle Rose Cupcakes


Did you know that one cupcake with a rosette style swirl on top costs $3 at the grocery store?

Some hard-core party planning is going on in my house this week.  My daughter Victoria will be 3 years old on June 12th and she’s been requesting a Princess Belle (Beauty and the Beast) birthday party since January.  Yes, for six months she’s been telling the world that she’s going to have a Belle party.  I have to give her props.  The girl knows what she wants.  So here we are less than two weeks away from the big Belle party day and I’m ashamed to say I’m running around trying to put together a Belle party.

First on the list of things to do is to purchase or make the cake and cupcakes.   Traditionally, I use a small vanilla cake for her birthday photo and song and also chocolate cupcakes themed to compliment the cake.  It makes handing out cake much easier when you can have a helper pass out the cupcakes while you’re slicing the cake.  This year when searching for a Belle-inspired cake and cupcakes in our local grocery store, I came across a pretty cupcake with a single rose on top. It was absolutely beautiful.  However, each rose cupcake was $3.00!  I don’t know about you, but $72 for 24 cupcakes is a bit out of my price range for a birthday party.  I left the store on a mission to try my hand a making a rose cupcake for my little princess.

After a few Google searches, I stumbled upon the blog, Simply Sweets by honeybee http://www.simplysweetsbyhoneybee.com/. OH MY GOODNESS, I instantly fell in love with Melissa’s blog.  She’s so incredibly talented and her tutorials are fantastic.  Within one of her posts she shared three flower-making tutorials to use on cupcakes, a Rose Swirl, Rosettes, and a Frilly Flower.  She made it seem so easy to make her beautiful cupcakes that I thought I’d give it a try.

Here’s my attempt at the Rose Swirl.


Belle's Roses 026

I used store-bought icing, so the consistently is different. In addition, I didn’t have the same tips that Melissa used for these projects, but I tried the concepts anyway.  I’m going to work on them a bit more during the next week, look for the tips she used and try my hand at making icing…

These are the tips that I used.

I tried an open star Wilton 1M and a closed star Wilton 2D when I made the Rose Swirl and I used an Ateco 16 open star for the Rosettes pictured below.

Belle's Roses 031


 Here’s my attempt at the Rosettes style cupcake.


Belle's Roses 029

If you’ve ever wanted to make a beautiful rose cupcake for your little Belle, stop by Simply Sweets by honeybee!  She’ll teach you in matter of minutes!  I’m sure glad that I did.  Below it the link to take you directly to her post that includes the video tutorial.

Mother’s Day Cupcakes {Video Tutorial}

Now back to the Belle party planning I go!  Have a great day!


Picnicking With Mickey Cupcakes

Picnic mickey

Are you planning a family picnic this Memorial Day Weekend? Add a little Disney magic to a simple cupcake by adding these easy-to-make Mickey Mouse chocolates.

Mickey chocolates

To make these chocolates you’ll need chocolate candy melts, wax paper, a microwave safe squeeze bottle or microwave safe disposable decorating bags and my Mickey Mouse template.

Below is the template that I created with the use of a Mickey Mouse craft punch.  Print it out to get started!

Mickey Mouse chocolates template

Mickey chocolates 010

Using the template underneath a sheet of wax paper makes creating Mickey Mouse candies a breeze.  Simply melt the chocolate in the squeeze bottle or in your decorating bag, snip a small hole at the end and then cover the blue Mickey heads with chocolate. Once the chocolate has cooled, flip them over and your miniature Mickeys are ready to magically transform your cupcakes!

One important tip to make your candies fabulous ~ do not try to trace the Mickey head to create the candy.  This will give the candies bubbles on the back side, instead of the smooth finish you see on the candies pictured on the blue plate.  Instead, apply chocolate in the center of the large circle until it fills the entire circle.  Follow with adding the ears by applying chocolate again in the center of one ear until it fills the ear and then complete Mickey by adding his last ear.  Talk about easy!

Mickey chocolates 023

Have a Magical Monday everyone!


“Delicious Disney Just for Kids” Cookbook Review and Giveaway

Disney Cooking with Kids

 Macaroni & Cheese

Looks pretty good, doesn’t it?

This yummy looking dish was prepared by my seven-year old son, Gavin.  Seriously, aside from me straining the water from the pasta, he did it all by himself and it was delicious! Gavin received the “Delicious Disney Just for Kids” cookbook from his grandmother a few weeks ago for his birthday.  After watching Ratatouille this past Saturday night, he turned into my “Little Chef” and the two of us were inspired to crack the cookbook open to see what recipes we’d find.

Disney CookingThe cookbook, written by The Disney Chefs and Pam Brandon, is made up of 20 recipes supplied by different chefs at Disney’s parks, resorts and even the Disney Cruise Line.  The recipe Gavin followed for the Macaroni & Cheese came straight from the chef at Jiko- The Cooking Place restaurant, located within Disney’s Animal Kingdom Lodge at Walt Disney World.

Cooking with Kids 014

The recipe was so simple and quick to make that immediately after making dinner he wanted to make dessert too!  You can see in the background that our dinner was on the table cooling while he whipped up dessert.

Cooking with Kids 025

Gavin chose to make “No-Bake Granola Treats” as our after-dinner treat.  The recipe was courtesy of the Chef at Disney’s Contemporary Resort Bakery.  Since this recipe came from the Disney resort that we call home, the treats were a bit extra special for the kids.  We enjoyed talking about staying there as we made them and of course ate them.  It added a nice sprinkle of pixie dust to our evening!

Cooking with Kids 032

I have to tell you- the granola bars were the absolute best granola bars I have EVER tasted!  They had just the right amount of peanut butter, chocolate and granola!  YUM!

Gavin did such a great job and really enjoyed cooking.  It was wonderful to see how impressed he was with himself.  While devouring every single noodle, he proclaimed that his mac & cheese was delicious!  The next morning,  he proudly packed a granola bar for his snack at school and that evening he told me that he told his classmates about his night of cooking.  Talk about a nice thing for me to hear!

Do you like to cook dinner with your kids?

Honestly, I often find that it seems to take double the amount of time than if I just did it myself and usually the kids end up frustrated or bored.  This time was different.  Both recipes moved along quickly and easily.  We enjoyed our evening of cooking so much that I’d like to giveaway a copy of the cookbook to a Mouse Ears Mom fan.  I’ll pick the winner on Mothers Day!

The opinions in this review and giveaway are purely those of Mouse Ears Mom.  The giveaway is not sponsored by The Walt Disney Company.  It’s simply my hope that you’ll enjoy the book, as my family has enjoyed our copy.

Giveaway Details:

  • The giveaway will run from Wednesday, May 7, 2014 until May 11, 2014 at 12:00 am EST.
  • The winner will be chosen by Rafflecopter after verification of entries and notified by email.
  • To officially accept the prize the winner must reply by email within 24 hours. Make sure that you provide an email address that you check regularly.
  • The giveaway is open to United States residents only, ages 18 yrs old and up.
  • The lucky winner will be announced on the Mouse Ears Mom blog and the Mouse Ears Mom Facebook page, after the winner has accepted their prize.

To Enter Click on the Rafflecopter Link Below.  Good Luck!

a Rafflecopter giveaway

From the Kitchen of The Swedish Chef {DIY Free Printable}

The Swedish Chef favor tagsThe birthday weekend is finally here!

My son, Gavin’s birthday party is tomorrow.  Today I’ll spend the day preparing for his big day. Last night I put together these little tags for the candy favors that will go inside the Muppet tote bags his guests will be receiving.  One of Gavin’s favorite candies is Swedish Fish (yum).  I have to admit, he gets his sweet tooth from his Mommy.  Anyways, I thought I would be perfect if these special fishes came from The Swedish Chef.  He is Swedish, you know.

The little bags came out cute and I’d love to give each and every one of you a bag, in honor of Gavin’s 7th birthday.  However, the shipping fees would kill my bank account, so I thought I’d share the file for the tags instead.  I think the tags would be a perfect accessory for “Muppets Most Wanted” movie night treat or if you plan on throwing a Muppets themed party too!  I found the image of The Swedish Chef on Wikipedia and it’s most likely a copyrighted image.  These little tags are not for sale and are only being used for my son’s party.  Having said that, here’s the PDF file for your personal use:

 The Swedish Chef

Here’s how to put the tags together.

 Print the page out on a piece of 8 1/2″ x 11″ white card stock.

The PDF file has two rows, one with The Swedish Chef’s images and the other with the “FROM THE KITCHEN OF THE SWEDISH CHEF” text.  Cut both the Chef’s image and the text out in a square that measures 1 1/2″ x 1 1/2″ .

Glue the two sides together back to back or what I did was insert a 1 3/4″ x 1 3/4″  piece of a brown or blue card stock between the top and bottom and then I glued it all together.

Hole punch it, add the string and your ready to go.

Now for me to get back to the kitchen. Have a great weekend!  “BORK BORK BORK!”

The Swedish Chef snack bag tags