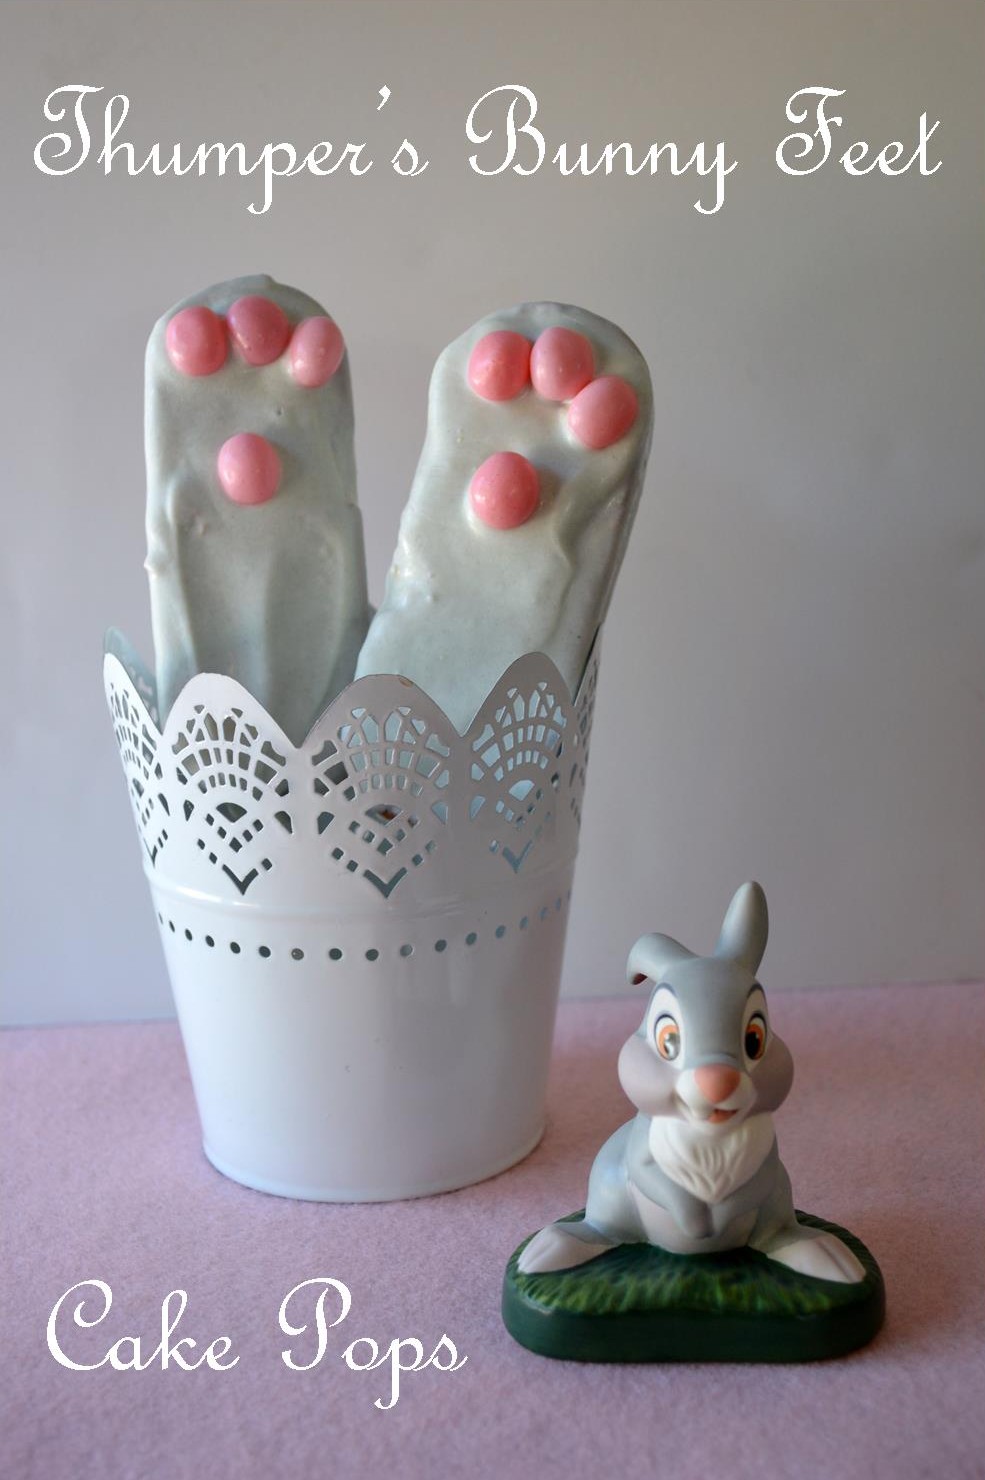
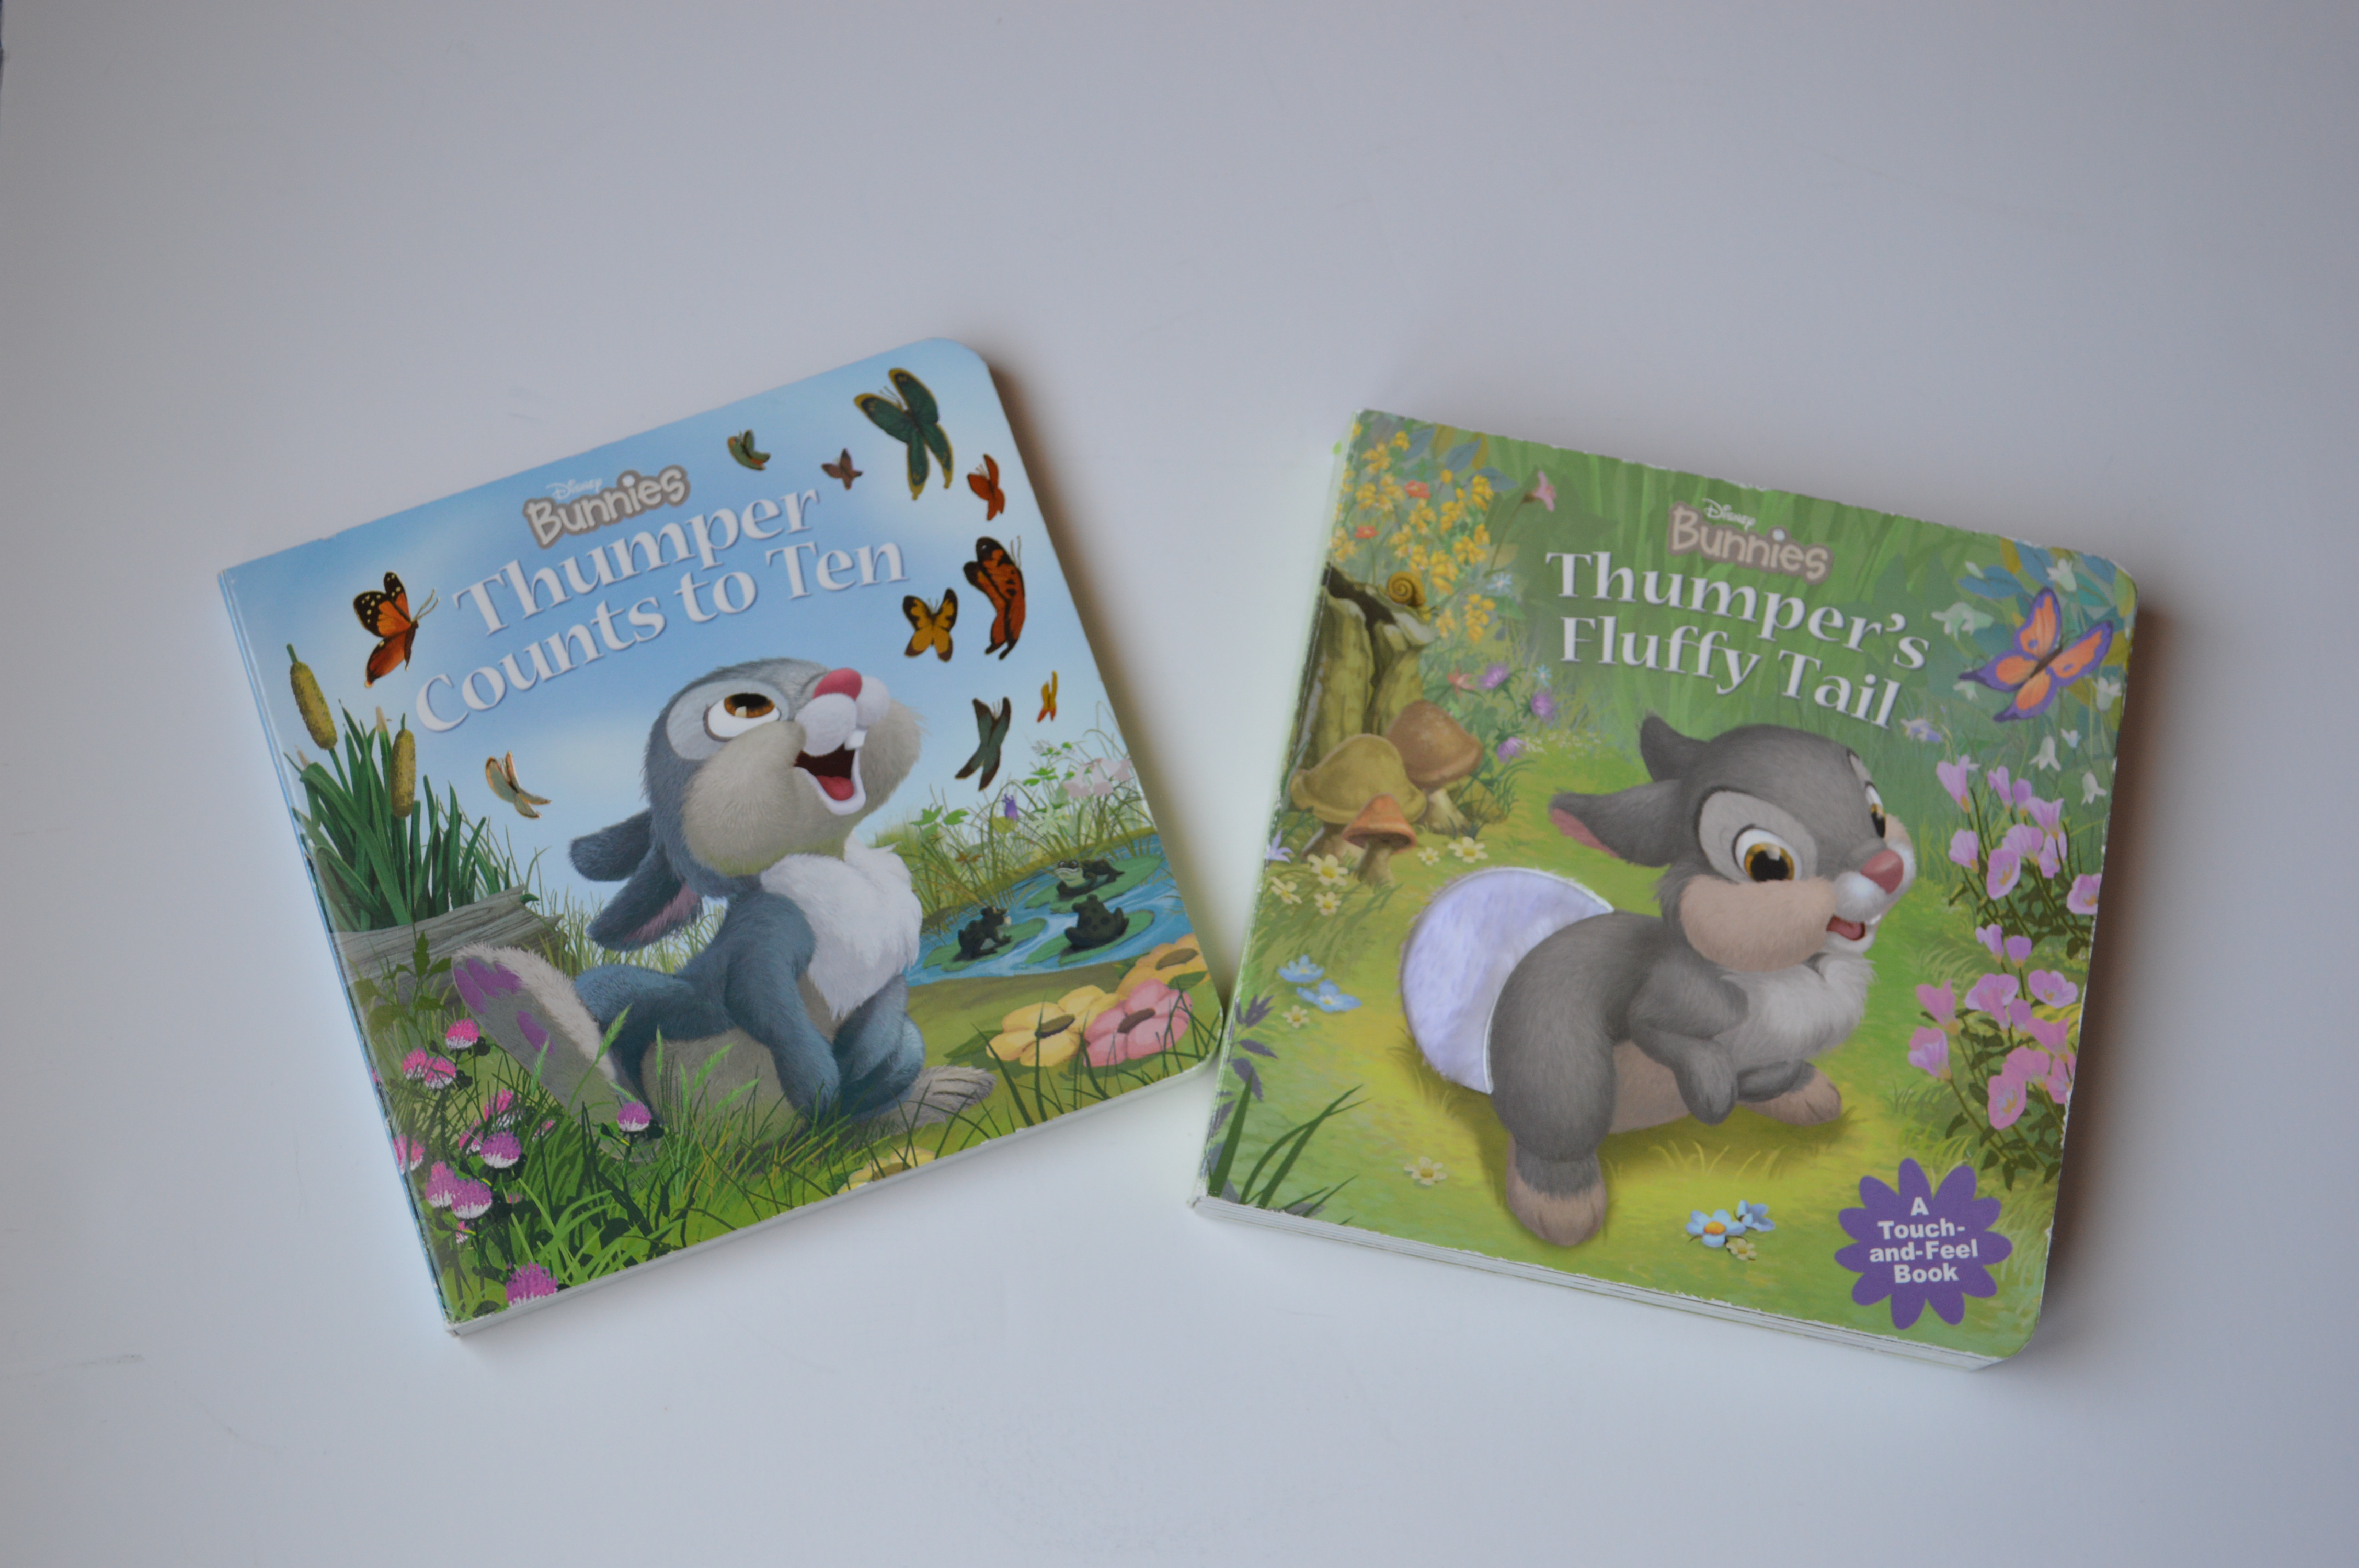
 During the last few months of winter, the kids and I have been digging into the movie drawers in our living room. Each weekend we take one evening to have a Disney movie night. Sometimes we watch a newly released Disney film, but most of the time I like to recommend three movies from the Disney vault and let the kids pick which one they want to watch. During the month of April the movie Bambi is at the top of my must view list. From the “Drip Drip Drop” of the “Little April Showers” outside, to the celebration of rebirth, I think this movie is a perfect choice to welcome in Spring. As an added bonus, it stars one of Disney’s most famous bunnies, Thumper! I used these two Thumper books as references for making these pops look a bit like his feet. The books really get a work out during the Easter season in our house. On a side note, if you have a toddler in your house, I’d highly recommend the “Disney Bunnies” books! You can find three of the “Disney Bunnies” books by clicking on the Disney Store logo on the side bar. It will take you to the Disney Store site. Once you’re there search for toddler books and you’ll find them.
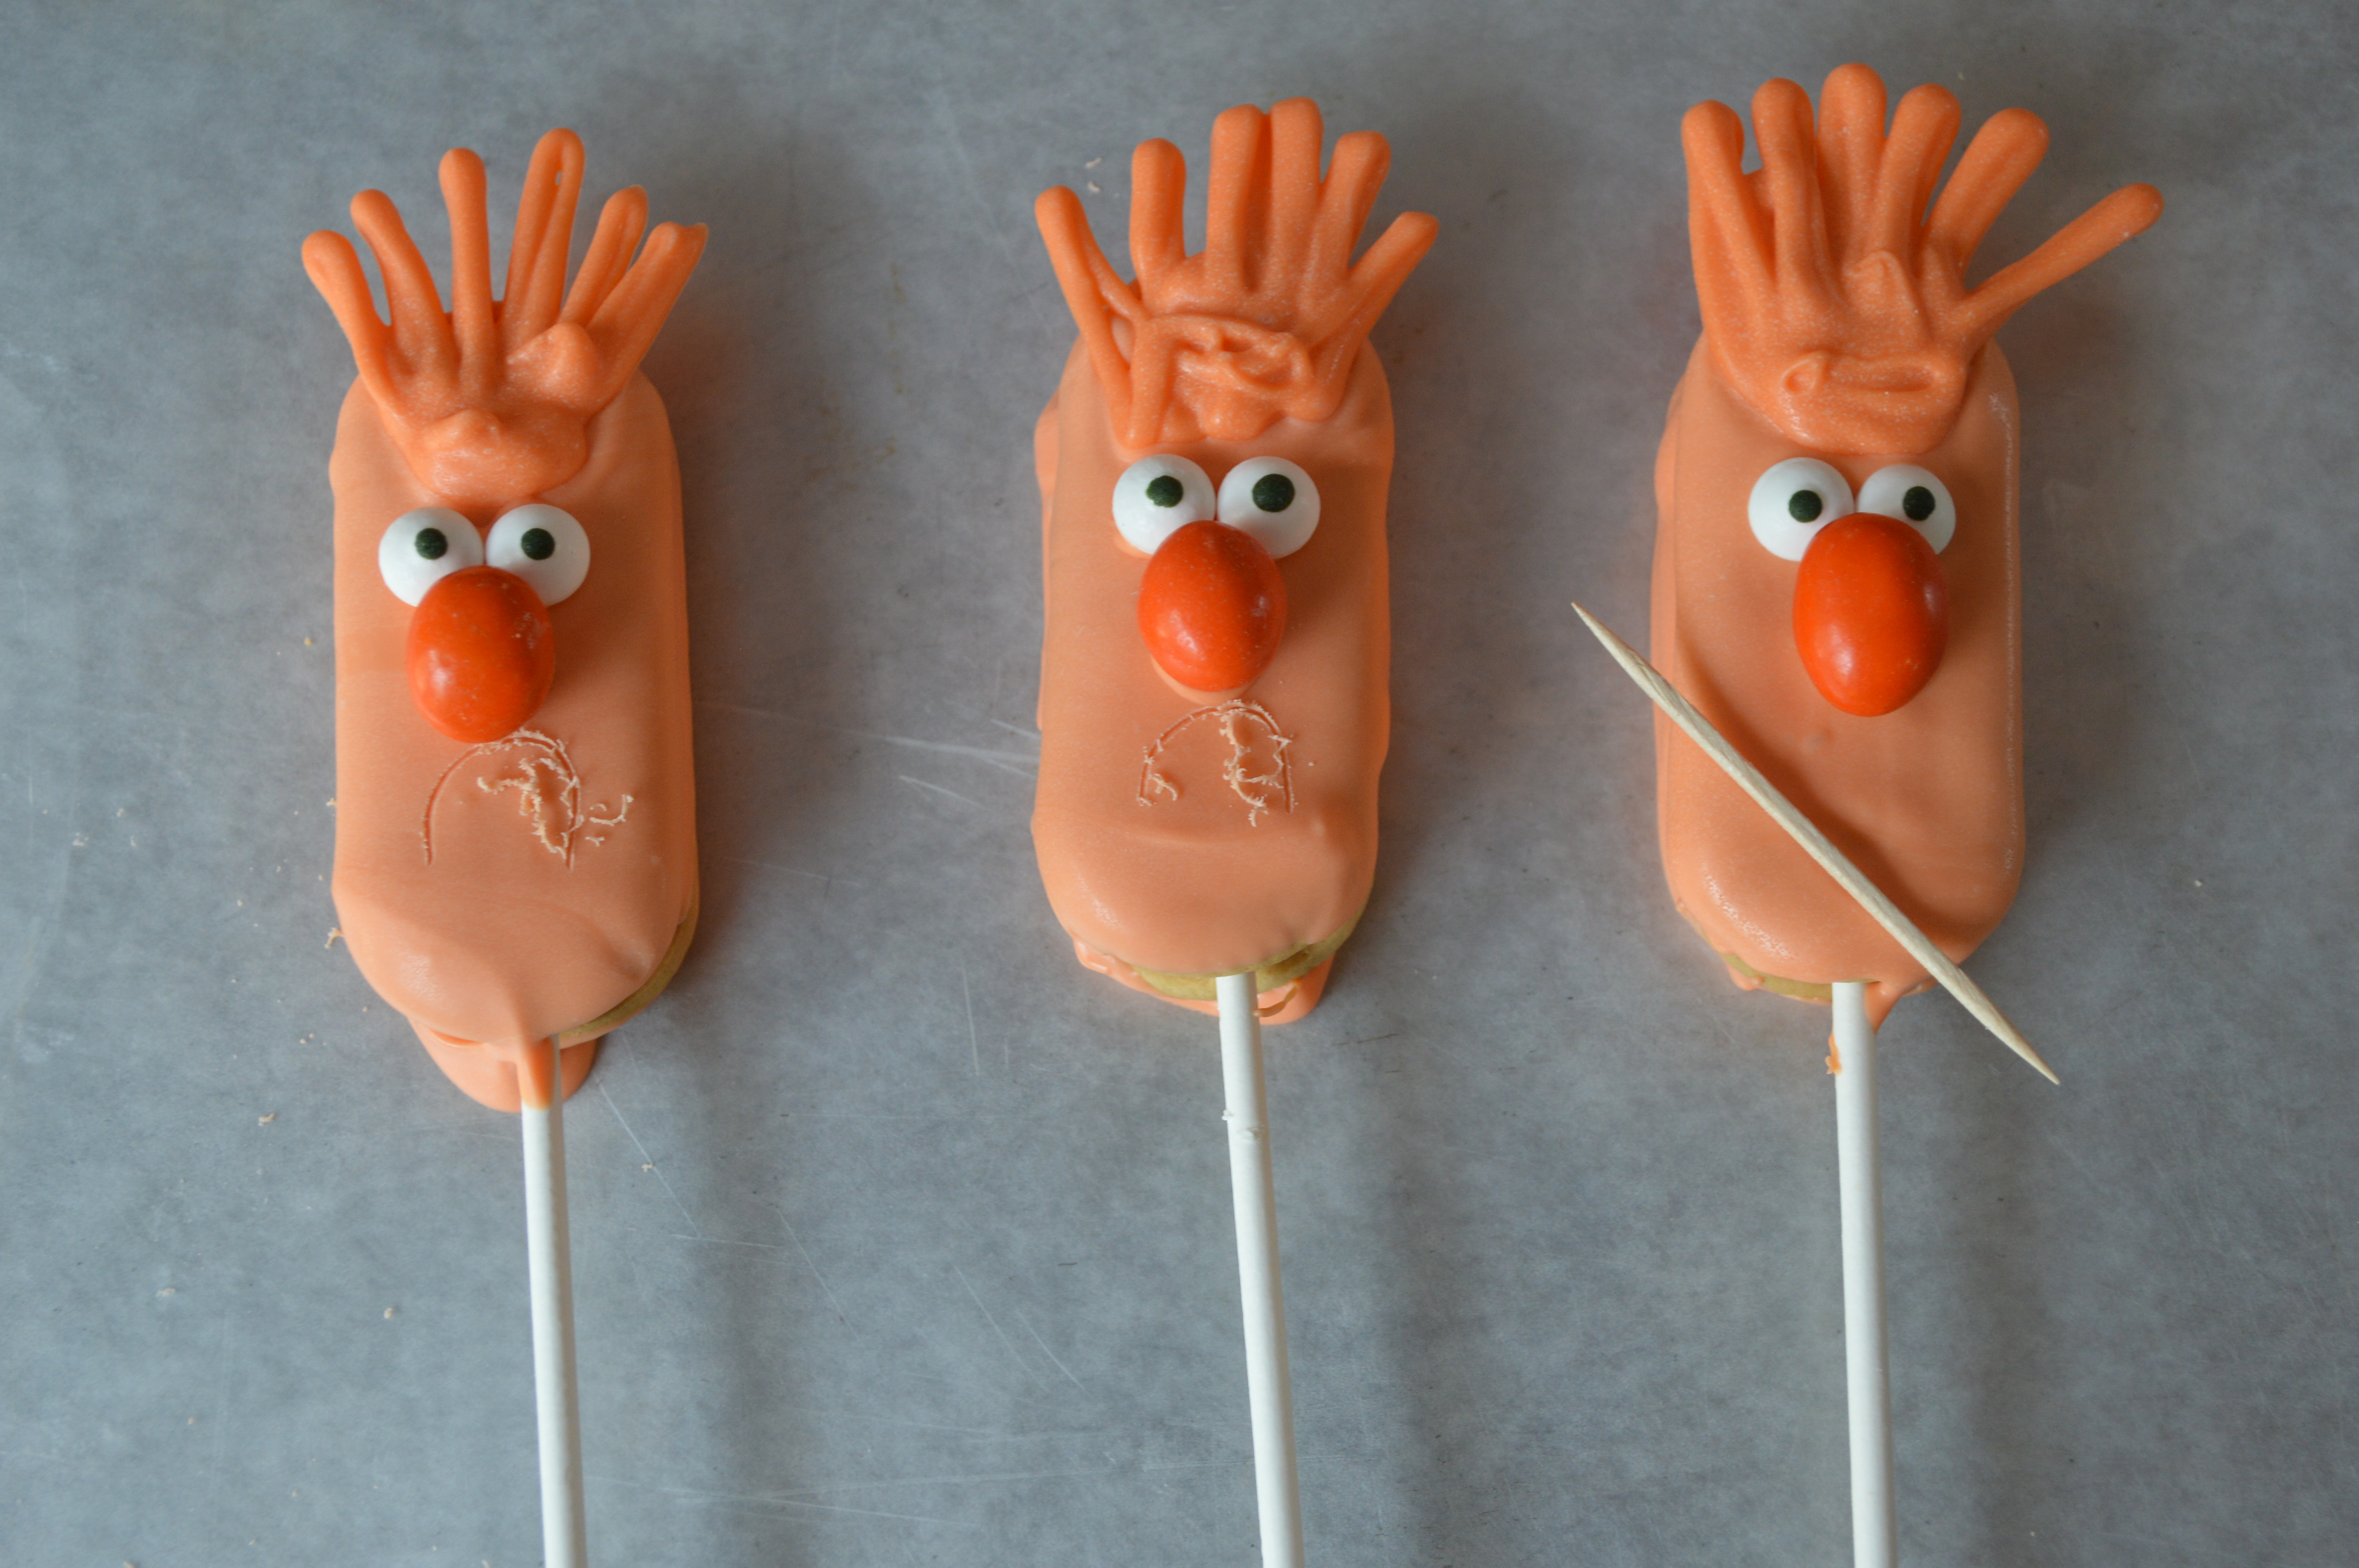
To make our movie night extra special, I like to make the kids a themed treat. These bunny feet cake pops were inspired by Thumper’s oversized thumping paws. As with all of the treats I make, these are super simple to make. I have to warn you, they’re packed full of sugar so I’d only recommend them for a special treat and not an everyday snack. If you’d like to make them for your little bunnies, here’s how!
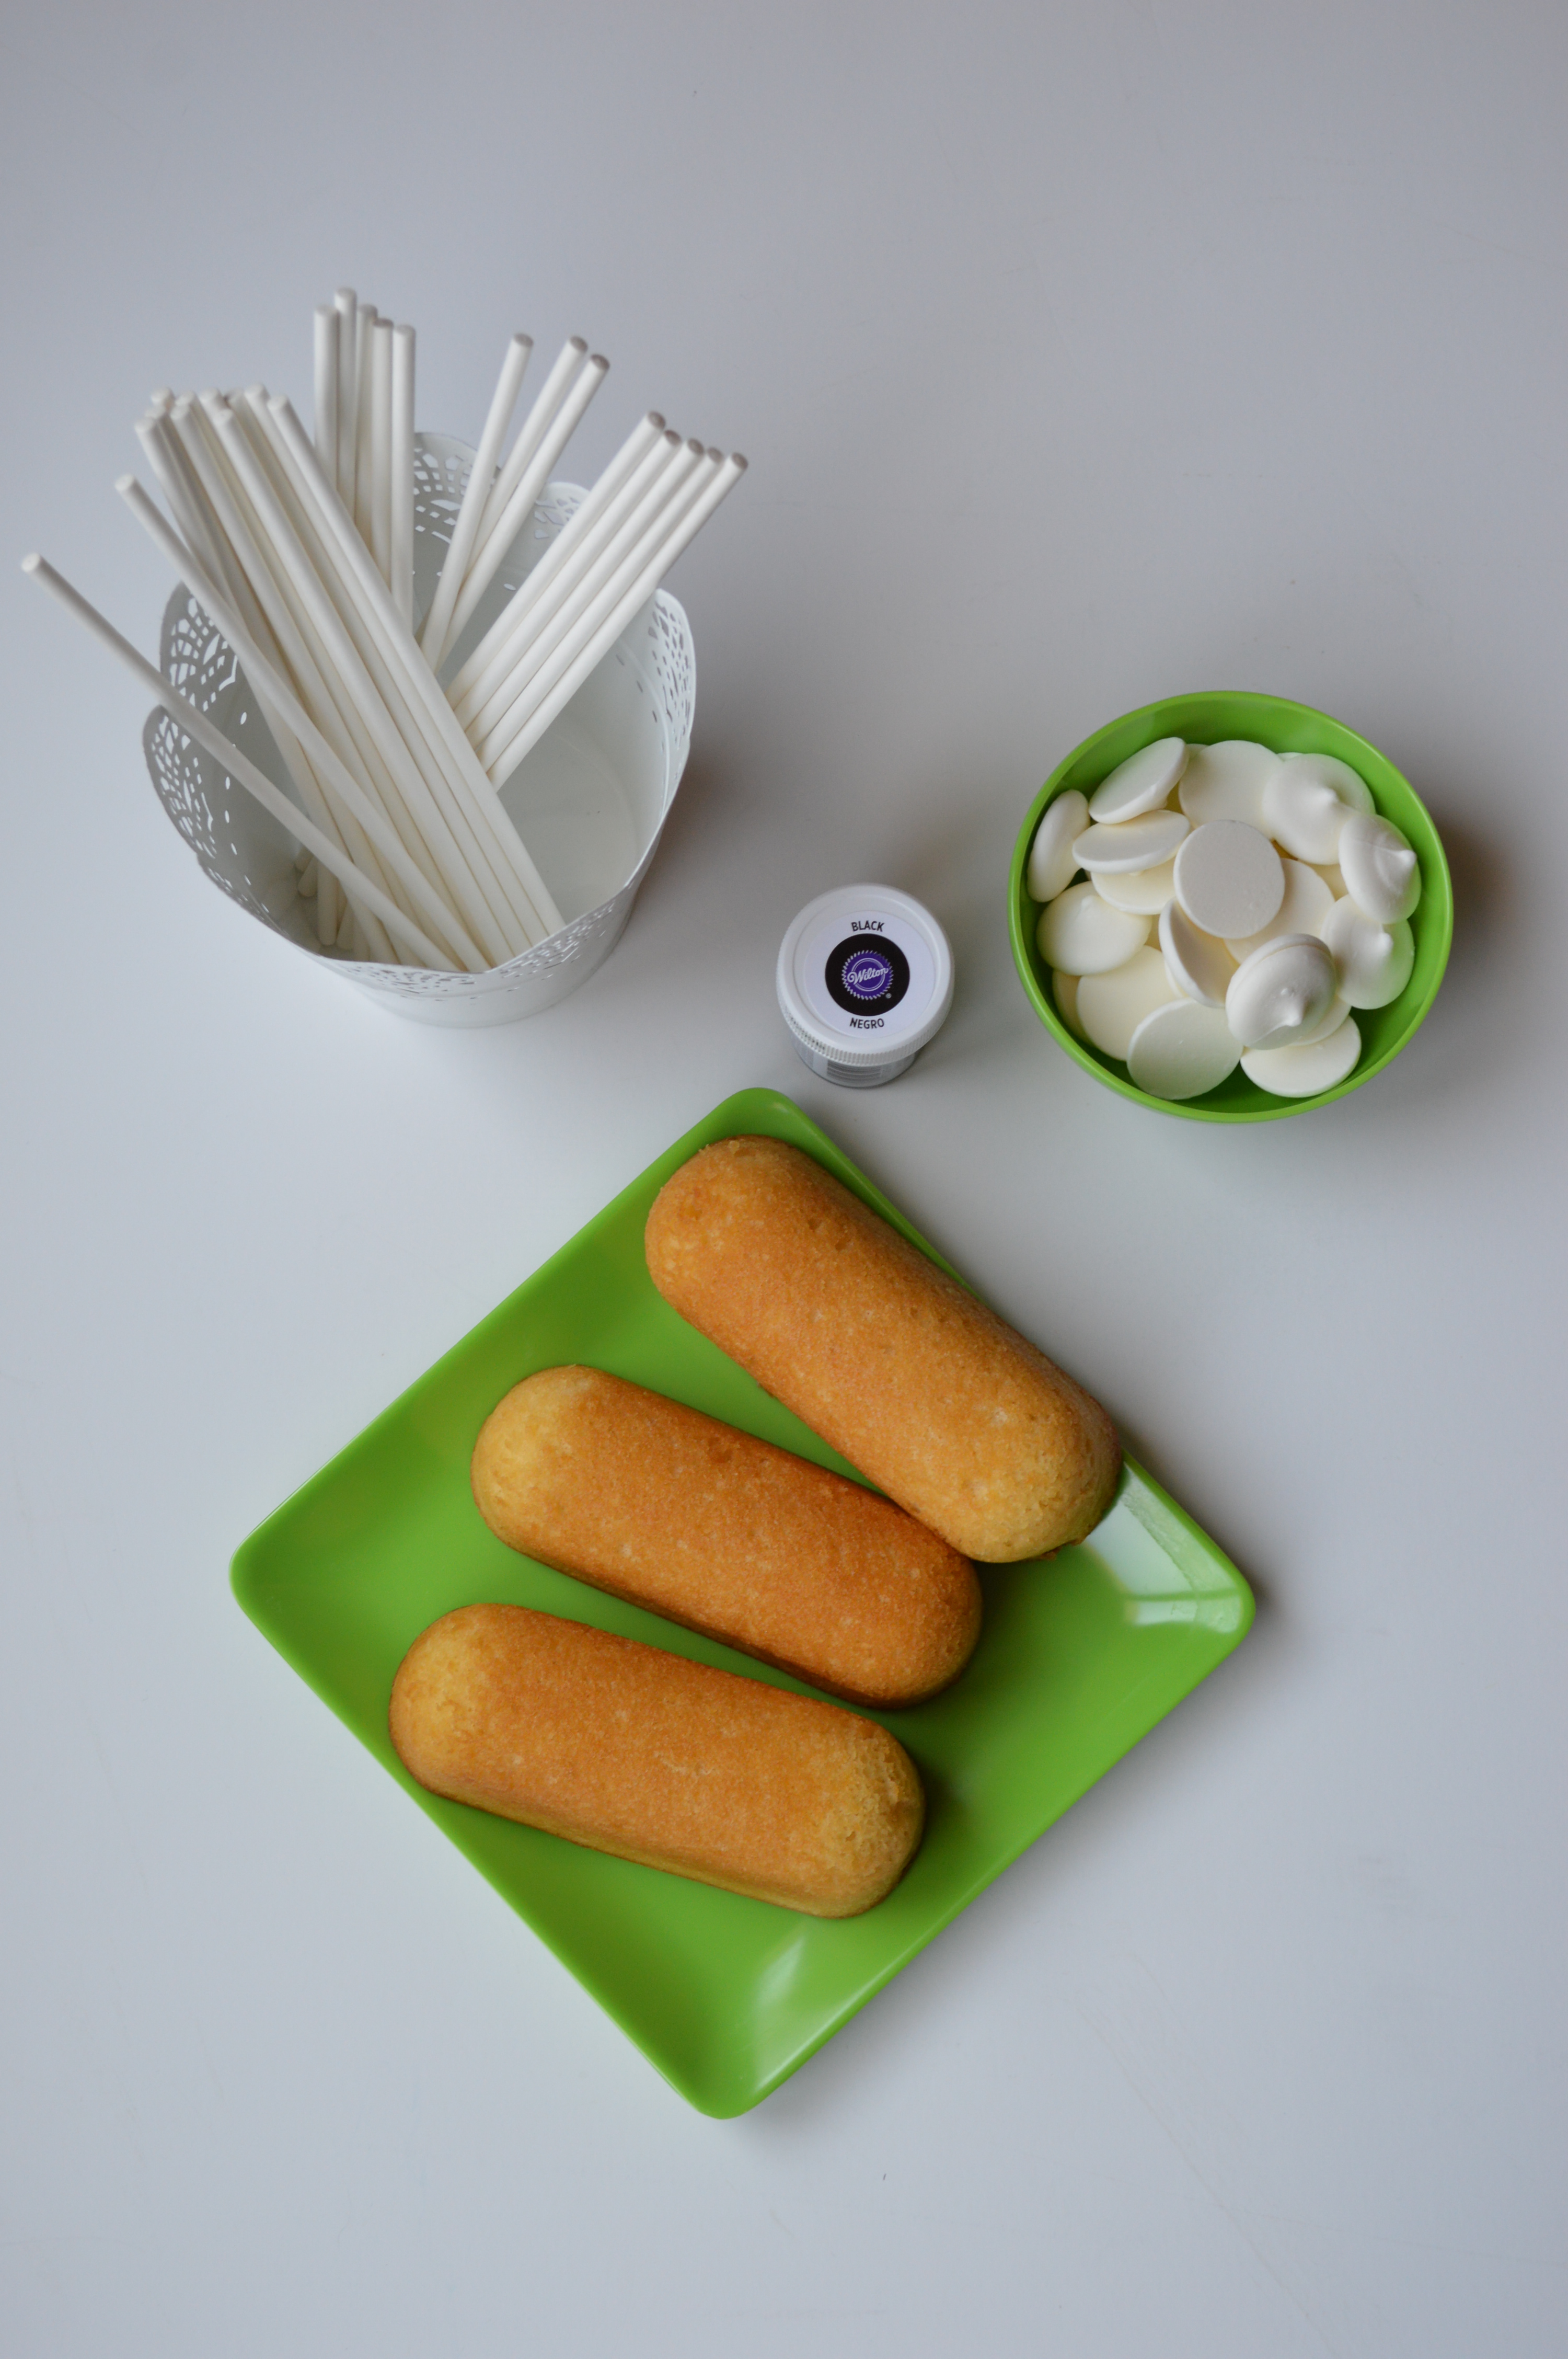
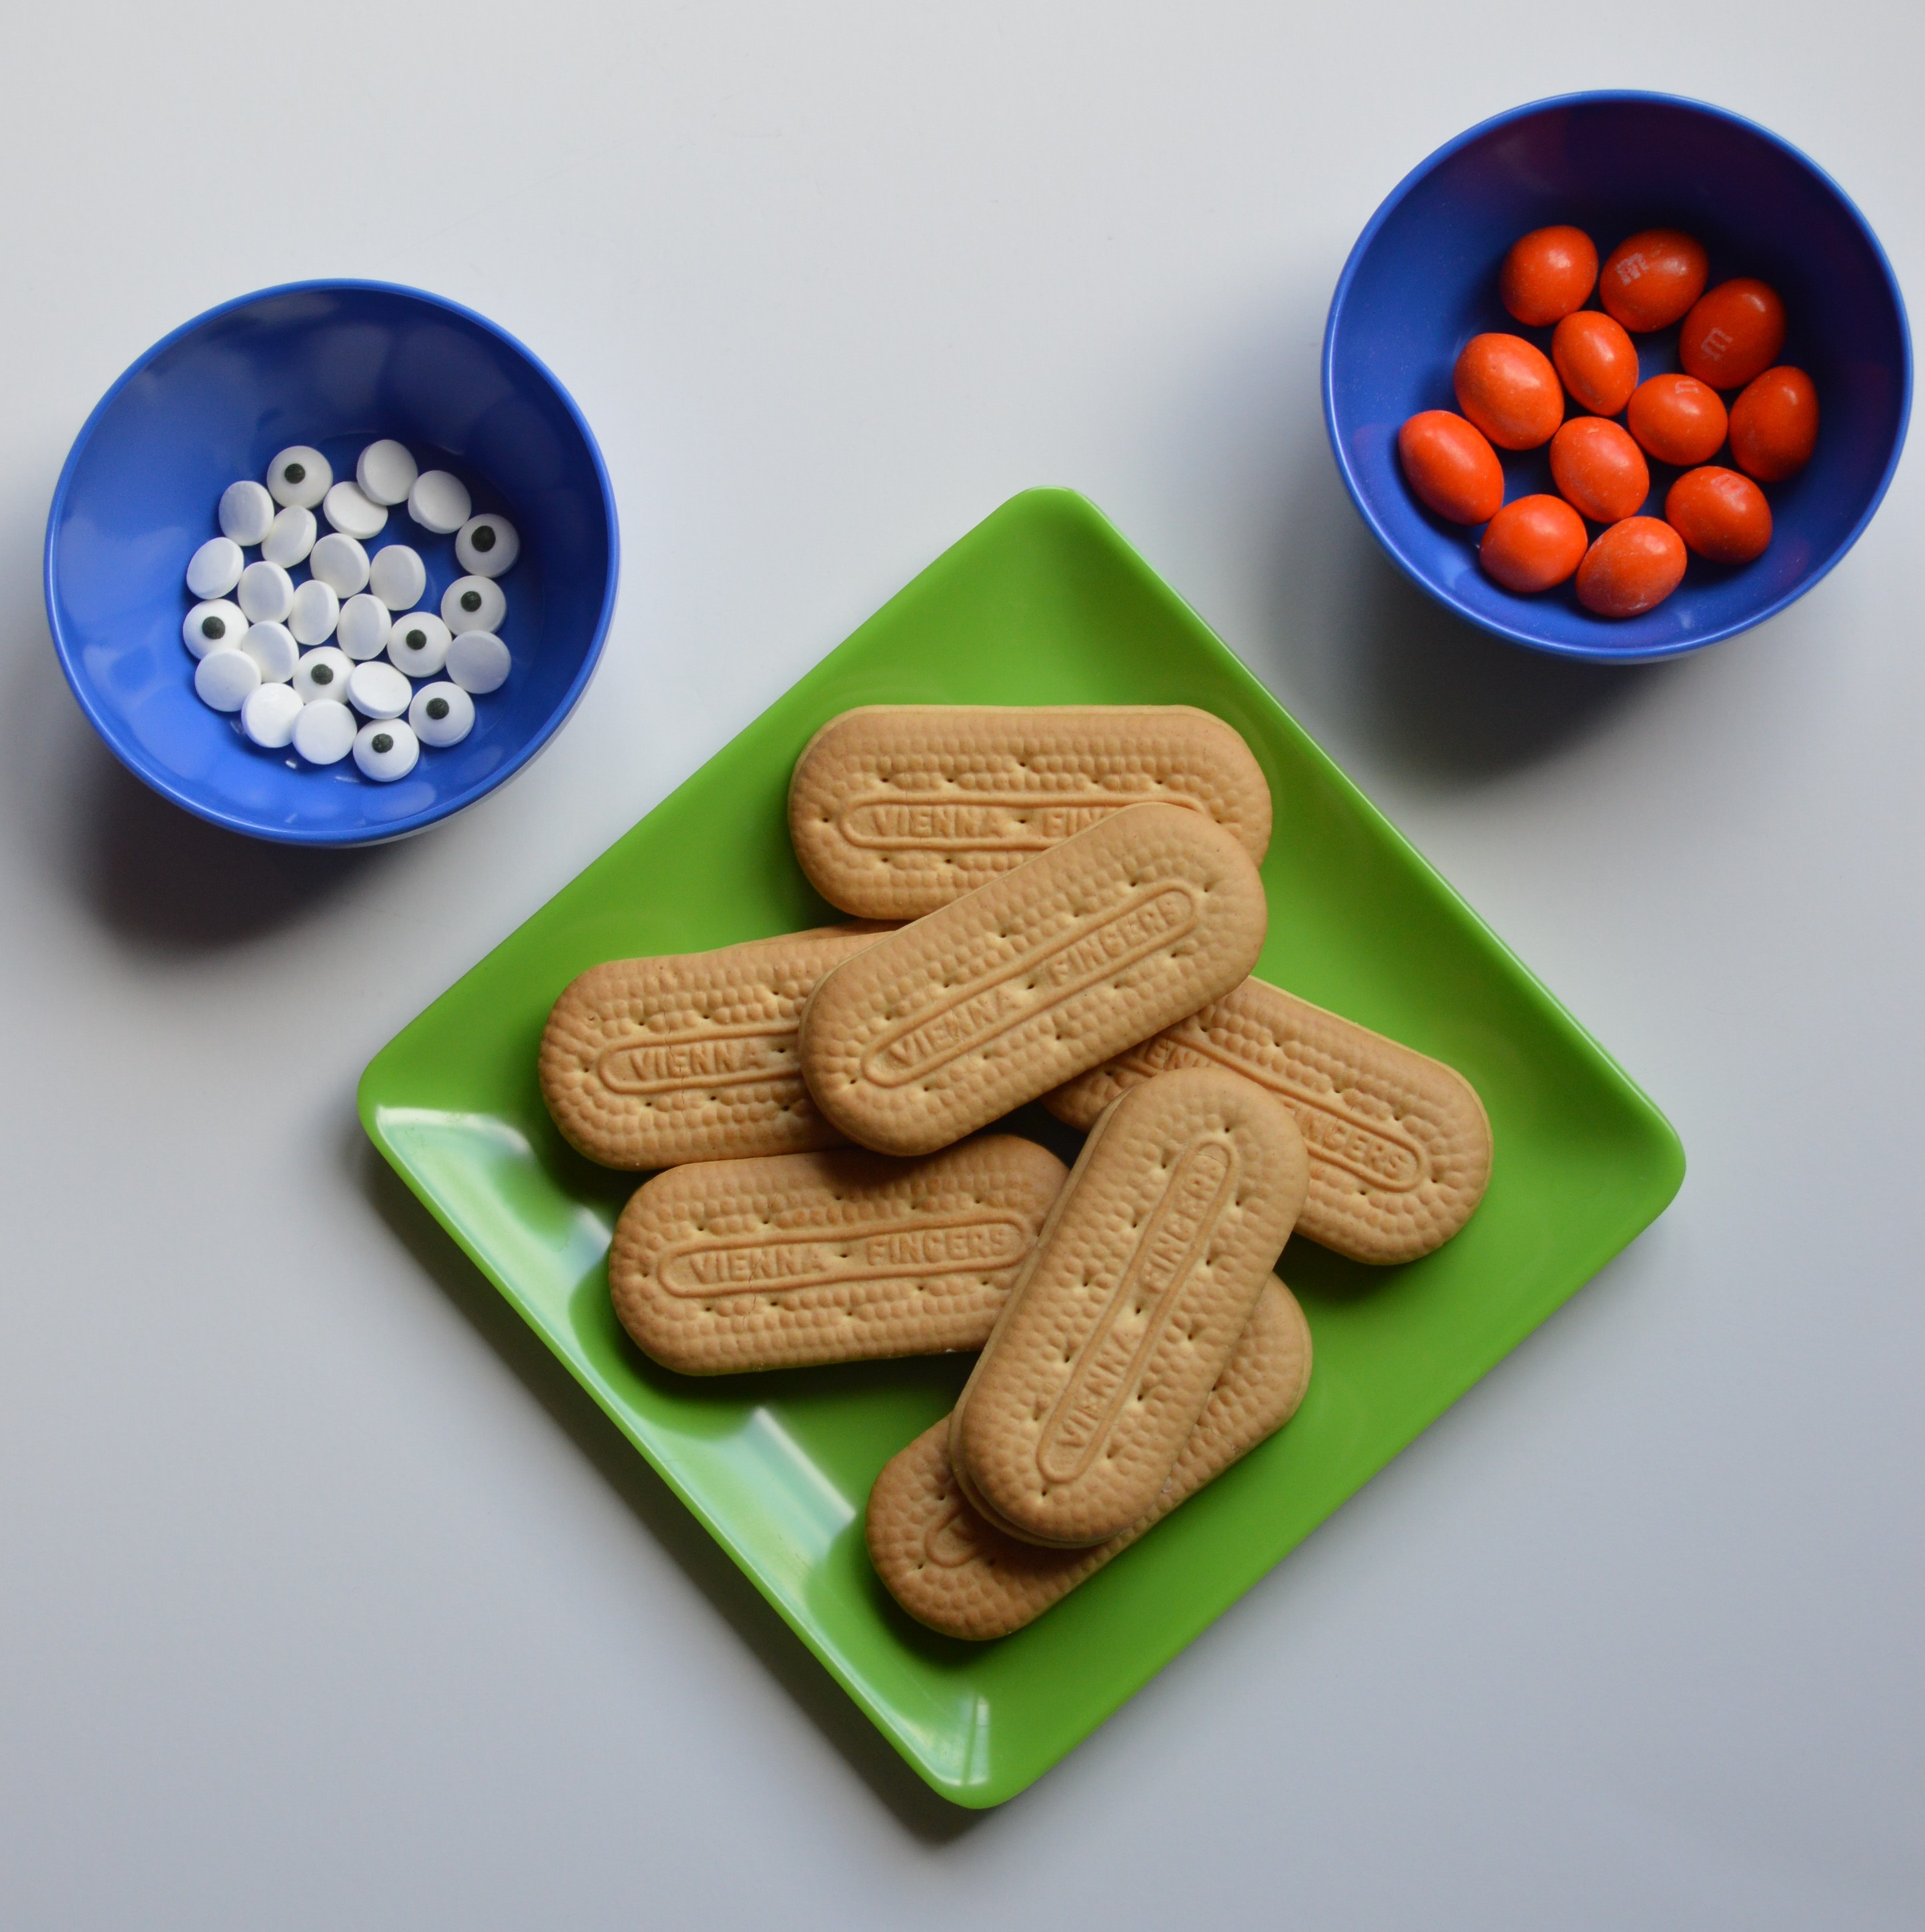
Supplies:
-
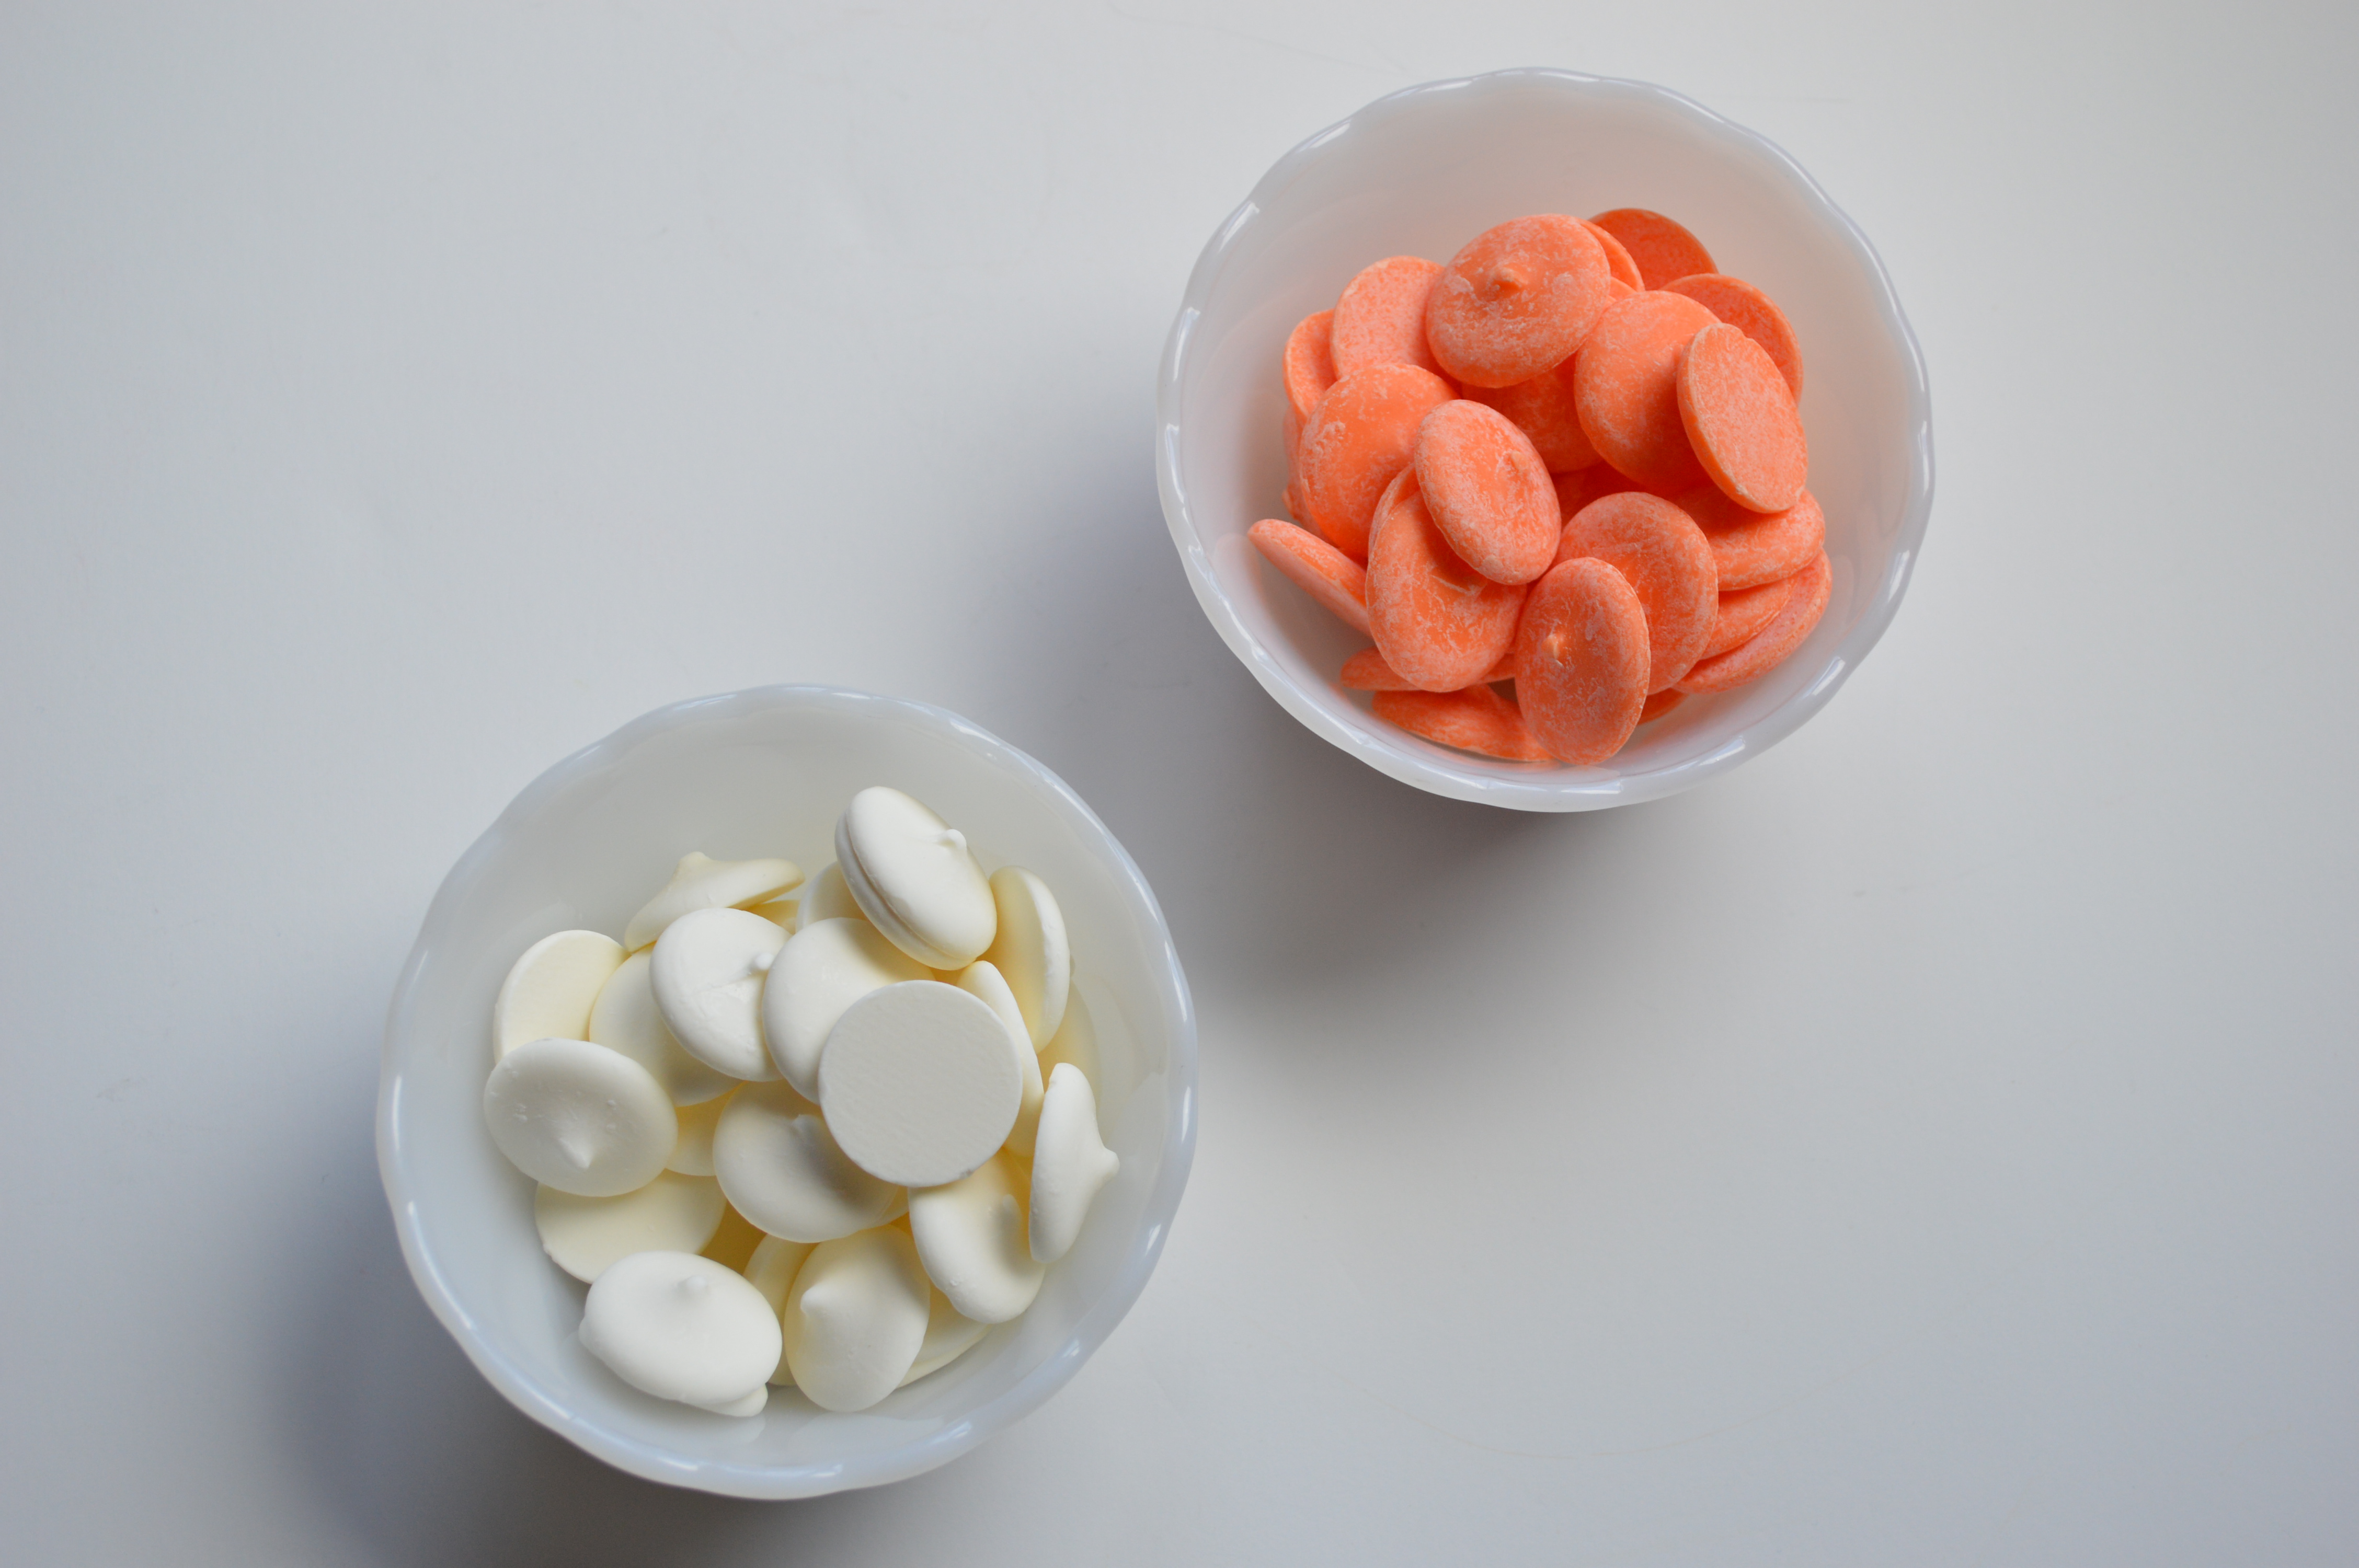
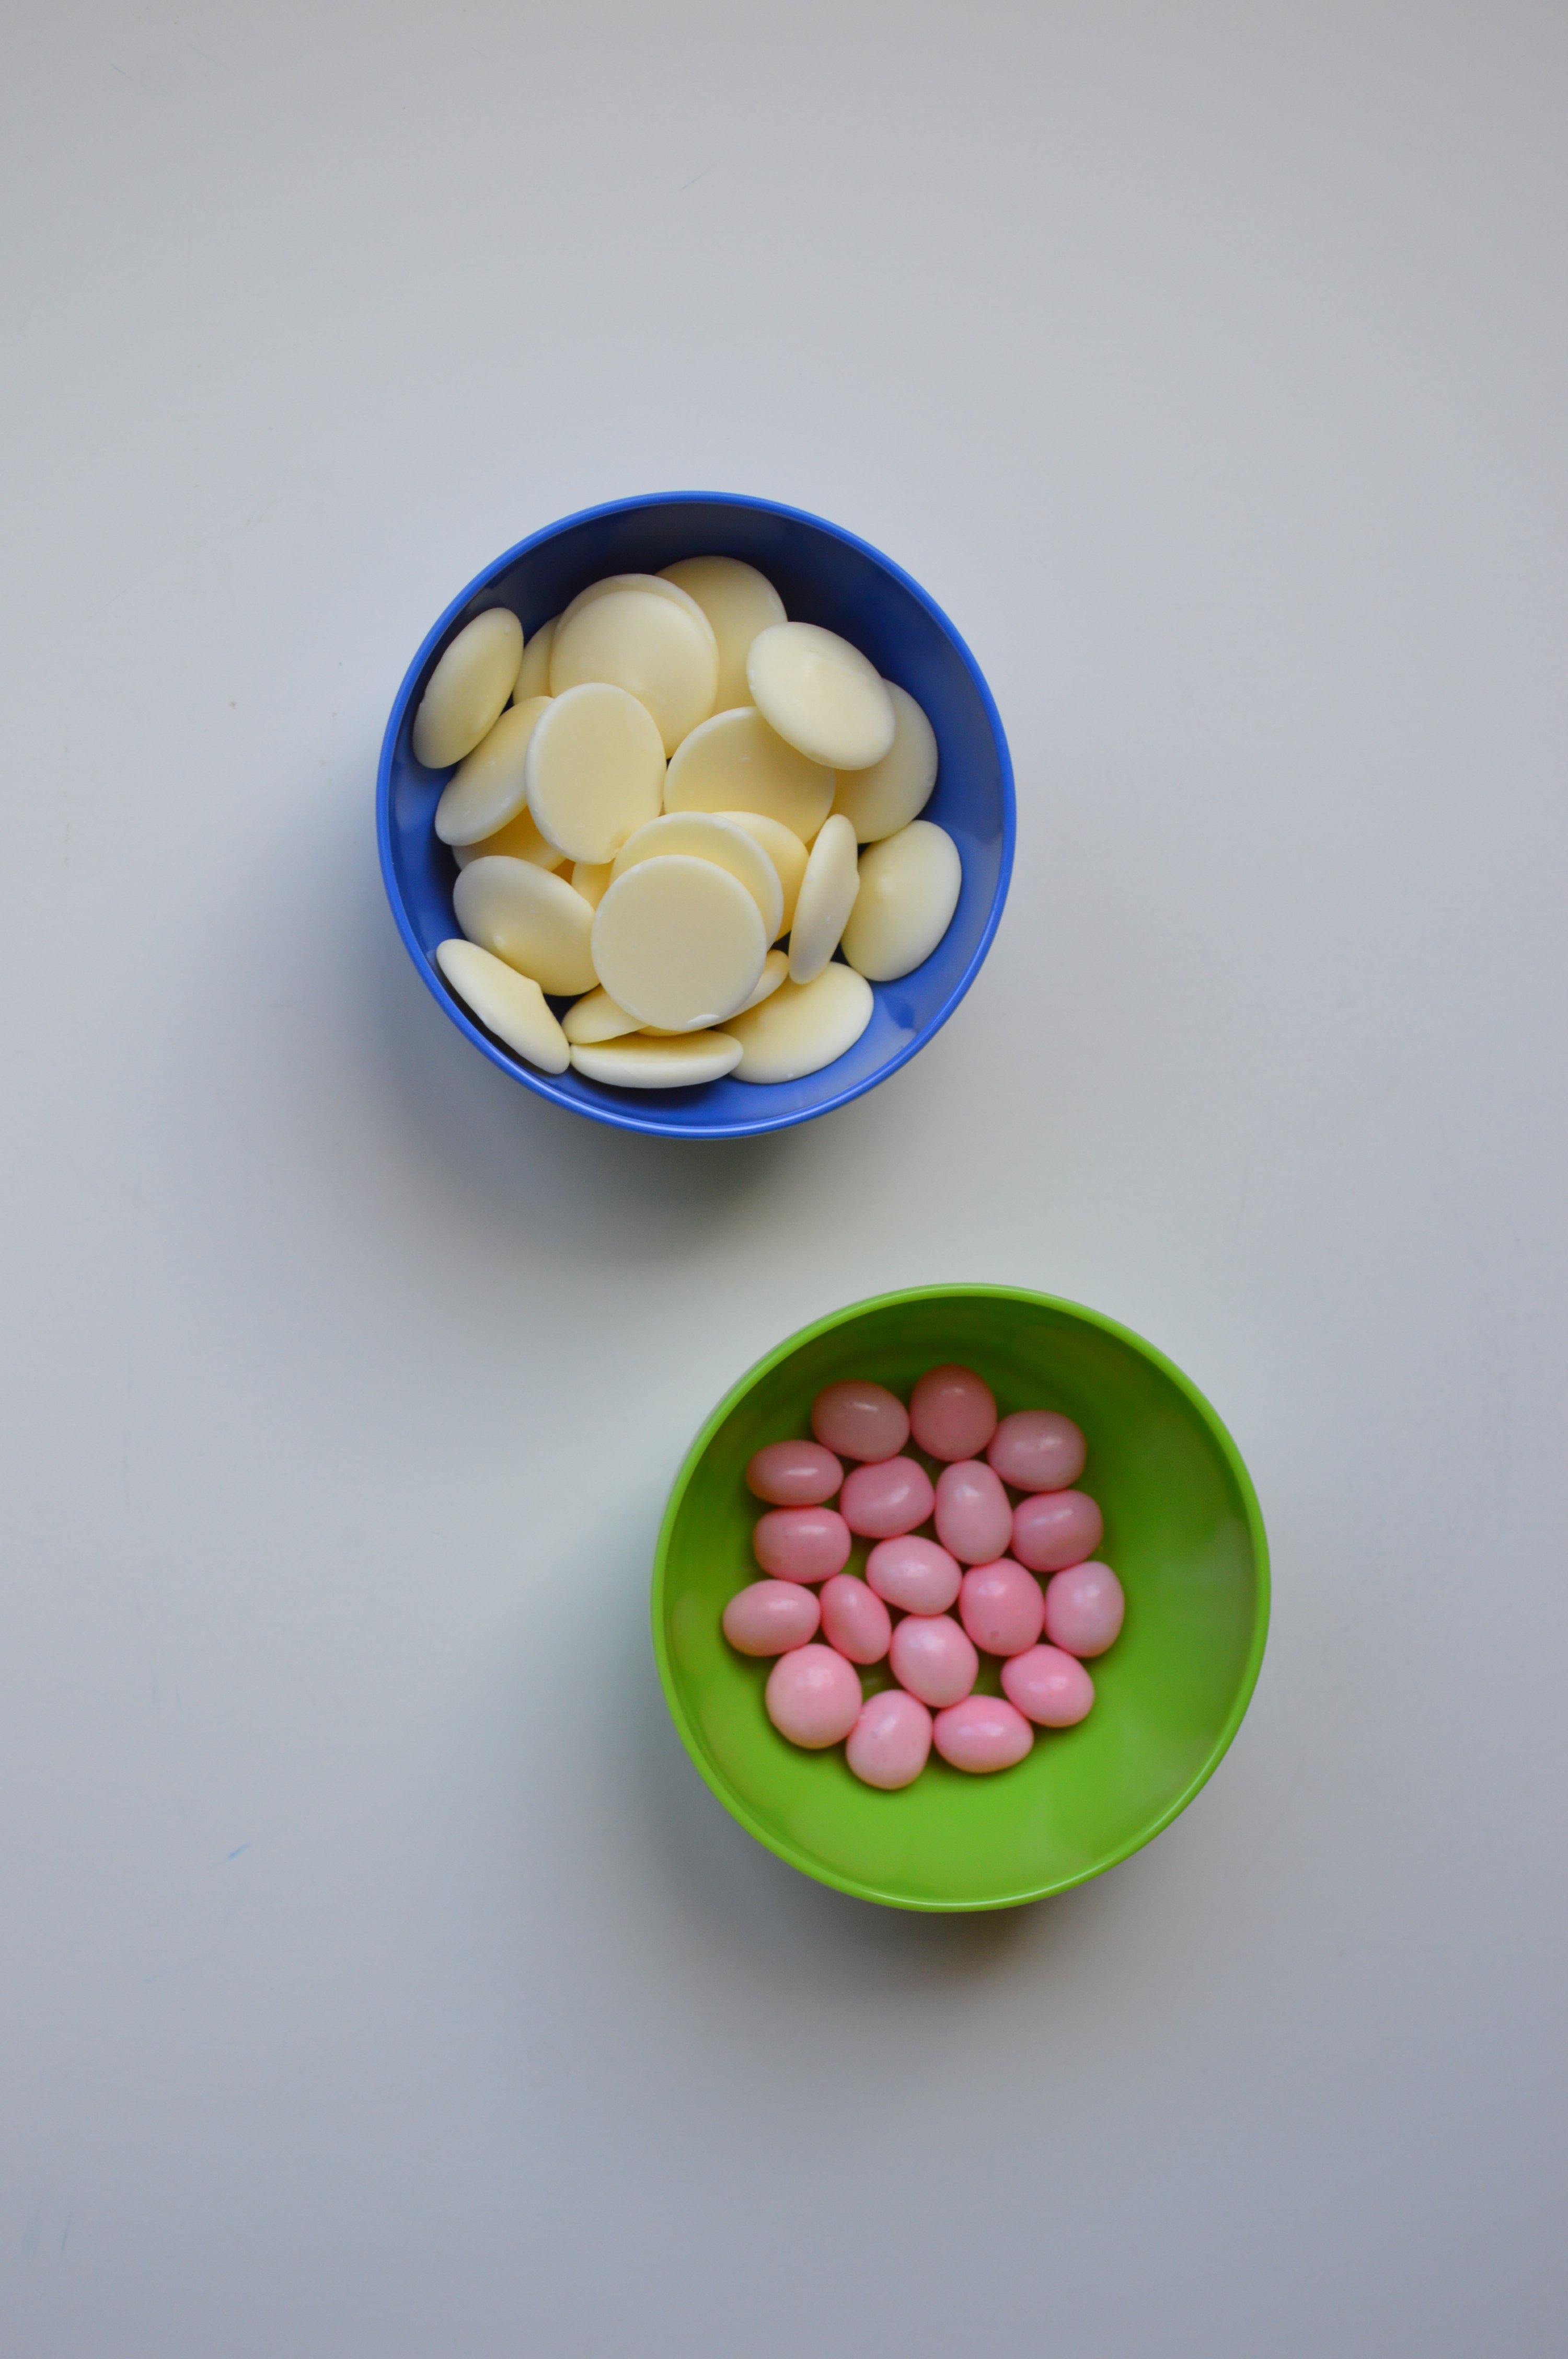
bright white Wilton candy melts
-
vanilla candy melts
-
black food coloring
-
cookie pop sticks
-
pink jelly beans
-
Tastykake Dreamies Crème Kakes
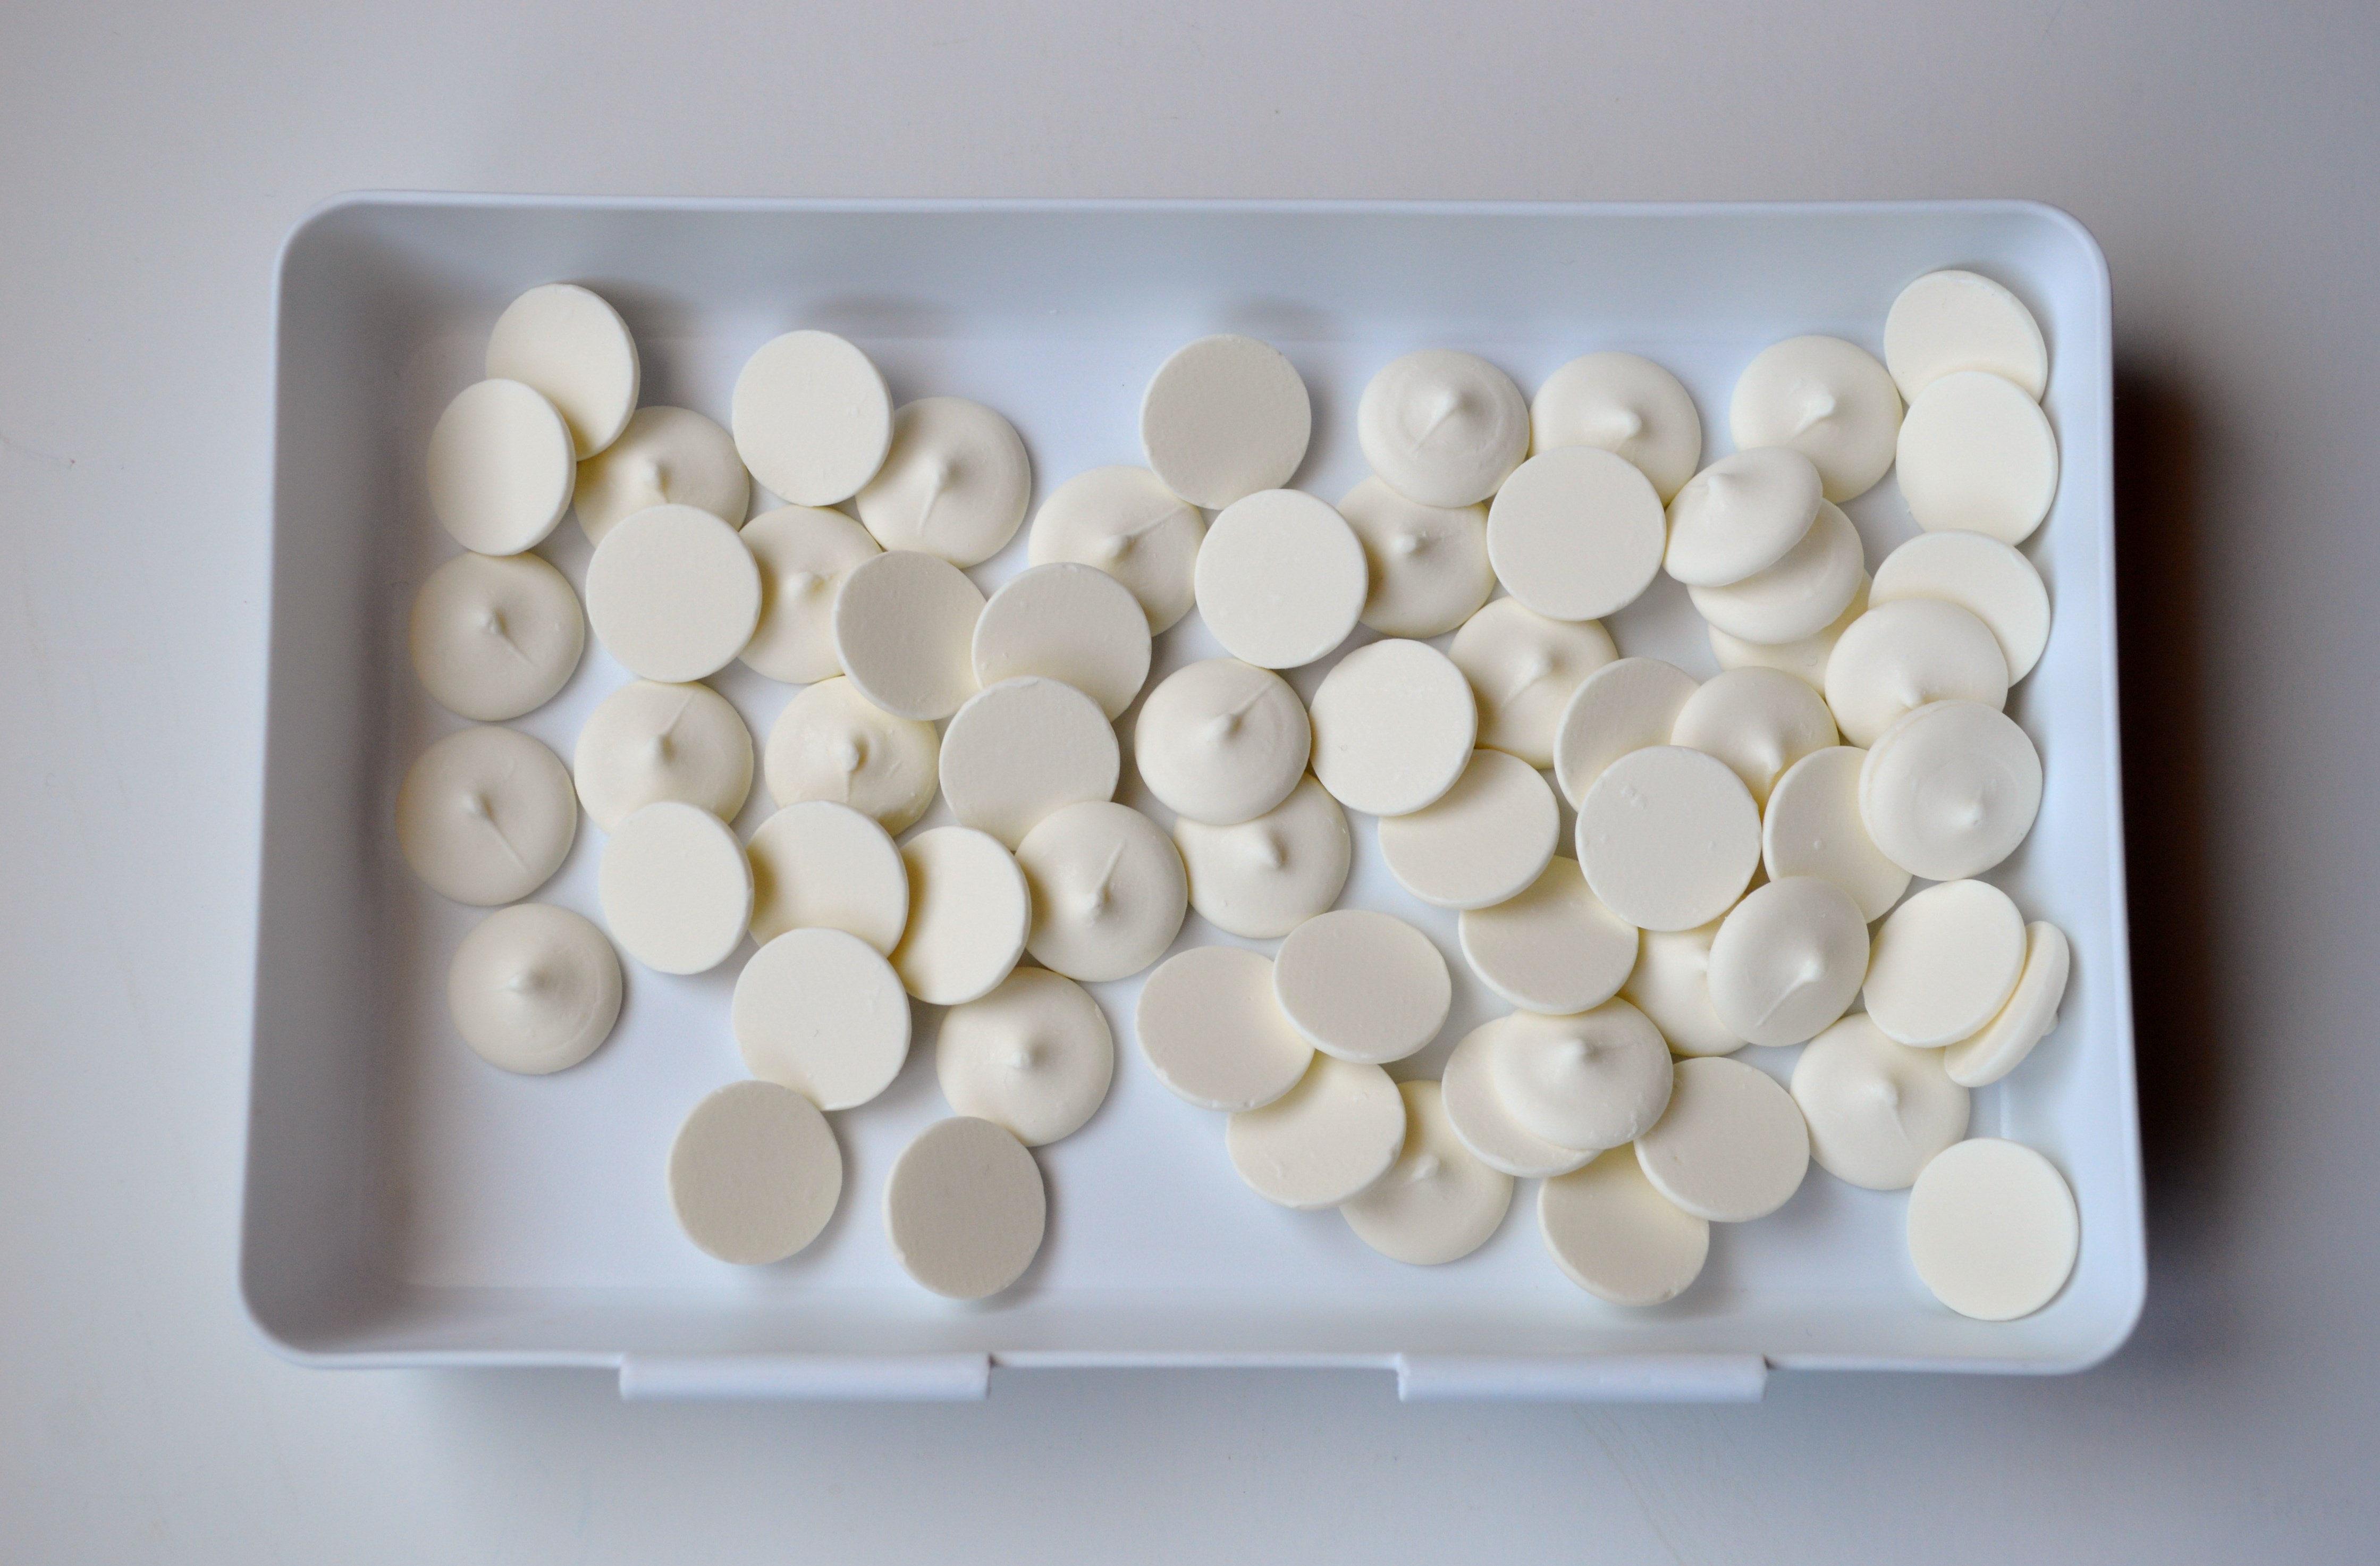
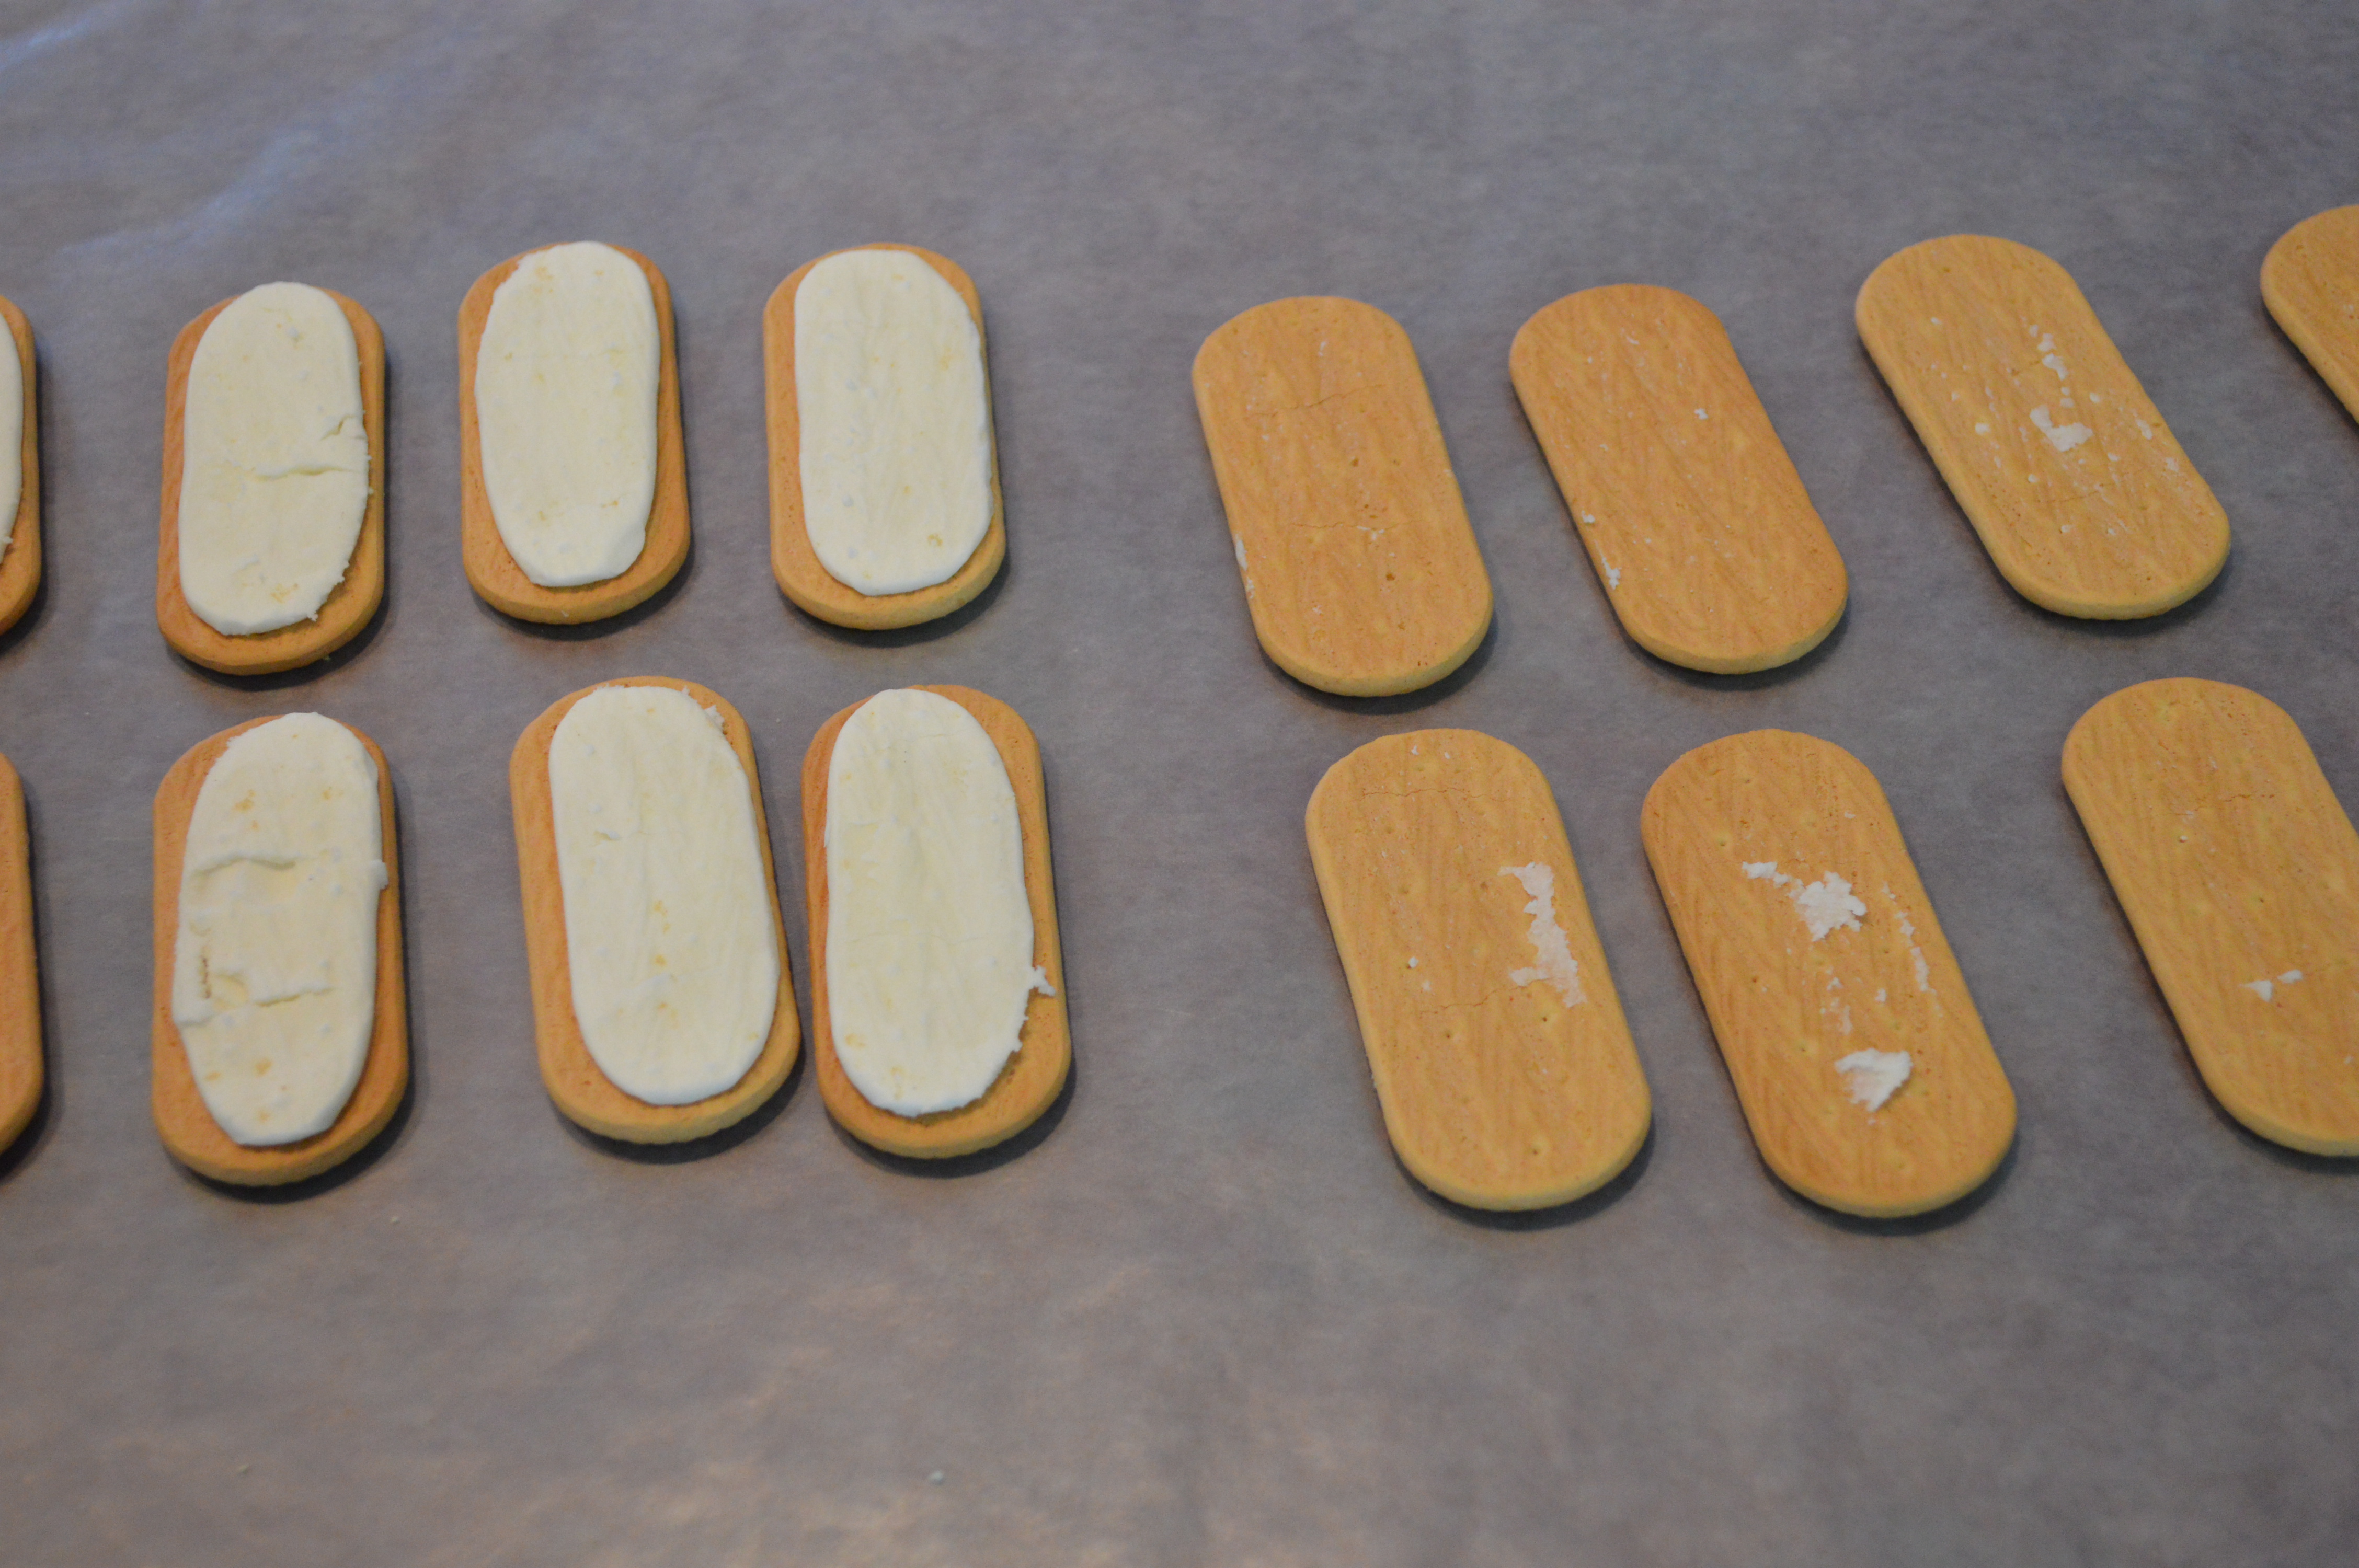
Melt bright white Wilton candy melts in a shallow microwave safe pan. The pan that I used is a Pampered Chef melting tray. Once melted add some black food coloring to create the light shade of gray for the top of Thumper’s feet.

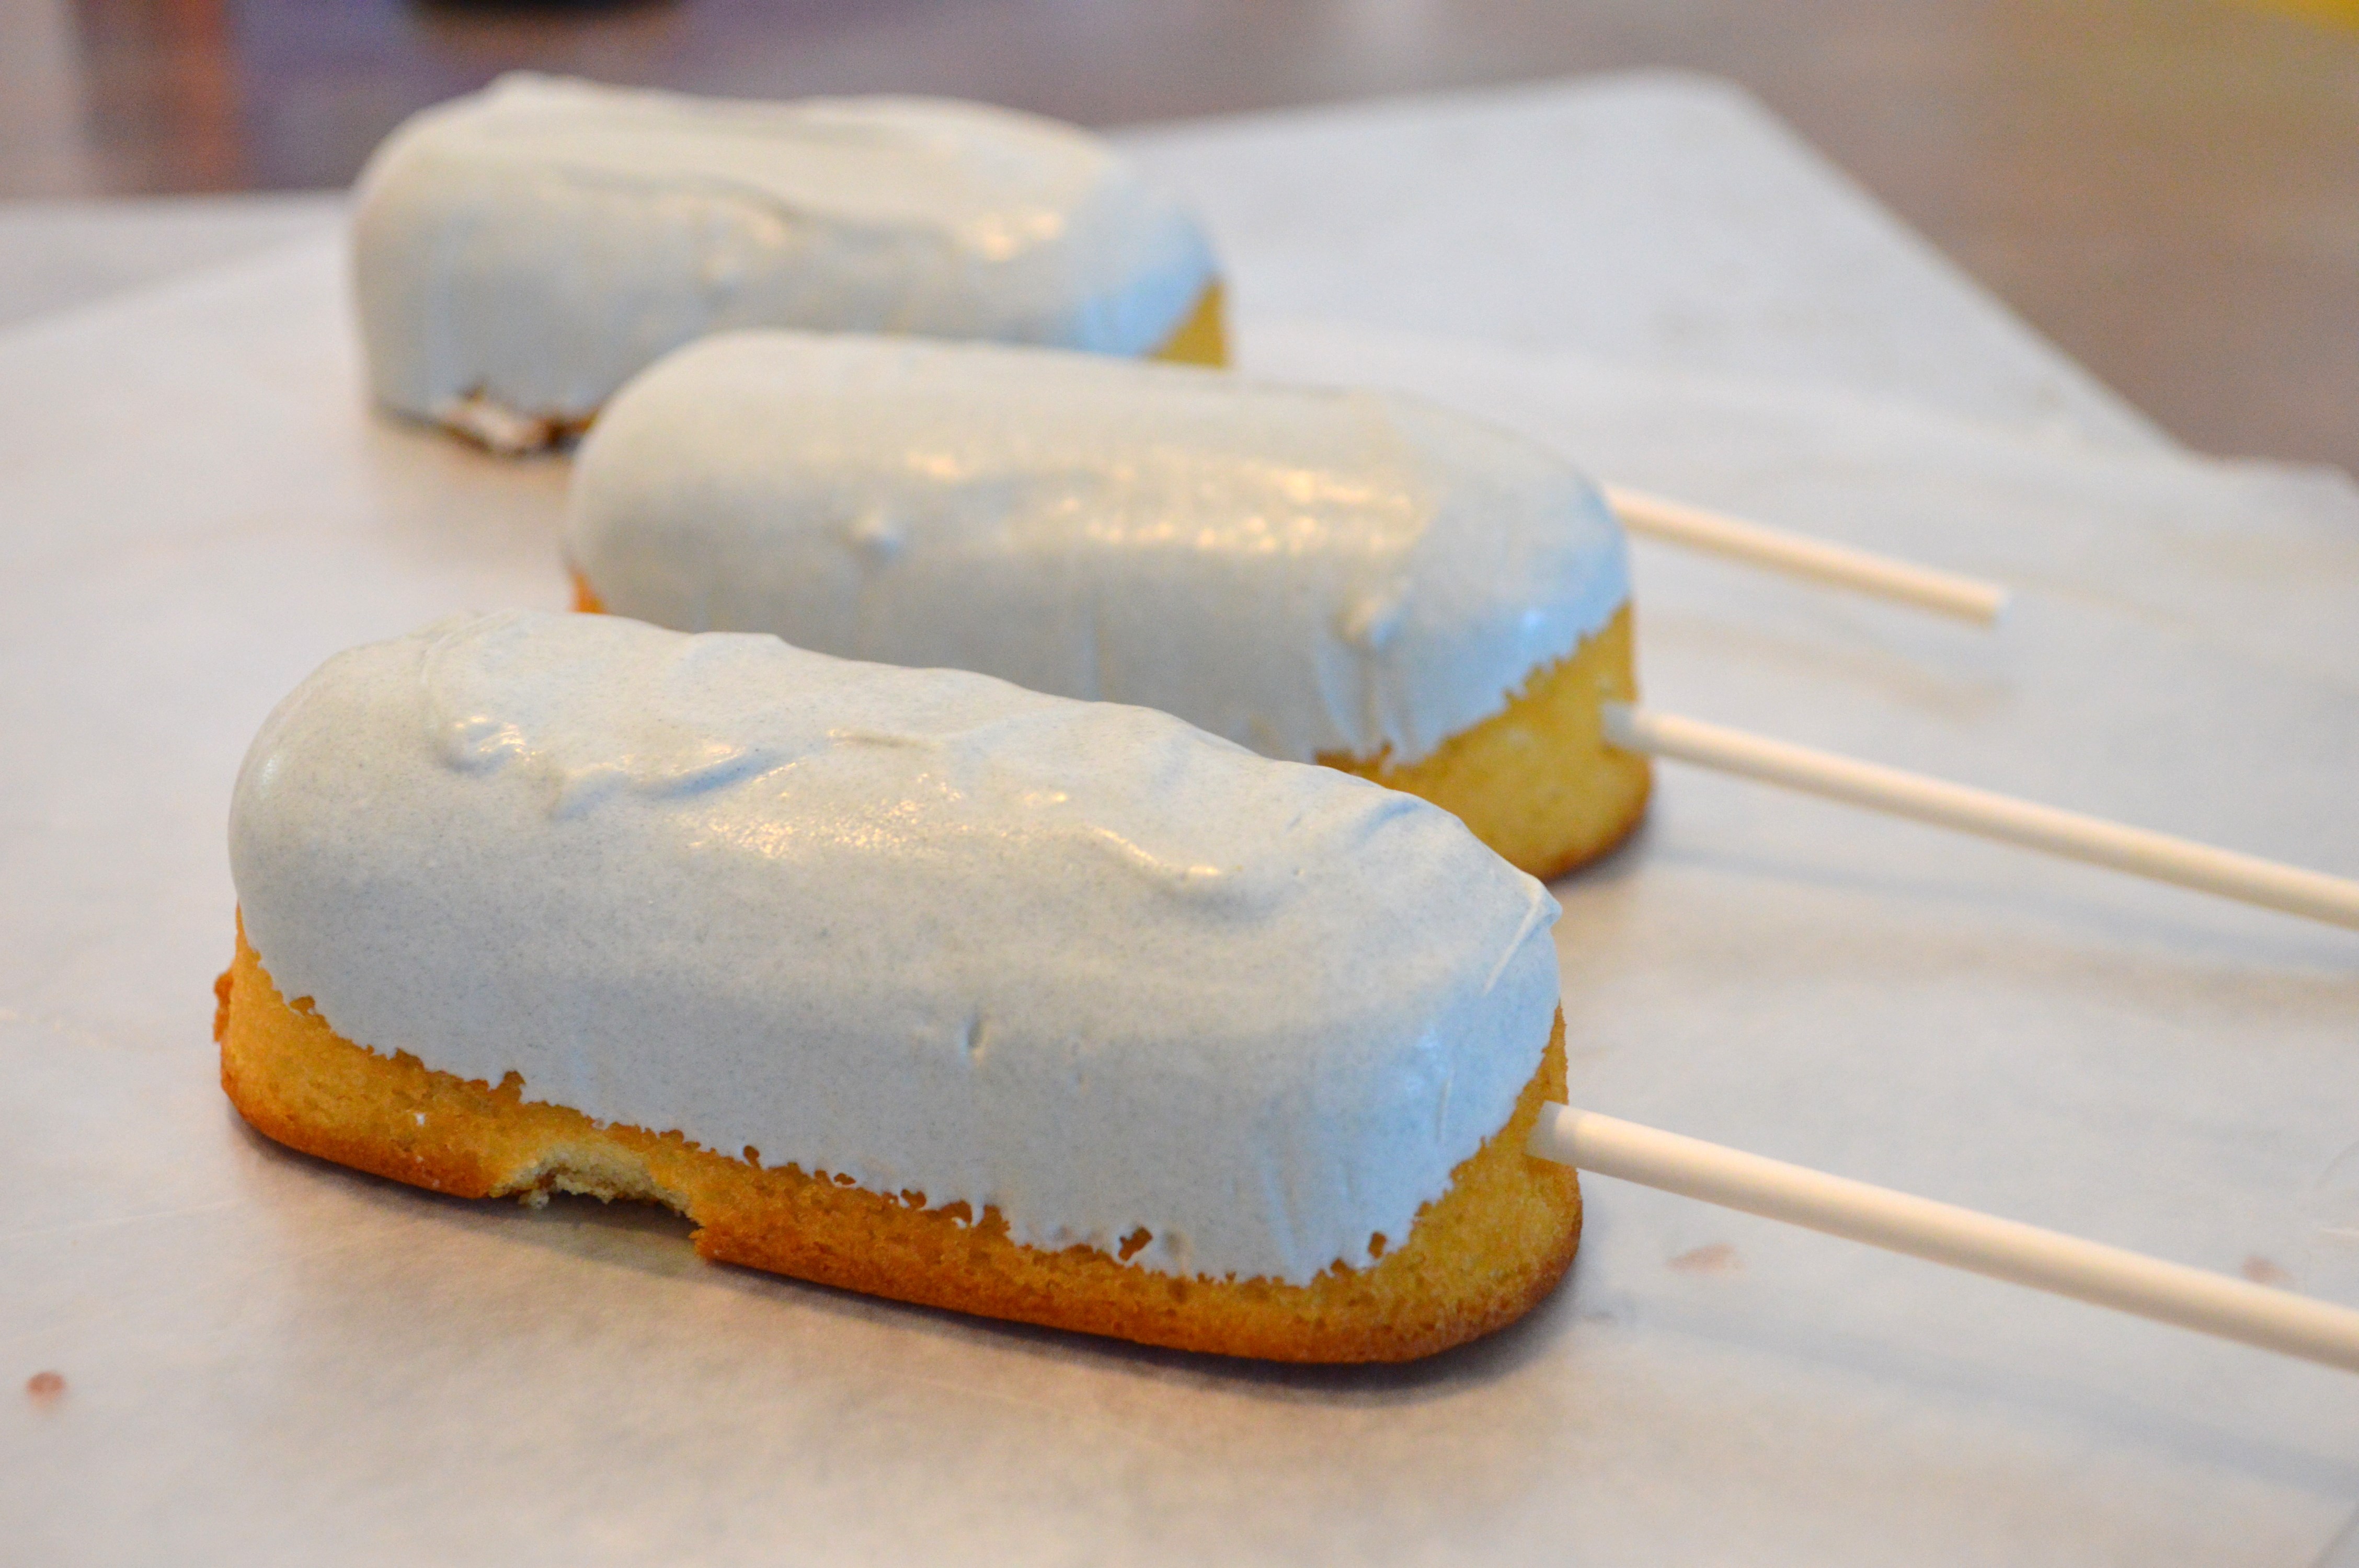
Tilt the pan so that all of the melted chocolate is on one end. Place the rounded top of the Crème Kake down into the corner of the pan. Roll the top of the cake back and forth to cover the top and half of the sides of the cake with gray chocolate. Insert one of the pop sticks half way through the cake. This will help you take it out of the pan. The photo below shows you what the end result of this step will look like. Allow the chocolate to harden before moving onto the next step.
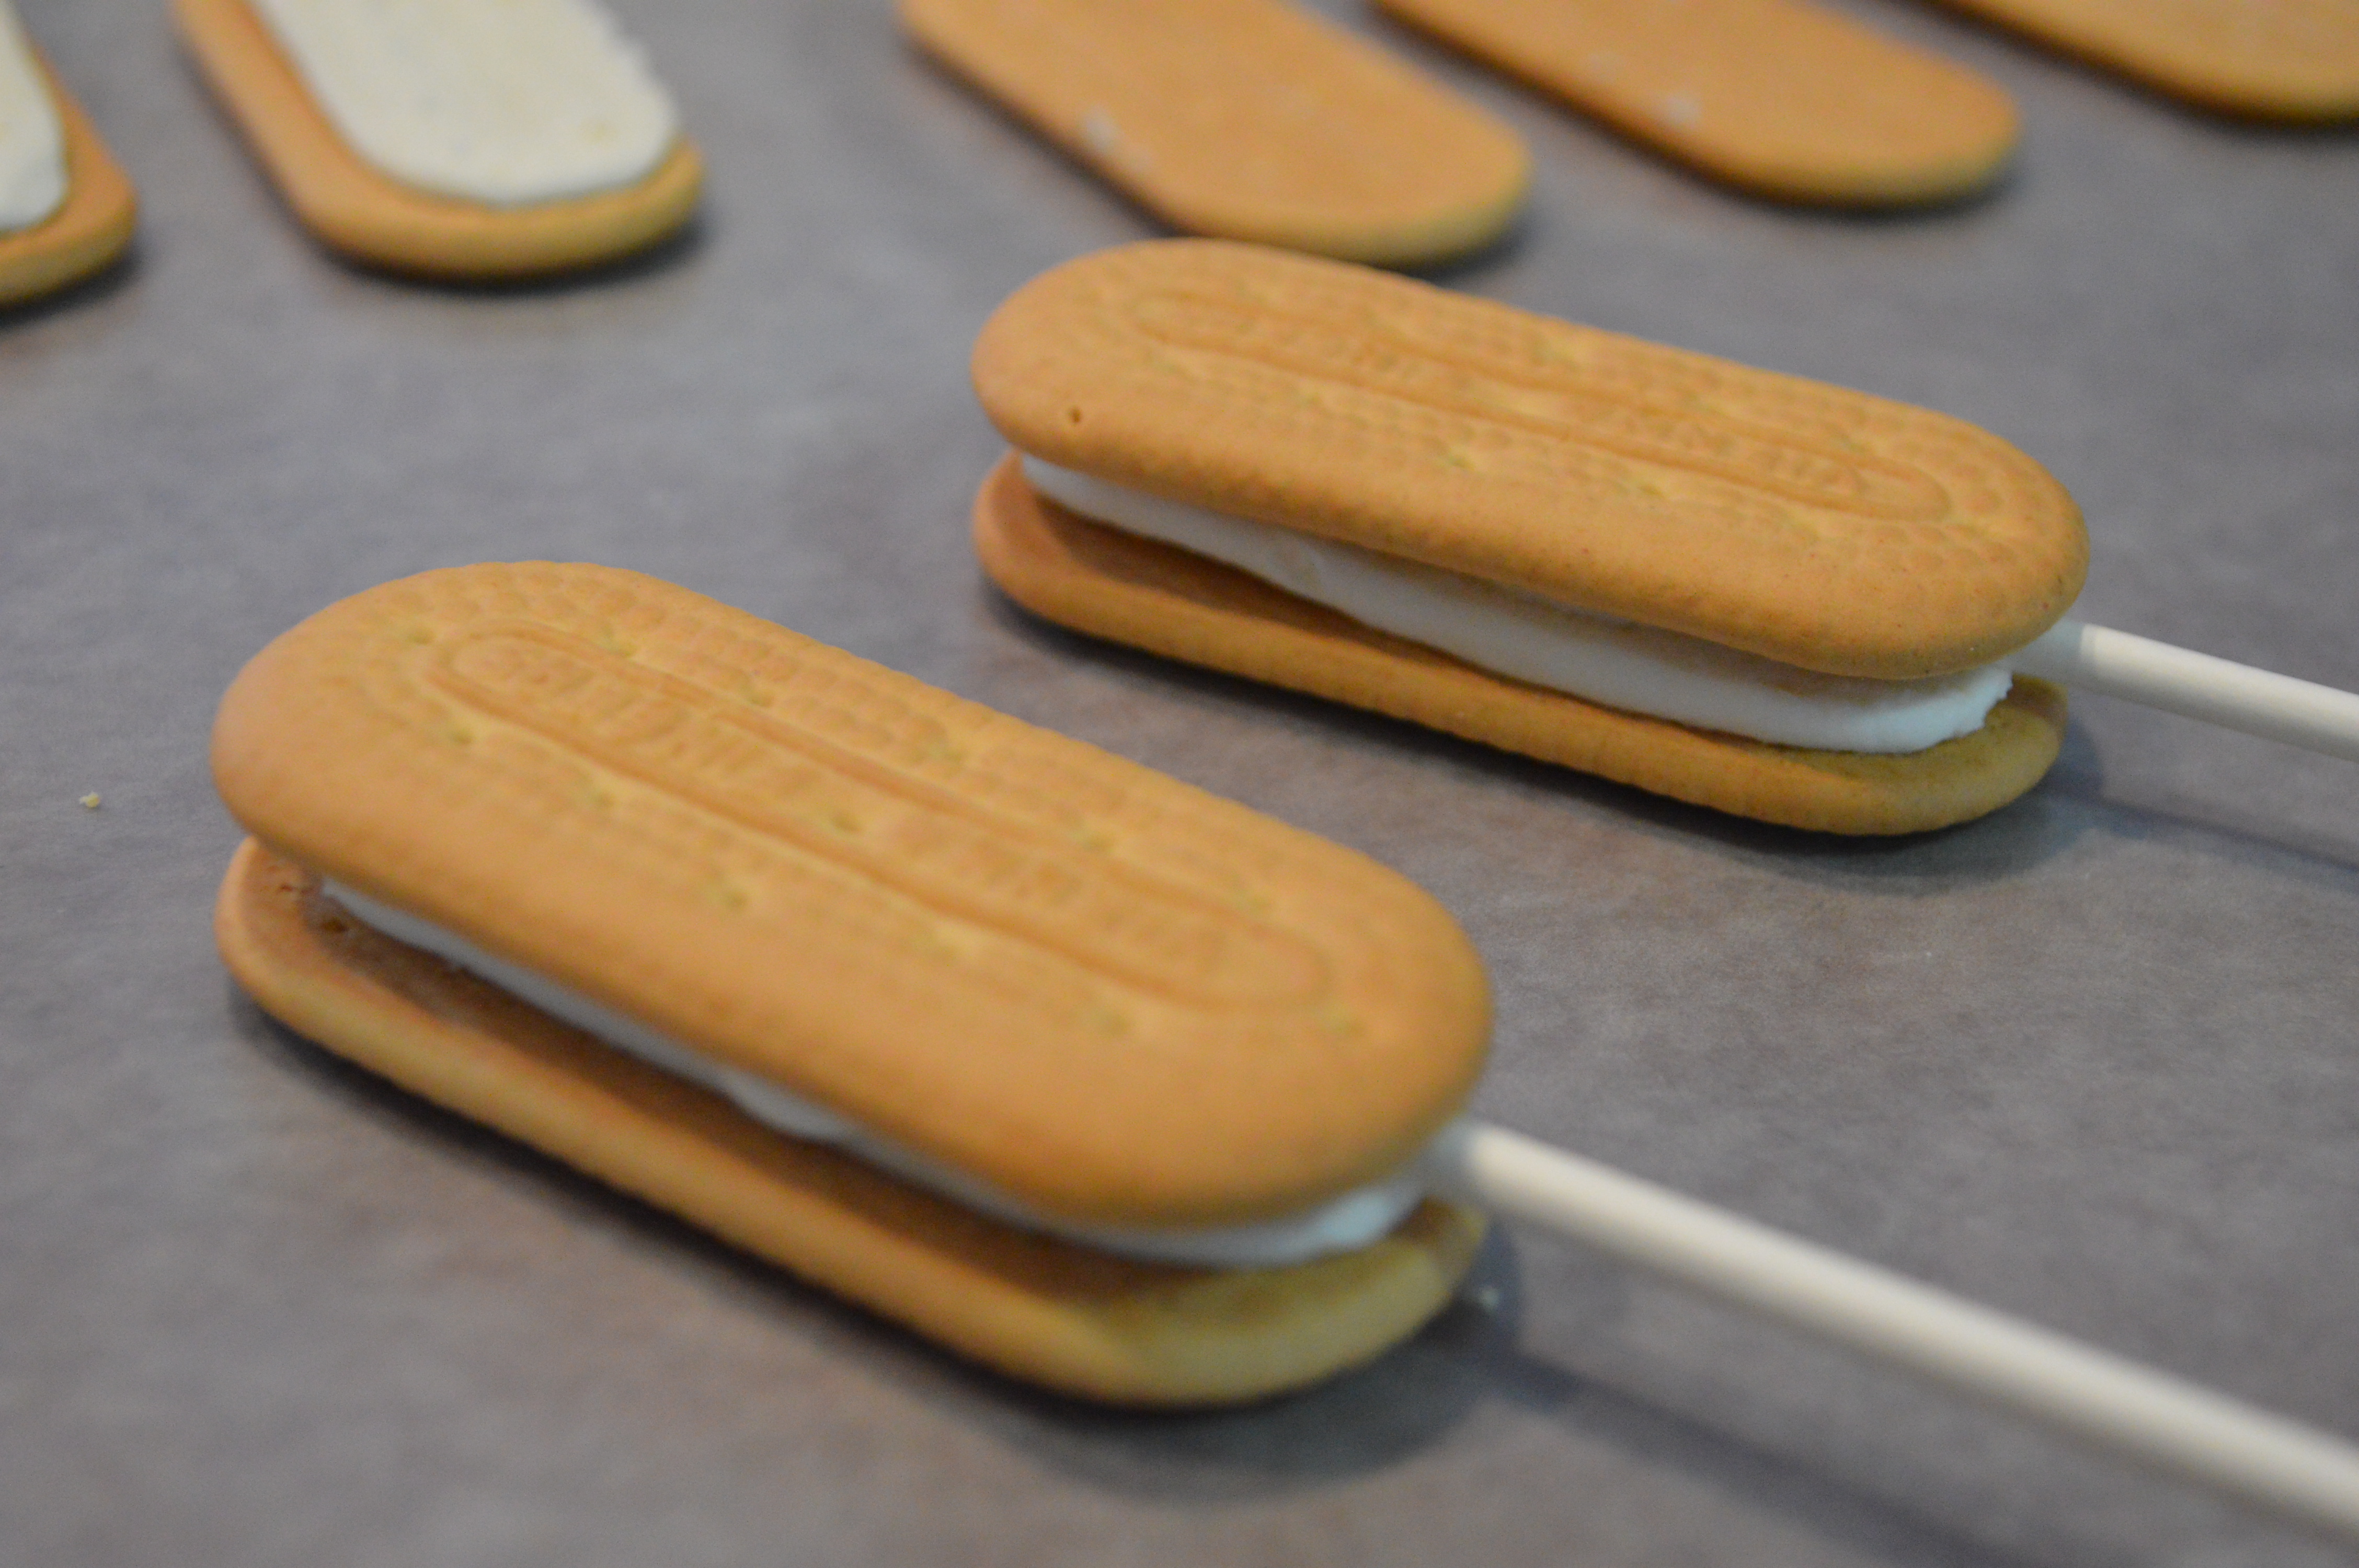
Once the chocolate on the cake is hardened, add vanilla candy melts to your remaining gray chocolate and melt the combination. The yellow color of the vanilla melts will give the gray chocolate a brown tint for the bottom of the feet.
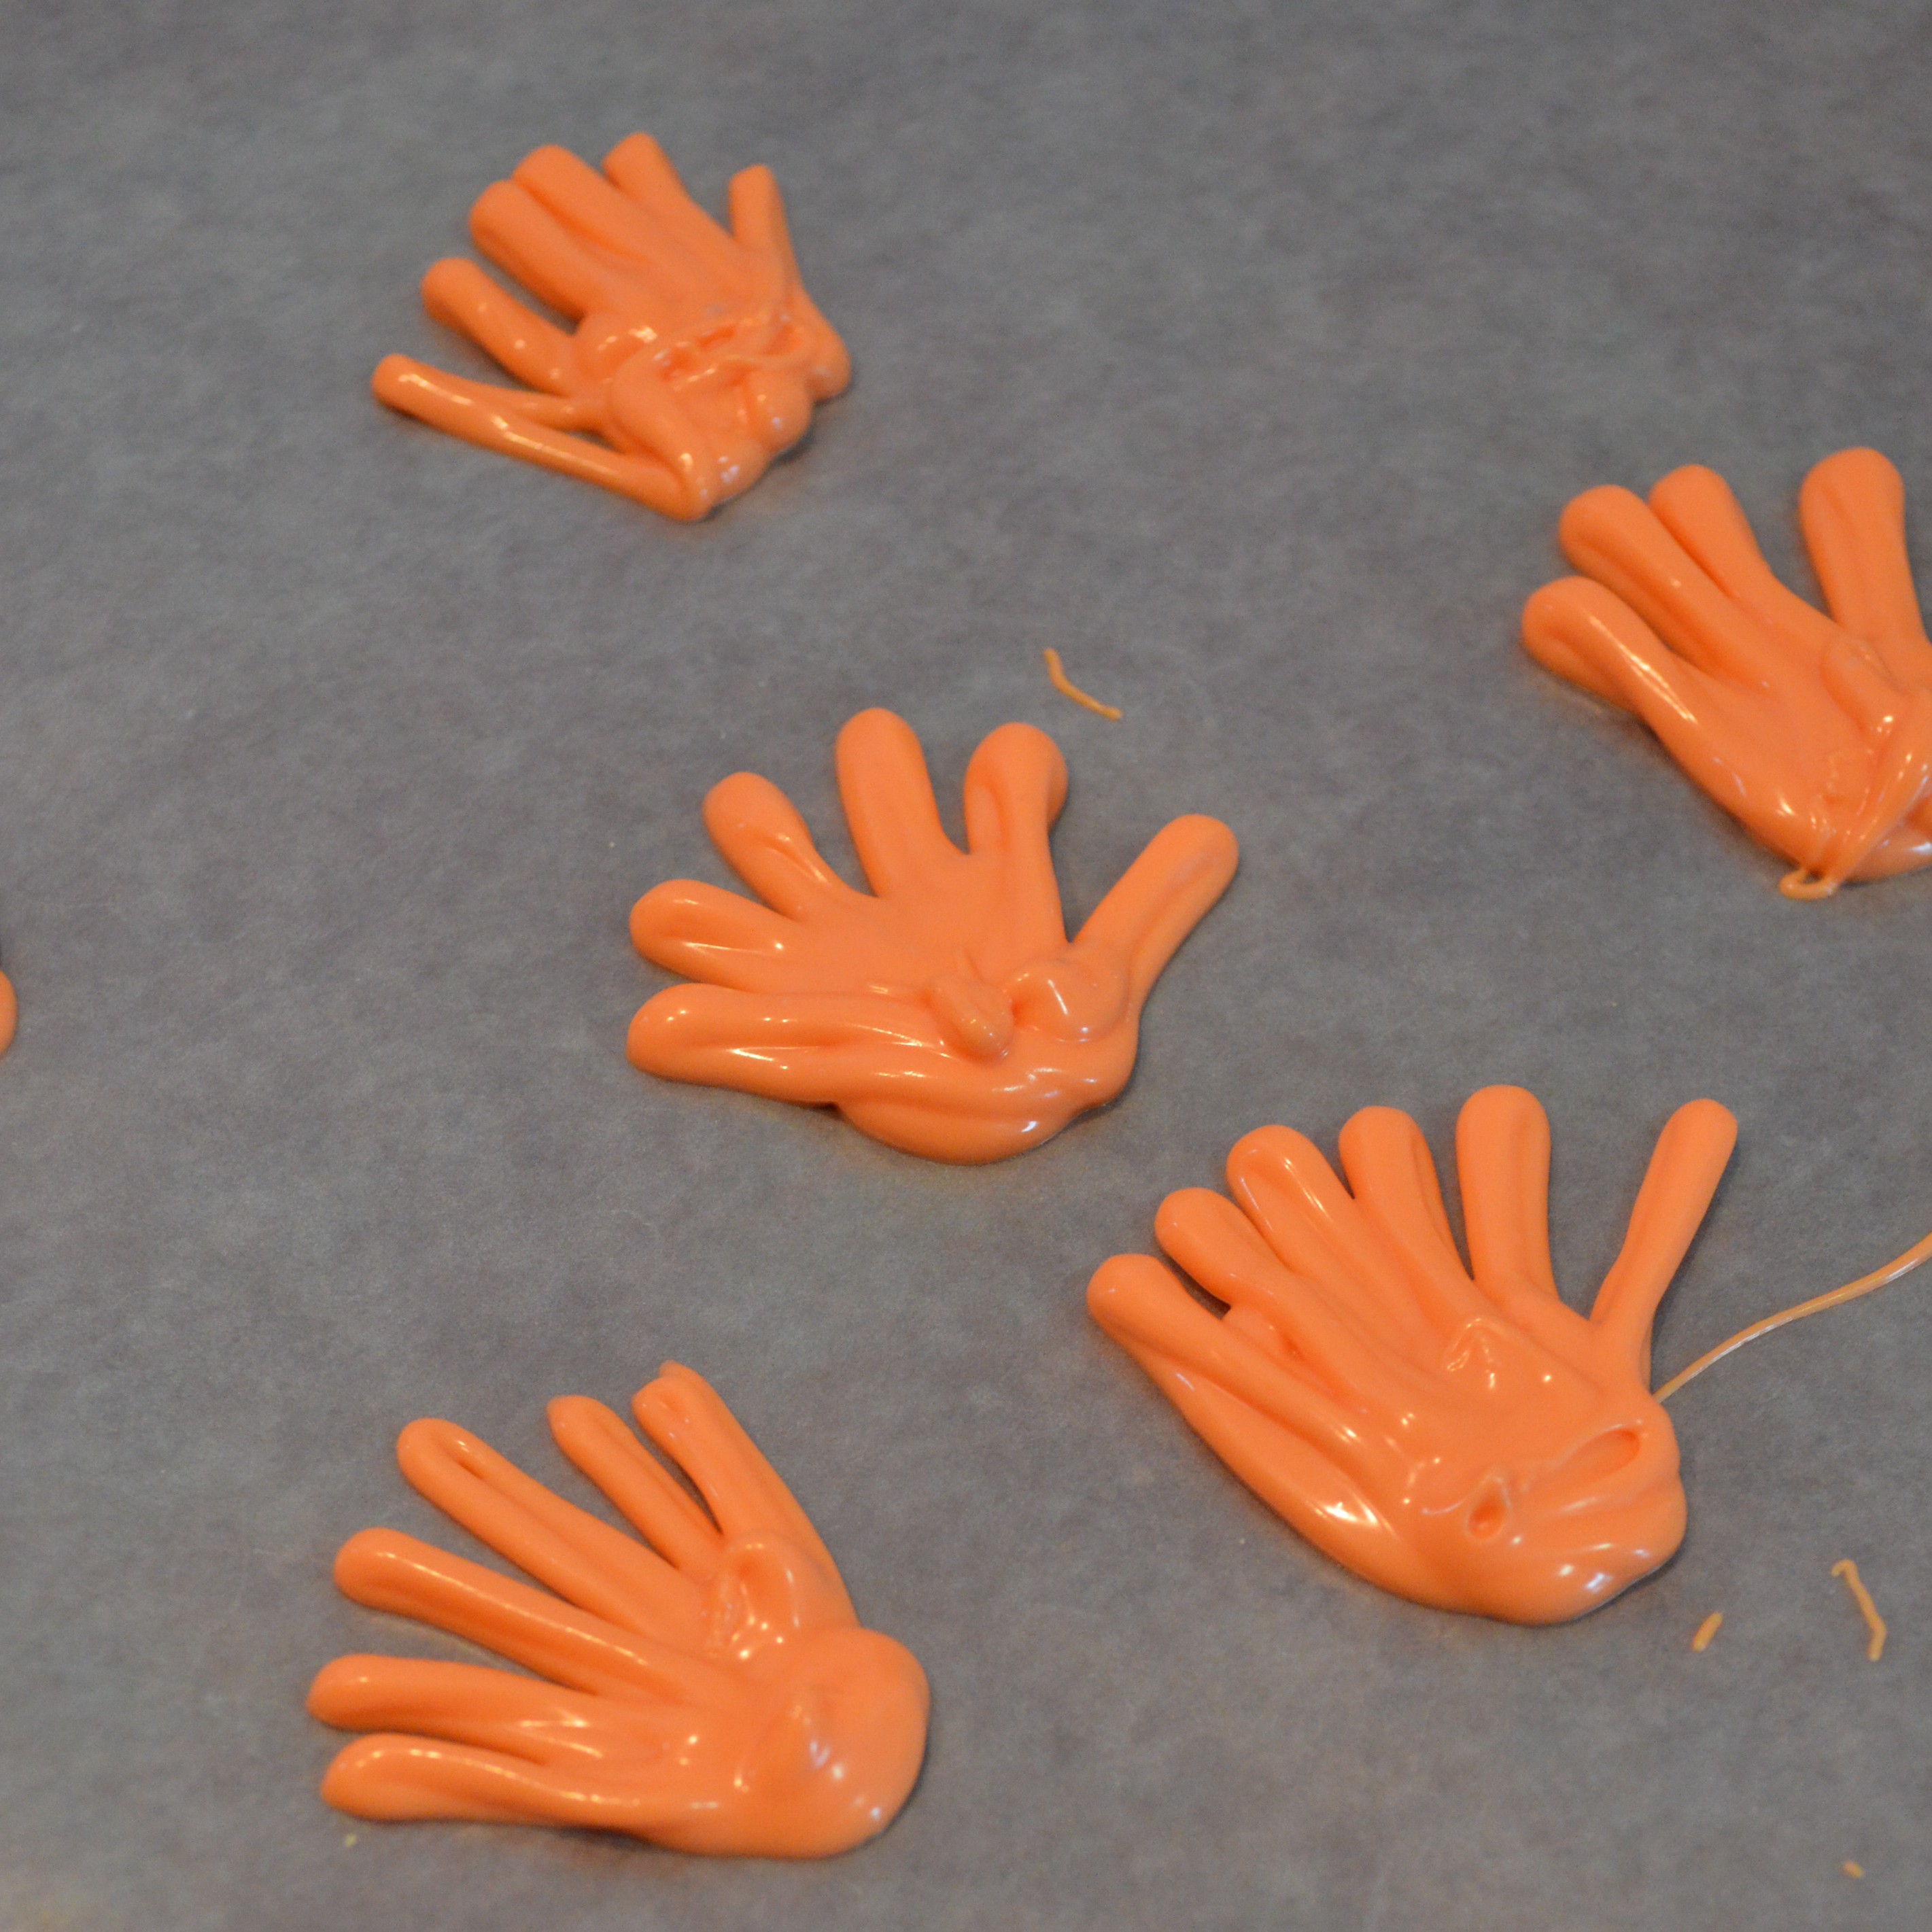
Holding the top of the cake, dip the bottom of the foot and the bottom of the sides in the brown tinted color chocolate. Next, lay the bunny feet top side down on wax paper, so that the bottom of his foot is facing up. While the chocolate is still warm, add the jelly beans to create the paw effect. Allow the jelly beans to harden on the chocolate and you’re done!
If you’ve made these for a later date, be sure to store the pops in an air tight container to keep their freshness or if you’re giving them away for an Easter treat, wrap the pops in plastic and secure with a bow.
Have you made any bunny-inspired treats this spring? I’d love for you to share them! If you’re a blogger, feel free to add the link to your bunny-inspired treat in the comments section below.
I love all of Thumper’s little statements in the film Bambi. Today, I’ll leave you with these wise words that Thumper learned from his father: