It’s So Adorable Being Green!
With the release of “Muppets Most Wanted” this weekend, and the continuation of planning my son’s upcoming Muppets party, I’ve been searching the stores for anything Muppets related. Strangely enough, there’s not much available. I haven’t been able to find even a t-shirt!
Freezer Paper Stenciling is something I’ve wanted to try for a while now, and I thought this would be a perfect time to try! Today I’m going to share with you my experience trying this for the first time, my mistakes and all! First I started by consulting my little Muppet fans as to their characters of choice. To my surprise both picked Kermit! Then I went to work gathering supplies.
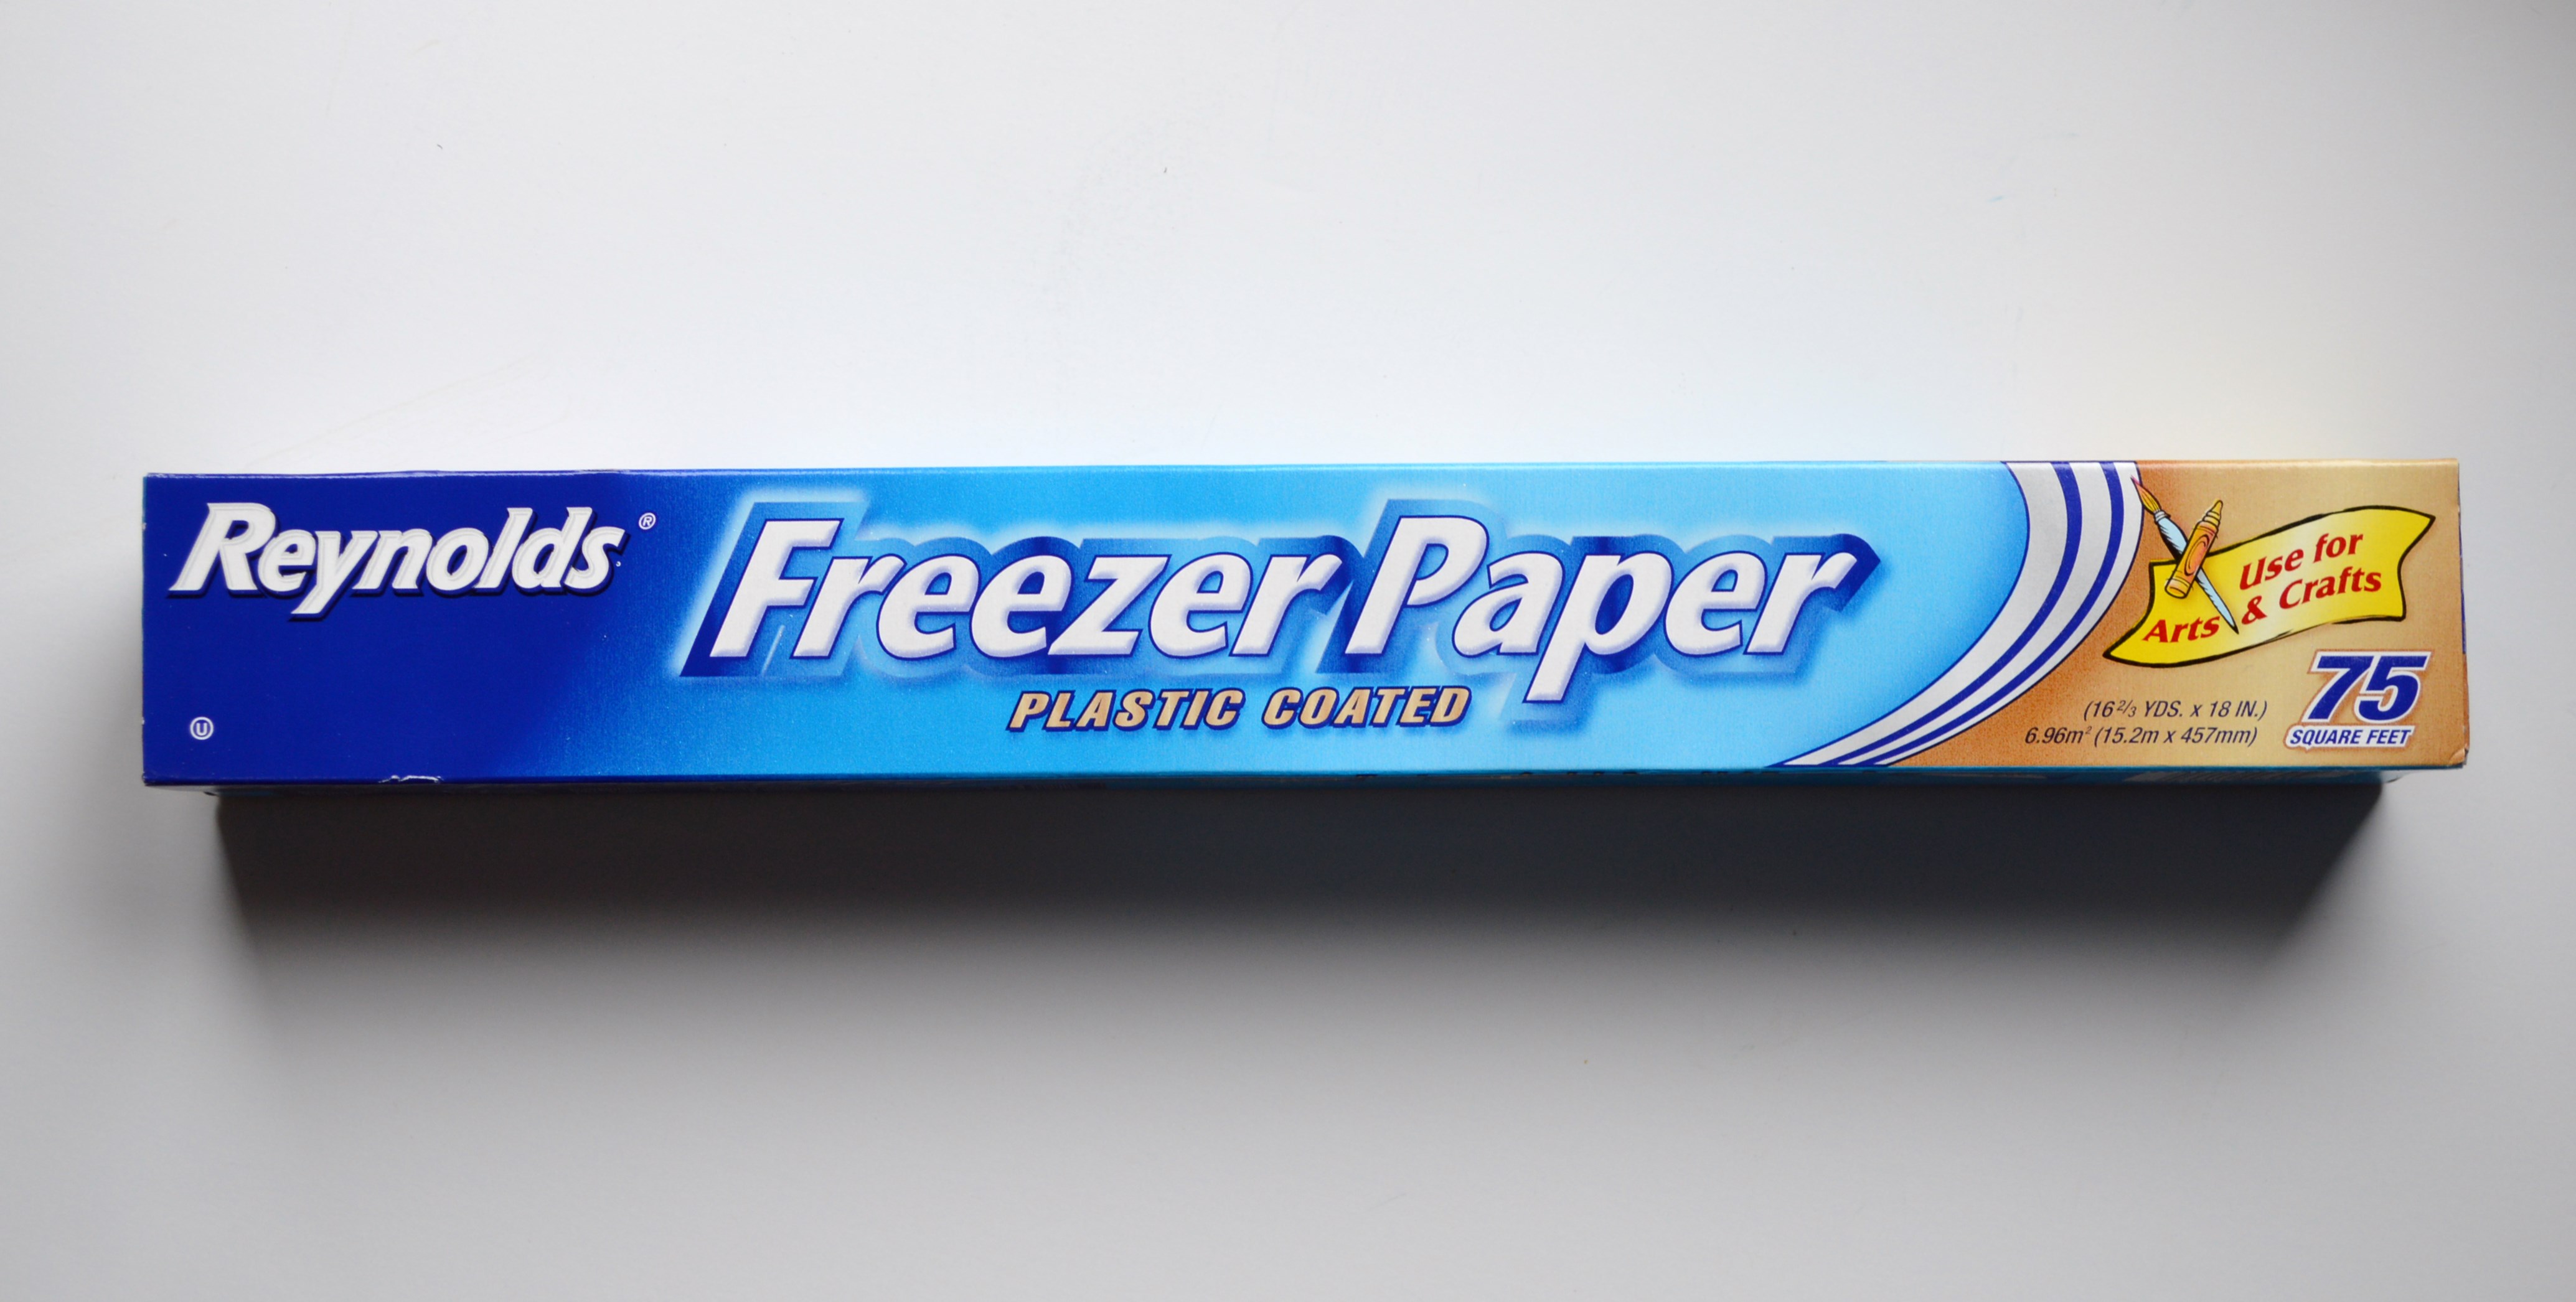
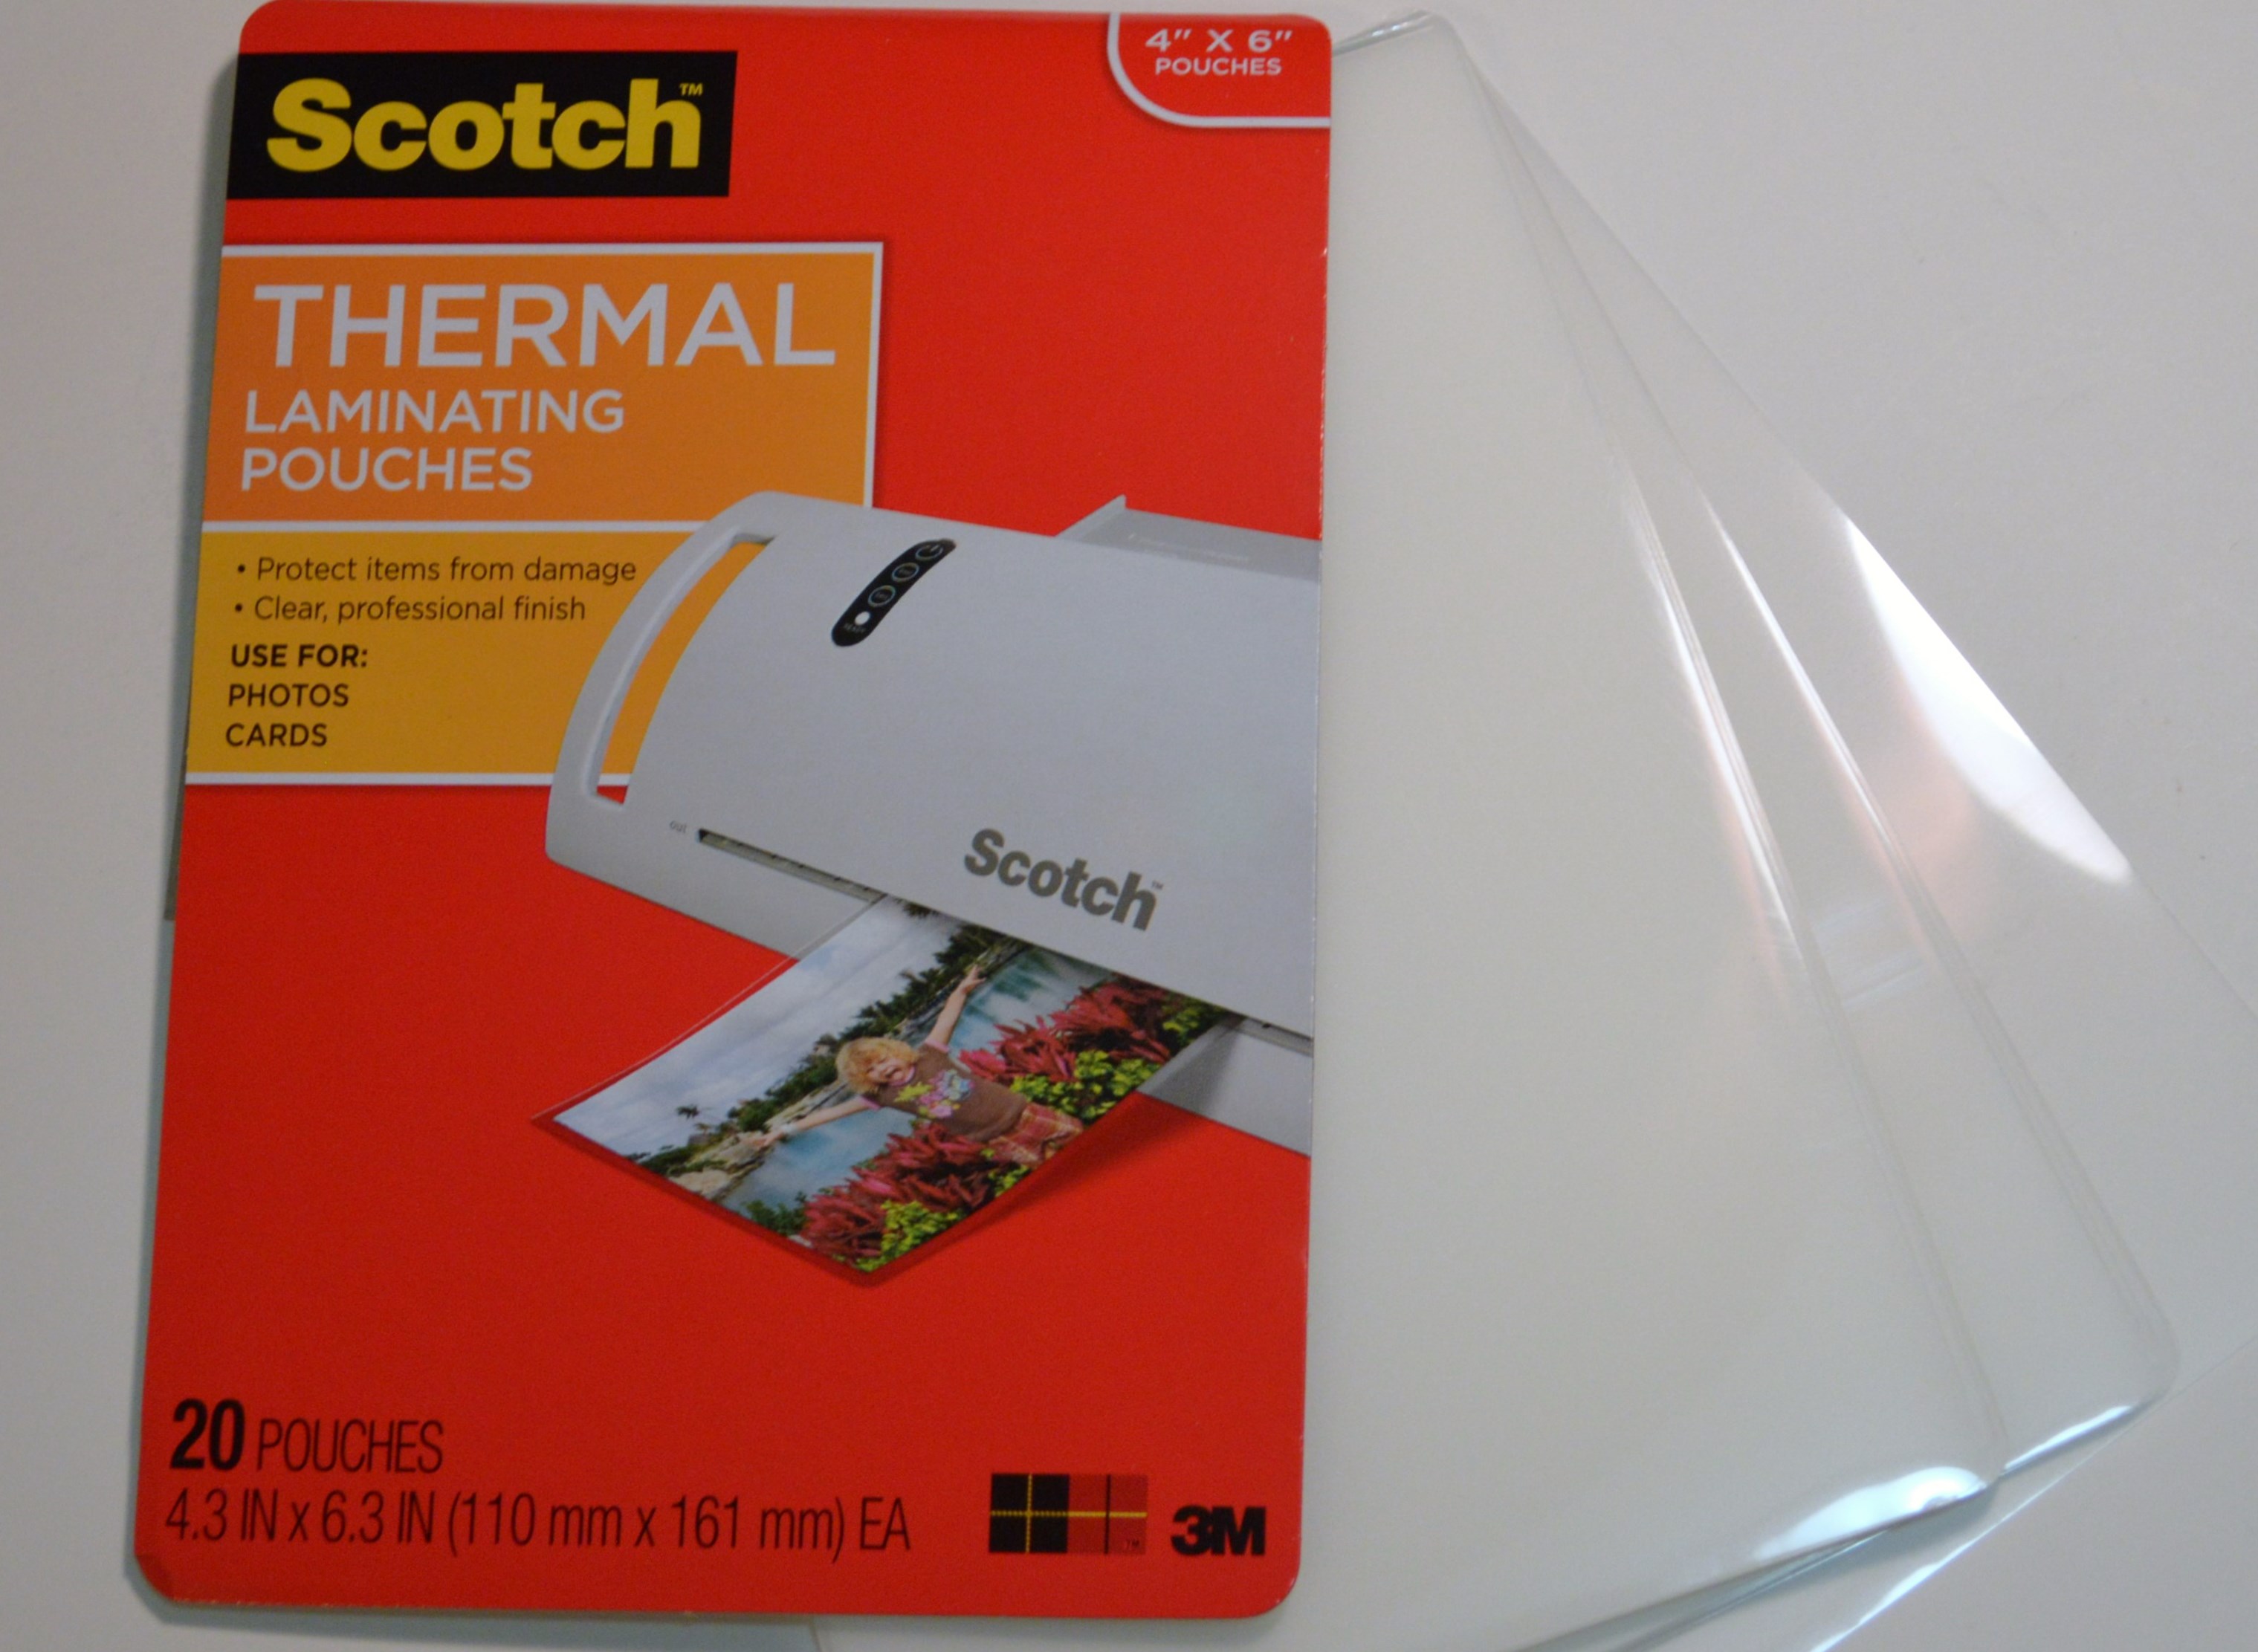
1. Before you head to the craft store, pick up some Freezer Paper at your local grocery store. 
2 . Pick up the supplies from your local craft store.
You’ll need a T-shirt, fabric paints, cutting board, X-Acto cutting knife, and brushes. I purchased this basic green t-shirt for $2.50 at Michael’s Craft Store. The paint that I chose to use was Tulip brand. The first mistake I made was not reading the bottles completely, I purchased three containers of Matte finish paint and one container of Pearl, which could have easily been called glittery. Luckily I started with my daughter’s shirt first! Gavin quickly put his foot down and proclaimed he wasn’t wearing a shirt with glitter.
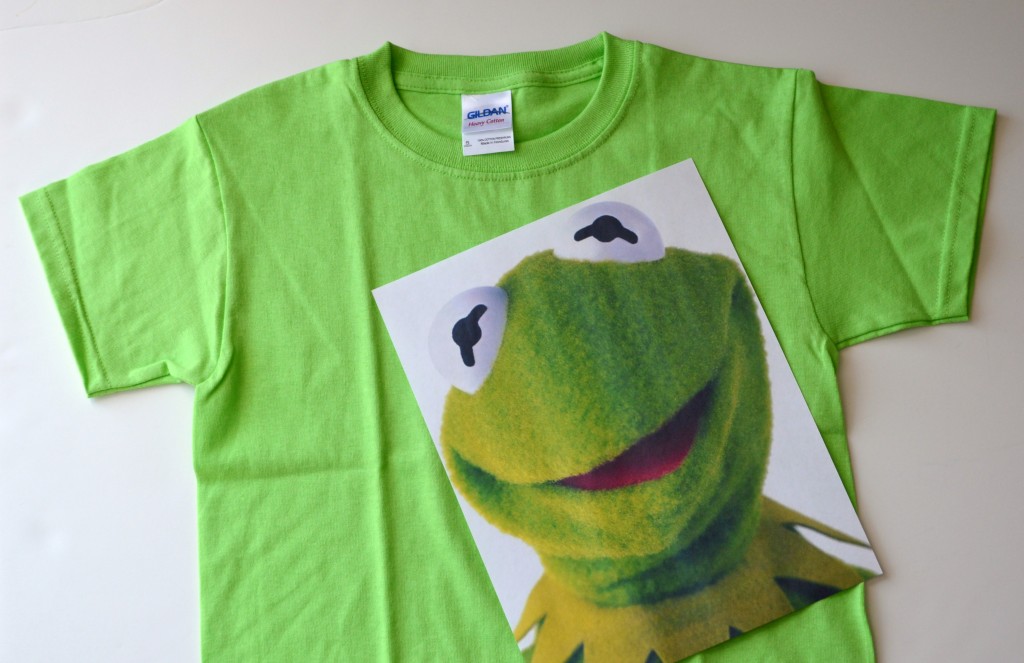
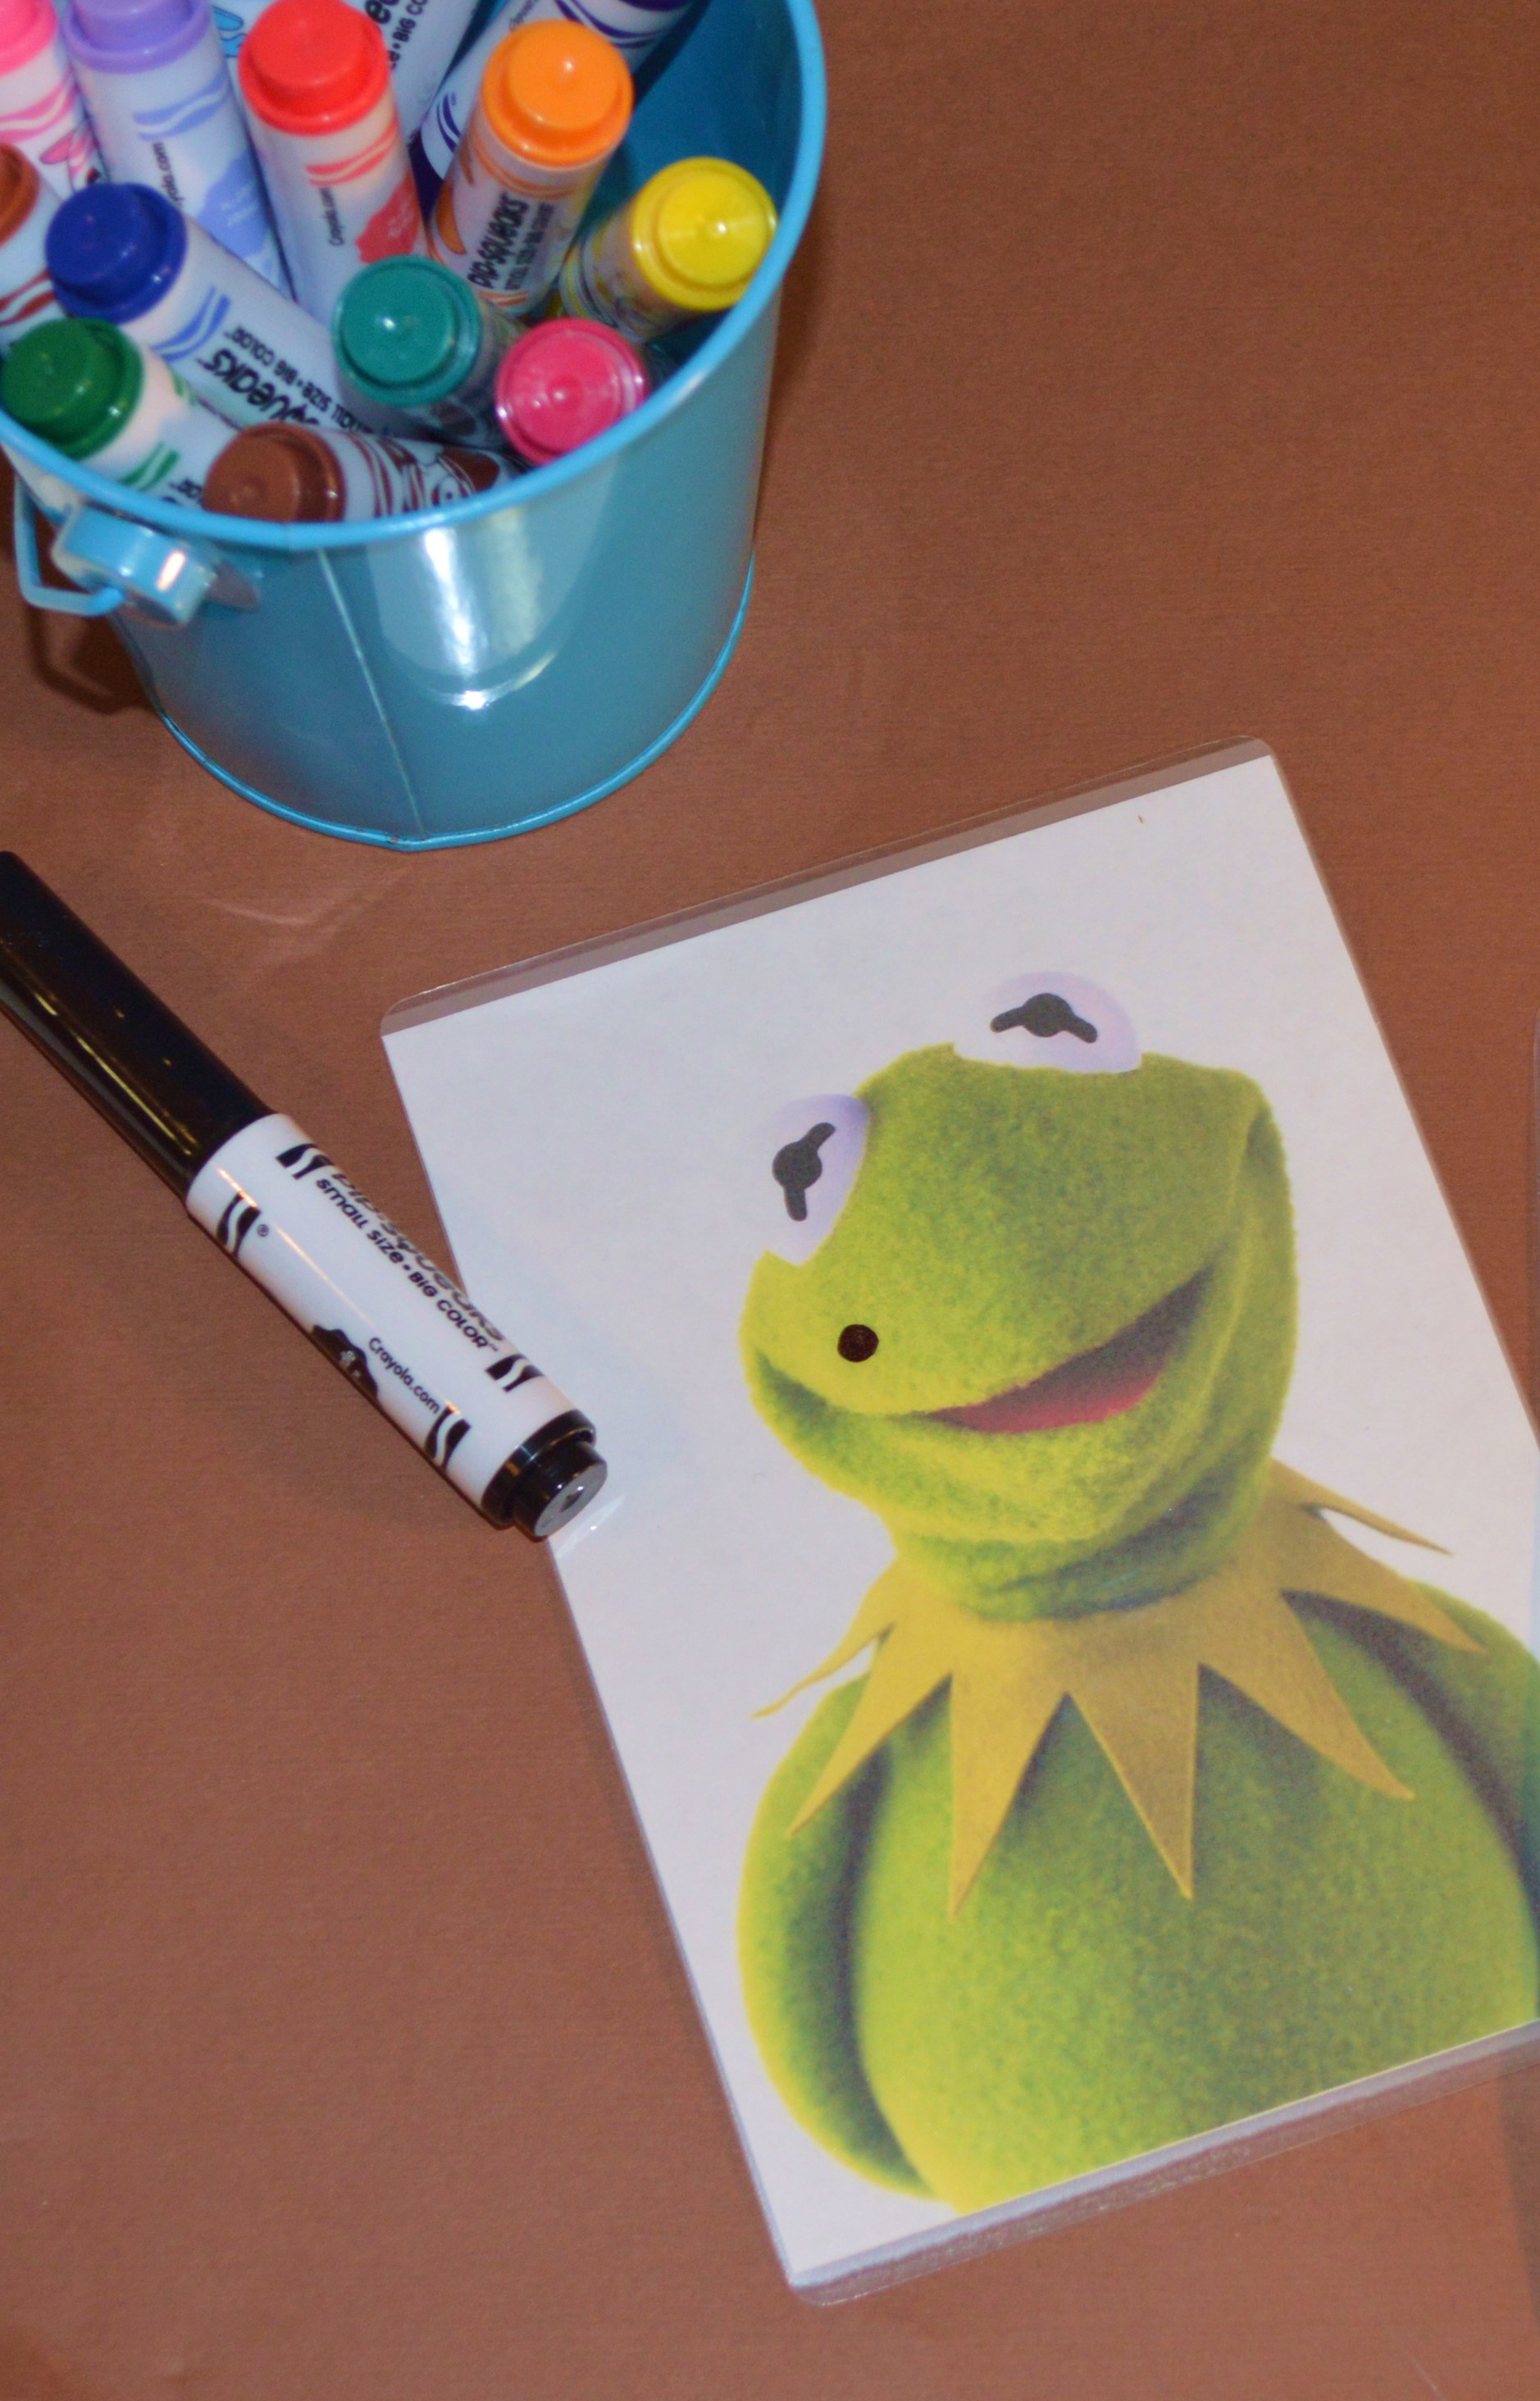
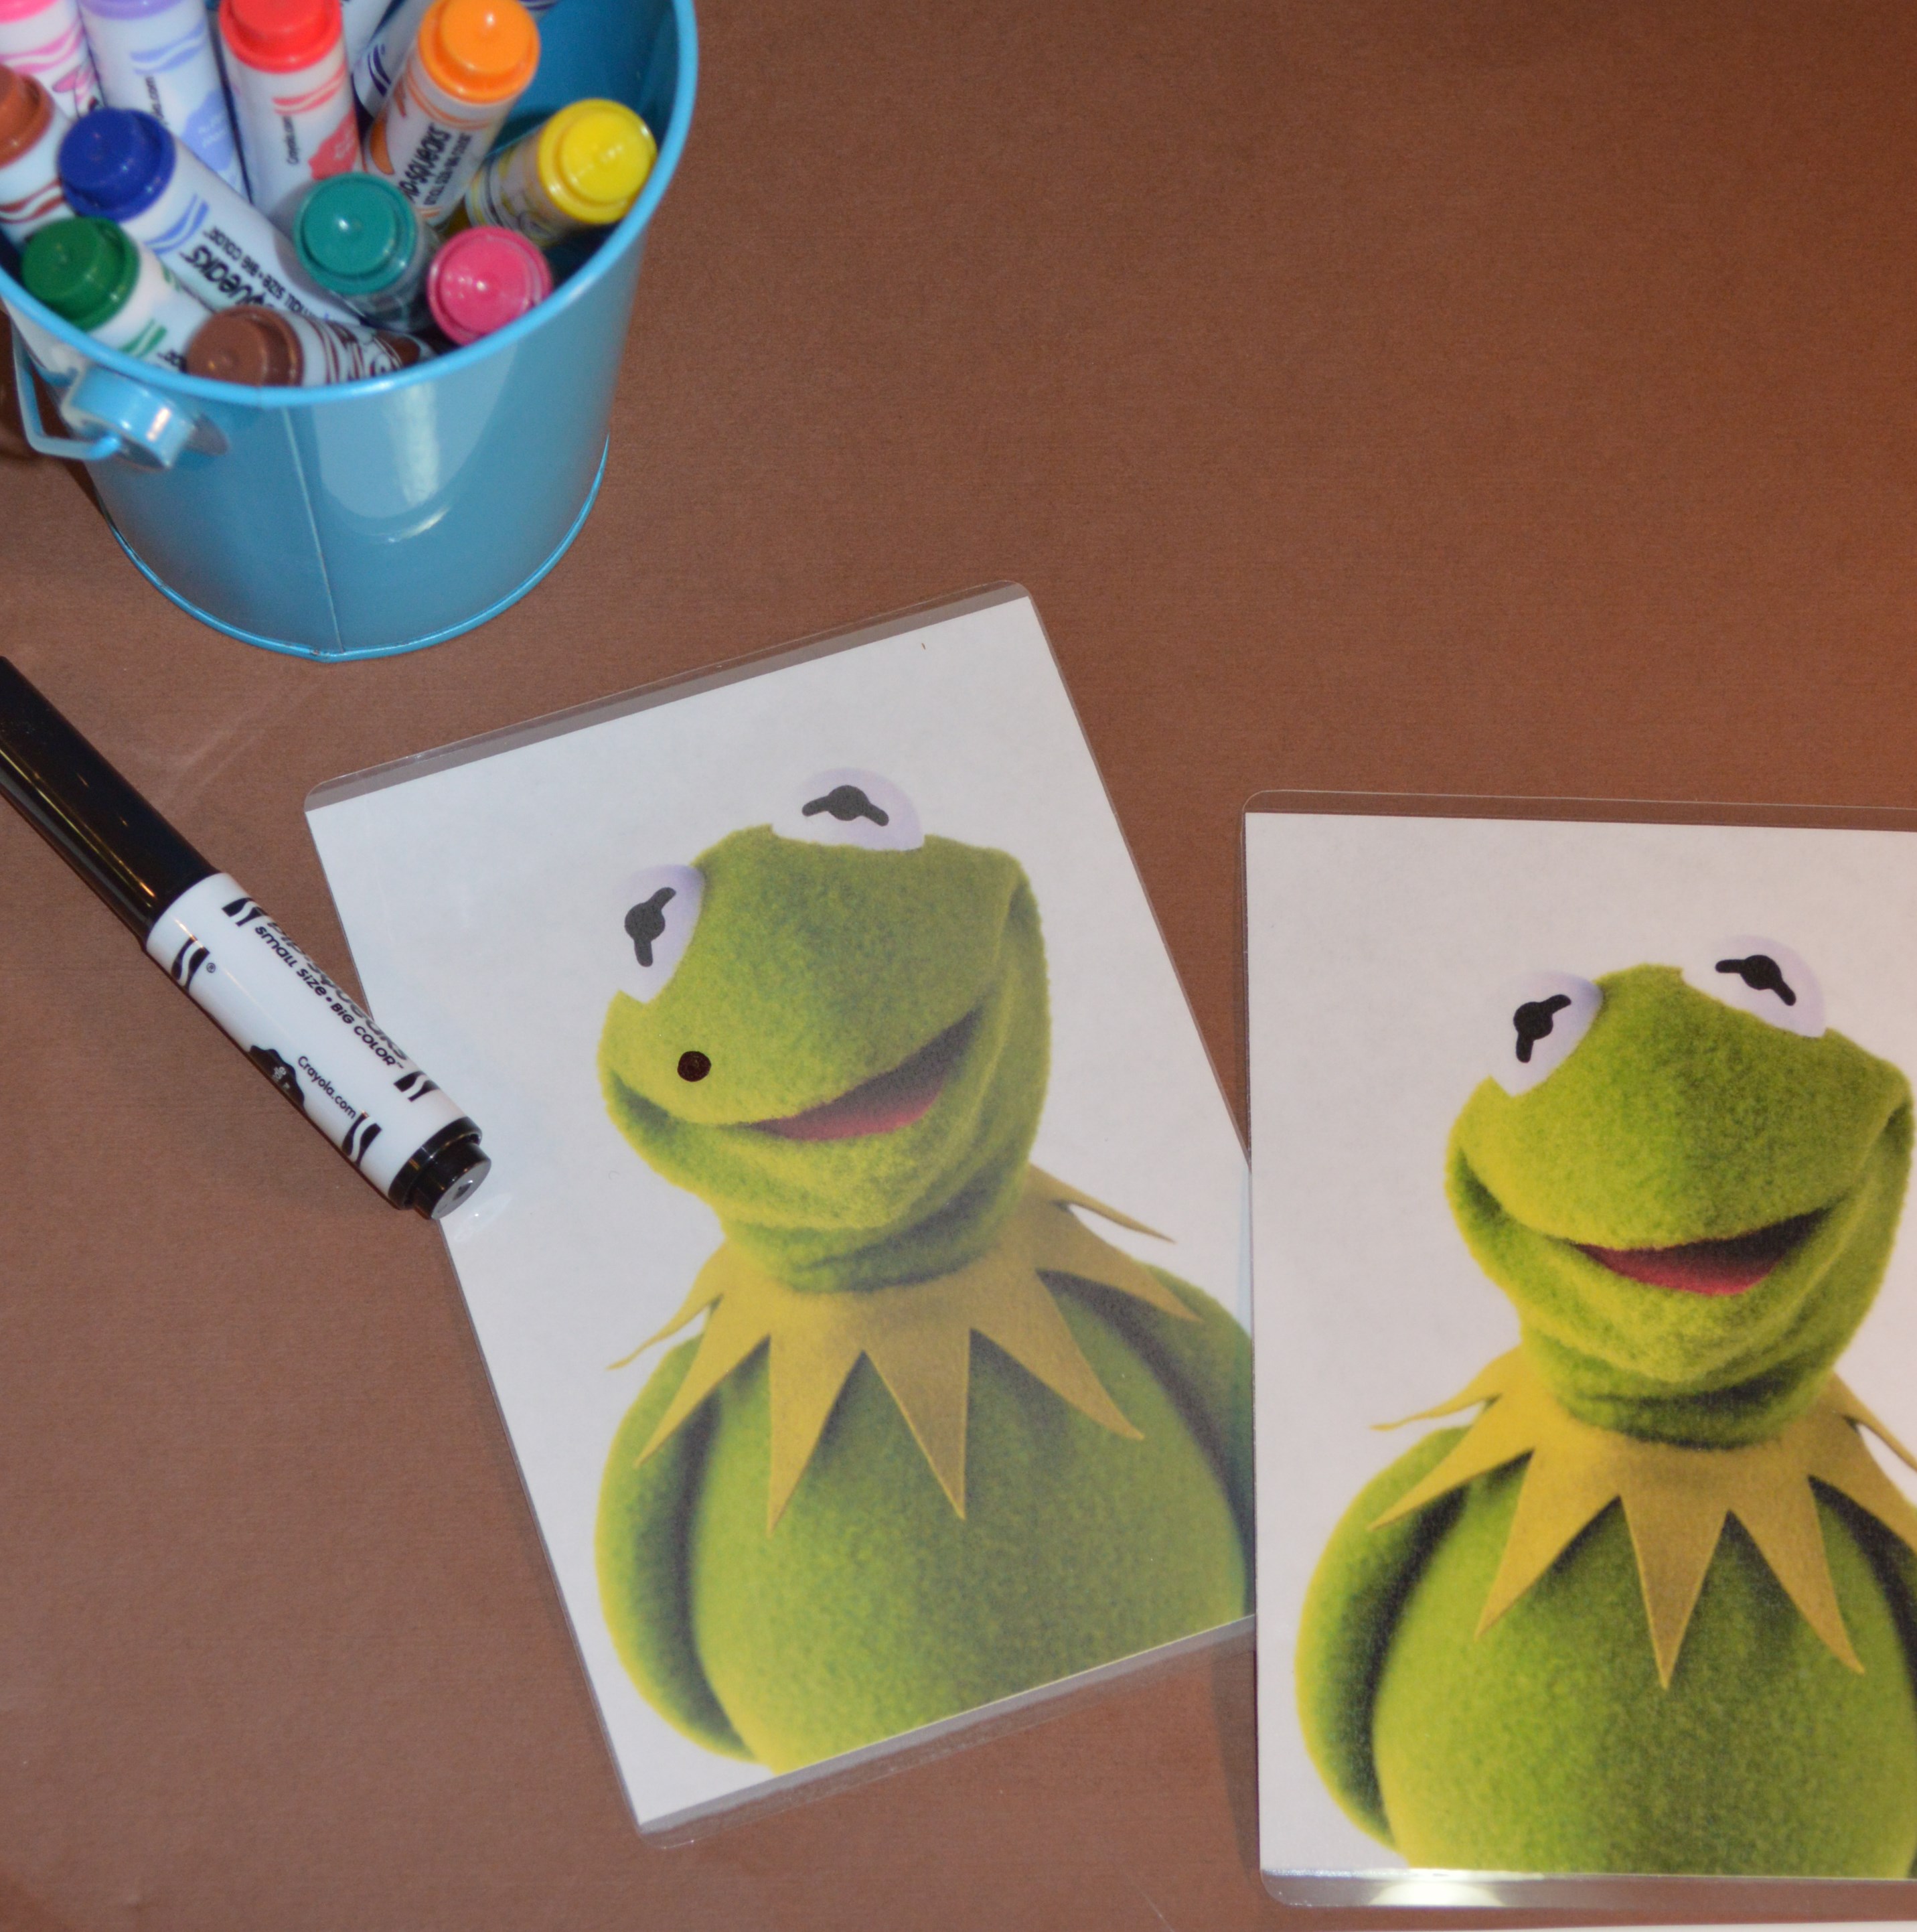
3. Choosing an image to stencil.
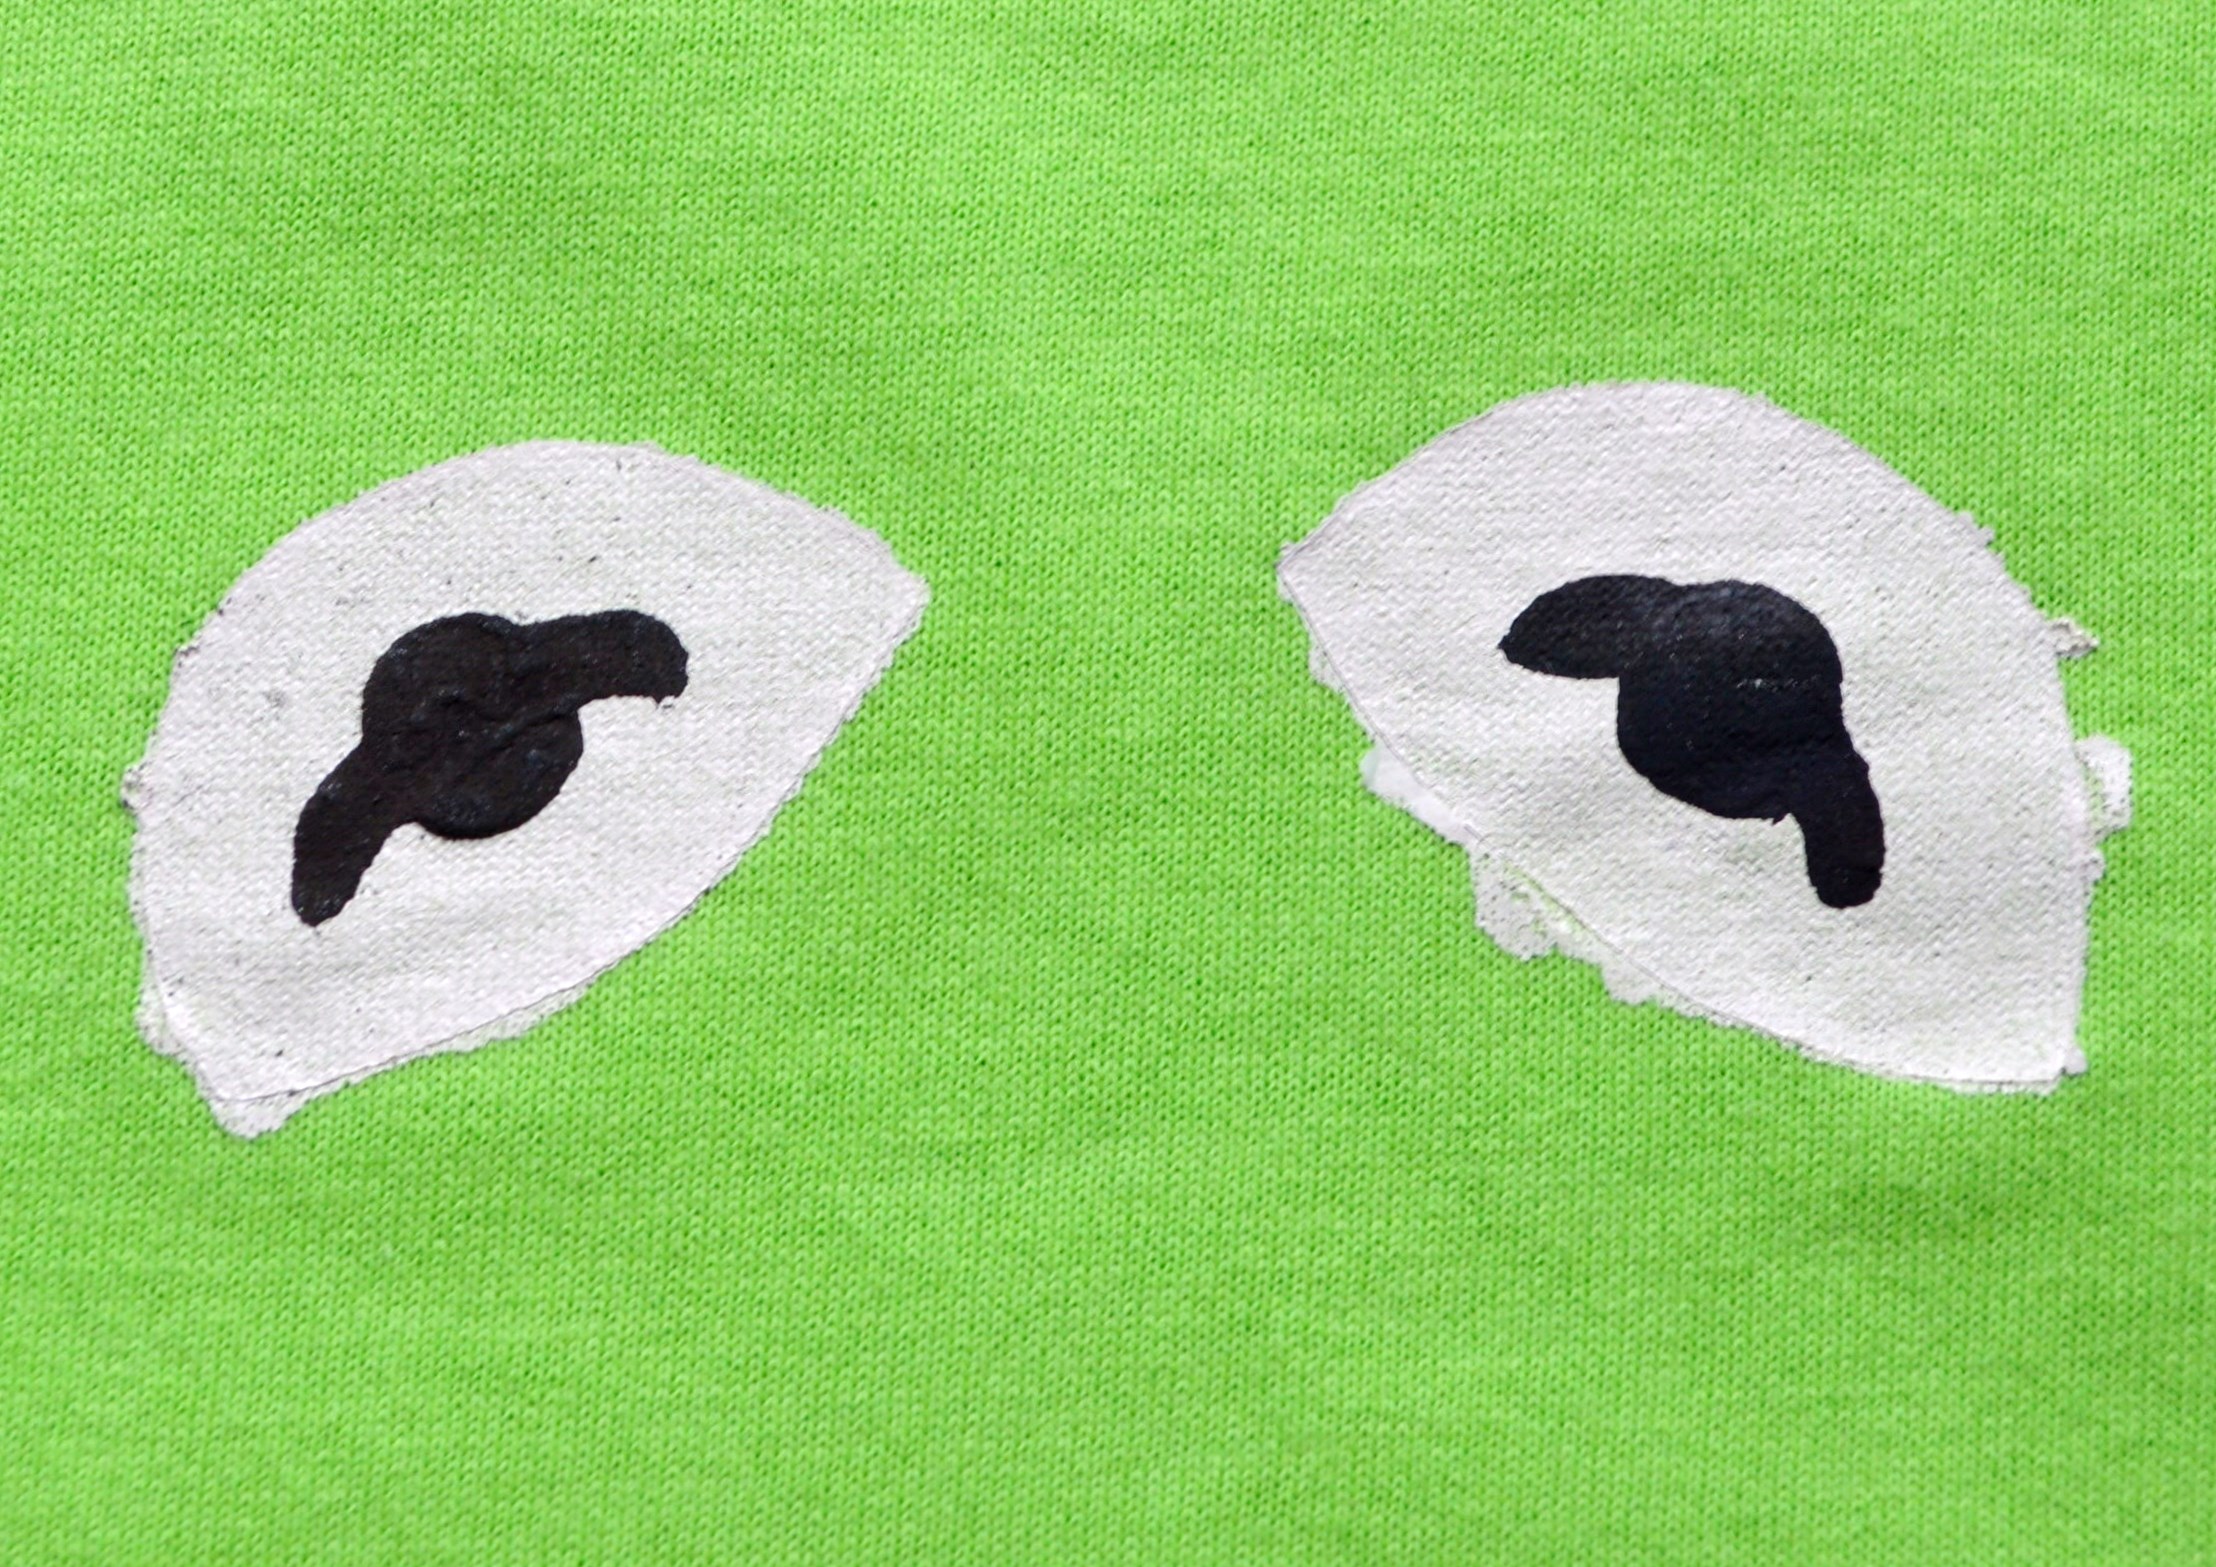
I chose a photo of Kermit that I sized to fit the area I wanted to paint. I found the photo on Disney Wiki. Here’s where my first problem occurred. Since Kermit’s green and red are deep colors, I had a horrible time trying to trace the mouth. If you take a look at the image below, you can see that the eyes were easy to trace, but I ended up having to freehand his mouth and looked to other images to come up with his neck area too. After this project I can see why most freezer paper stencil projects are text or graphic related.
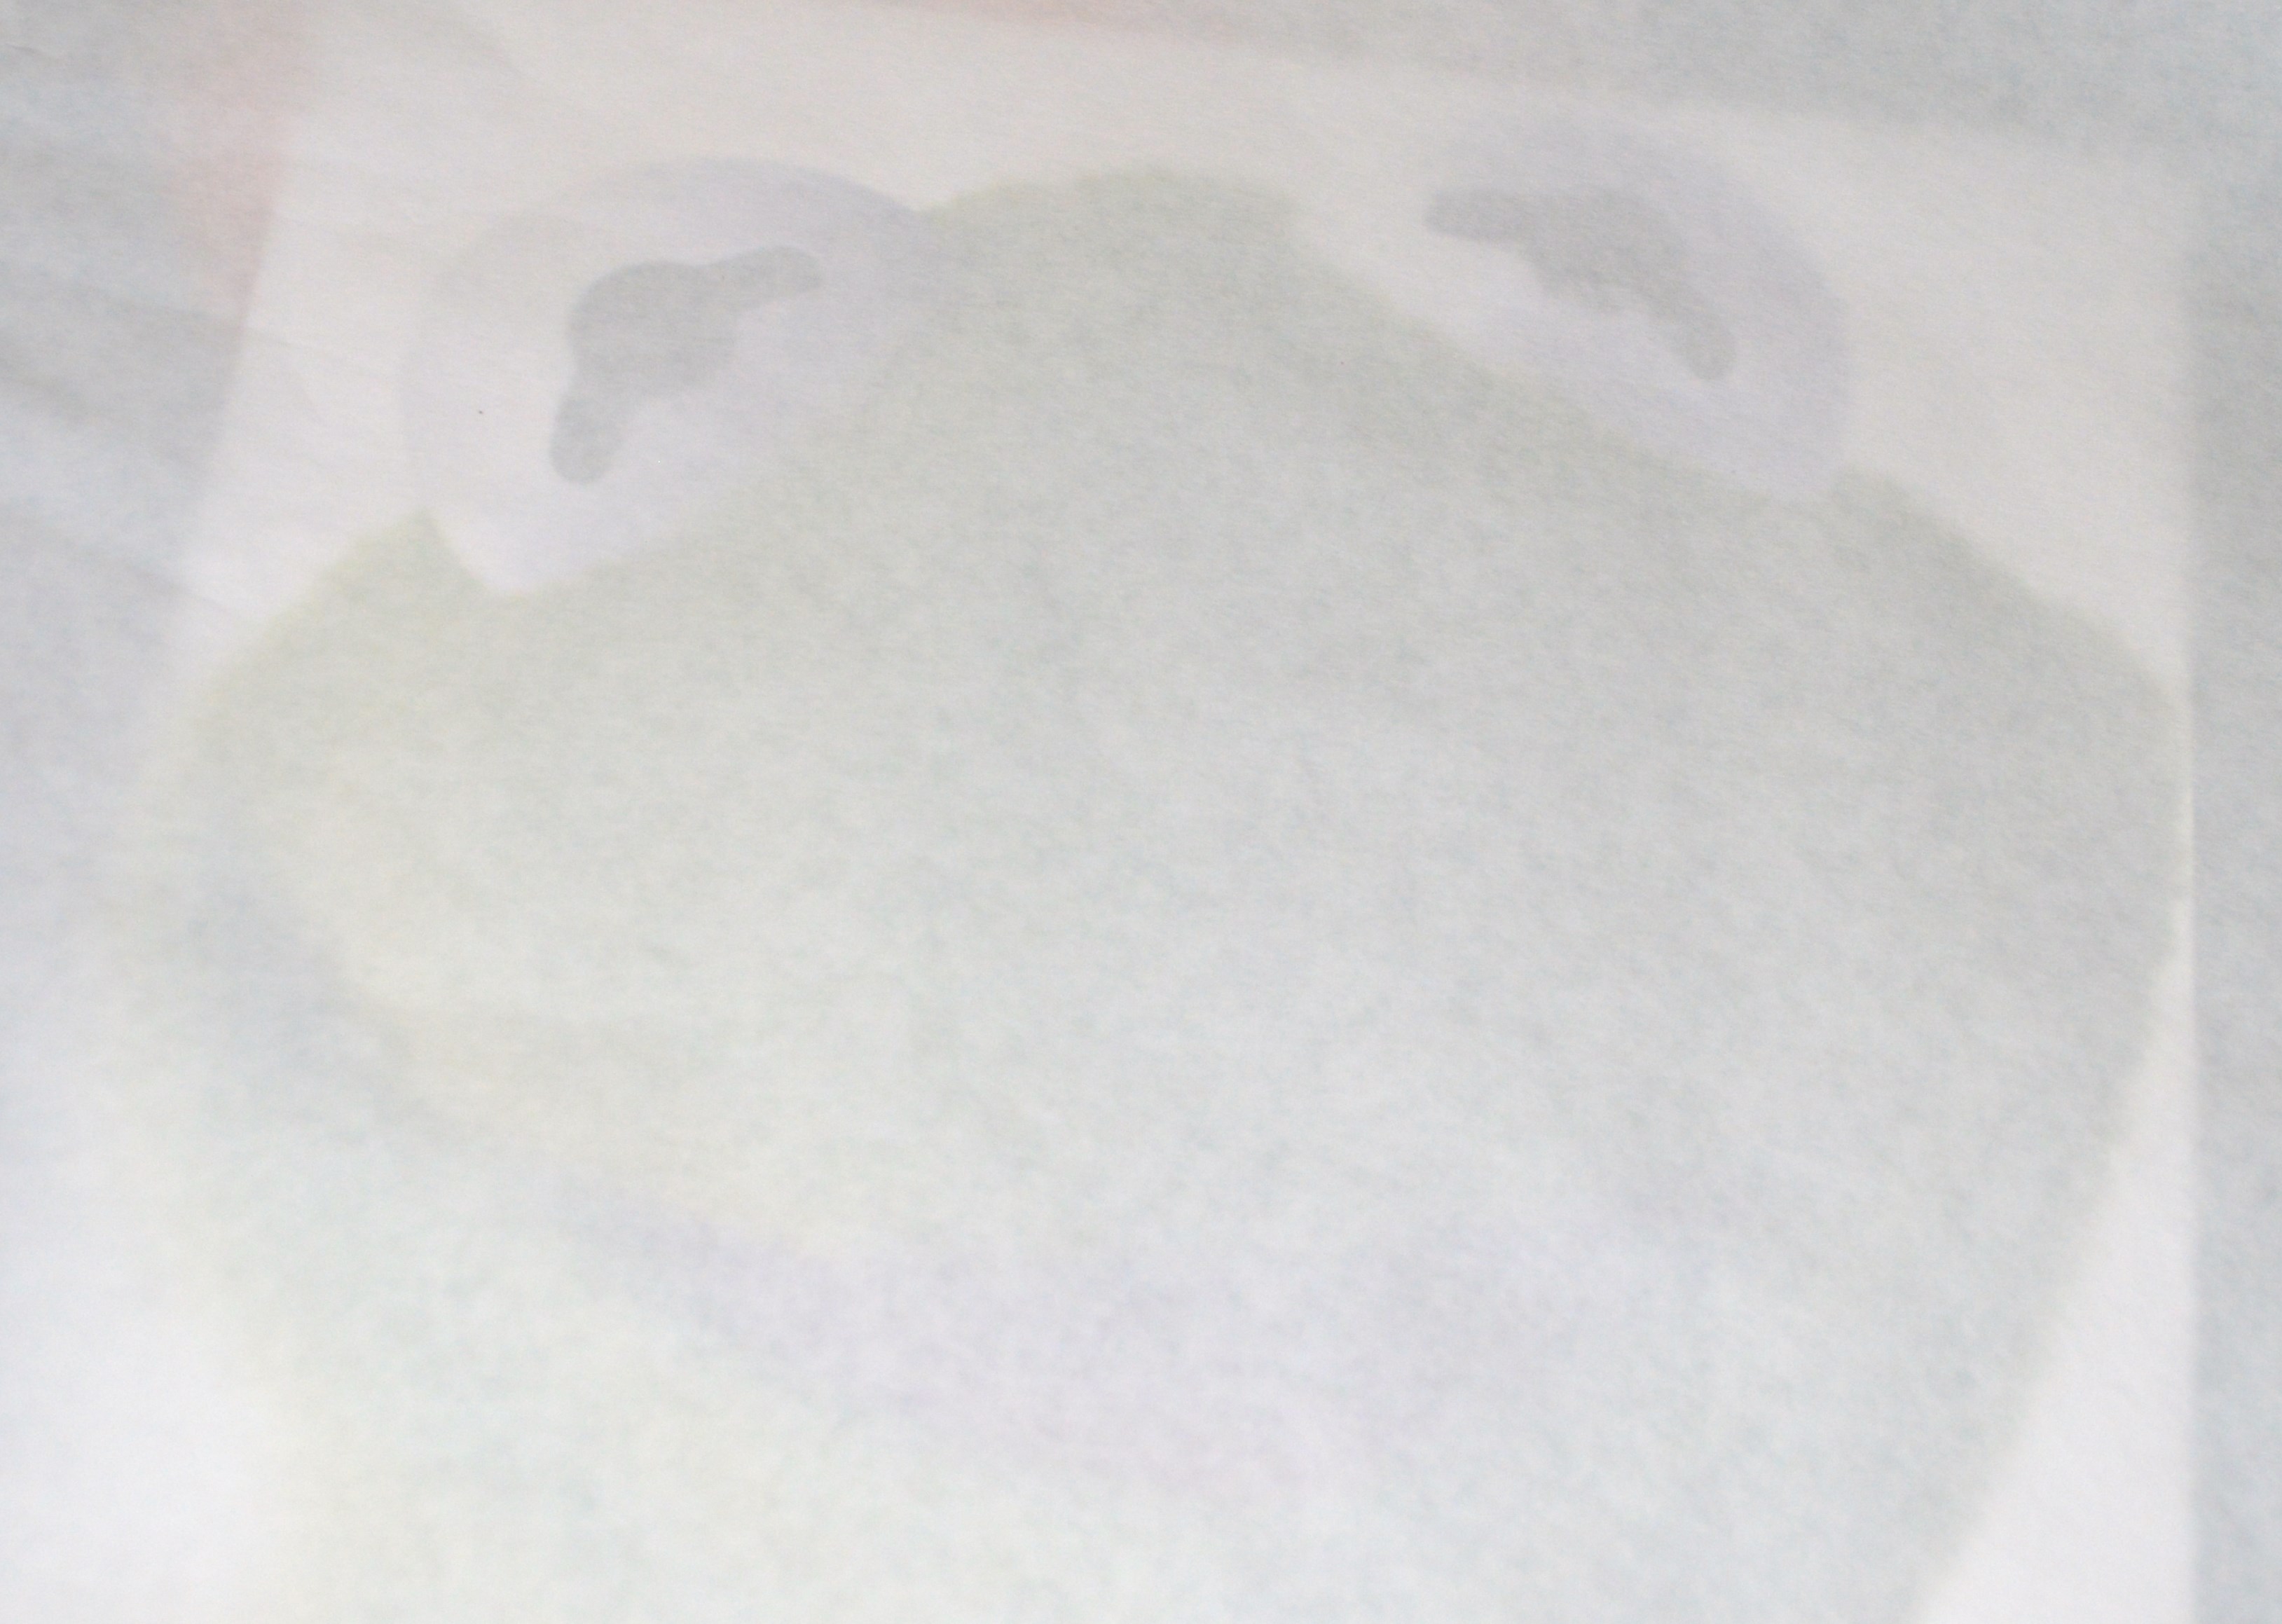
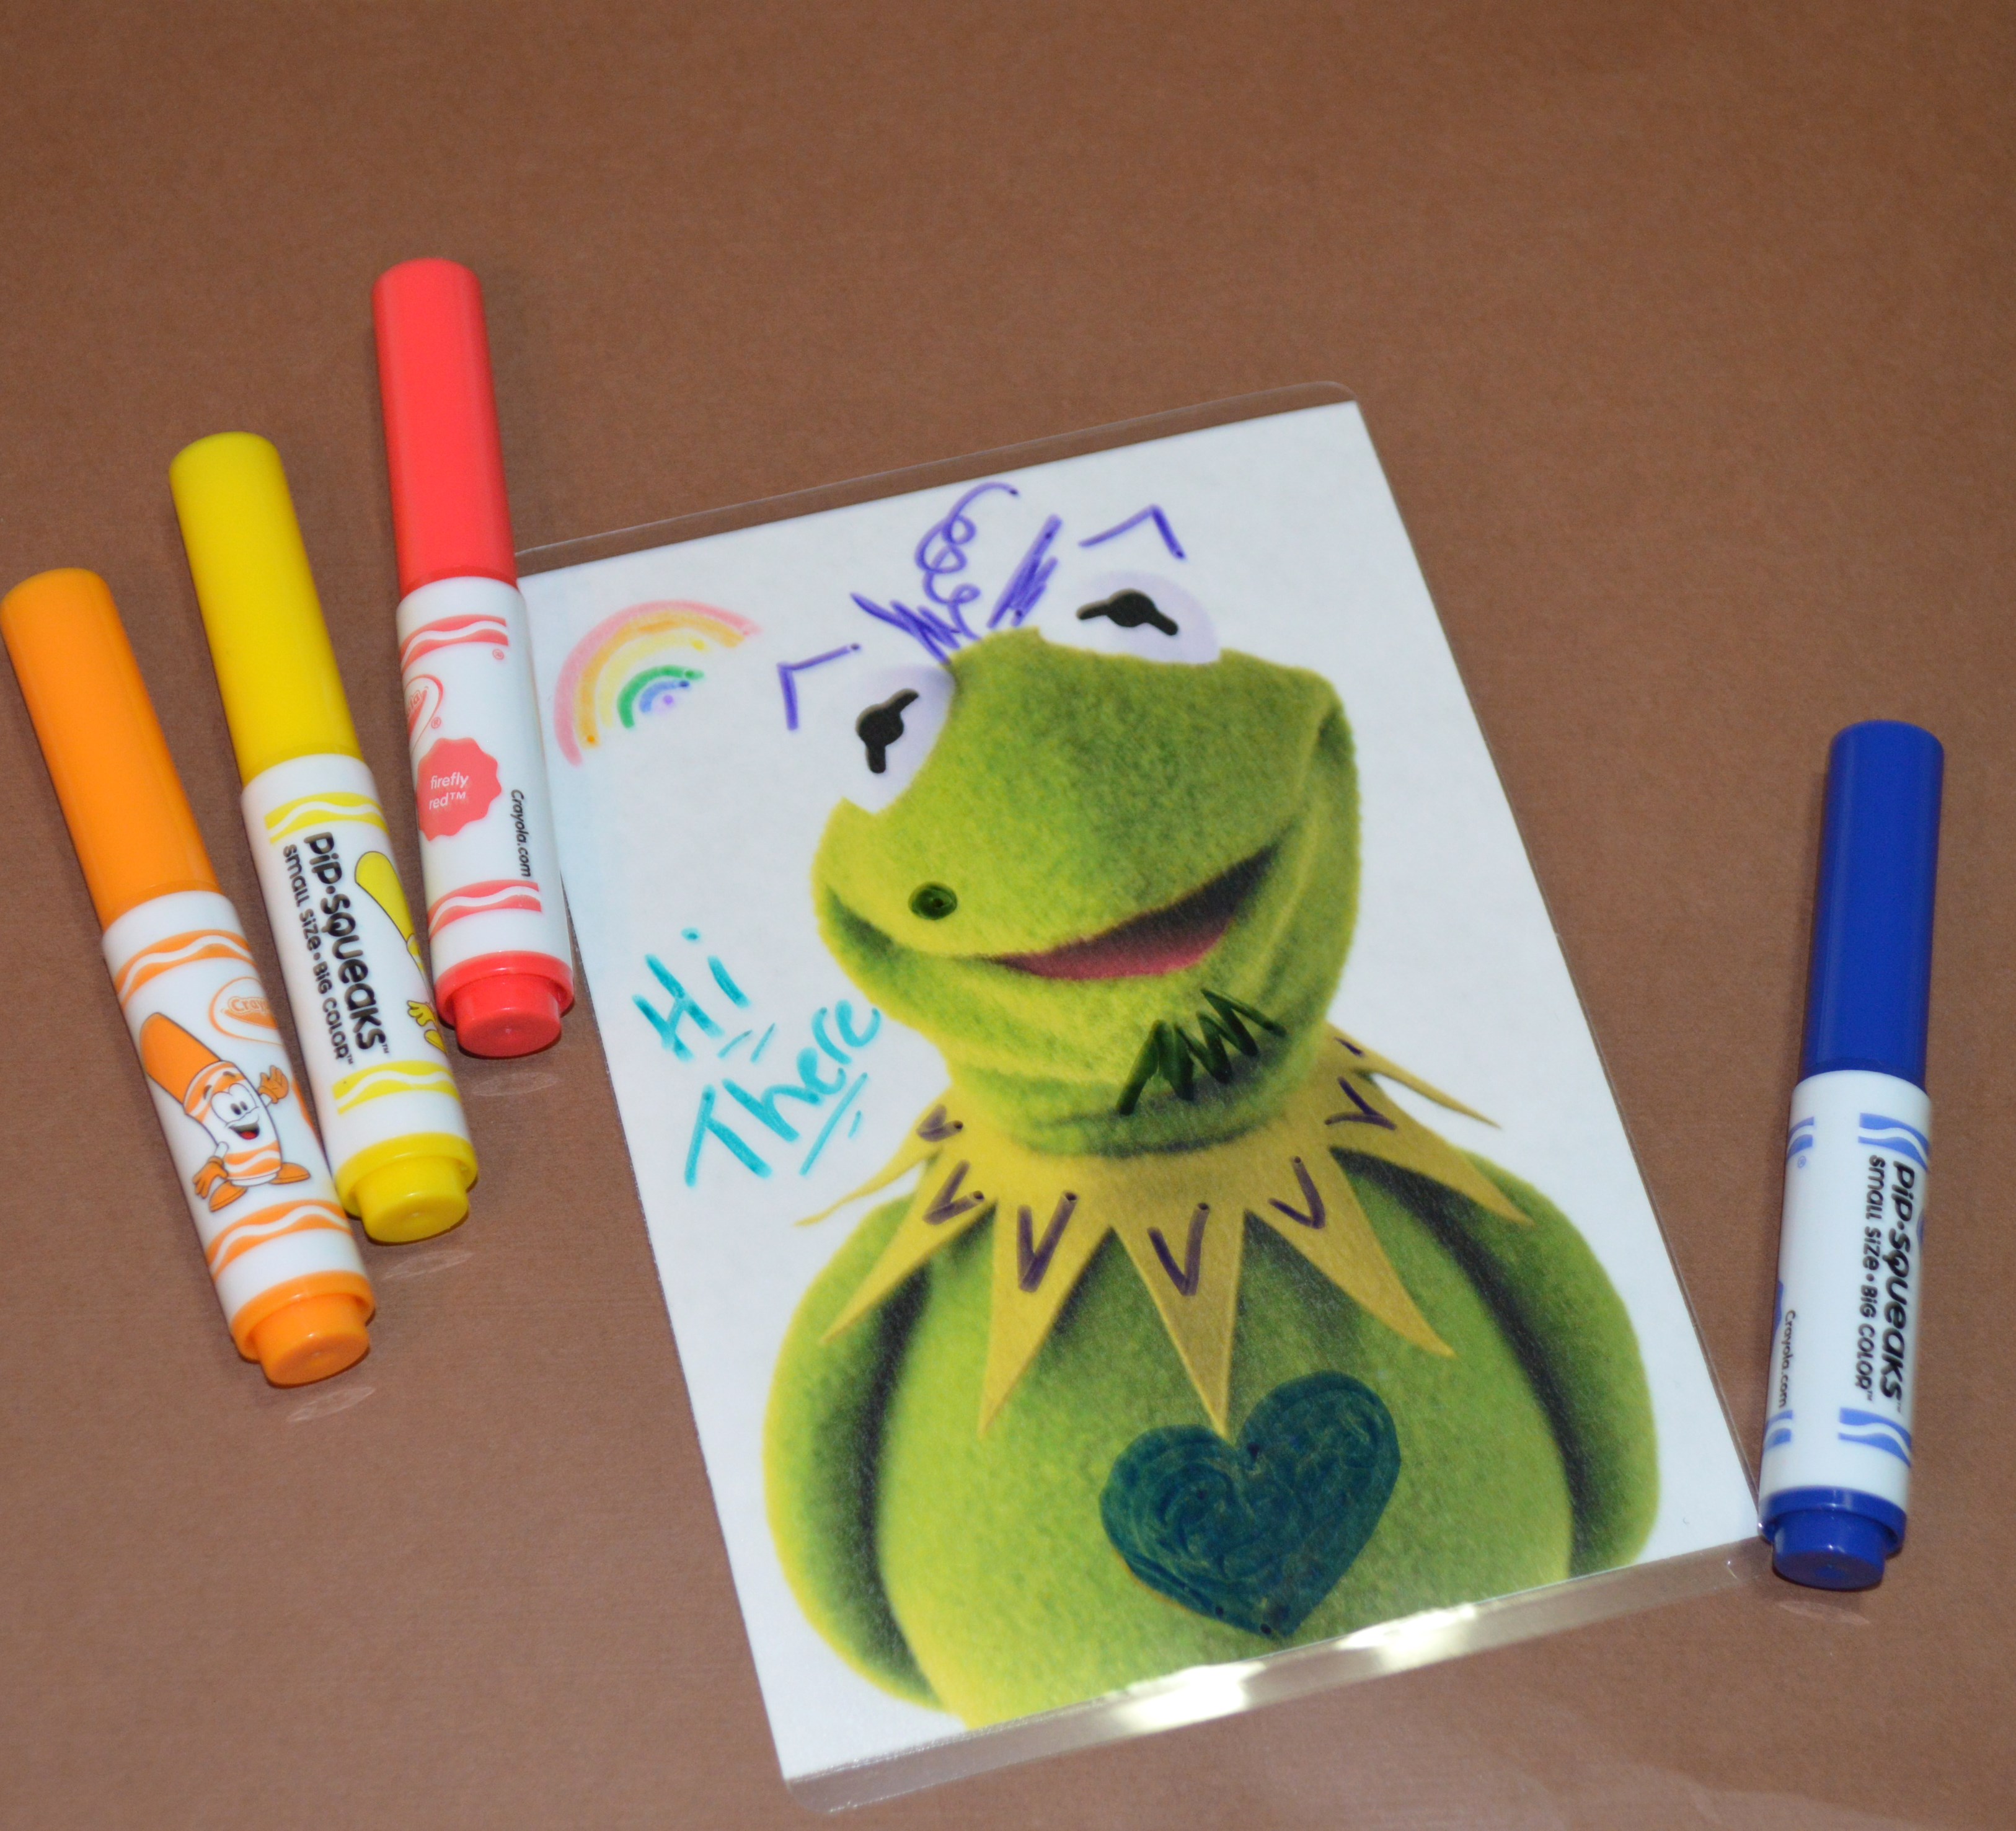
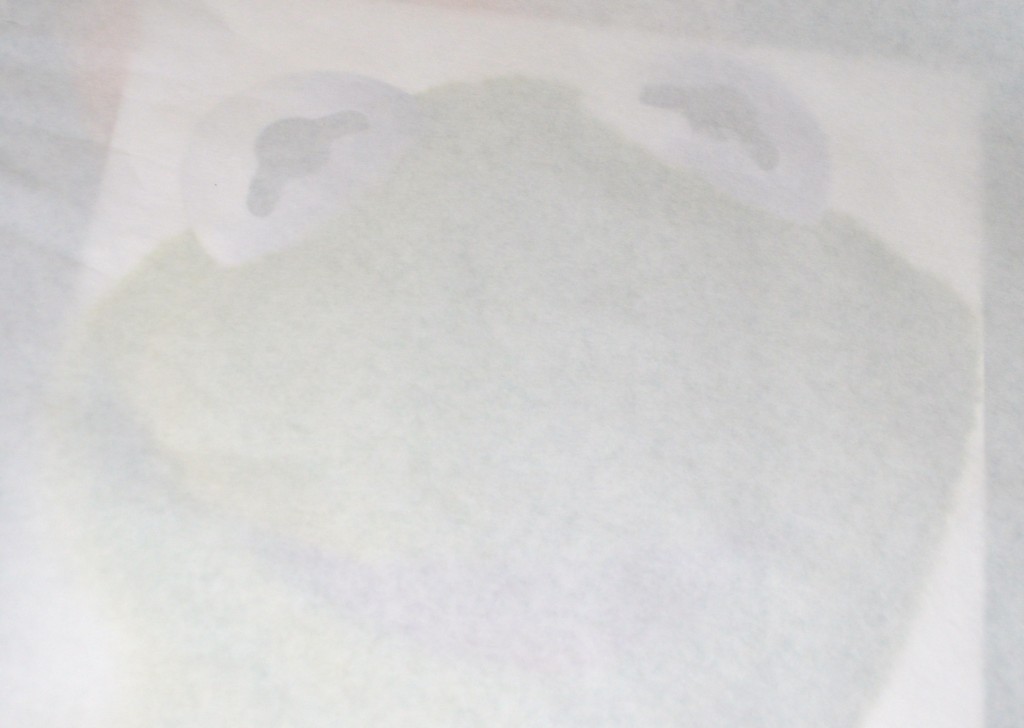 4. Trace your image onto the Freezer Paper.
Make sure that you have the shiny side of the Freezer Paper on the image and the dull side of the paper facing up. This means that your tracing on the dull side of the paper. I used a black permanent Sharpie marker to draw the template. Here’s a look at the template.
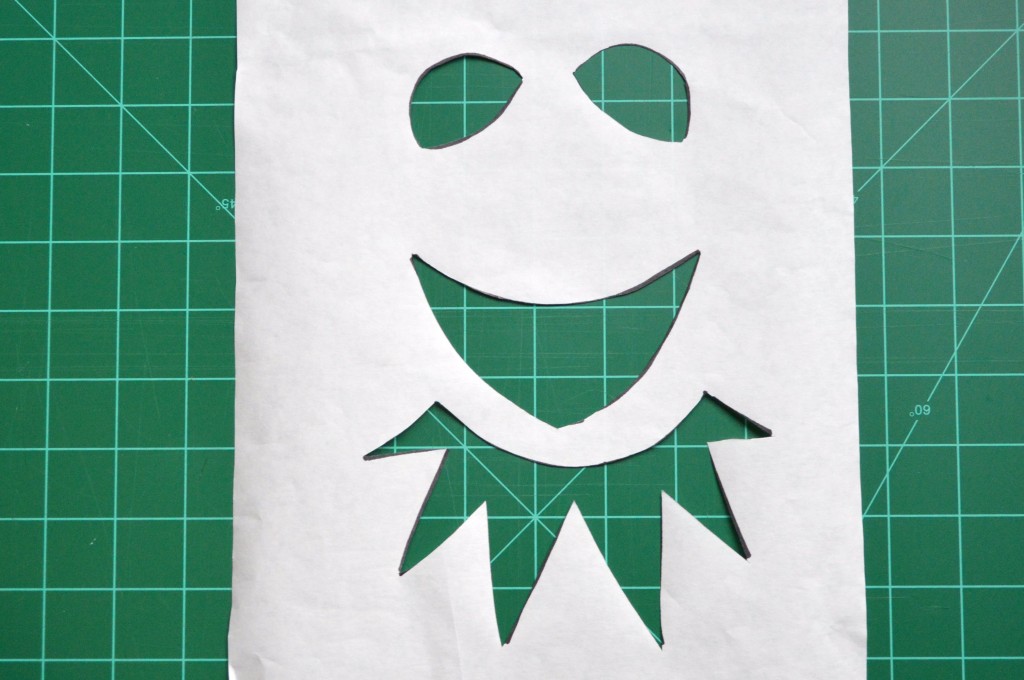
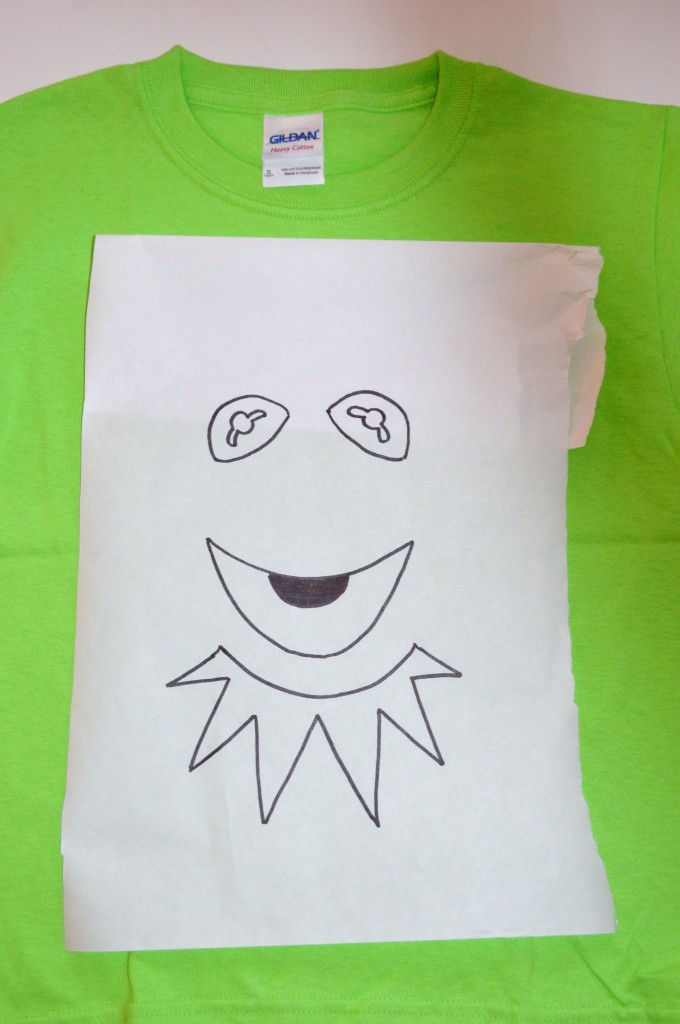 5. Cut the Template Out
Protect your cutting surface by a mat board to cut on. Take your time cutting it out and remember that the remaining negative space is where you will be cutting. Here’s what the template looked like after cutting out the areas to paint.
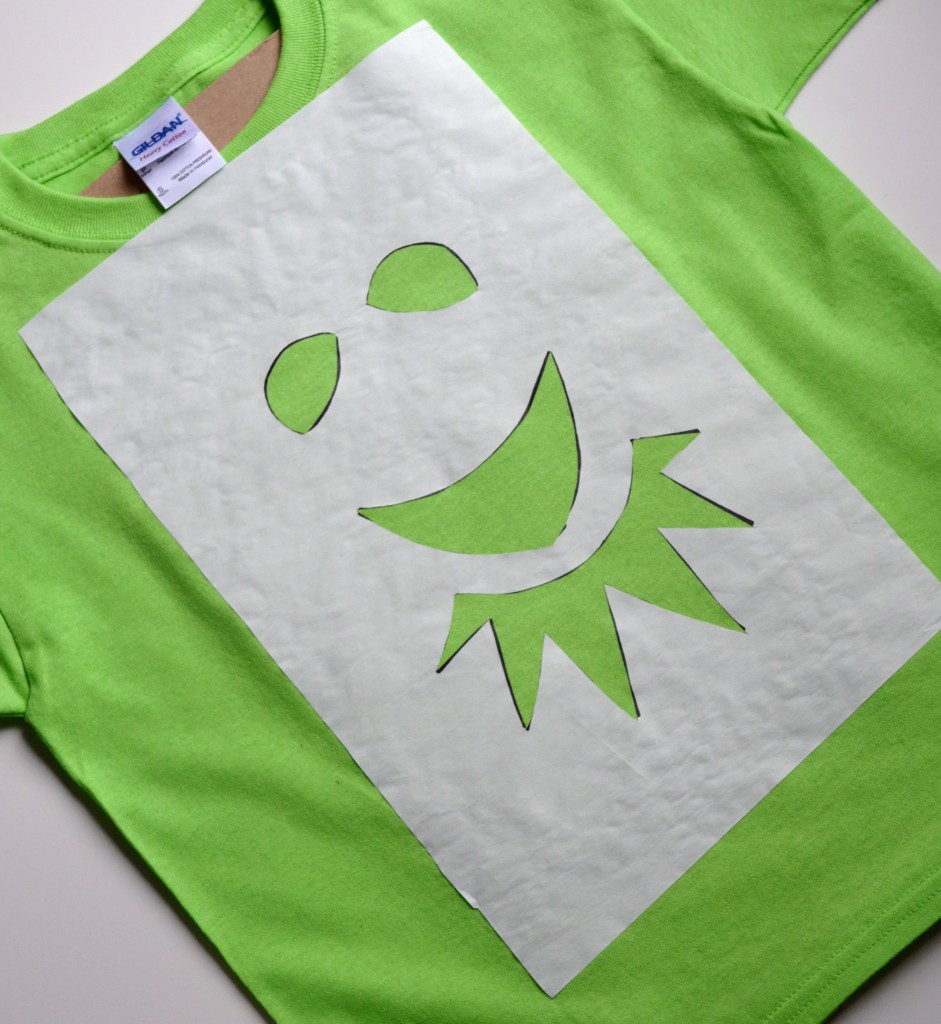
6. Iron the Freezer Paper template to the t-shirt.
Before ironing the paper to the t-shirt, iron out all the wrinkles on your shirt. Then I placed a cardboard piece in-between the top and bottom of the shirt. This way it’s prepared for me to paint in the next step. Next, shiny side down, place your template where you want it on the shirt and gently iron it onto your shirt.
7. Paint!
In painting Kermit, he had overlapping colors, such as the white and black of his eyes and red and pink of his mouth and tongue. So, first I painted the white and pink layers. The paint bottles told me to wait 4 hours for it to dry, but being impatient I used a blow dryer to dry it quickly so I could move on to the next layer of paint. His eyes took three coats to cover the green color.

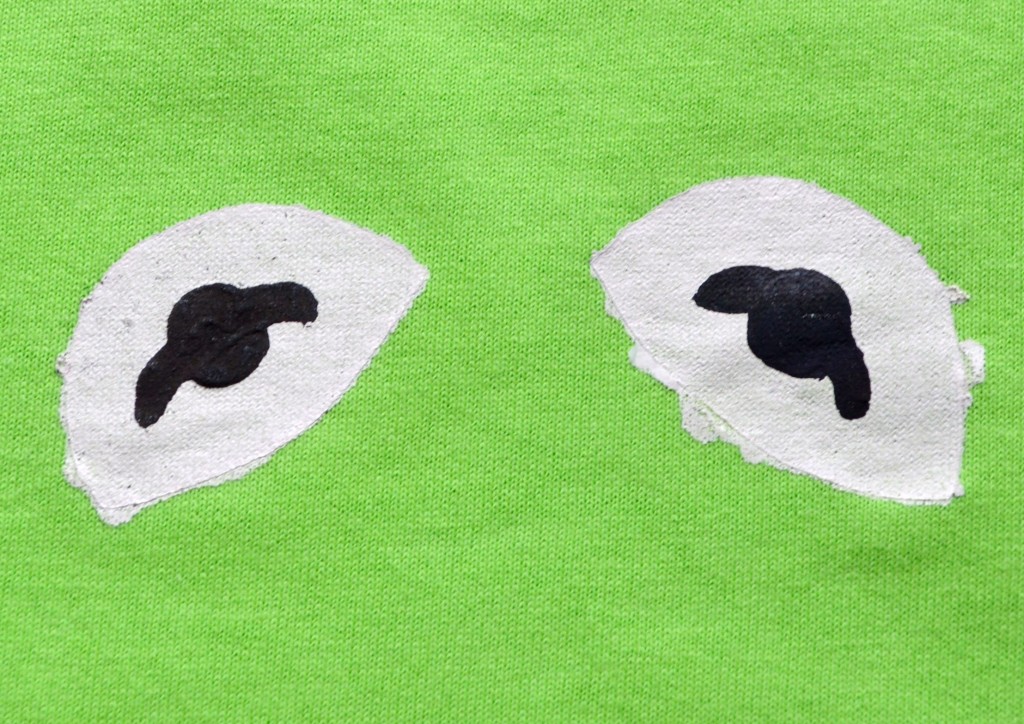
8. Peel off the Freezer Paper to see your finished piece.
Unfortunately, the result wasn’t what I had hoped. The paint of Kermit’s eyes and mouth didn’t have the clean edge I had hoped for.
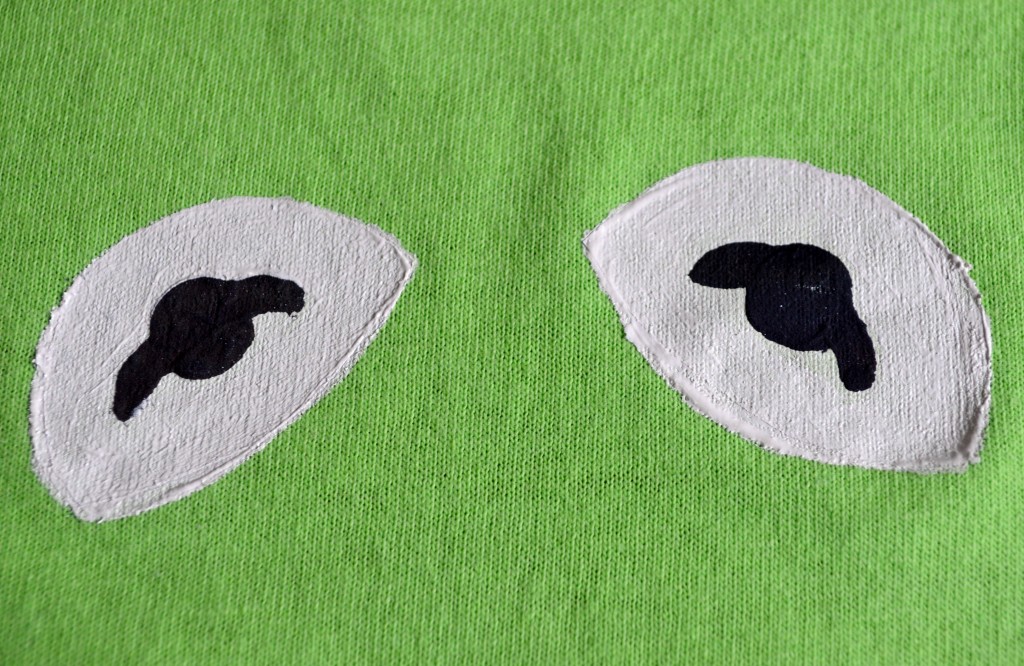
9. Touch up the edges.
Freehand touch up any little messes left behind where the freezer paper allowed the paint to leak through.
10. Steam iron the painted area to allow it to set into the shirt.
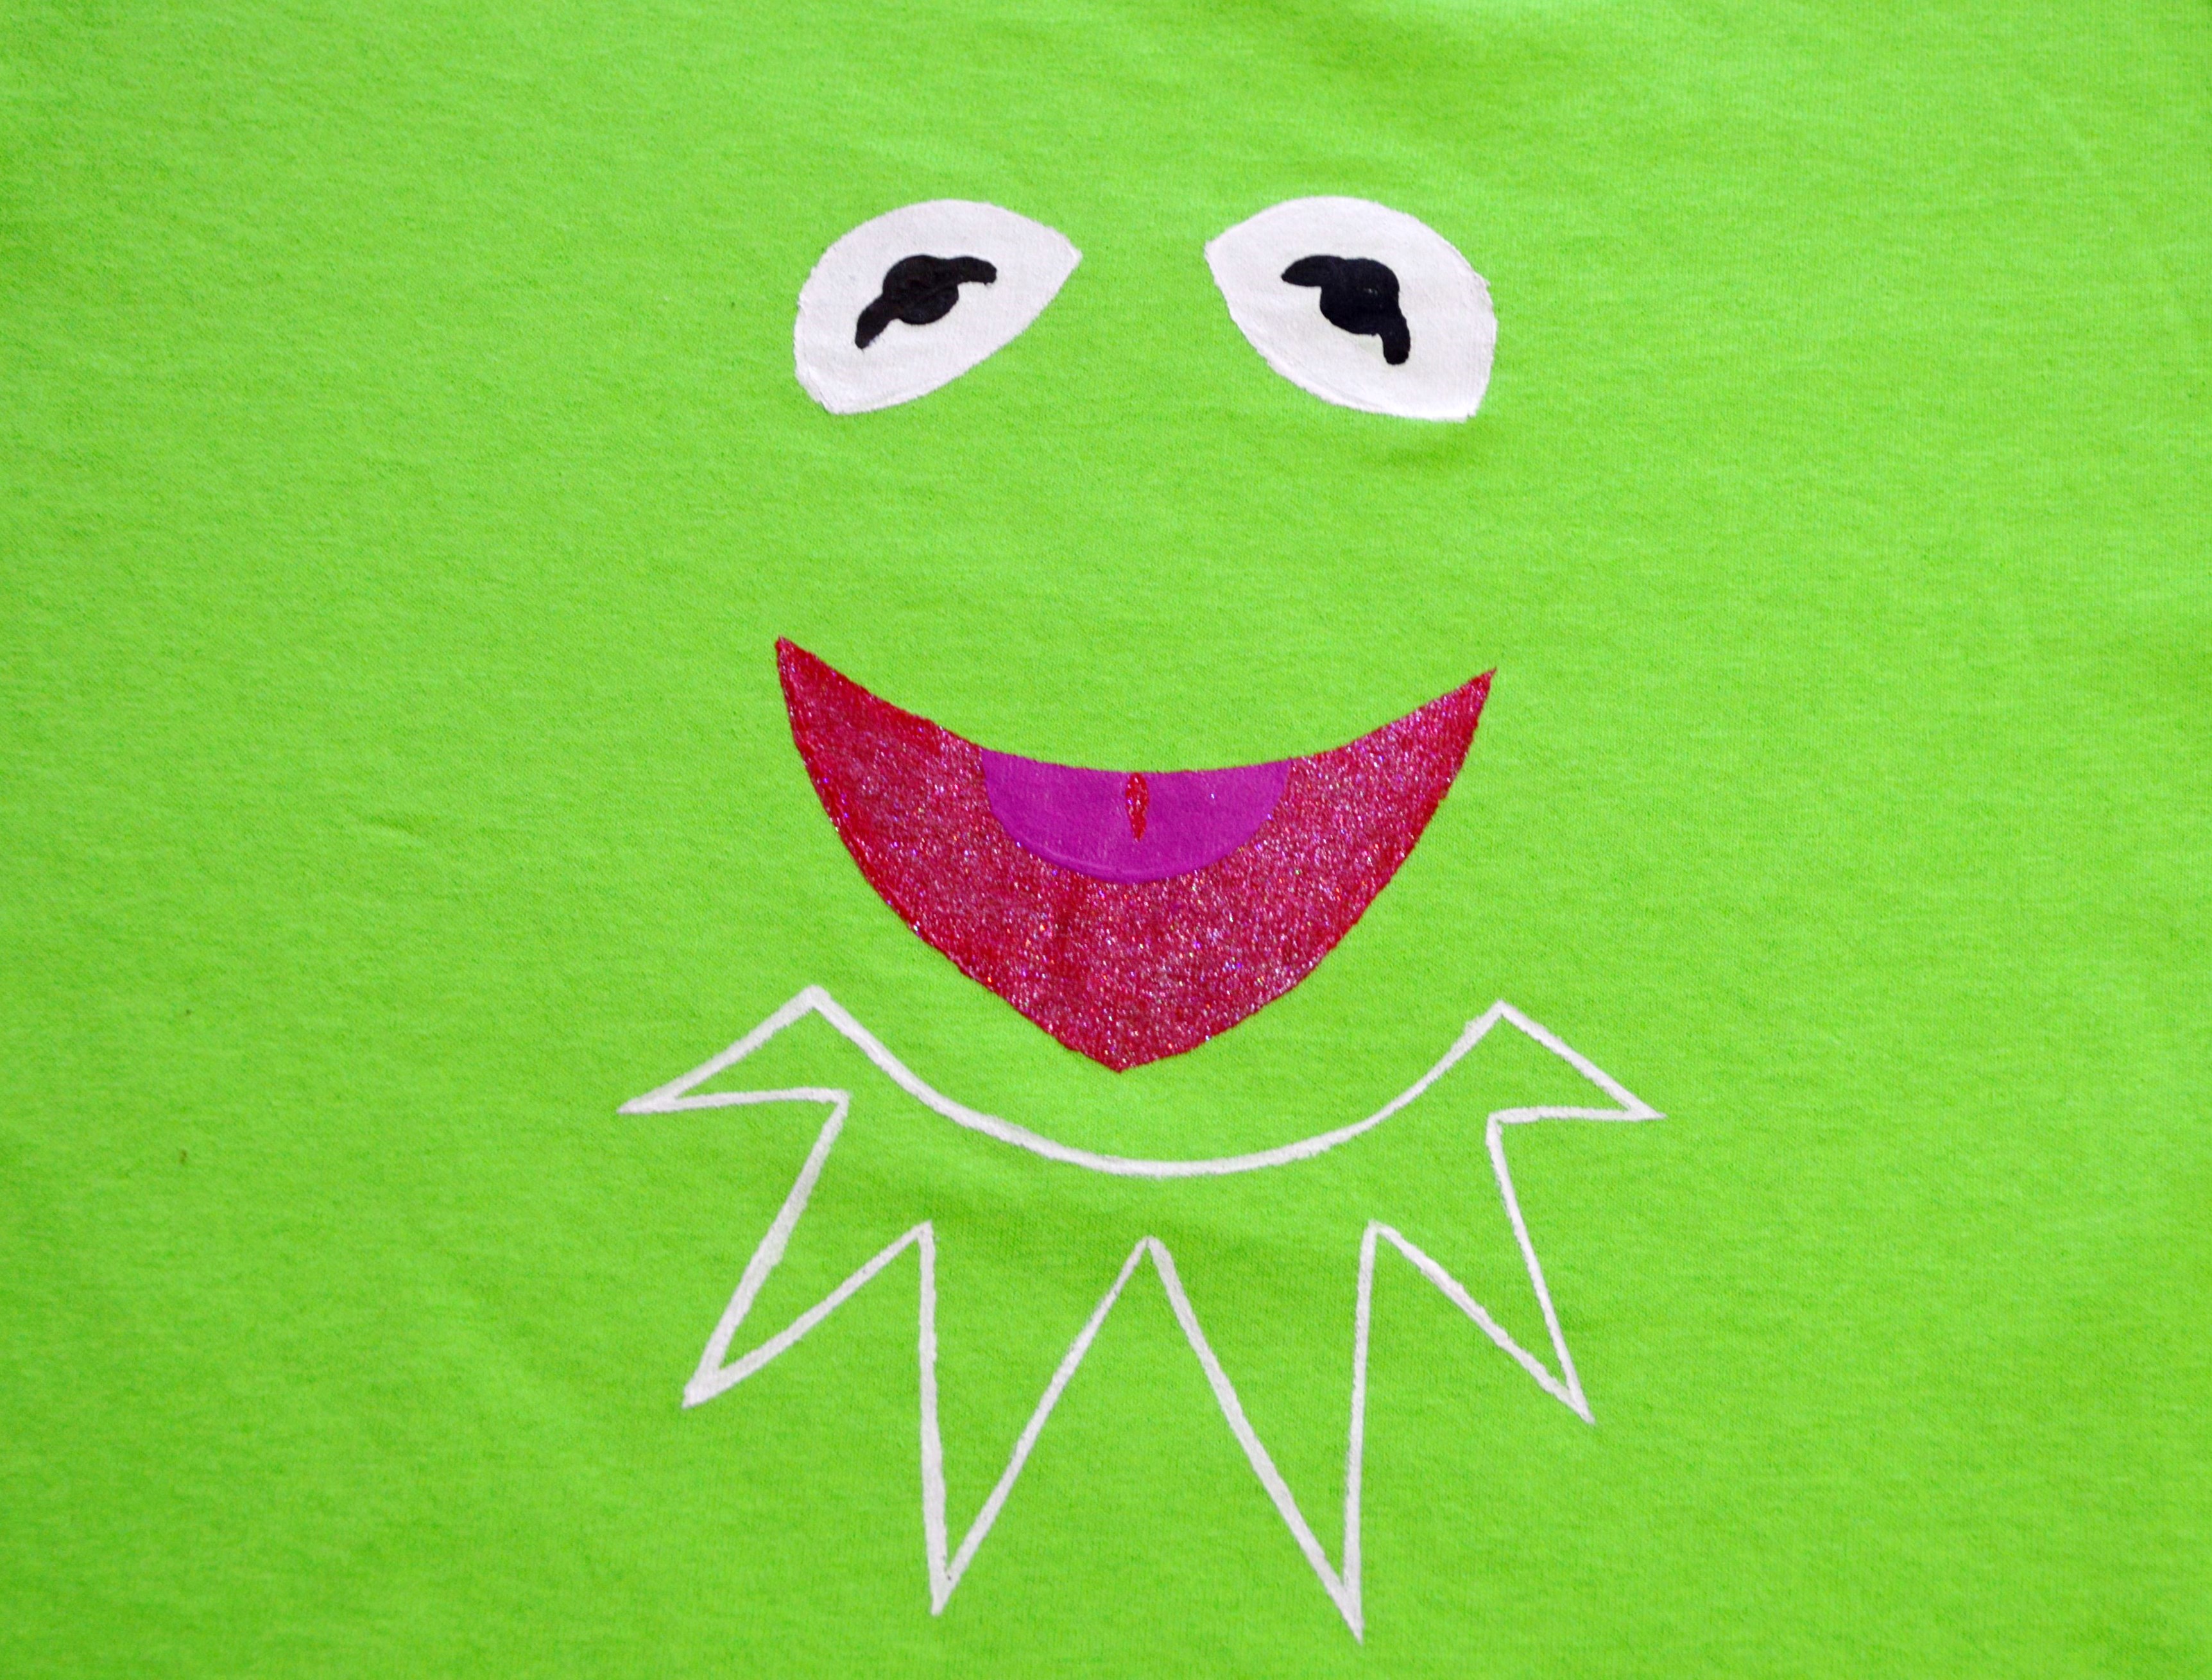
According to the paint instructions, I was supposed to hold the iron 1/2 an inch away from the shirt and steam the image. I haven’t washed the shirt yet, but I’m pretty happy with the turn out! Now to make another one for my son, Gavin…without the sparkly pink paint, of course!
There were a few bumps in the road, but it’s actually pretty easy being green!

To complete this project I looked at a few blogs for reference in learning this technique. If you’d like to check out their projects and steps for completing them, here’s the links.
http://crafts.tutsplus.com/tutorials/how-to-make-freezer-paper-stencils–craft-1838
http://topicspill.com/2013/04/10/diy-tutorial-freezer-paper-fabric-stenciling-a-beginners-guide-to-stenciling/
http://www.thinkingcloset.com/2013/08/12/keep-calm-onesie-with-freezer-paper-stenciling-silhouette-winner/
Have you tried Freezer Paper Stenciling? I’d love to see your results! If you’d like, share the links to your Freezer Paper Stenciling projects in the comments below.
Thanks for stopping by the blog today and as always, I hope you have a Magical Day!
 Gavin’s favorite part of the kit was the little blue hard hat that he used for his Mike egg. I’m thrilled to report that he made this adorable egg for his Mommy!
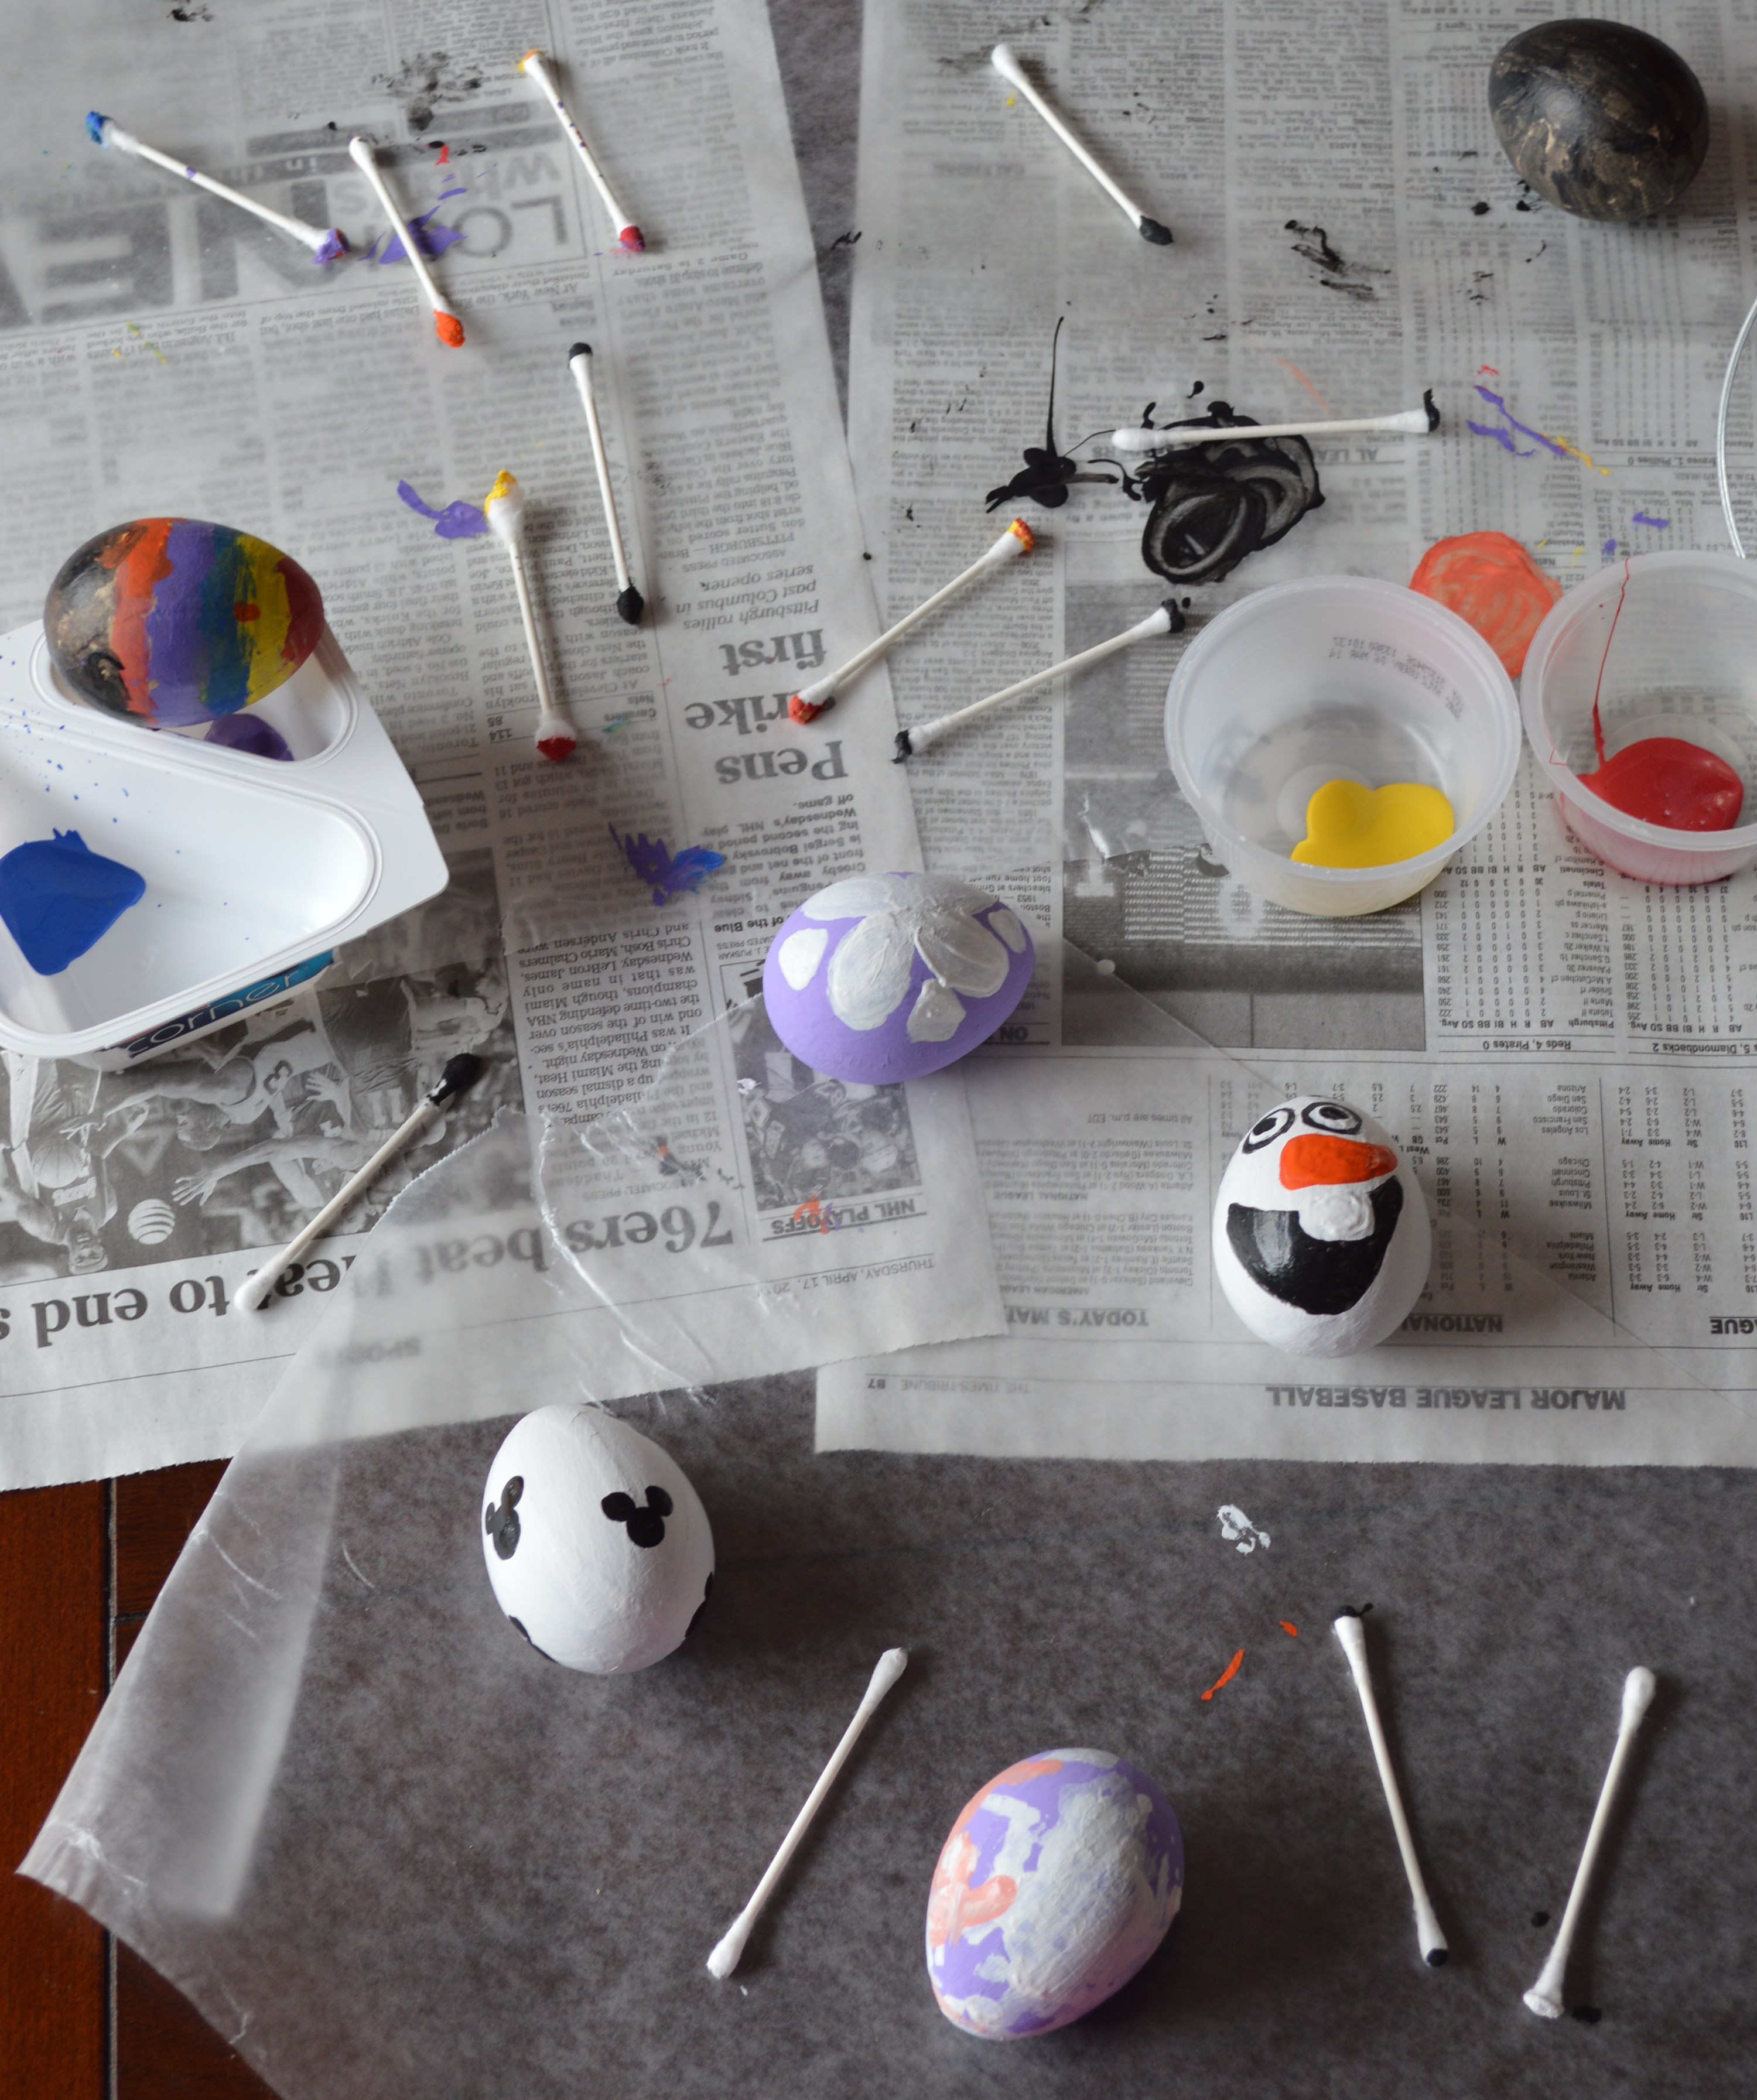
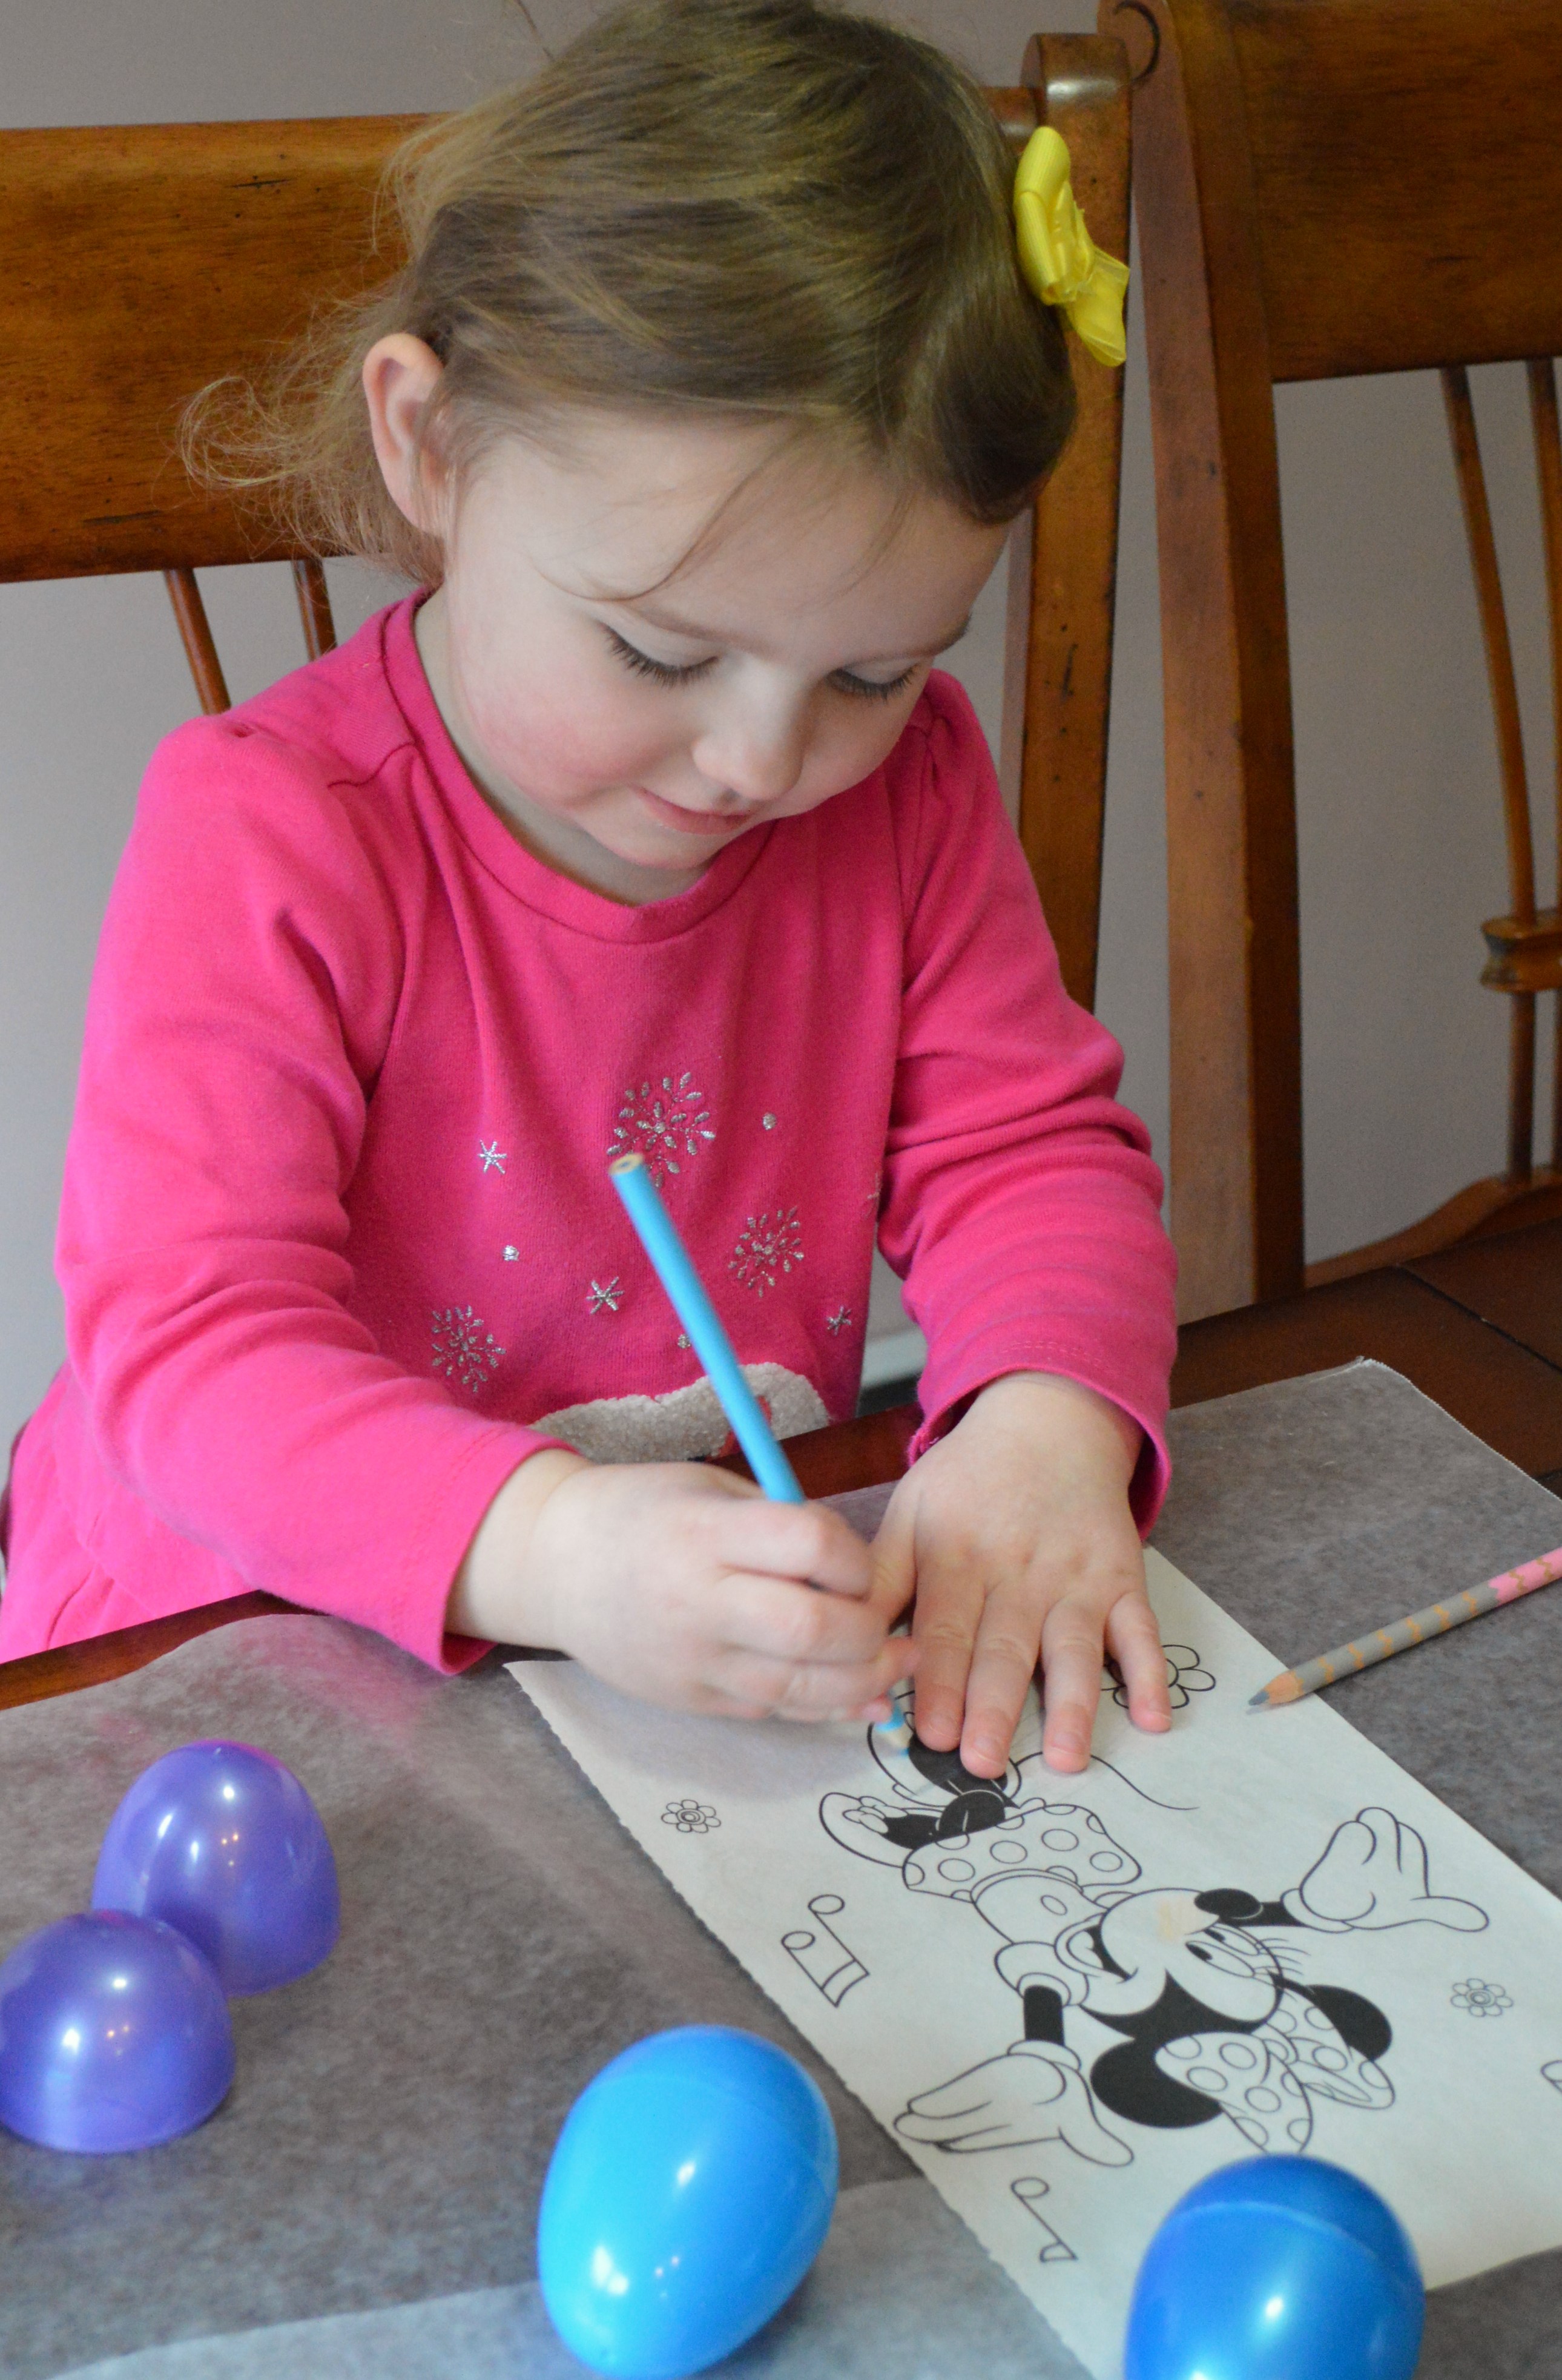
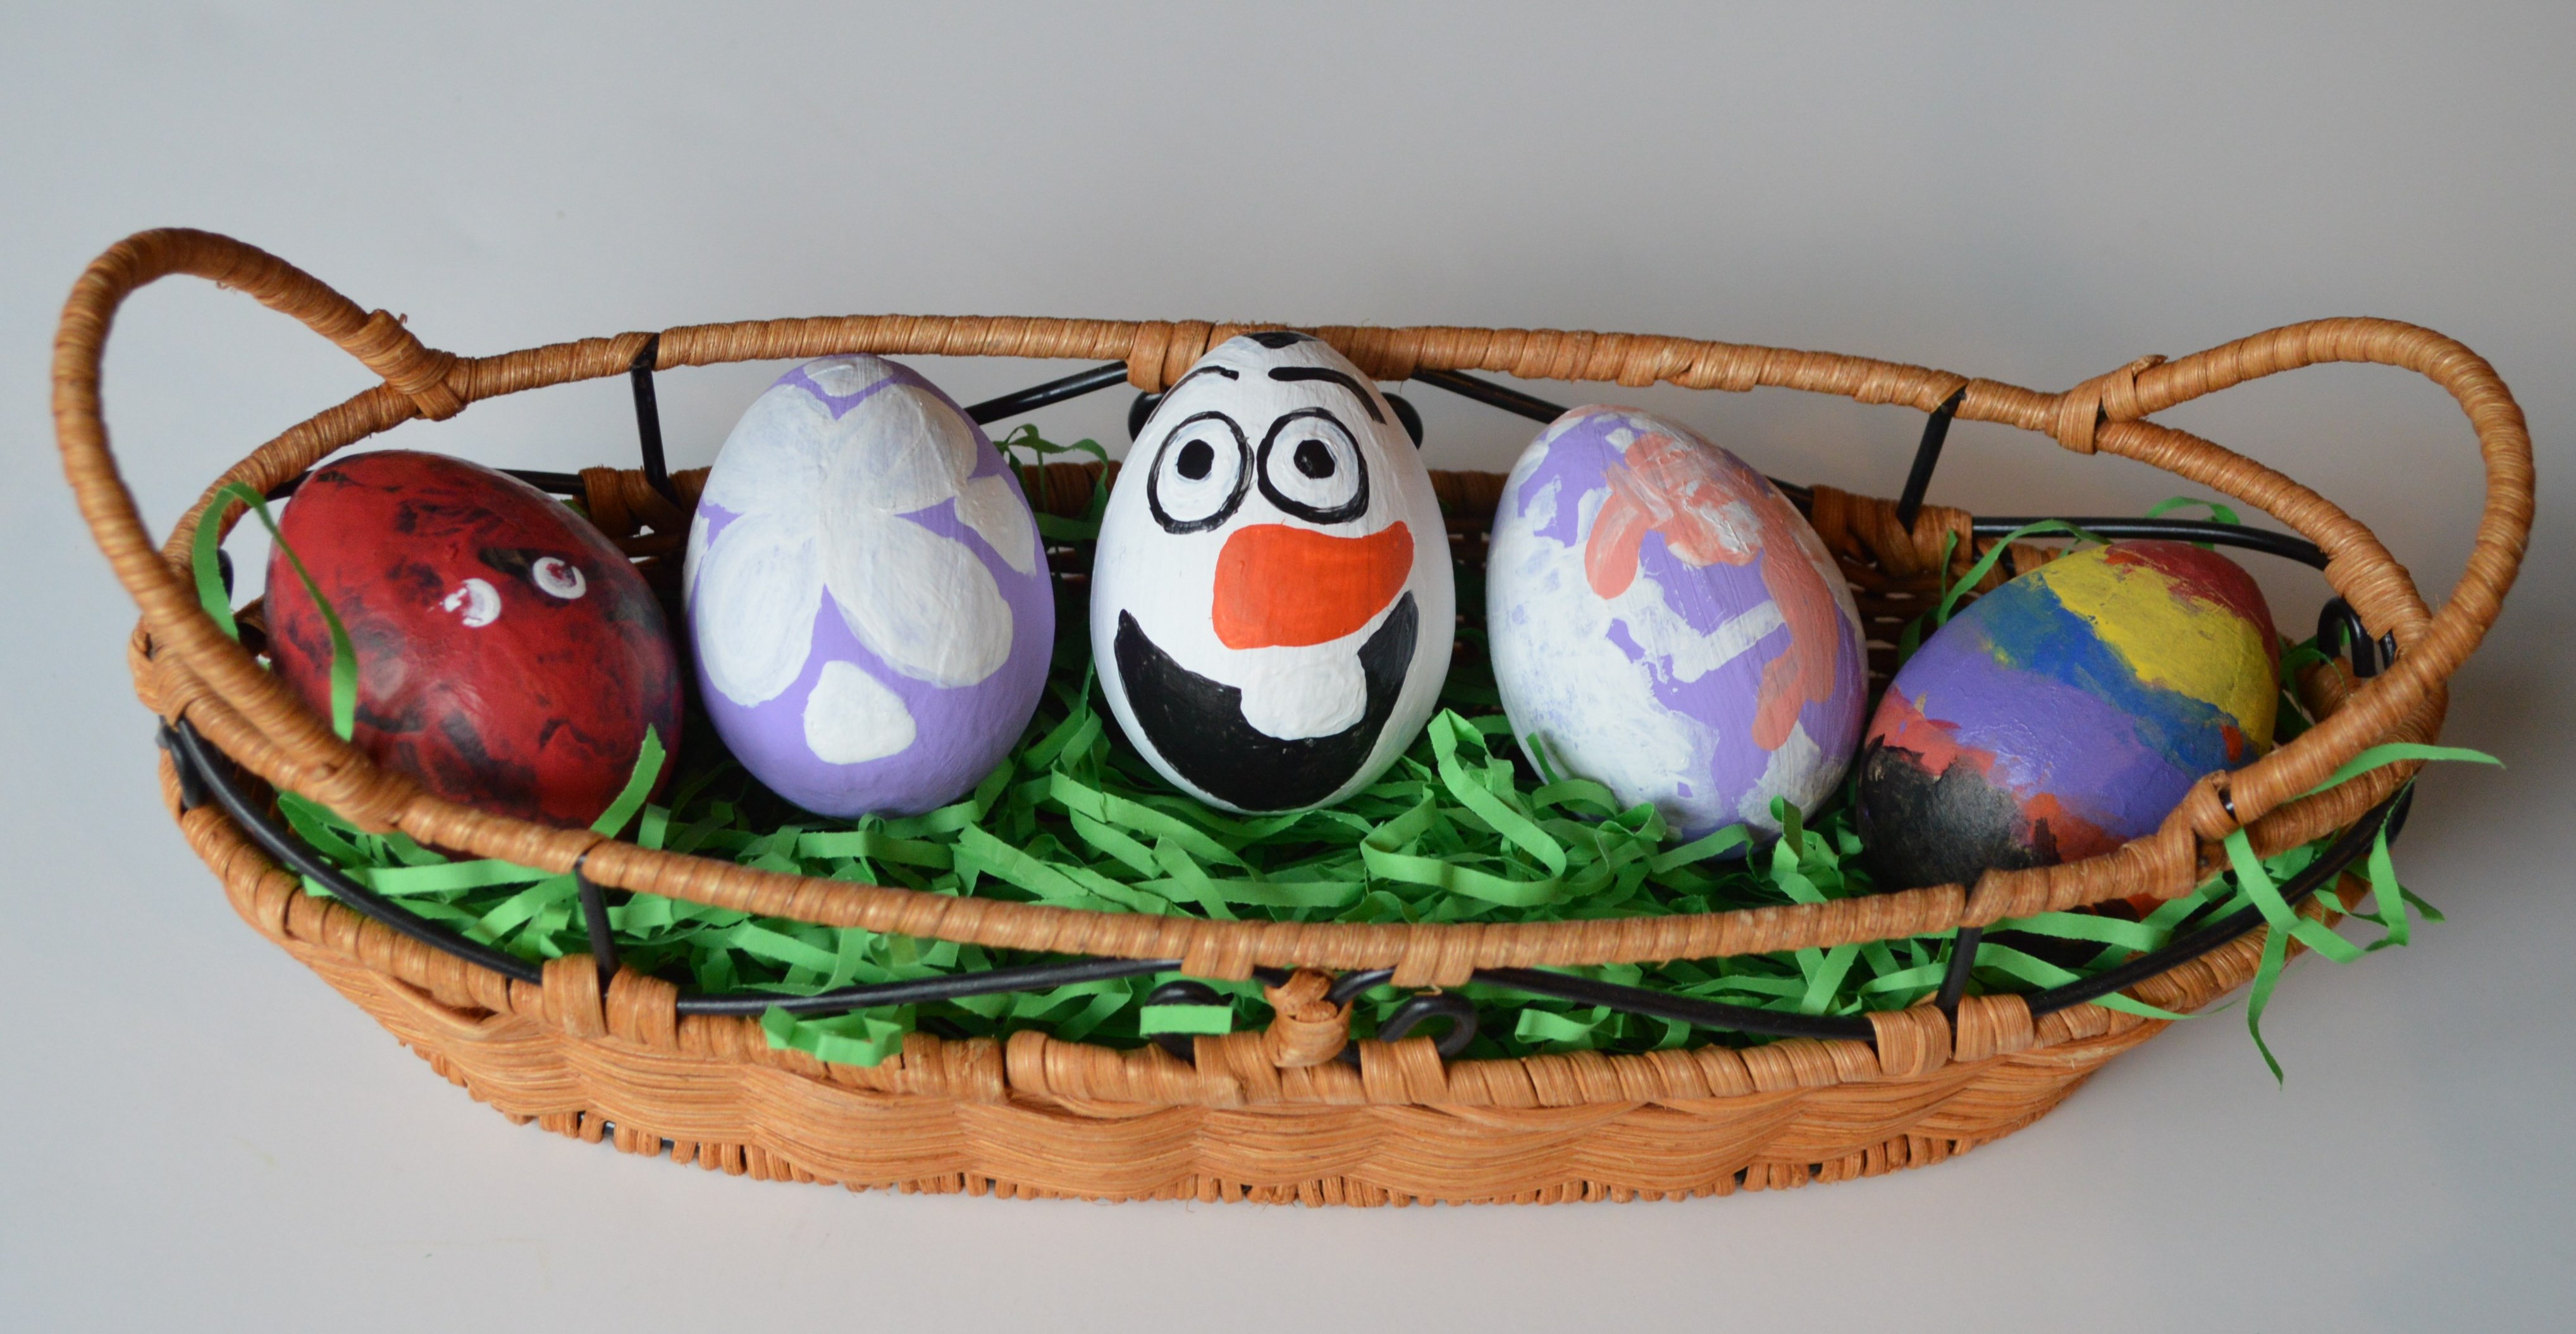
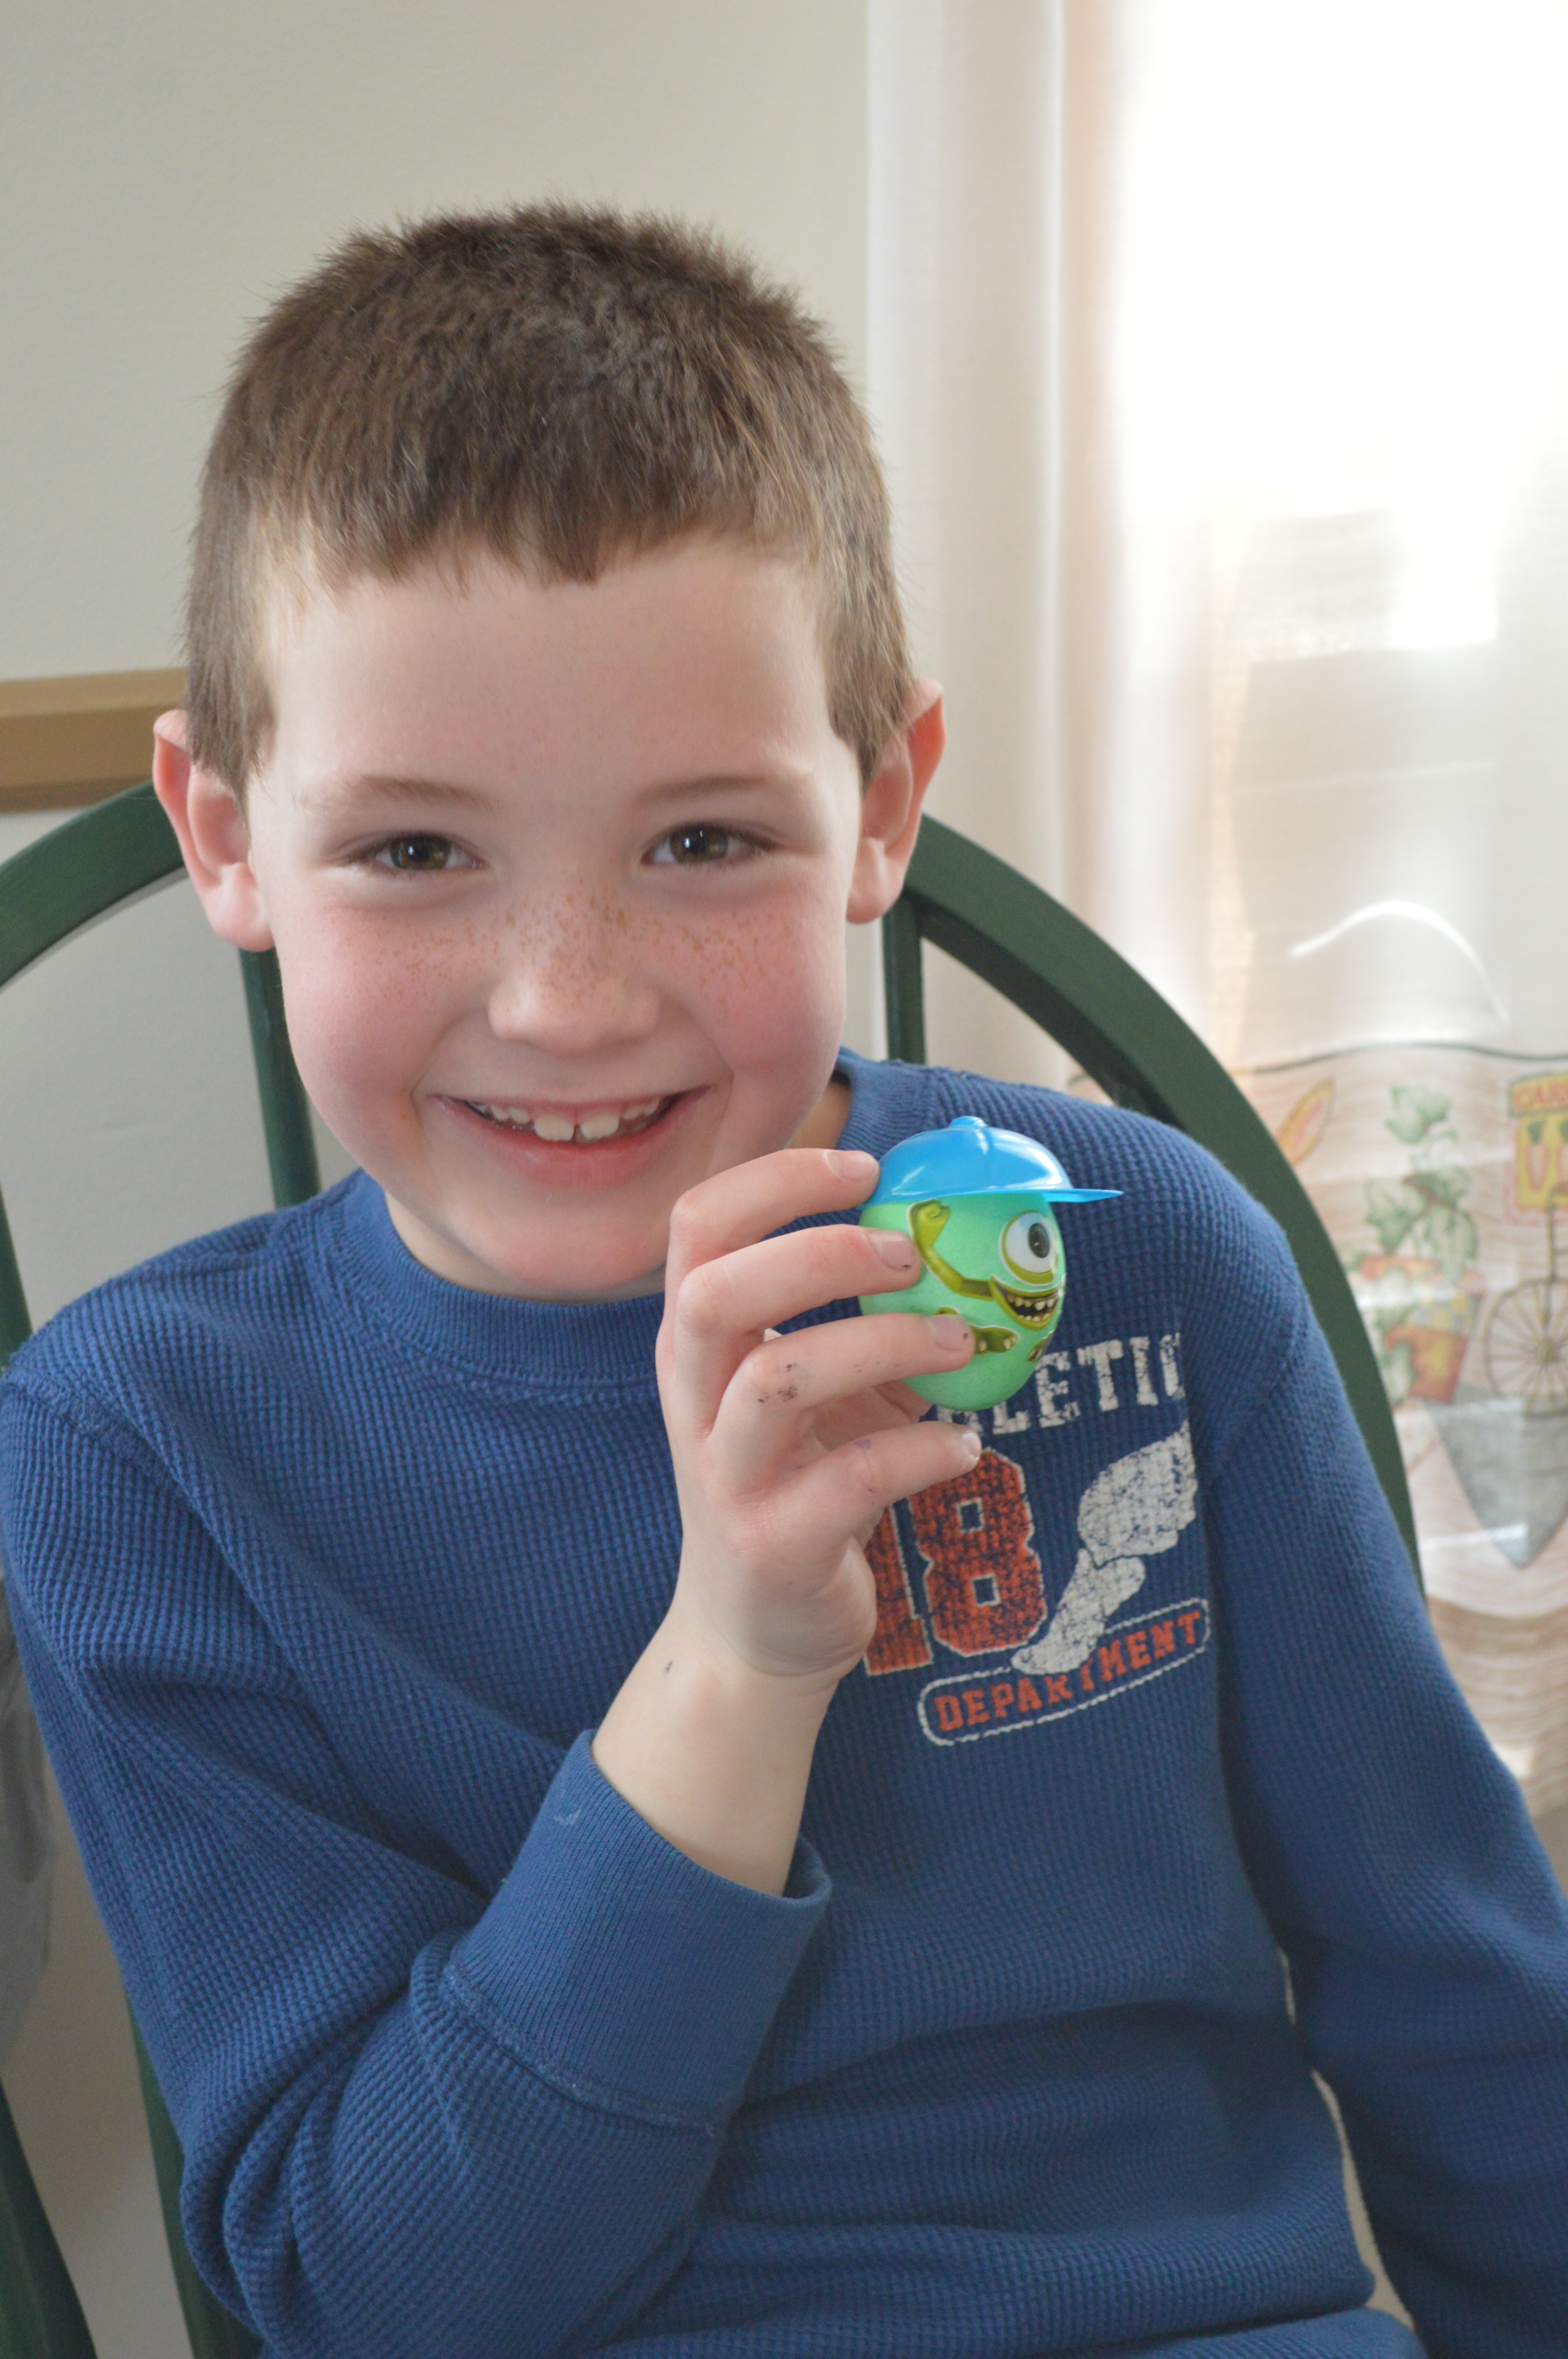 As with previous years, the kids and I had a blast dying eggs with Grandma. It’s a shame that despite all the hard work that went into decorating the eggs, they will be gone in a few short days. So this year I scheduled an additional egg decorating activity for the kids to make eggs that we will be able to keep for years. I purchased these craft eggs at our local Michael’s Craft Store. I laid out some newspaper, wax paper, paint and Q-Tips and let the kids have some fun. Having small children work with non-breakable eggs really is a great idea. The eggs fell on the floor a few times and it saved quite a few tears when my son saw that they had survived the multiple falls!
 This Q-Tip project is perfect for young children, like my 6-year-old son and 2-year-old daughter.
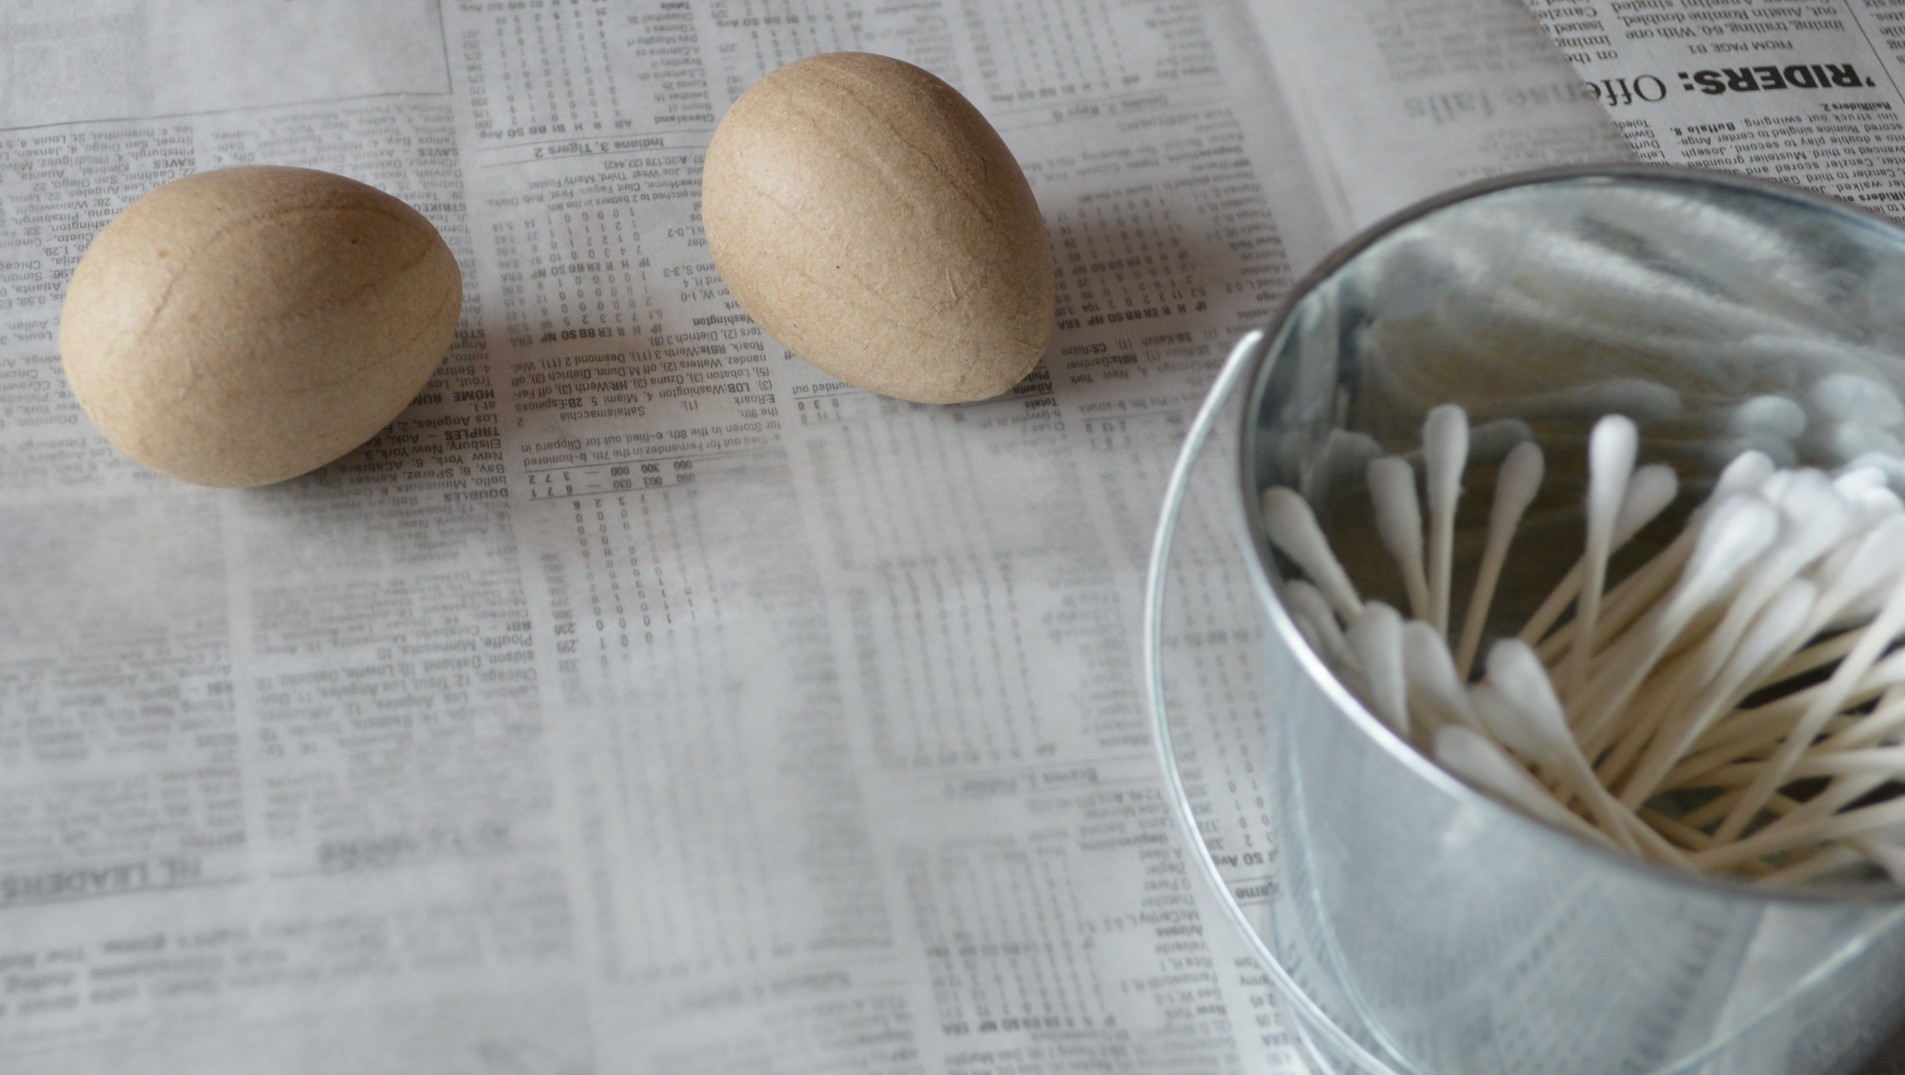
 Second, painting with Q-Tips allows for QUICK CLEAN UP…if there is such a thing with kids. Once the kids were finished, I simply picked up the Q-Tips and threw them away. I enjoyed not having to clean the brushes after the project was over. Take a glimpse of just some of the Q-Tips that were used in decorating six eggs!