Disclosure: This post was sponsored by Plaid Crafts (Mod Podge) and The Blueprint Social. The project idea and opinions of Plaid Crafts products are 100% mine. Collage Clay is NOT recommended for children ages 12 and under, and the product is NOT edible. Small parts are a choking hazard for children.
The Magic of Mod Podge Collage Clay
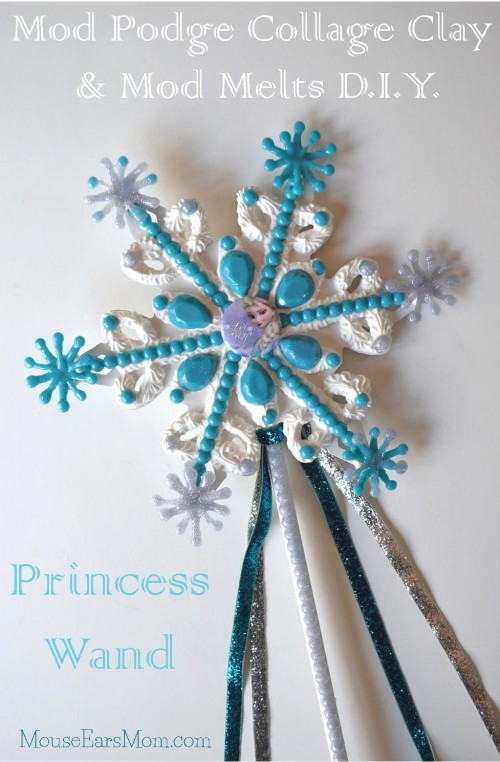
Despite Olaf’s “Warm Hug” heat outside, our television continues to play to the chilly tune of Disney’s hit animated film, “FROZEN”. I think we all can agree that this film, and every single product related to the film, isn’t frozen but instead it’s HOT! So popular are these items that they disappear from shelves almost as soon as store employees take the products out of their shipment boxes. The hunt for “Frozen” related items is often forefront in my mind when I’m out shopping. So as you might expect, when I gazed upon fluffy white Mod Podge Collage Clay, sparkly silver and bright blue Mod Melts, and over-sized jewel Mod Molds, I instantly thought of “Frozen”. Instead of searching for a “Frozen” product to purchase, I decided to make my own “Frozen”-INSPIRED item! I simply couldn’t wait to work on a Decoden project that would celebrate the famous Ice Queen.
Wondering what Decoden is?
Decoden is the art of decorating ANYTHING with trinkets, and “the more the merrier” is the name of the game in designing an over the top look in this 3-D collage technique. You can use Collage Clay with Mod Melts, buttons, rhinestones, and anything else you can think of! On top of your design add extra drama and dimension by using Drizzle Paint or make the project really sparkle with Podgable Glitters. Go for total indulgence – it’s welcome in Decoden!
Here’s how I made this “Frozen“-Inspired Princess Wand
Last week my daughter and I were out shopping and came across a wooden snowflake ornament (yes, in July!) Victoria immediately associated it with the movie “Frozen” and she wanted it. I instantly wanted to use it for this Decoden project! We went straight home with our snowflake ornament and a wooden dowel. My daughter took her nap and I was done making a “Frozen”-Inspired wand by the time she was up! It was that simple AND so much fun! Here are eight simple steps to help you create a Decoden Princess Wand too!
Step 1: Start by gathering up all of your supplies.
I was so pleased to have received from Plaid Crafts two packages of Mod Melts and three different Mod Molds to use for this project. Mod Melts are used with a high temp mini glue gun to create embellishments by applying the melts into the easy-to-use and durable silicone Mod Molds. I used Mod Melts from both packs but only used the Gem and Sea Life Mod Molds for this project.
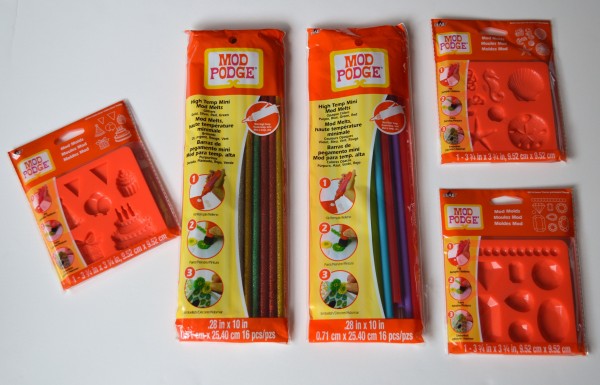
Here’s the complete list of supplies needed for this project:
- Snowflake ornament
- Wooden Dowel
- White Paint
- White Mod Podge Collage Clay (Also available in the trend right color, Strawberry Pink, but I chose White, for obvious reasons.)
- Blue and Glittery Silver Mod Podge Melts
- Mod Podge Gem and Sea Life Molds
- One Disney Frozen character button pin
- High Temp Mini Glue Gun
Step 2: Make Embellishments using Mod Melts and Mod Molds
I opened both bags of Mod Melts and picked out the most beautiful glittery silver from one and bright icy blue Mod Melts from the other. With the help of my trusty glue gun, I got right to work making gems with the mod mold.
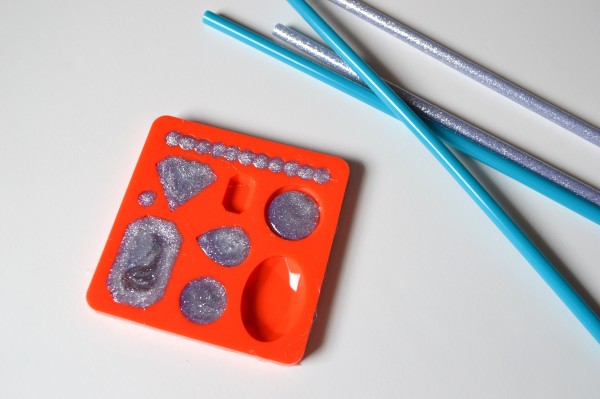
After allowing the mod mold to cool down for ten minutes, the gems easily popped right out! There wasn’t an ounce of mess left behind, so I filled them again to make more.
To create the snowflake embellishment, fill the starfish Mod Mold completely and then add the additional snowflake spokes to the starfish while it is still hot. Then at the end of each point, add an additional dab of the Mod Melt. My snowflakes each have ten points.
Step 3: Paint the wooden dowel white.
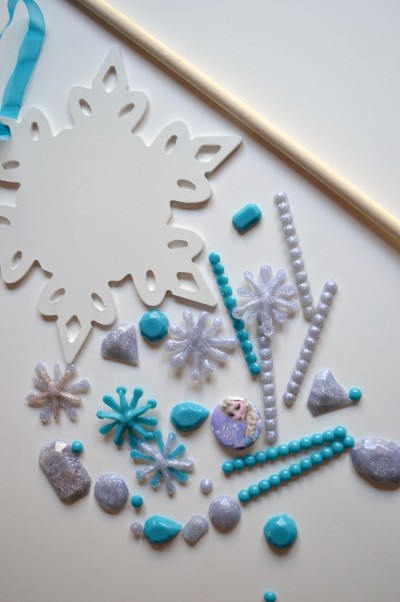
Step 4: While the paint is drying, lay out your Decoden design idea to make sure you like the look before you start applying the Collage Clay.
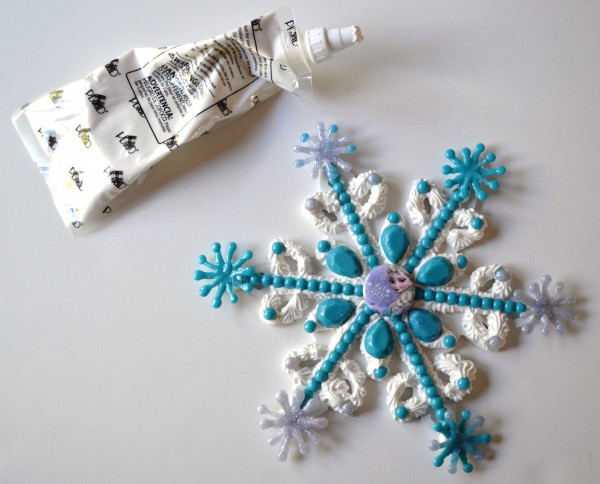
Now the fun really begins! Time to get out the College Clay!
Collage Clay is a lightweight whipped clay that can be used in all kinds of assemblage arts, like Decoden, 3D Collage, and 3D Stenciling. Included in each box is a Star Tip, Round Tip and a Wavy Tip, similar to the tips you’d use for decorating with icing. Honestly, the white Collage Clay really did look like icing, so much so, that my seven year old son said, “Can I have a bite?”. And that is why Mod Podge Collage Clay is not recommended for children 12 and under. As I mentioned at the beginning of this post, Collage Clay is NOT edible. 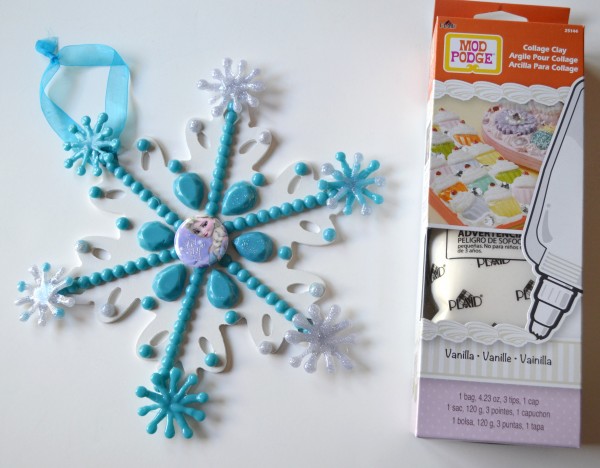
Step 5: Place aside the embellishments, attach the Star Tip to the Collage Clay bag, and apply it to the wooden snowflake.
Working with the Collage Clay was just like piping icing onto a cake. Once I piped my design onto the snowflake, all I had to do was place the embellishments onto the clay. It was that easy and a lot of fun. It was so simple and quick that I found myself searching around the house for other items I could decorate!
Step 6: Add Embellishments to the Collage Clay
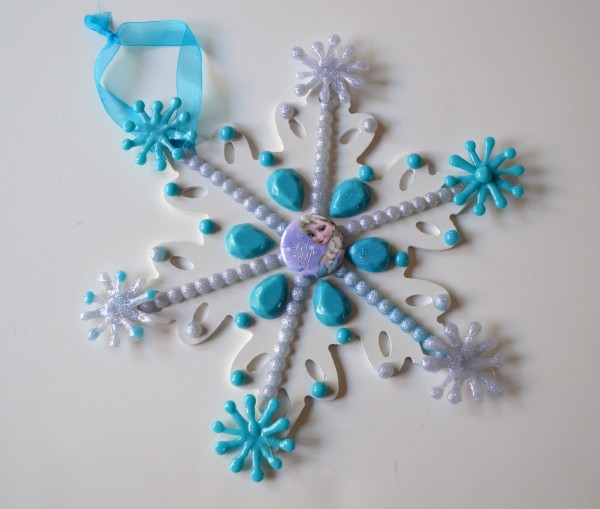
Step 7: Secure the wooden dowel to the back of the snowflake with the help of a glue gun and some left over Mod Melts.
Step 8: For the final touches, add embellishment beads and ribbon to the painted wooden dowel.
One final tip: The Collage Clay does not set quickly. Within the first hour the clay started to harden and I was able to pick it up and let my daughter hold her new wand for a few minutes. (There was a lot of “Abracadabra” going on!) However, after the couple minutes passed, I put it back on the counter to cure for a few days. By the fourth day I felt it was completely set.
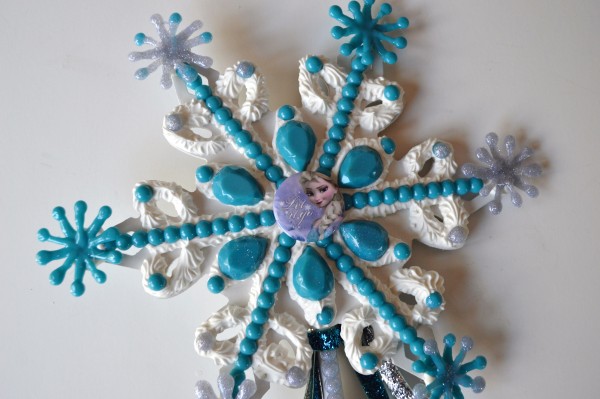
Here’s a close up of the completed Frozen-Inspired Princess Wand. Doesn’t the Collage Clay give it a perfect fluffy snow-like touch? My little princess is ready for some serious Elsa role playing!
So are you ready to Decoden? You can purchase all of these wondrous products at Michaels .
But wouldn’t it be great to win them all?
Enter to win this awesome prize pack from Plaid Crafts!
a Rafflecopter giveaway
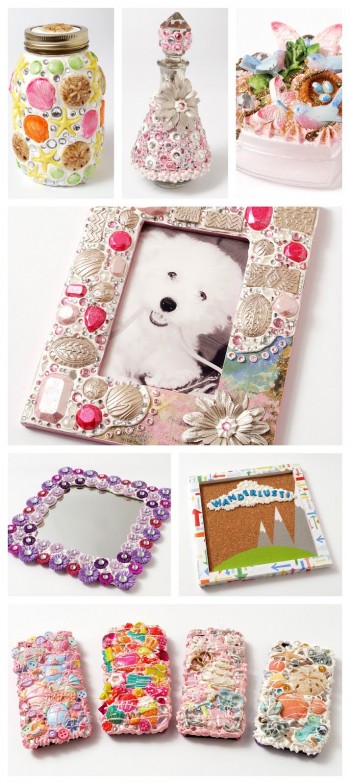
Can you imagine the awesomeness you can create with all that stuff? If not, here’s some inspiration brought to you by Plaid Crafts.
Do you love Mod Podge as much as I do? You can keep up with the latest and greatest Mod Podge craft ideas from Plaid by following them on Pinterest and Instagram! Don’t forget to “Like” them on Facebook!
For more crafting fun, you can check out The Plaid Palette or have Plaid send their news directly to your inbox by signing up for their newsletter! You can also find Plaid on Twitter and YouTube.
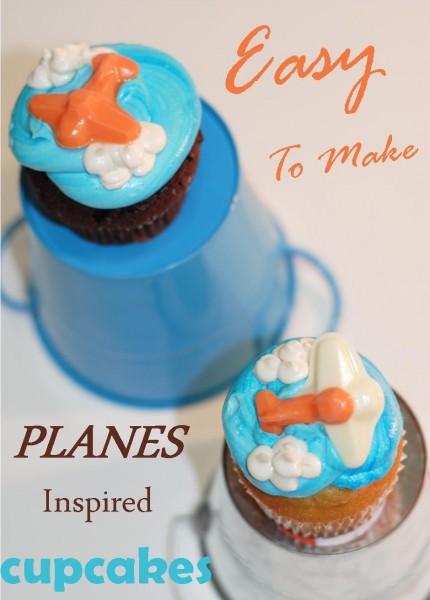 I made these Planes-inspired cupcakes for my son’s birthday party last year. Check out the super simple cloud icing tutorial for these soaring cupcakes here!
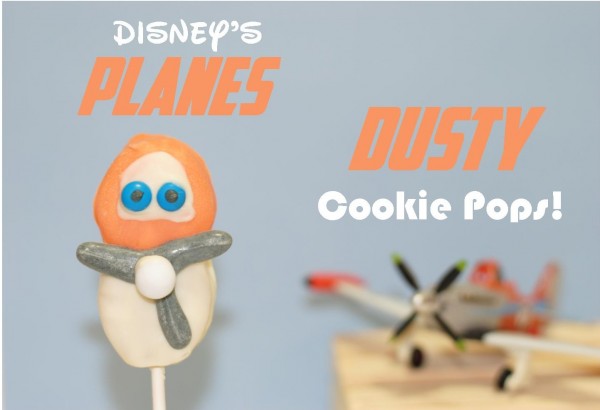 Another Planes-inspired dessert option are these Dusty Cookie Pops. You can see my simple tutorial here!
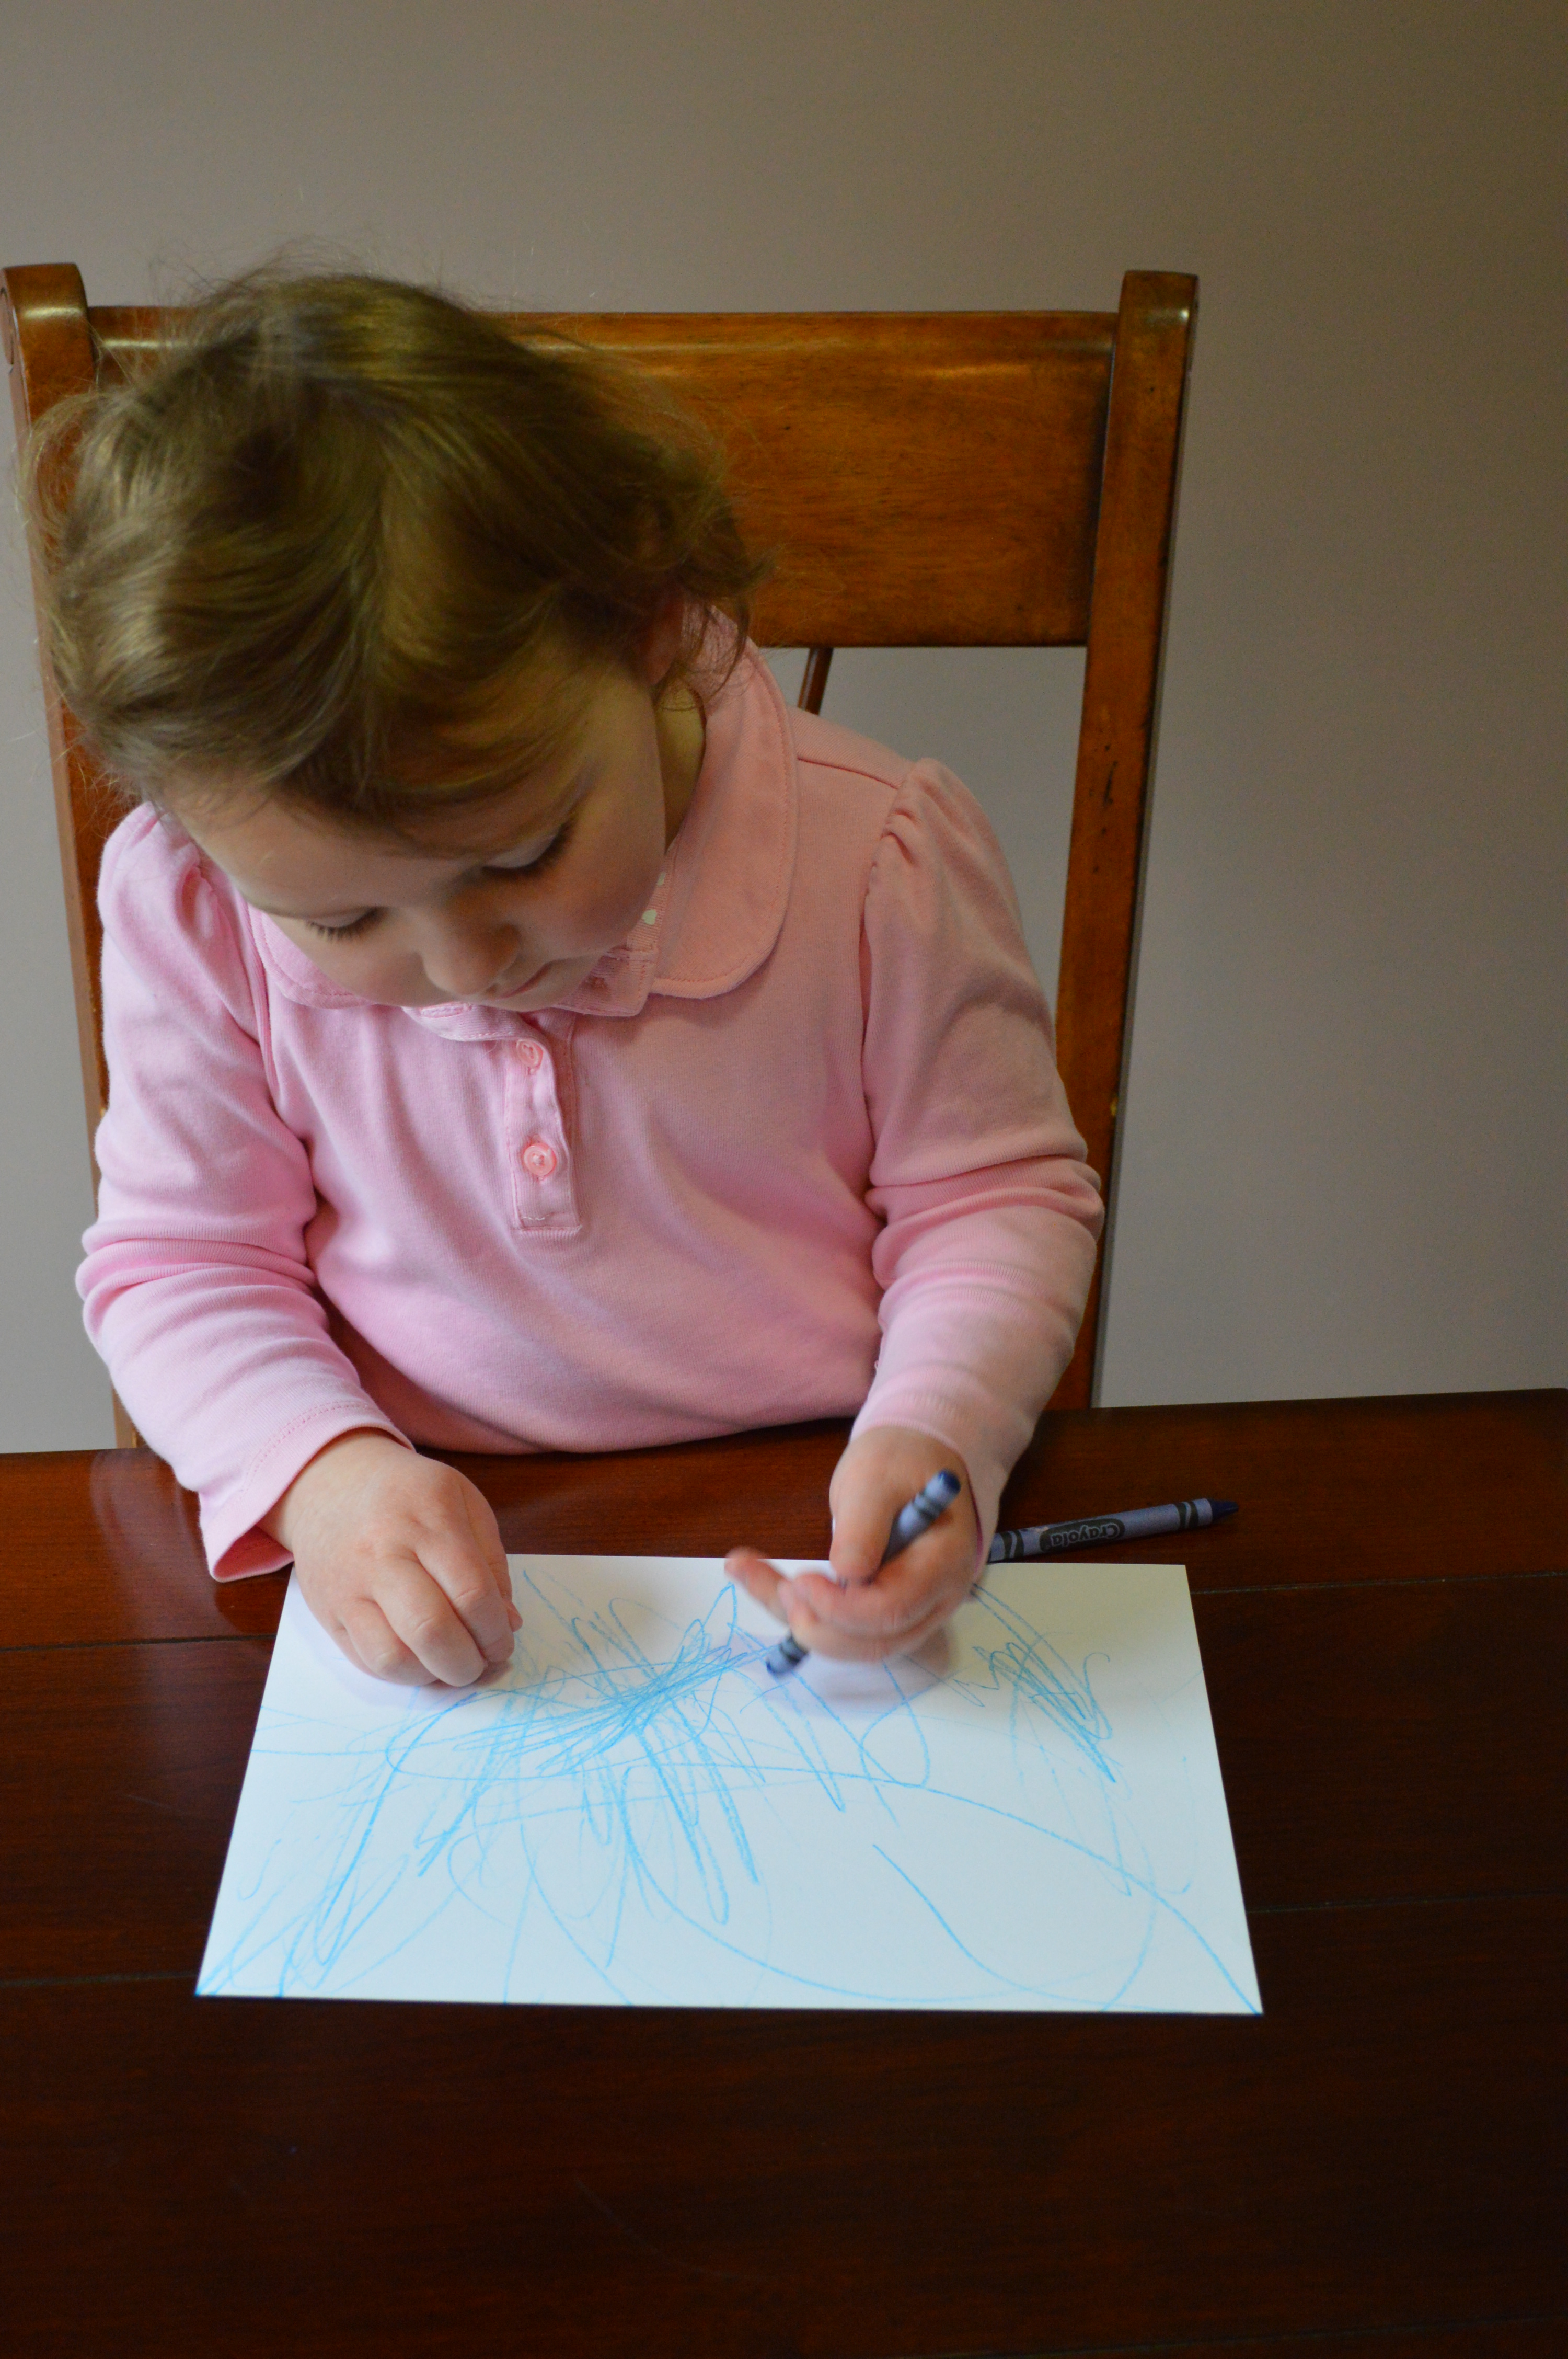
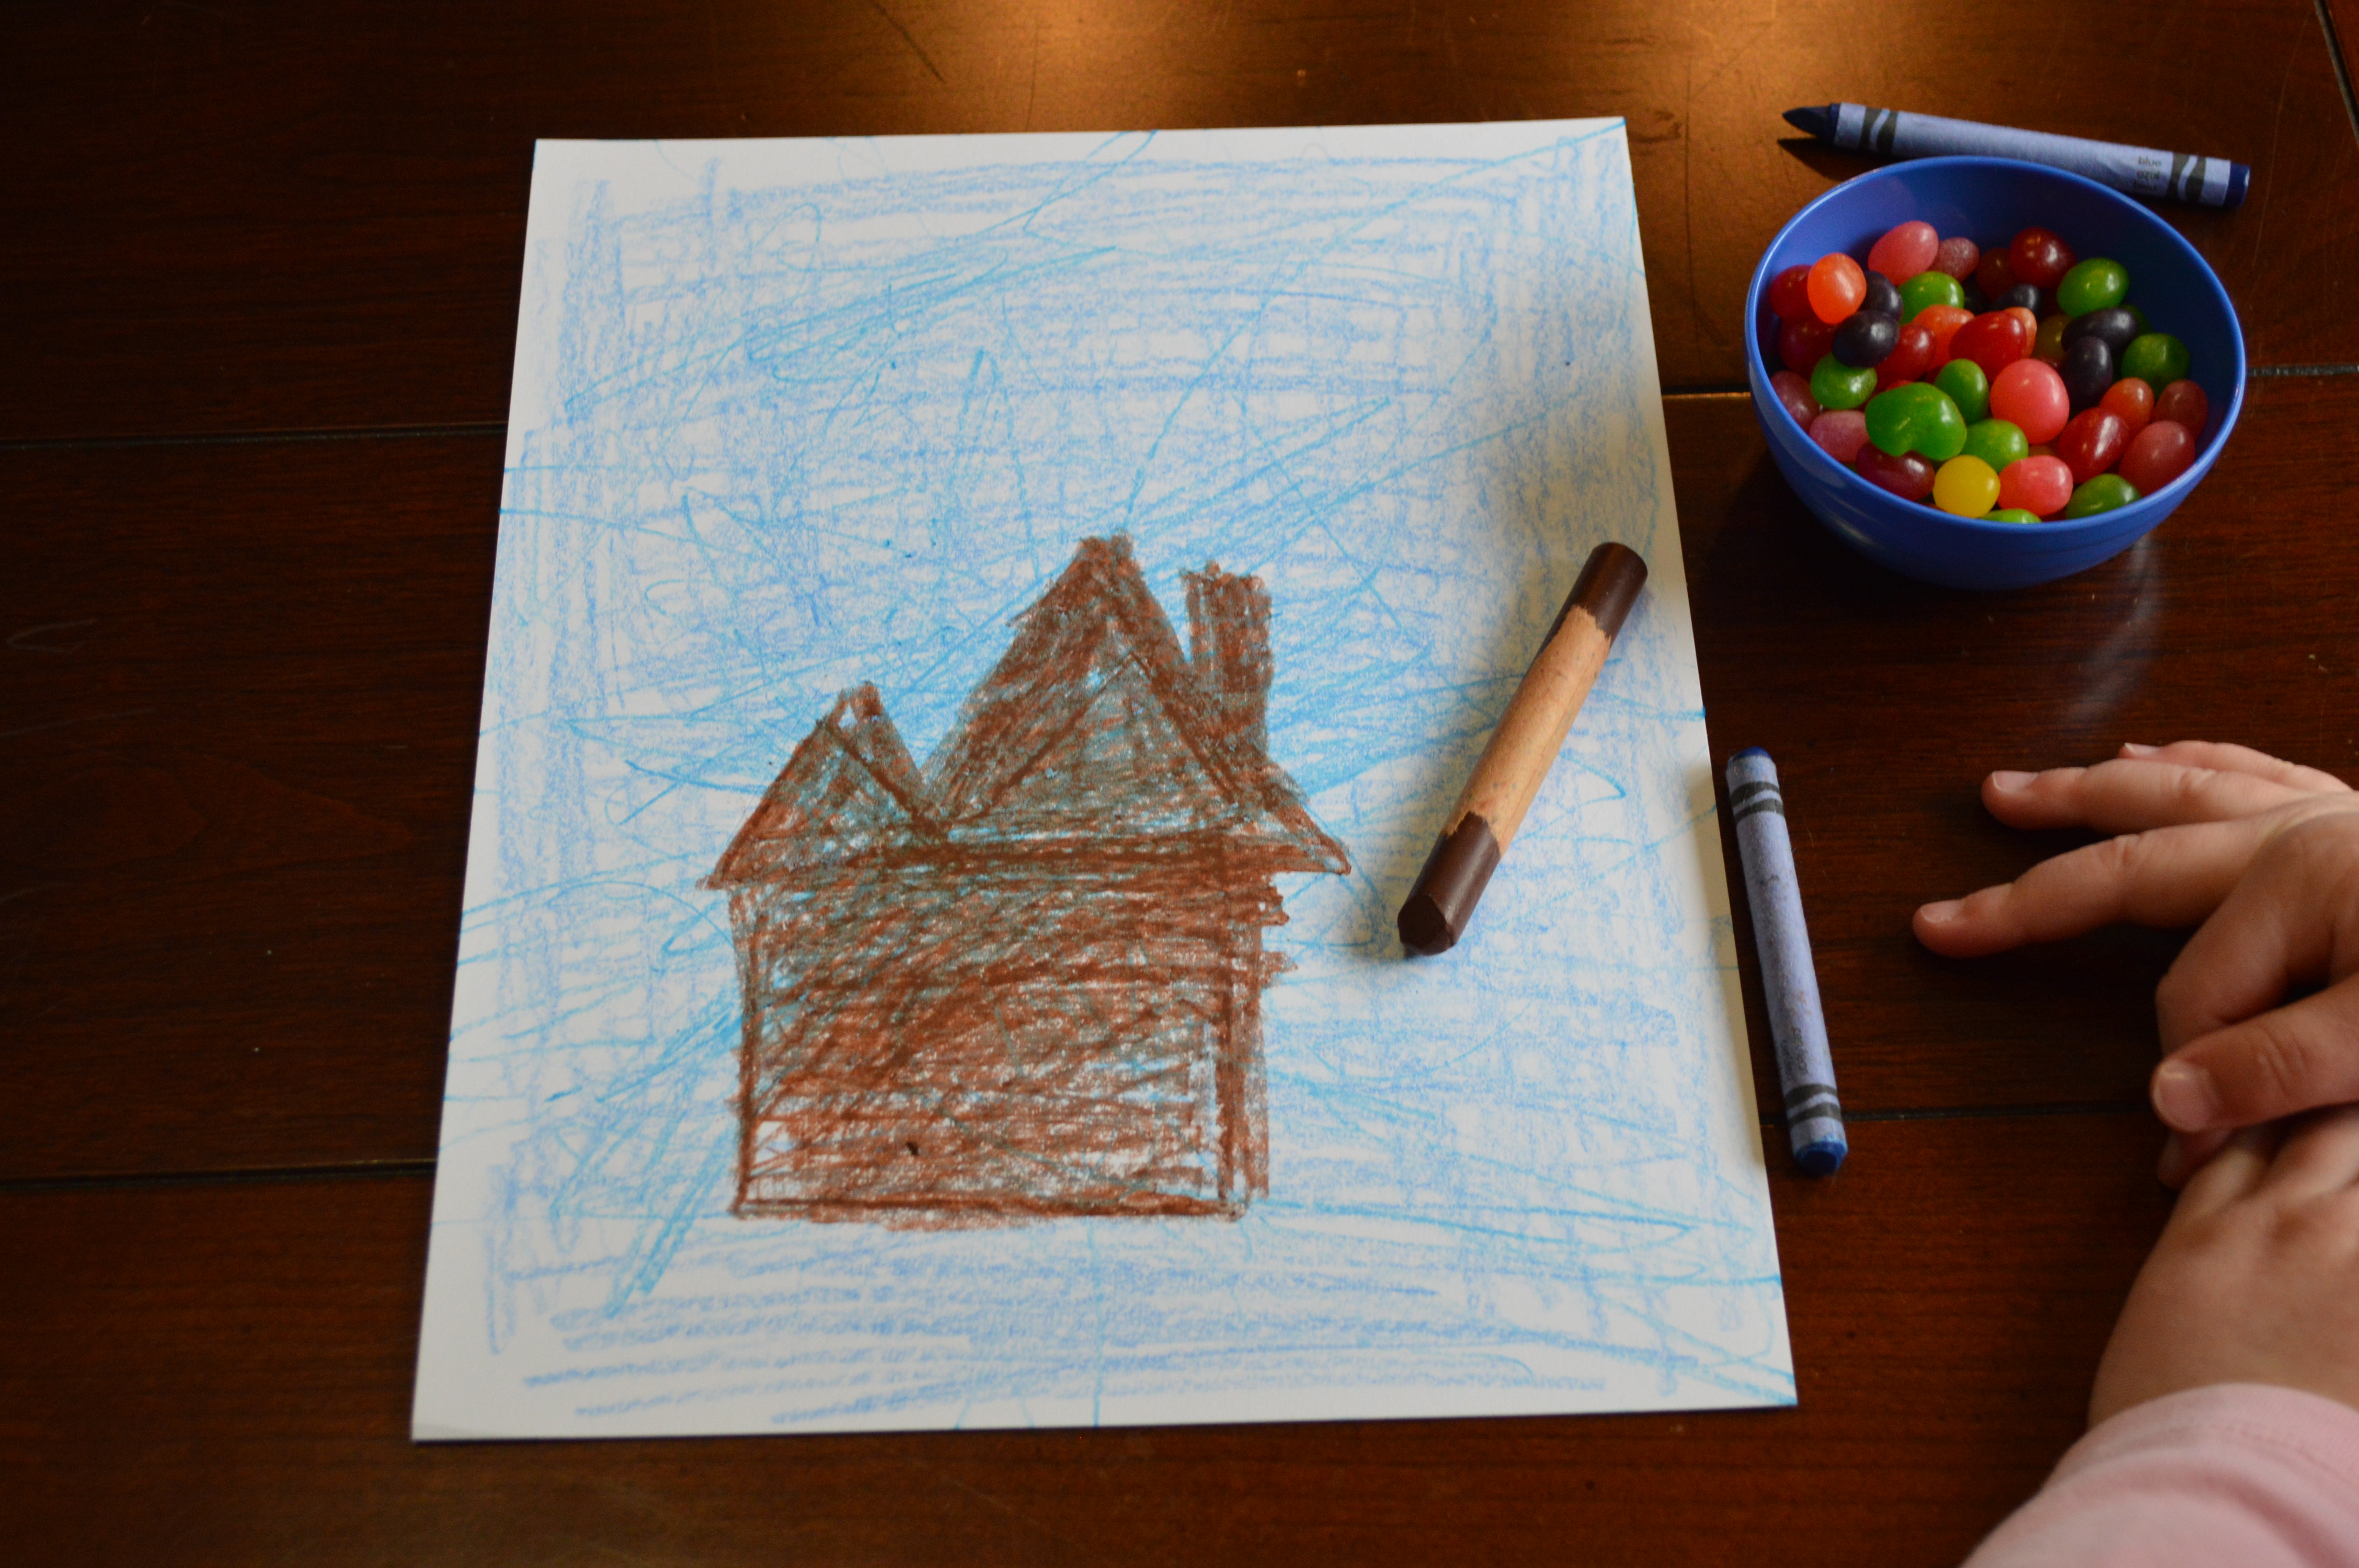
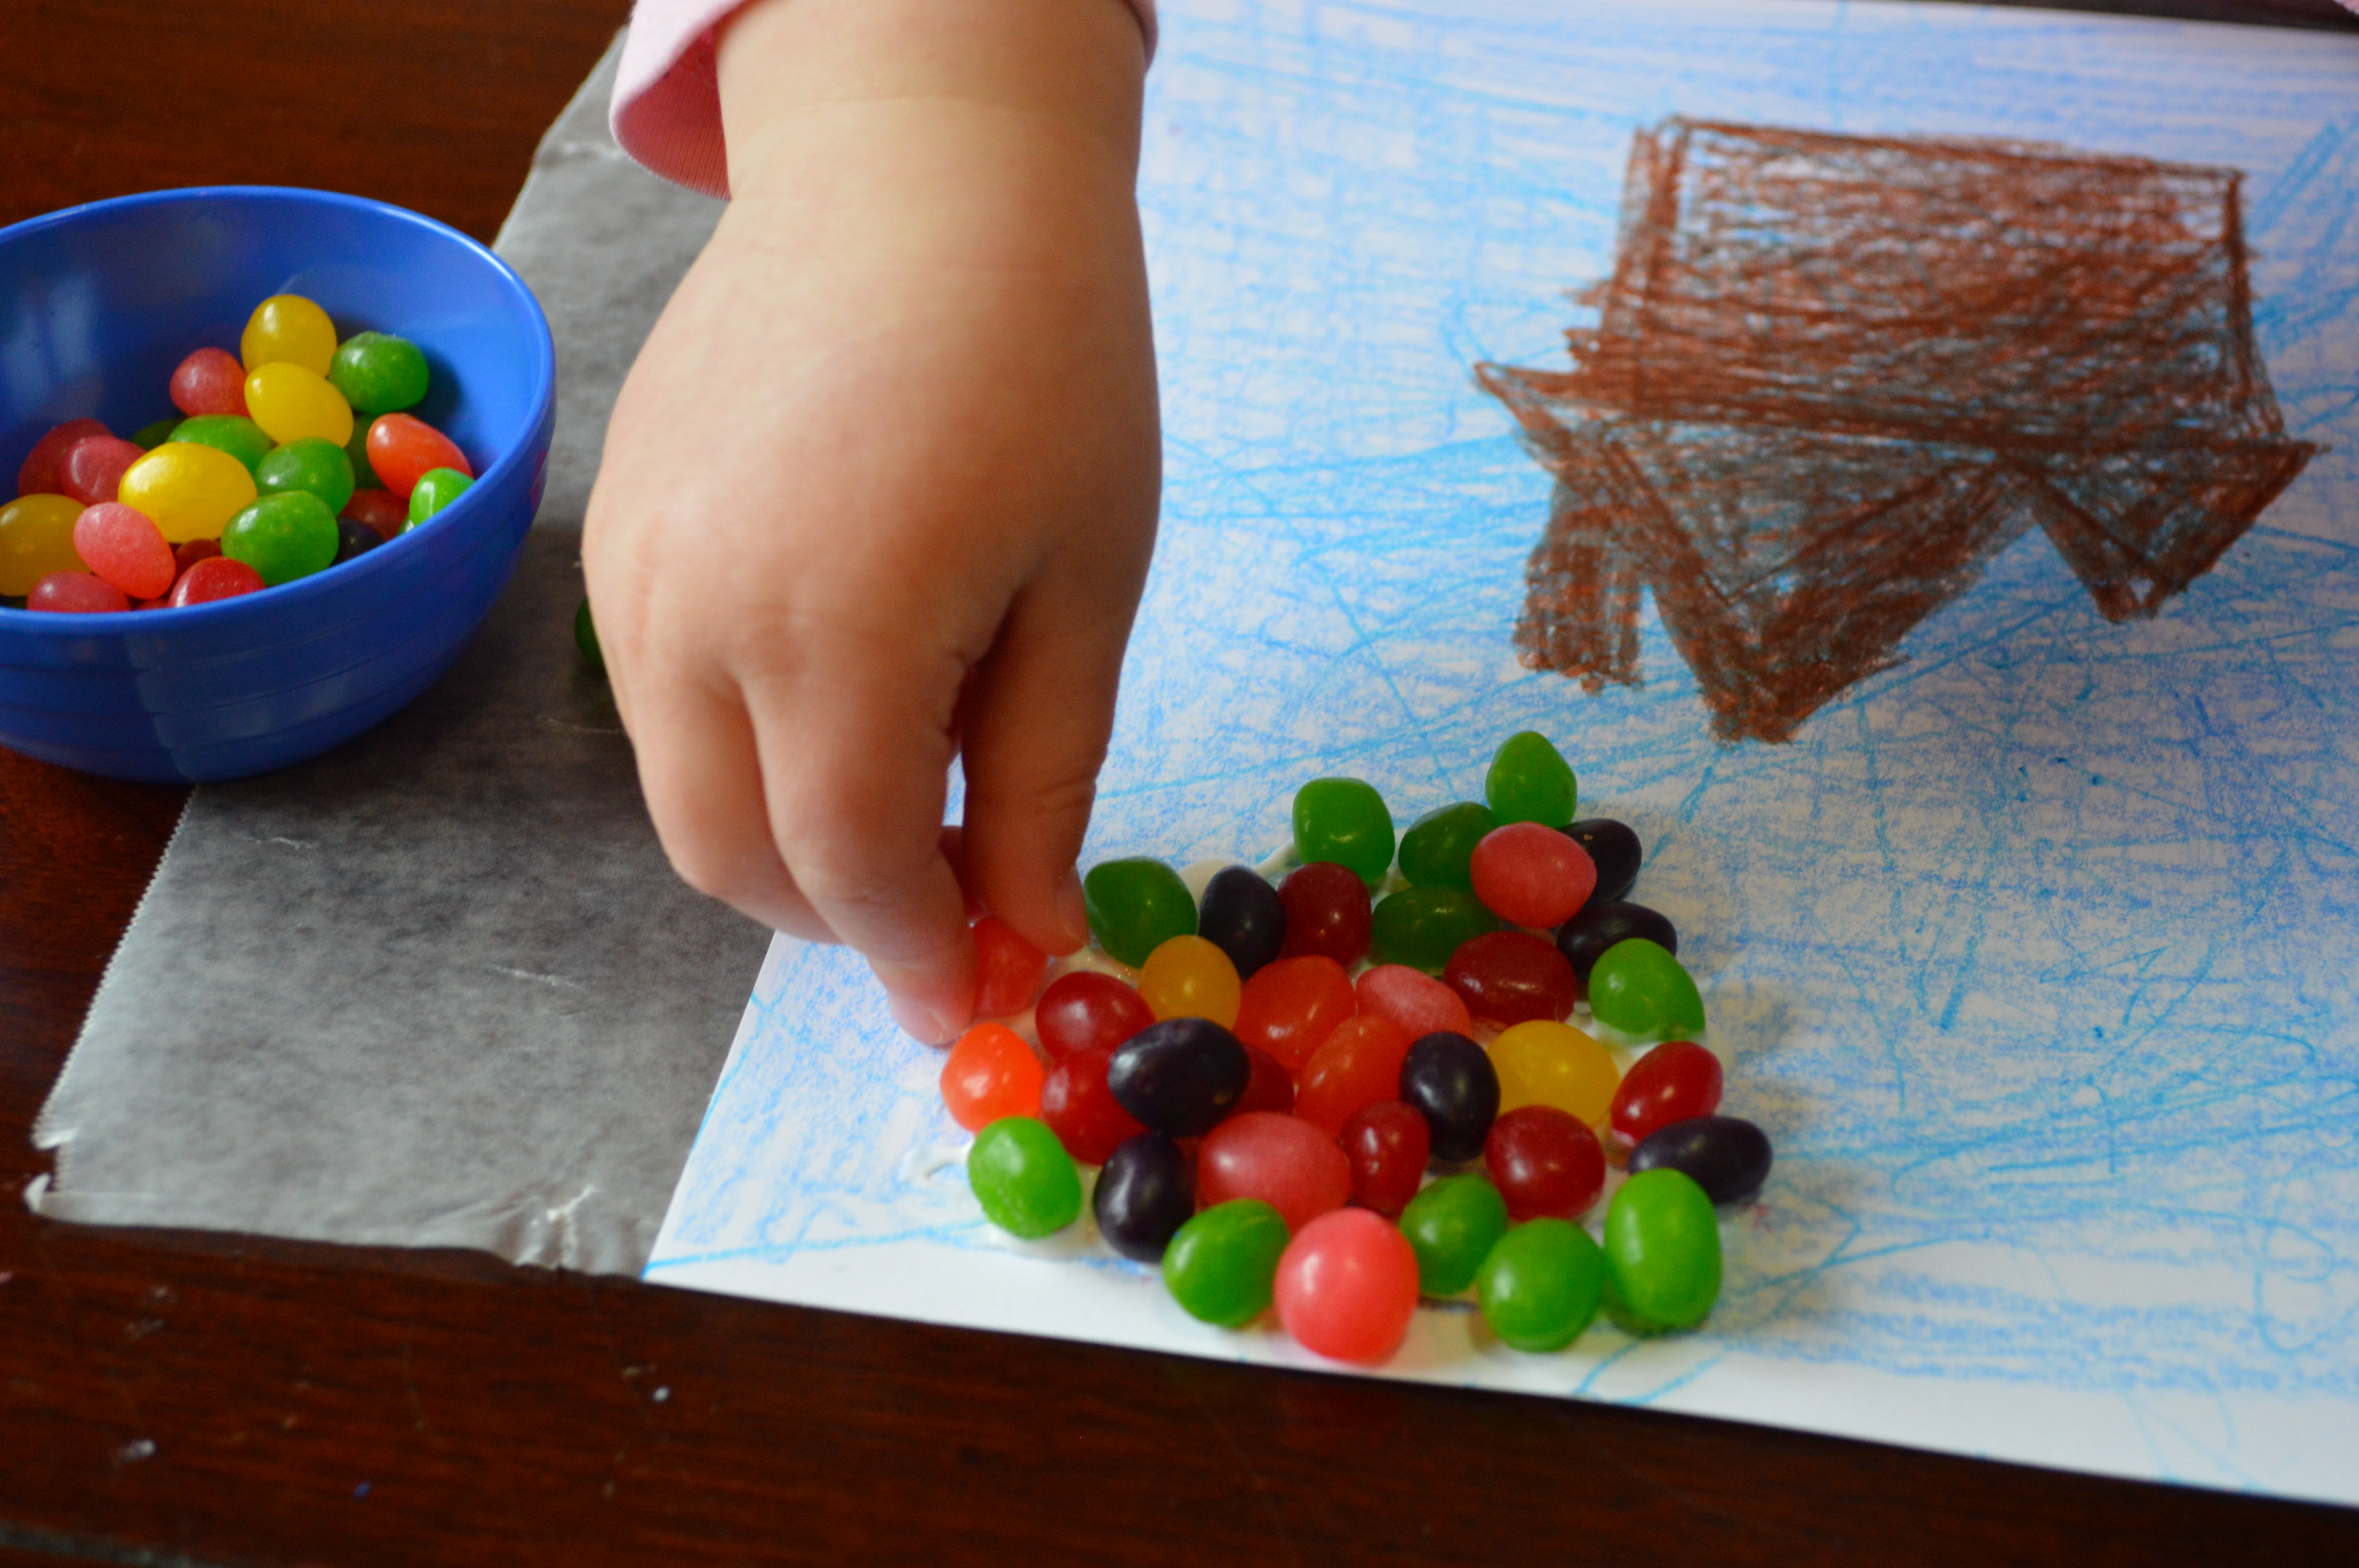
 A week and a half after Easter and my family is still consuming candy.