Category: Disney-Inspired Crafts

YAY! It’s a Magical Memories Giveaway!

giveaway

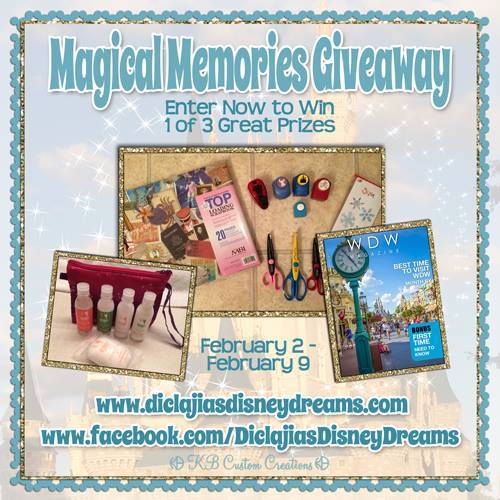
I’m thrilled to be partnering with Diclajia’s Disney Dreams (http://diclajiasdisneydreams.com/) and other Disney-Lovin’ bloggers to offer this fantastic giveaway.

Here are the Prize Details!

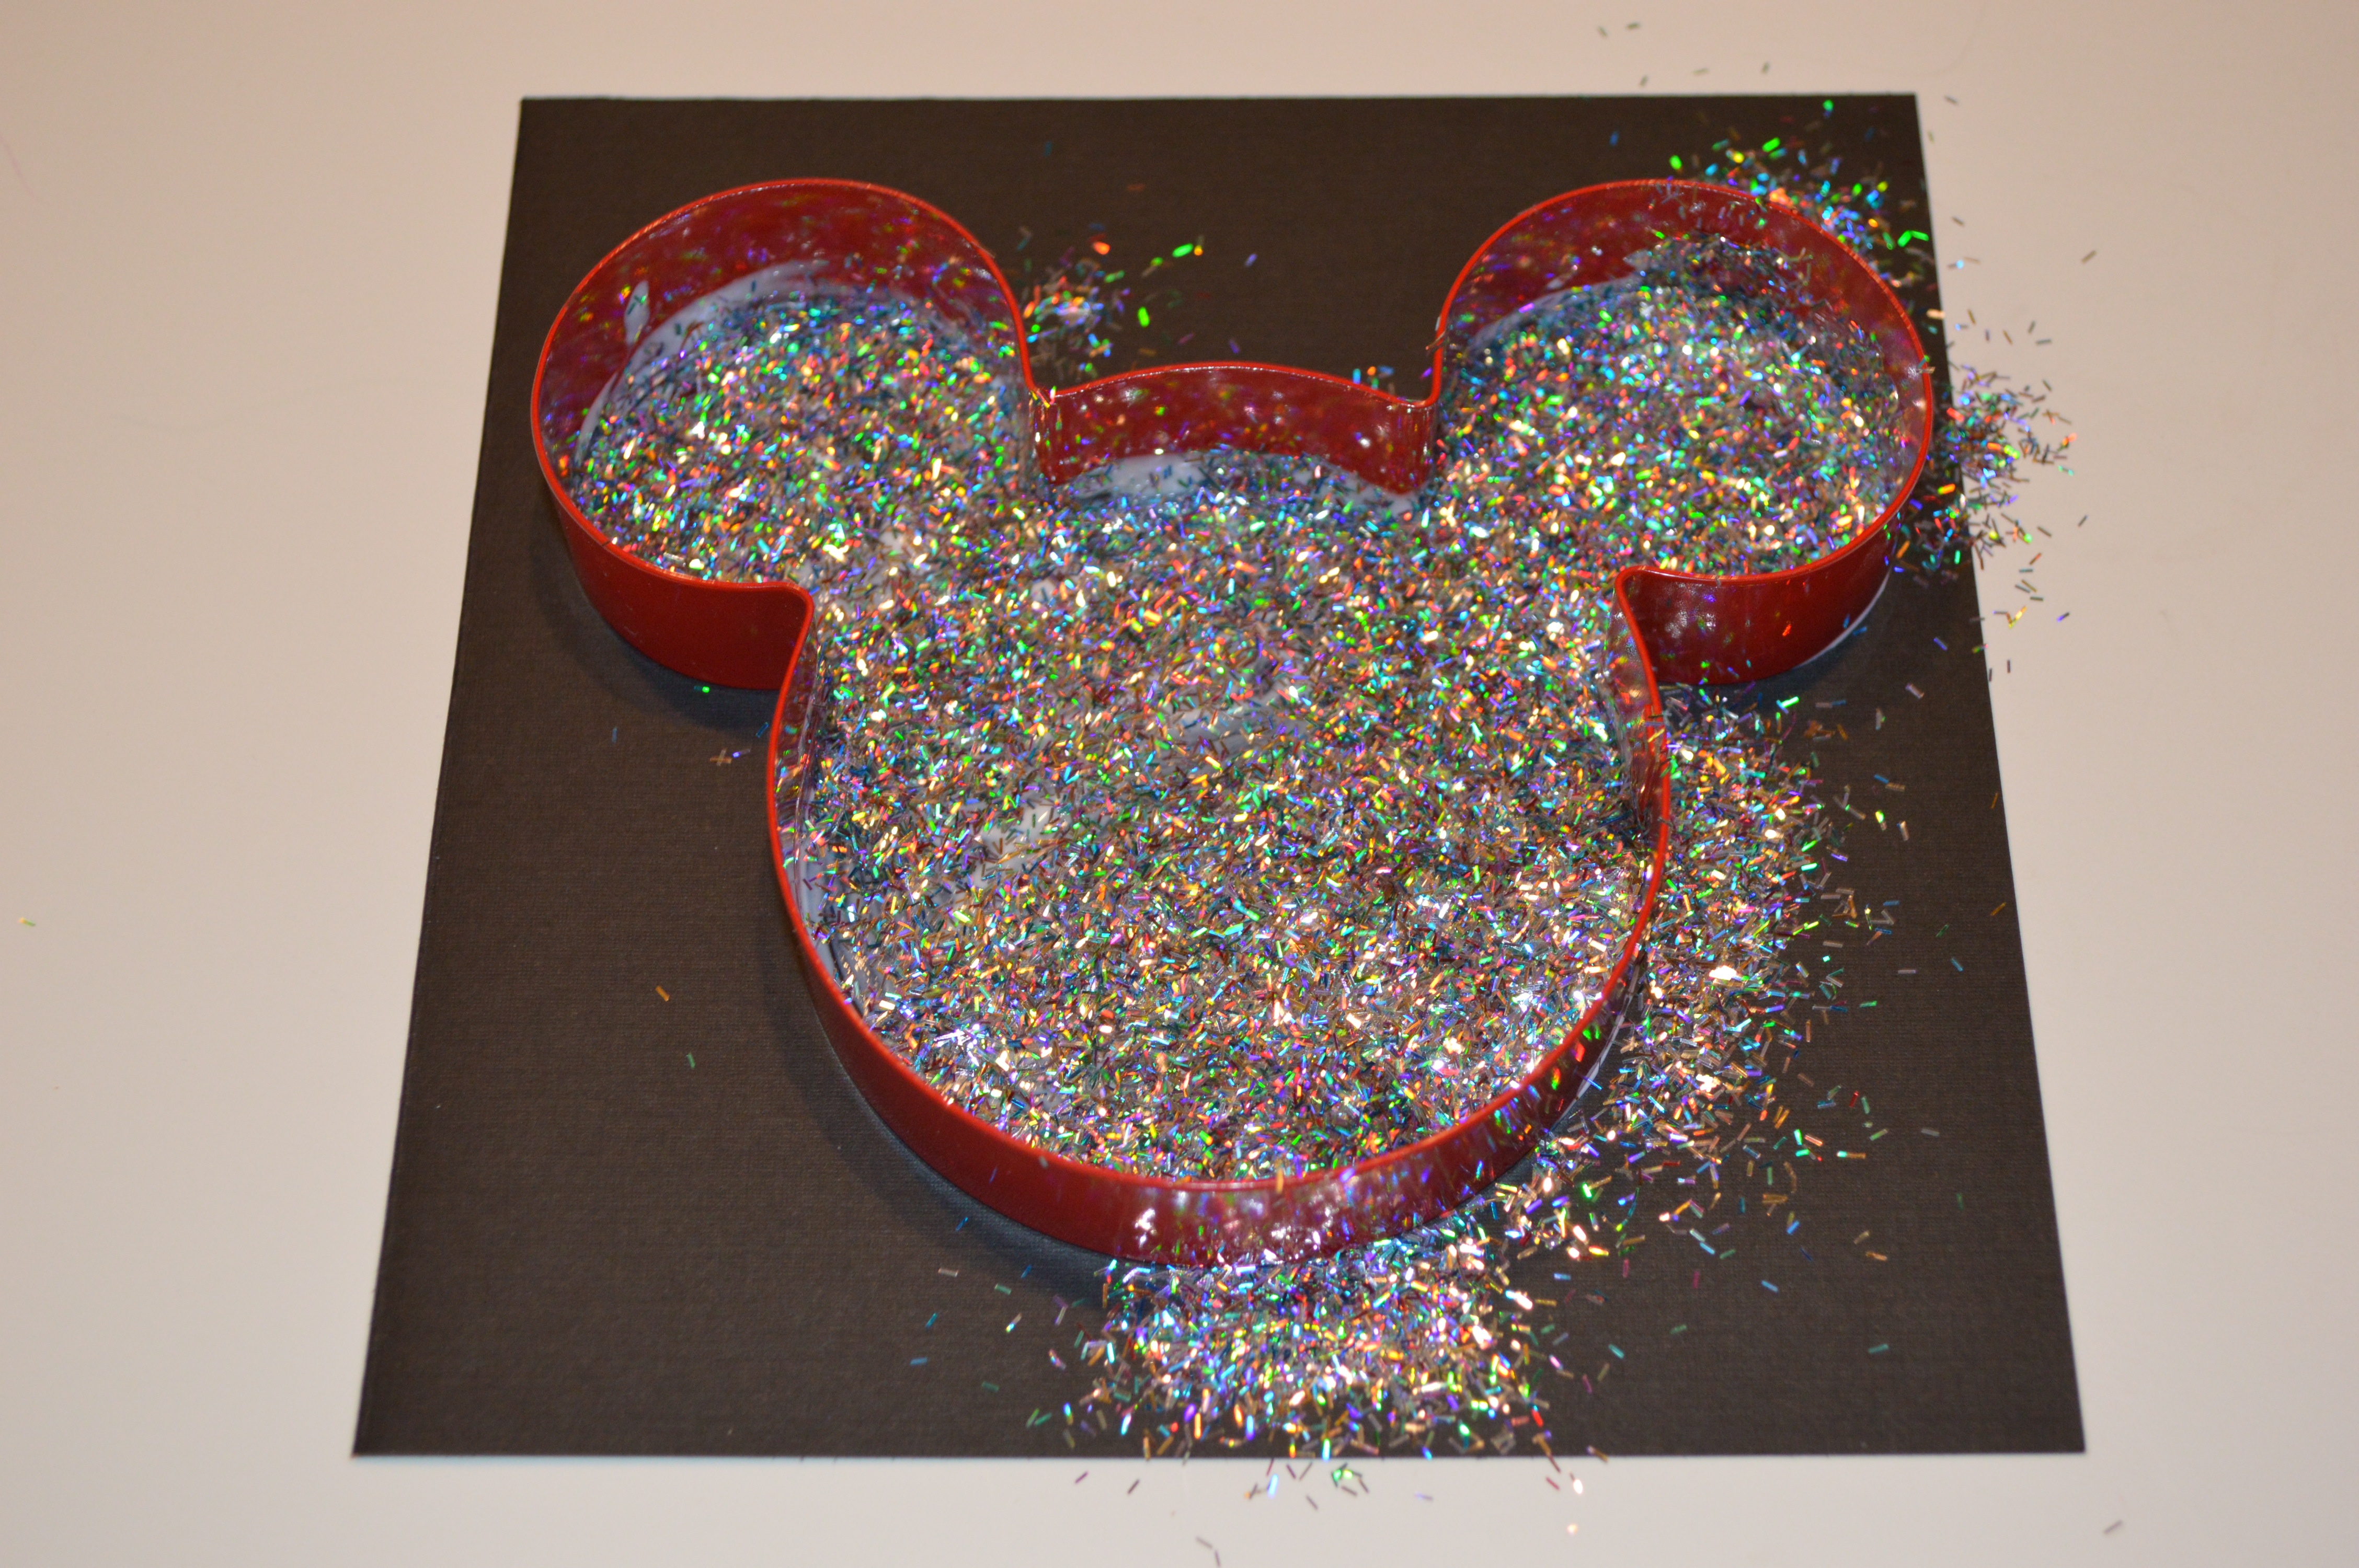
First Place Prize is a Scrapbooking Set that includes a 20 page, Acid Free, Post Bound Scrapbook; 3 crimping  scissors; 5 Disney Paper punches with (Mickey, Tigger, Cinderella Castle, Stitch and Mickey Silhouette); Sizzix Snow Flake Dies (inspired by the new movie Frozen); New Mickey and Minnie Duct Tape and ribbons.

Second Place Prize is a 1 year WDW Magazine Digital subscription.

Third Place Prize is a Tinkerbell H2O Travel size bath set from Walt Disney World that includes (Shampoo, Conditioner, Shower Gel, Lotion and Facial Soap) all in a travel pouch.

Why am I so excited?

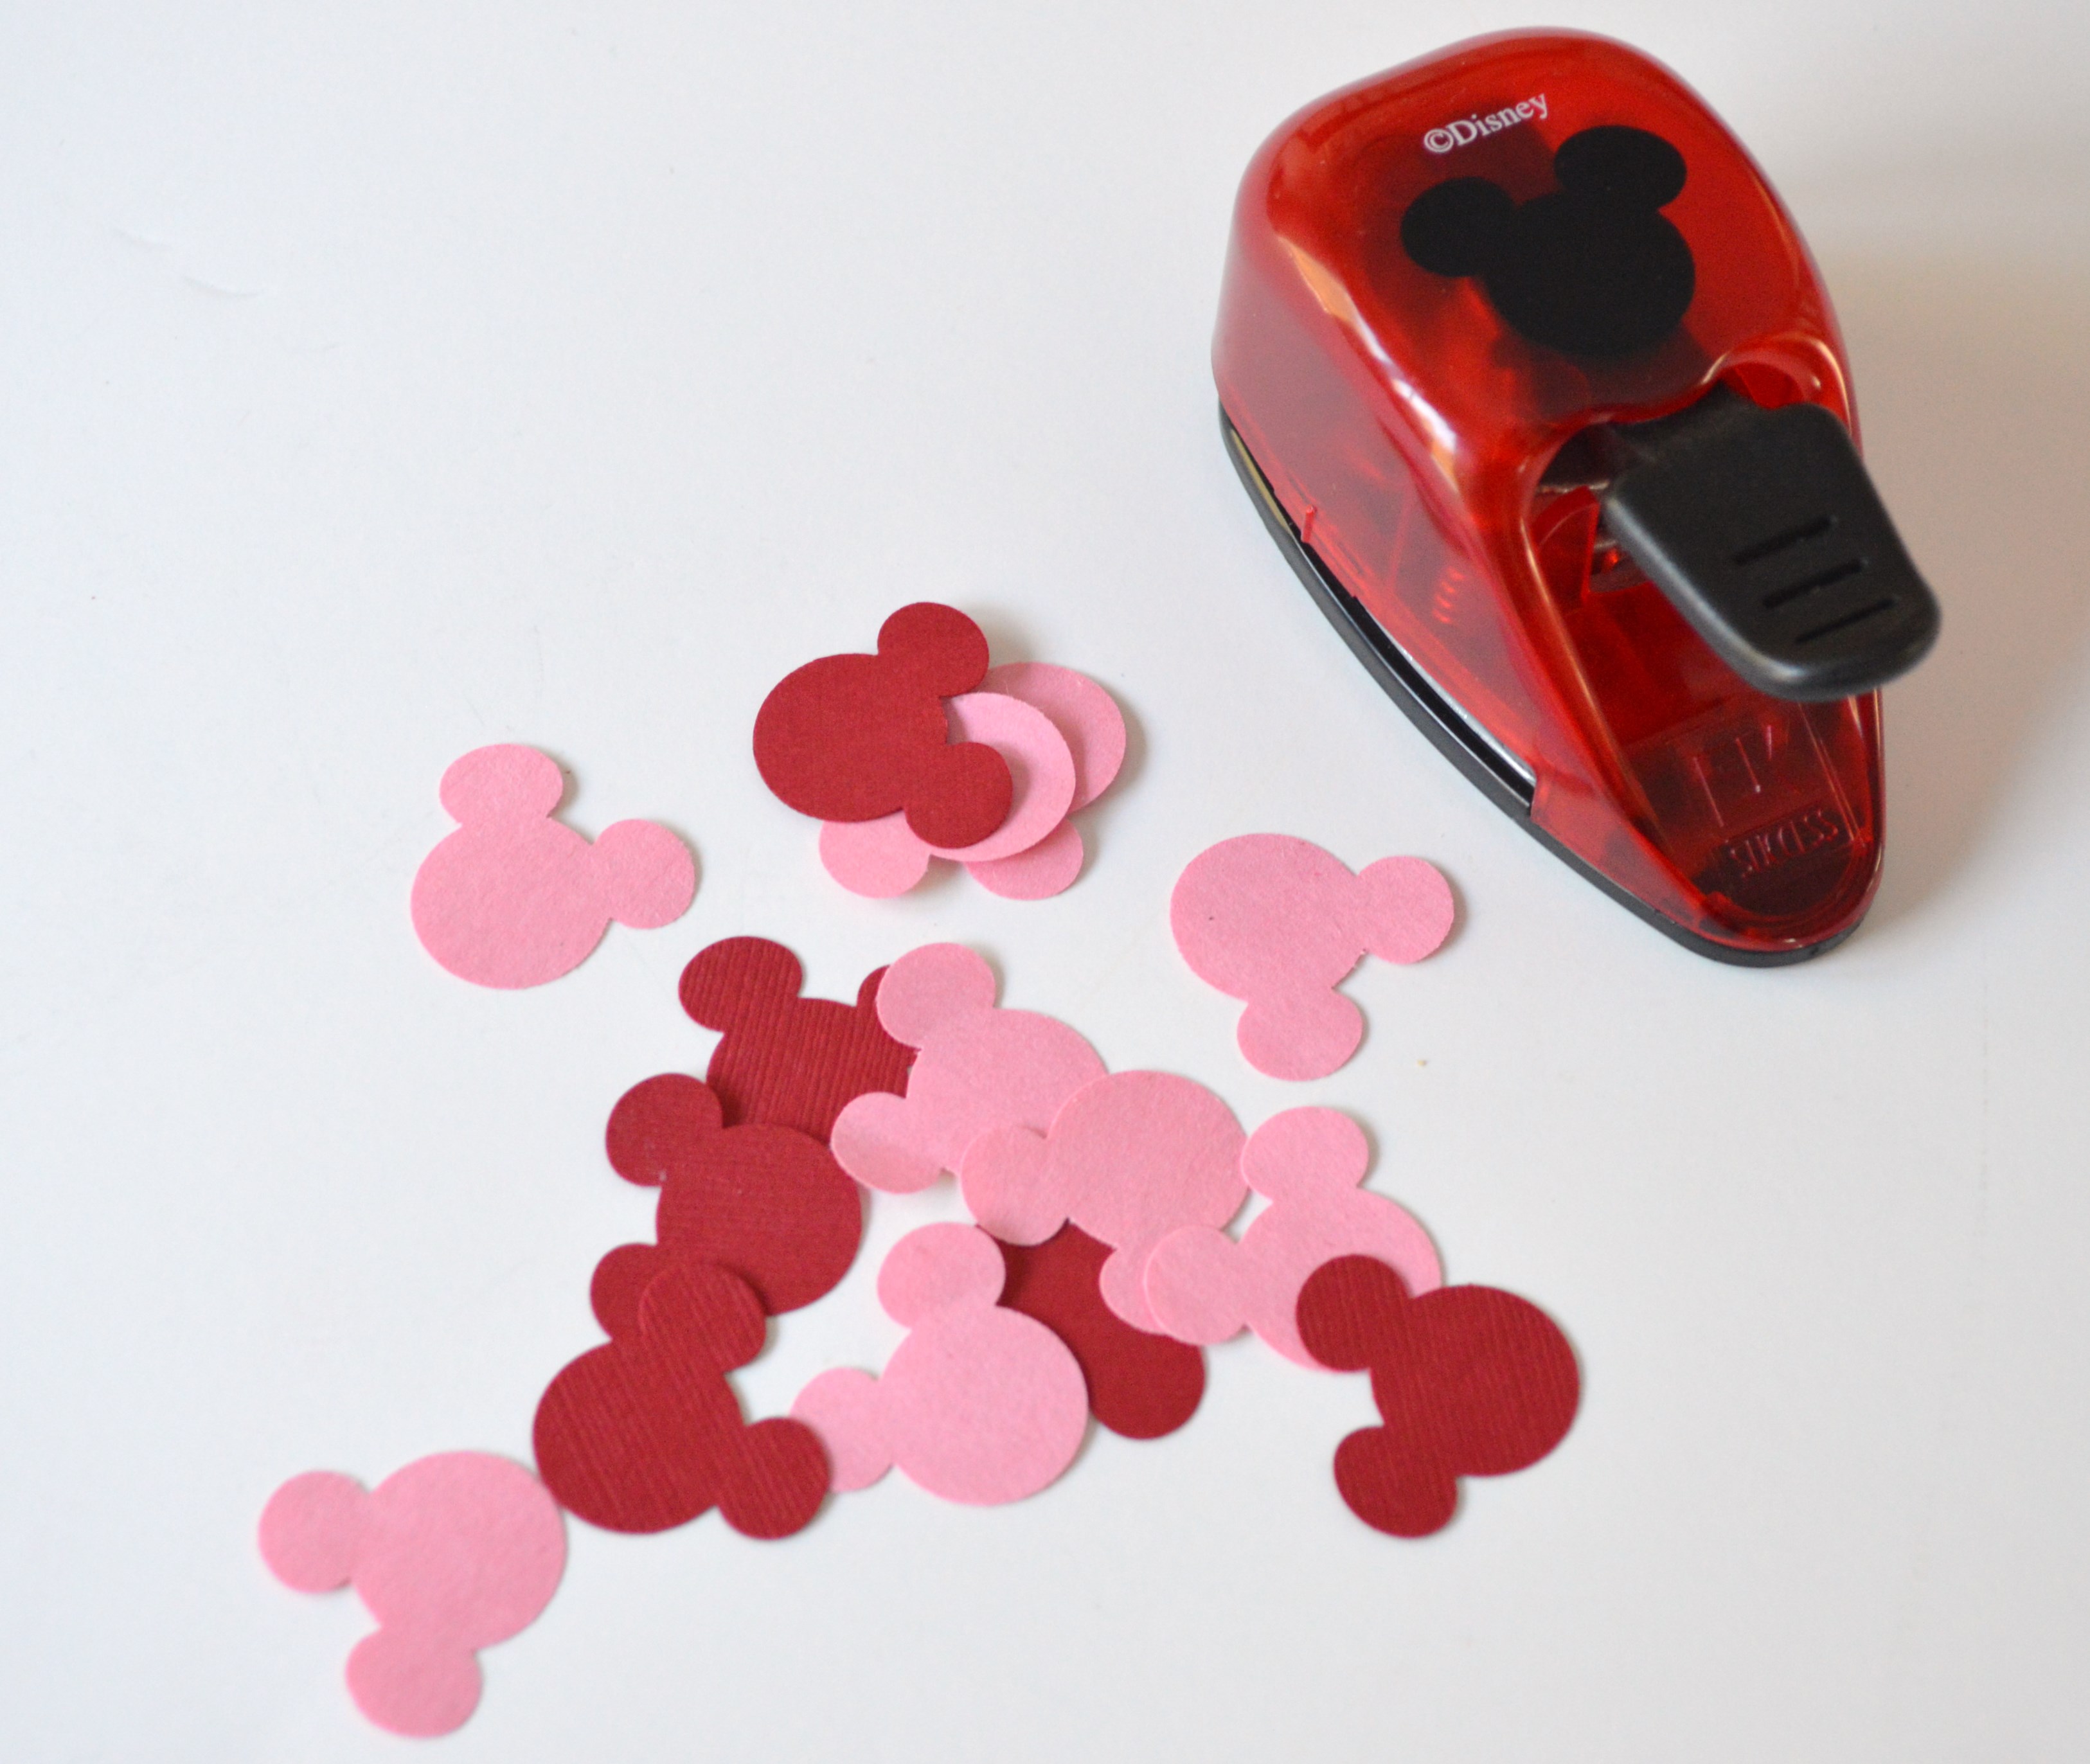
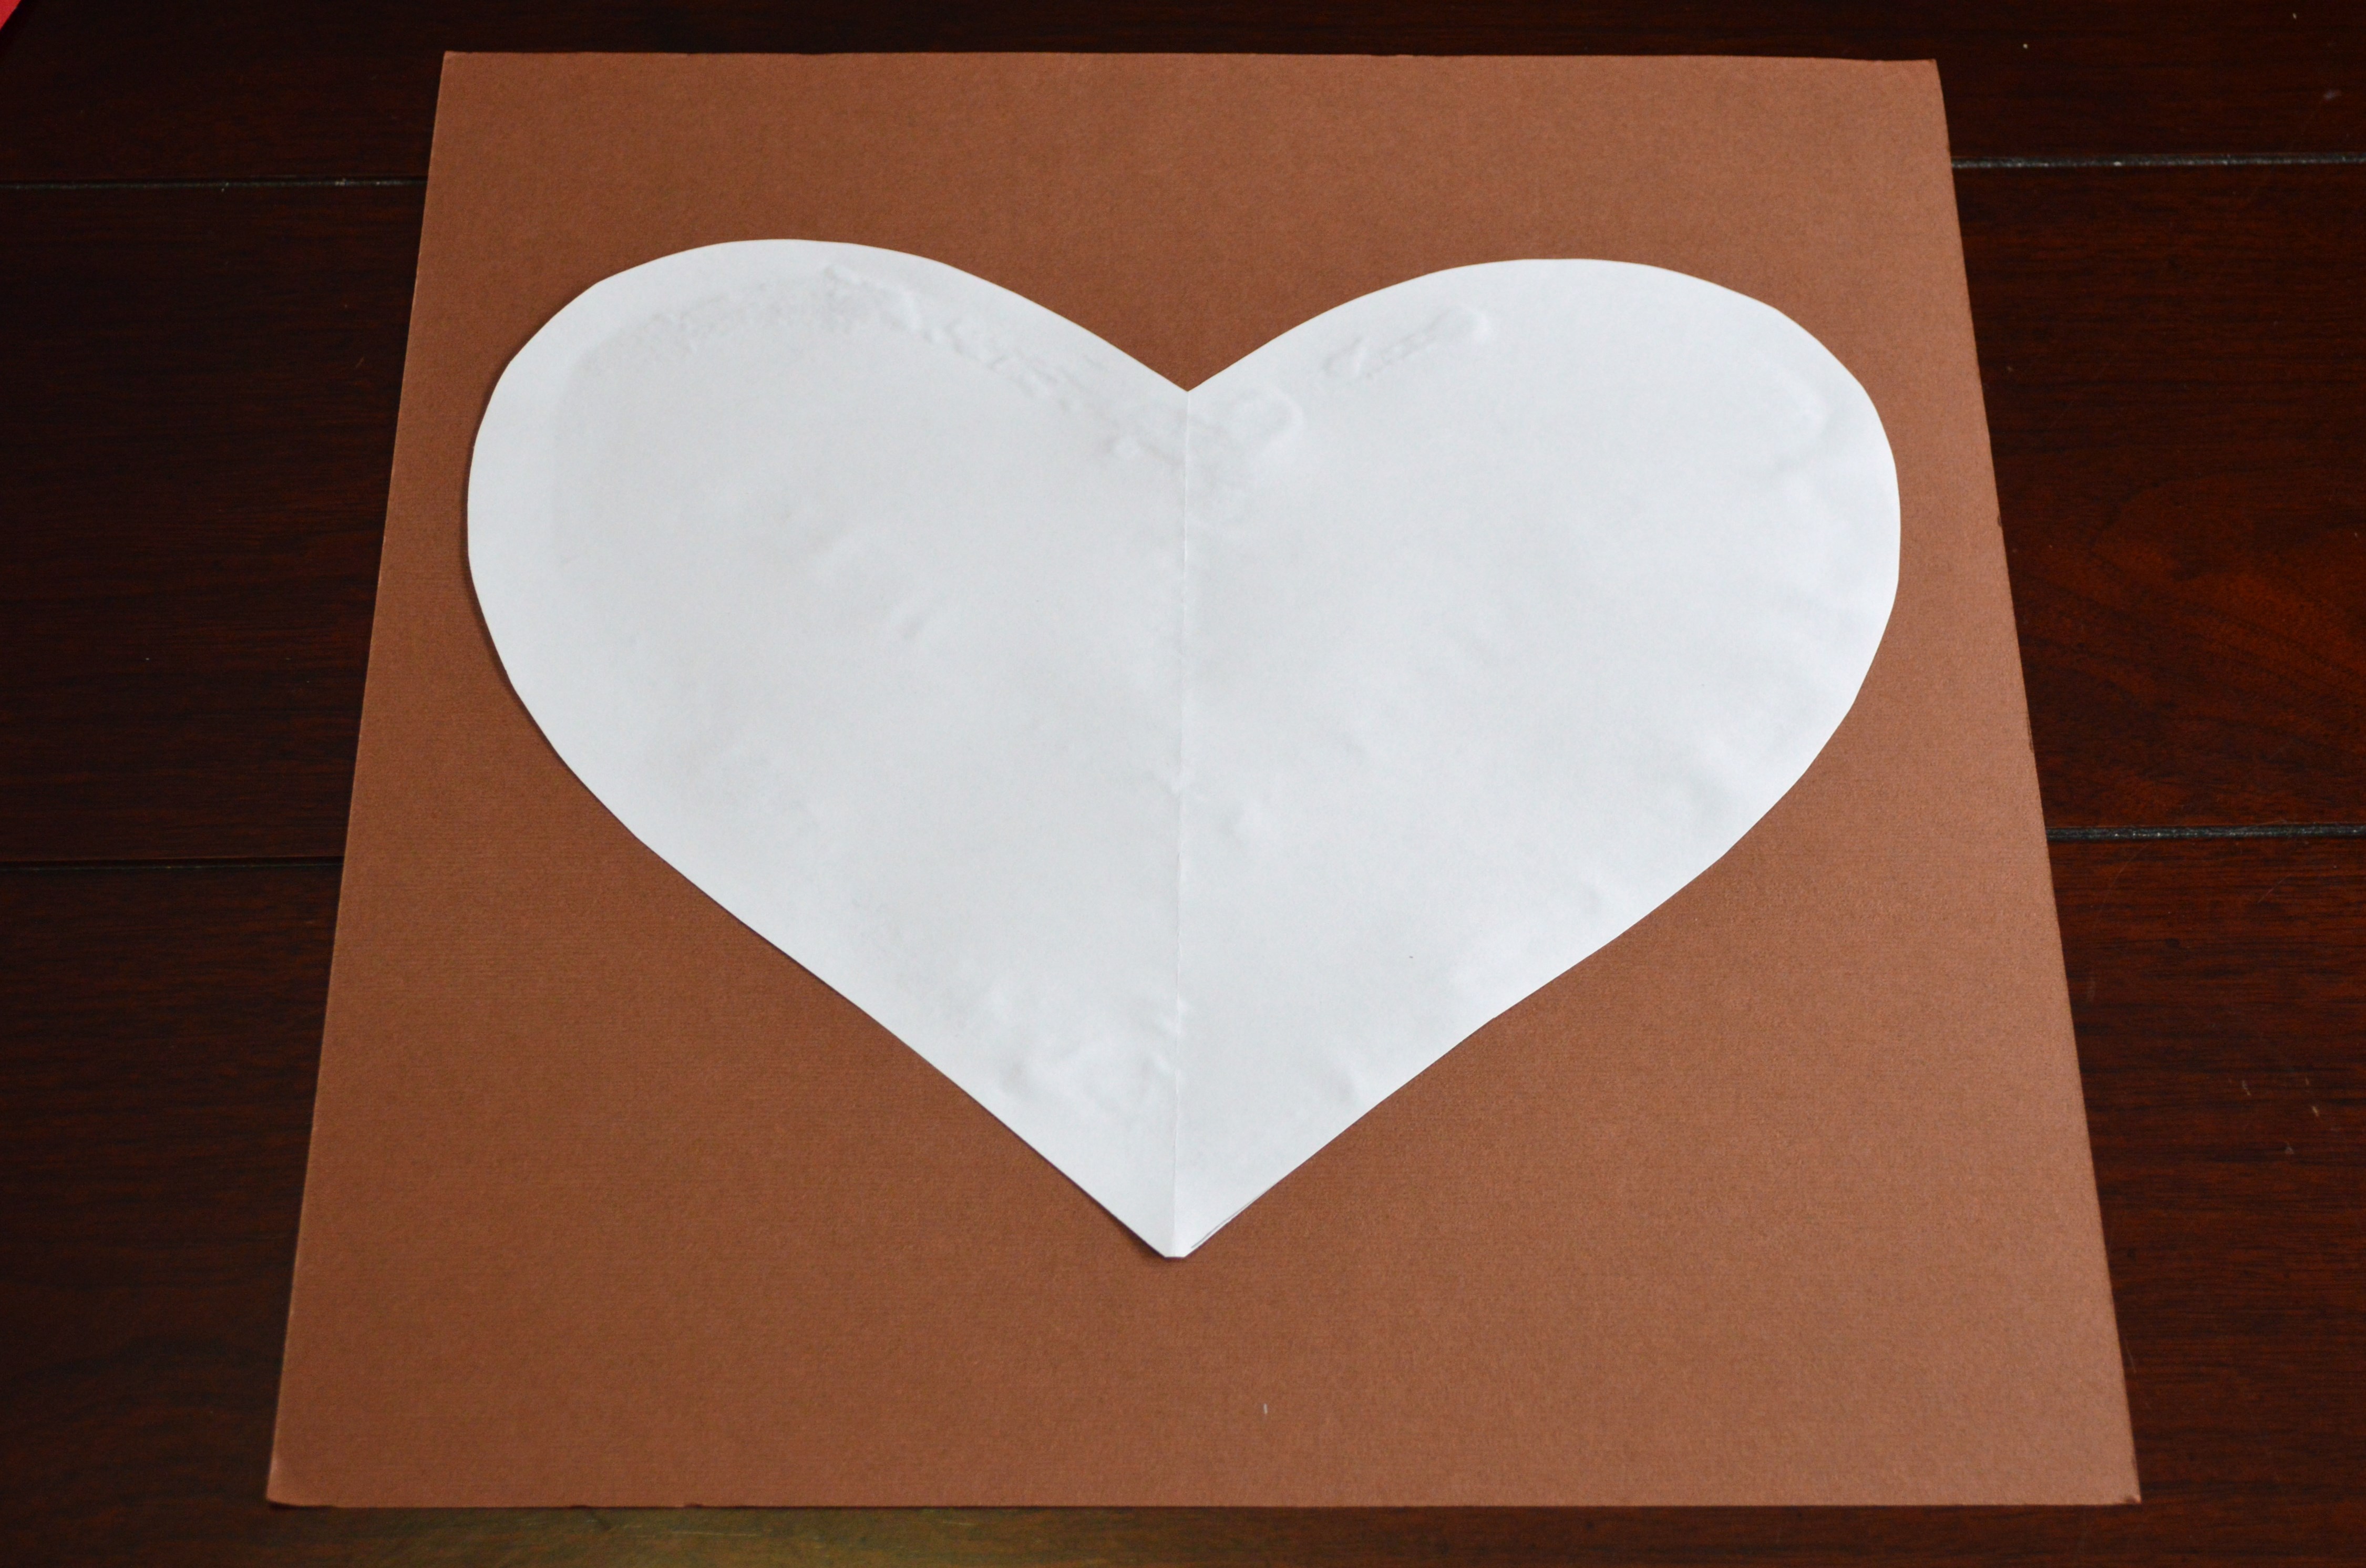
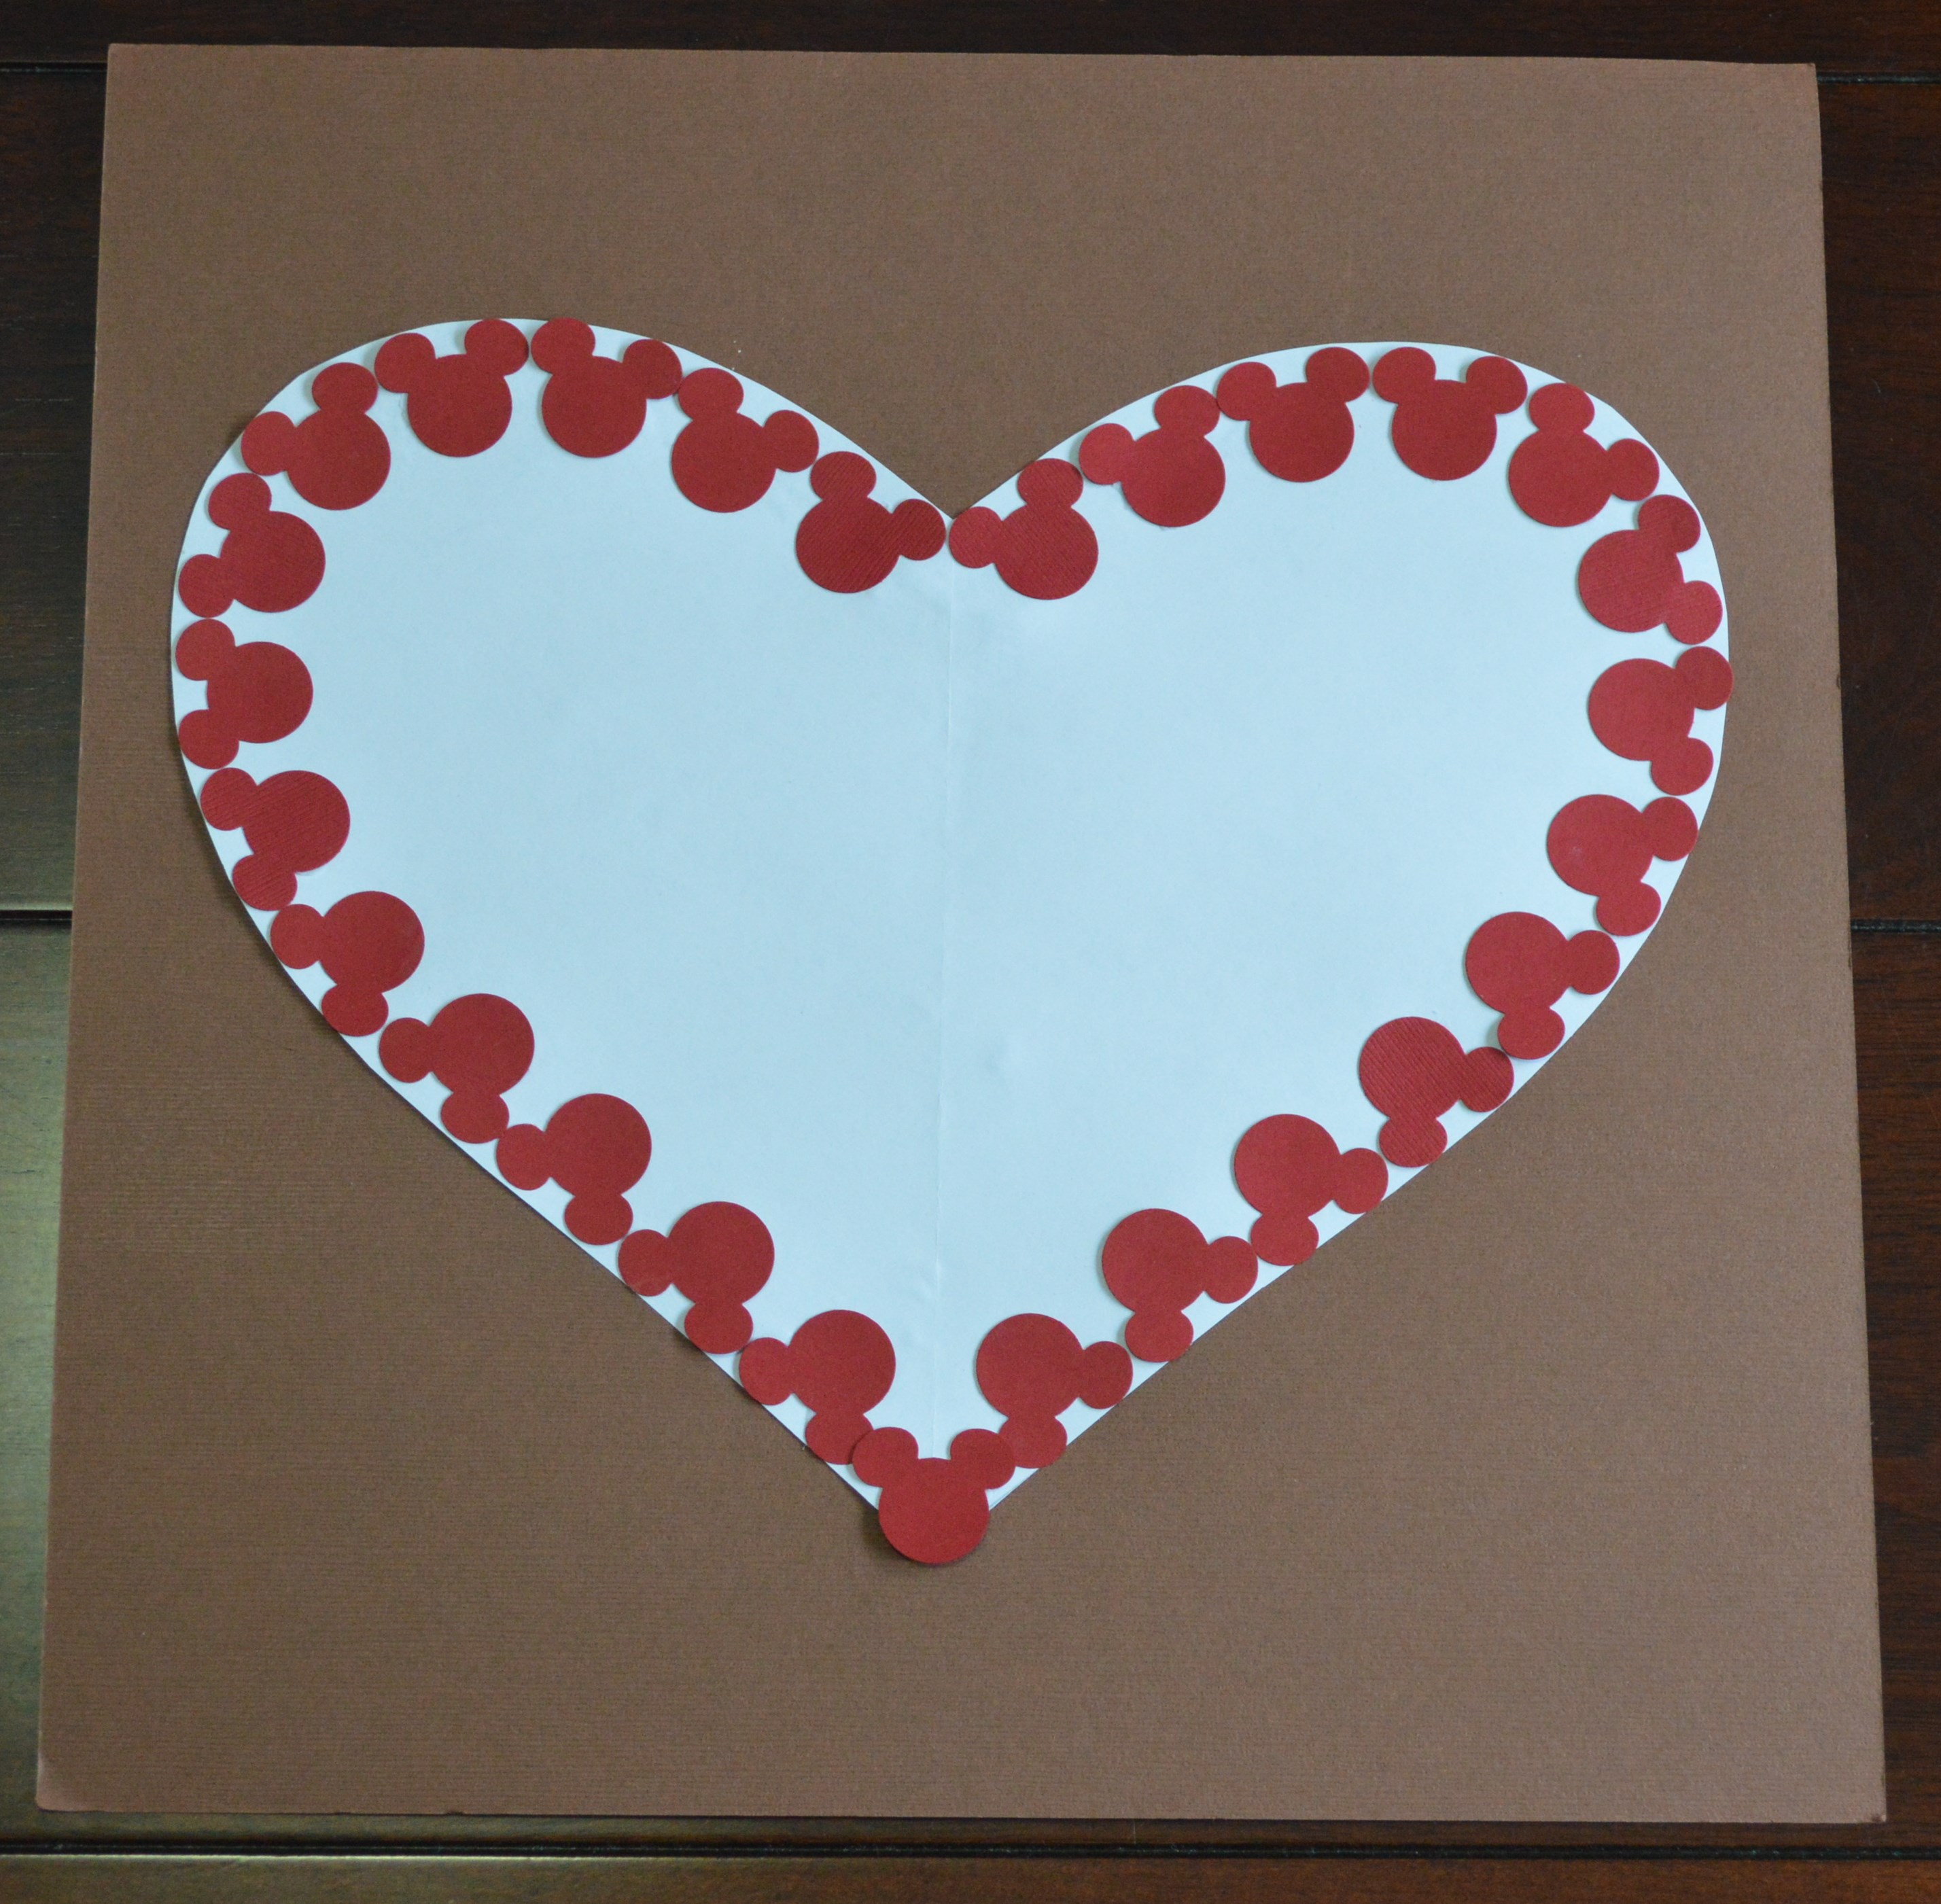
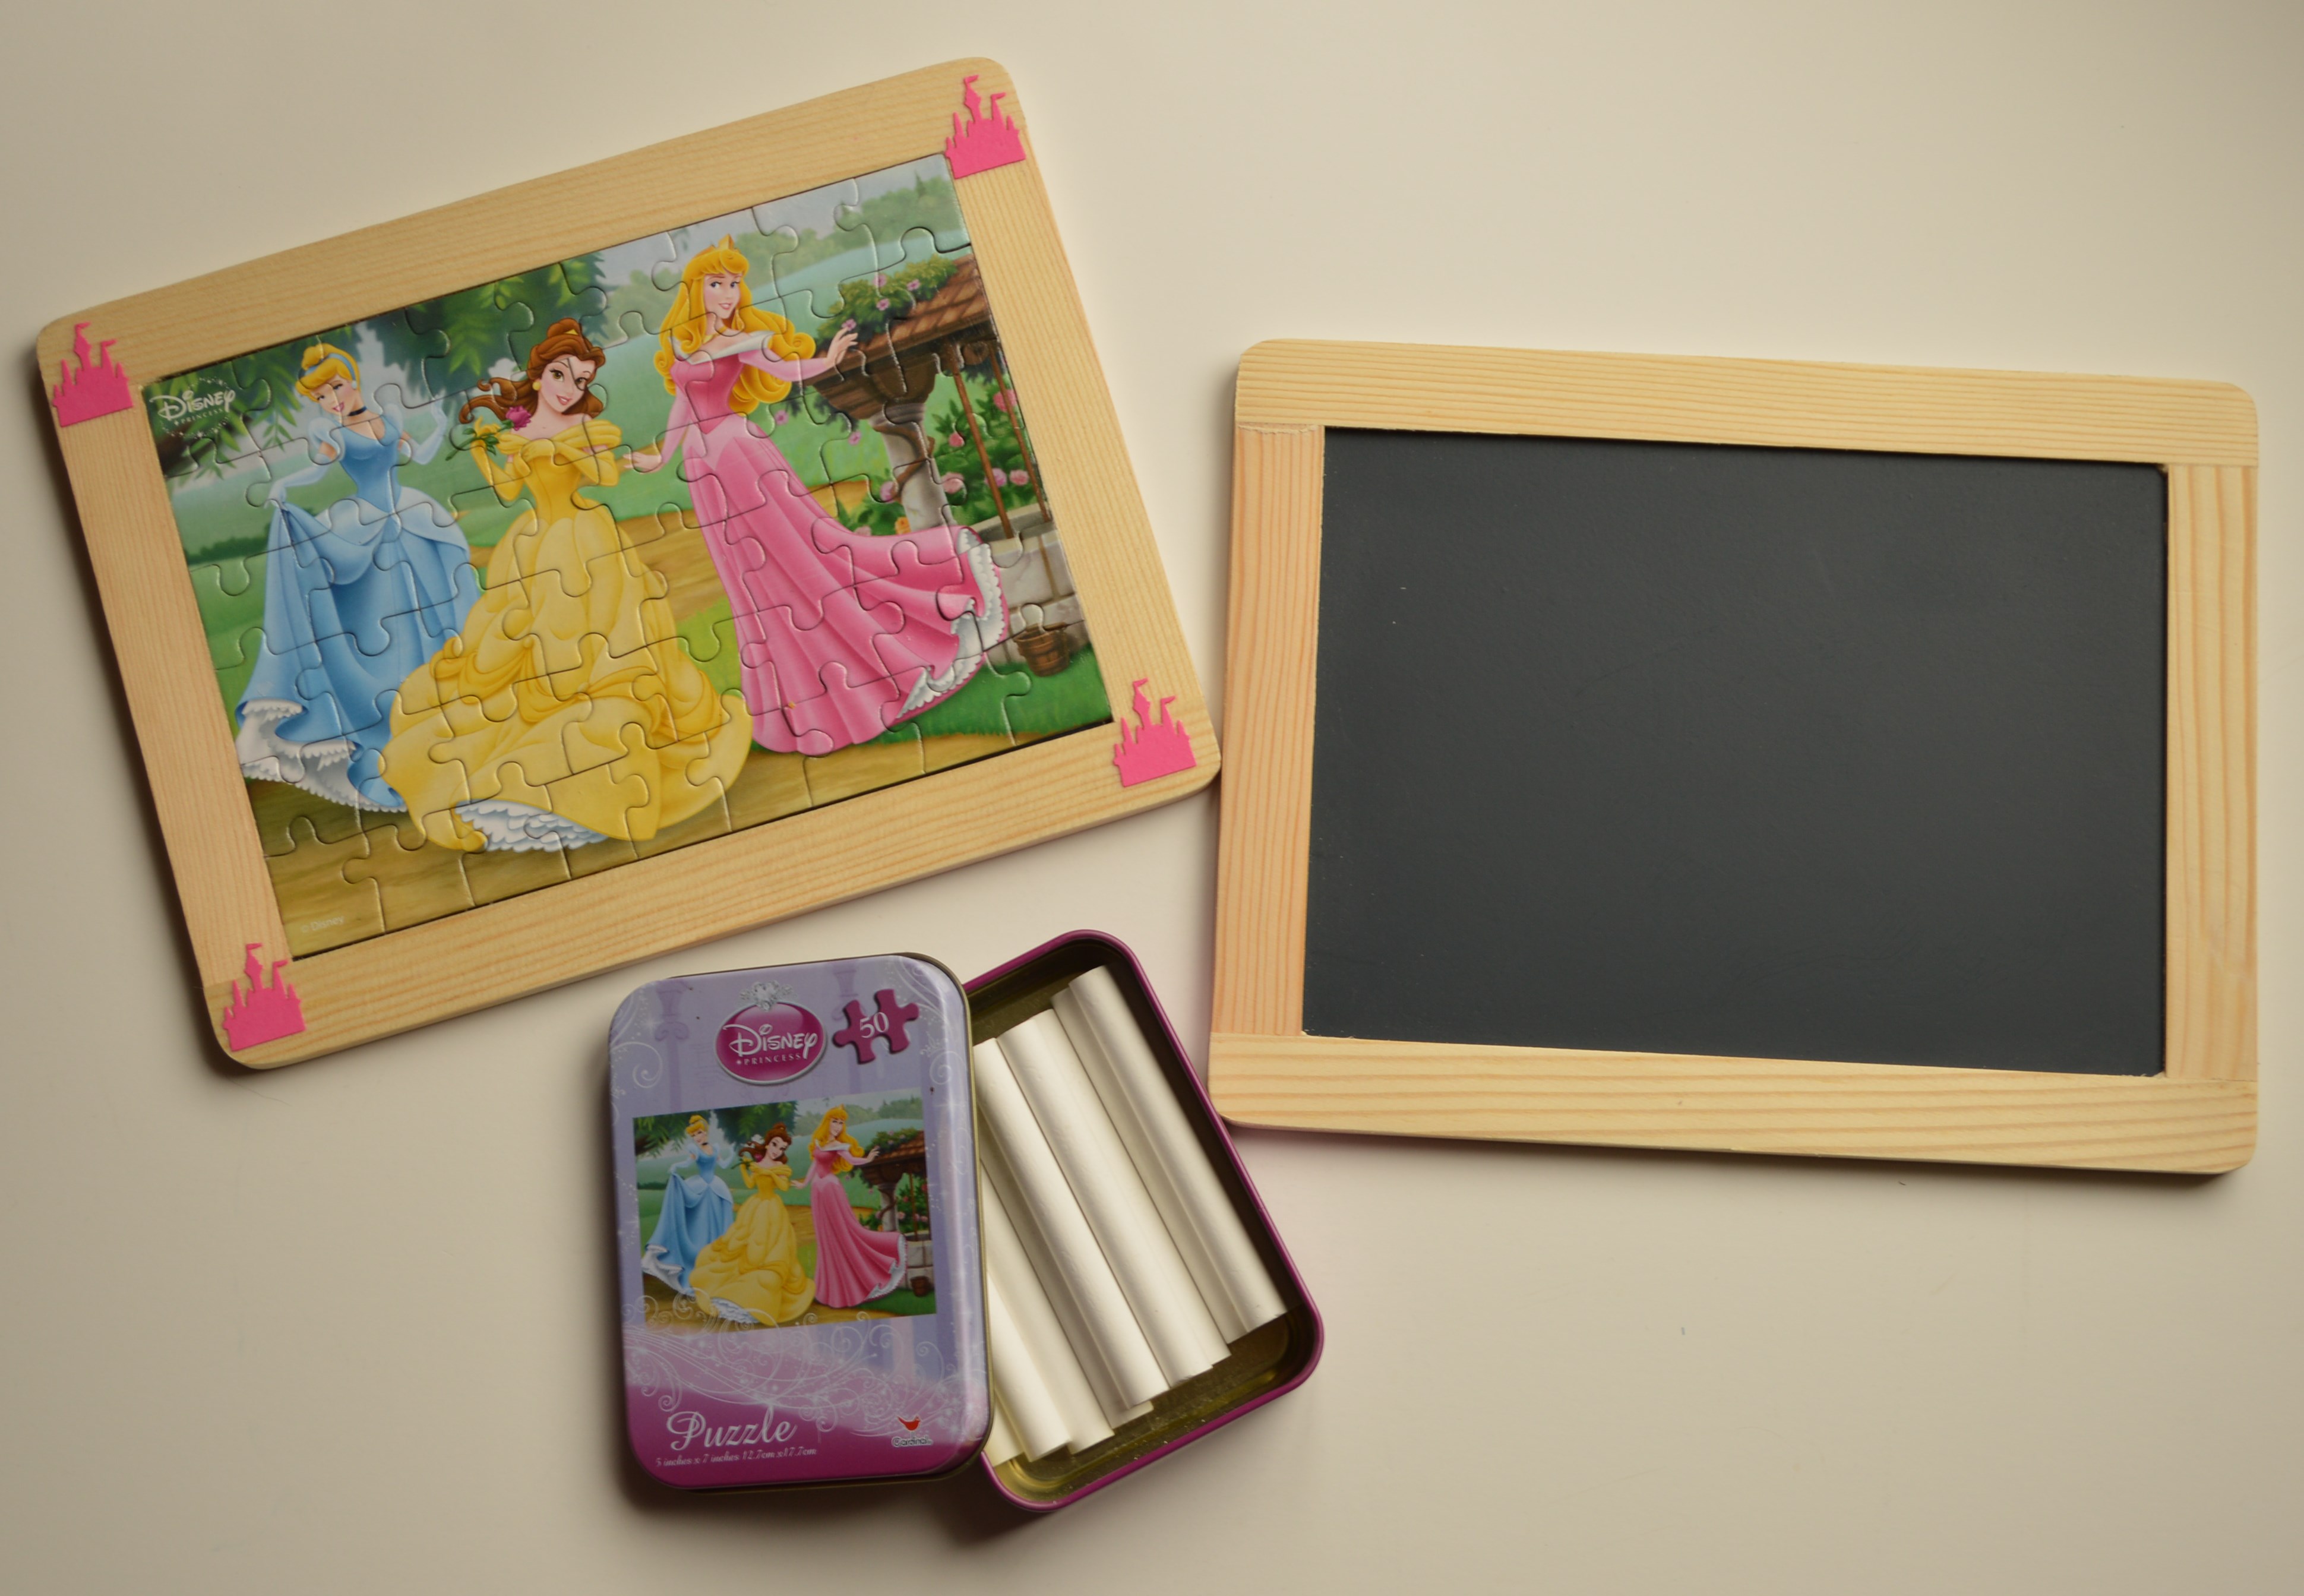
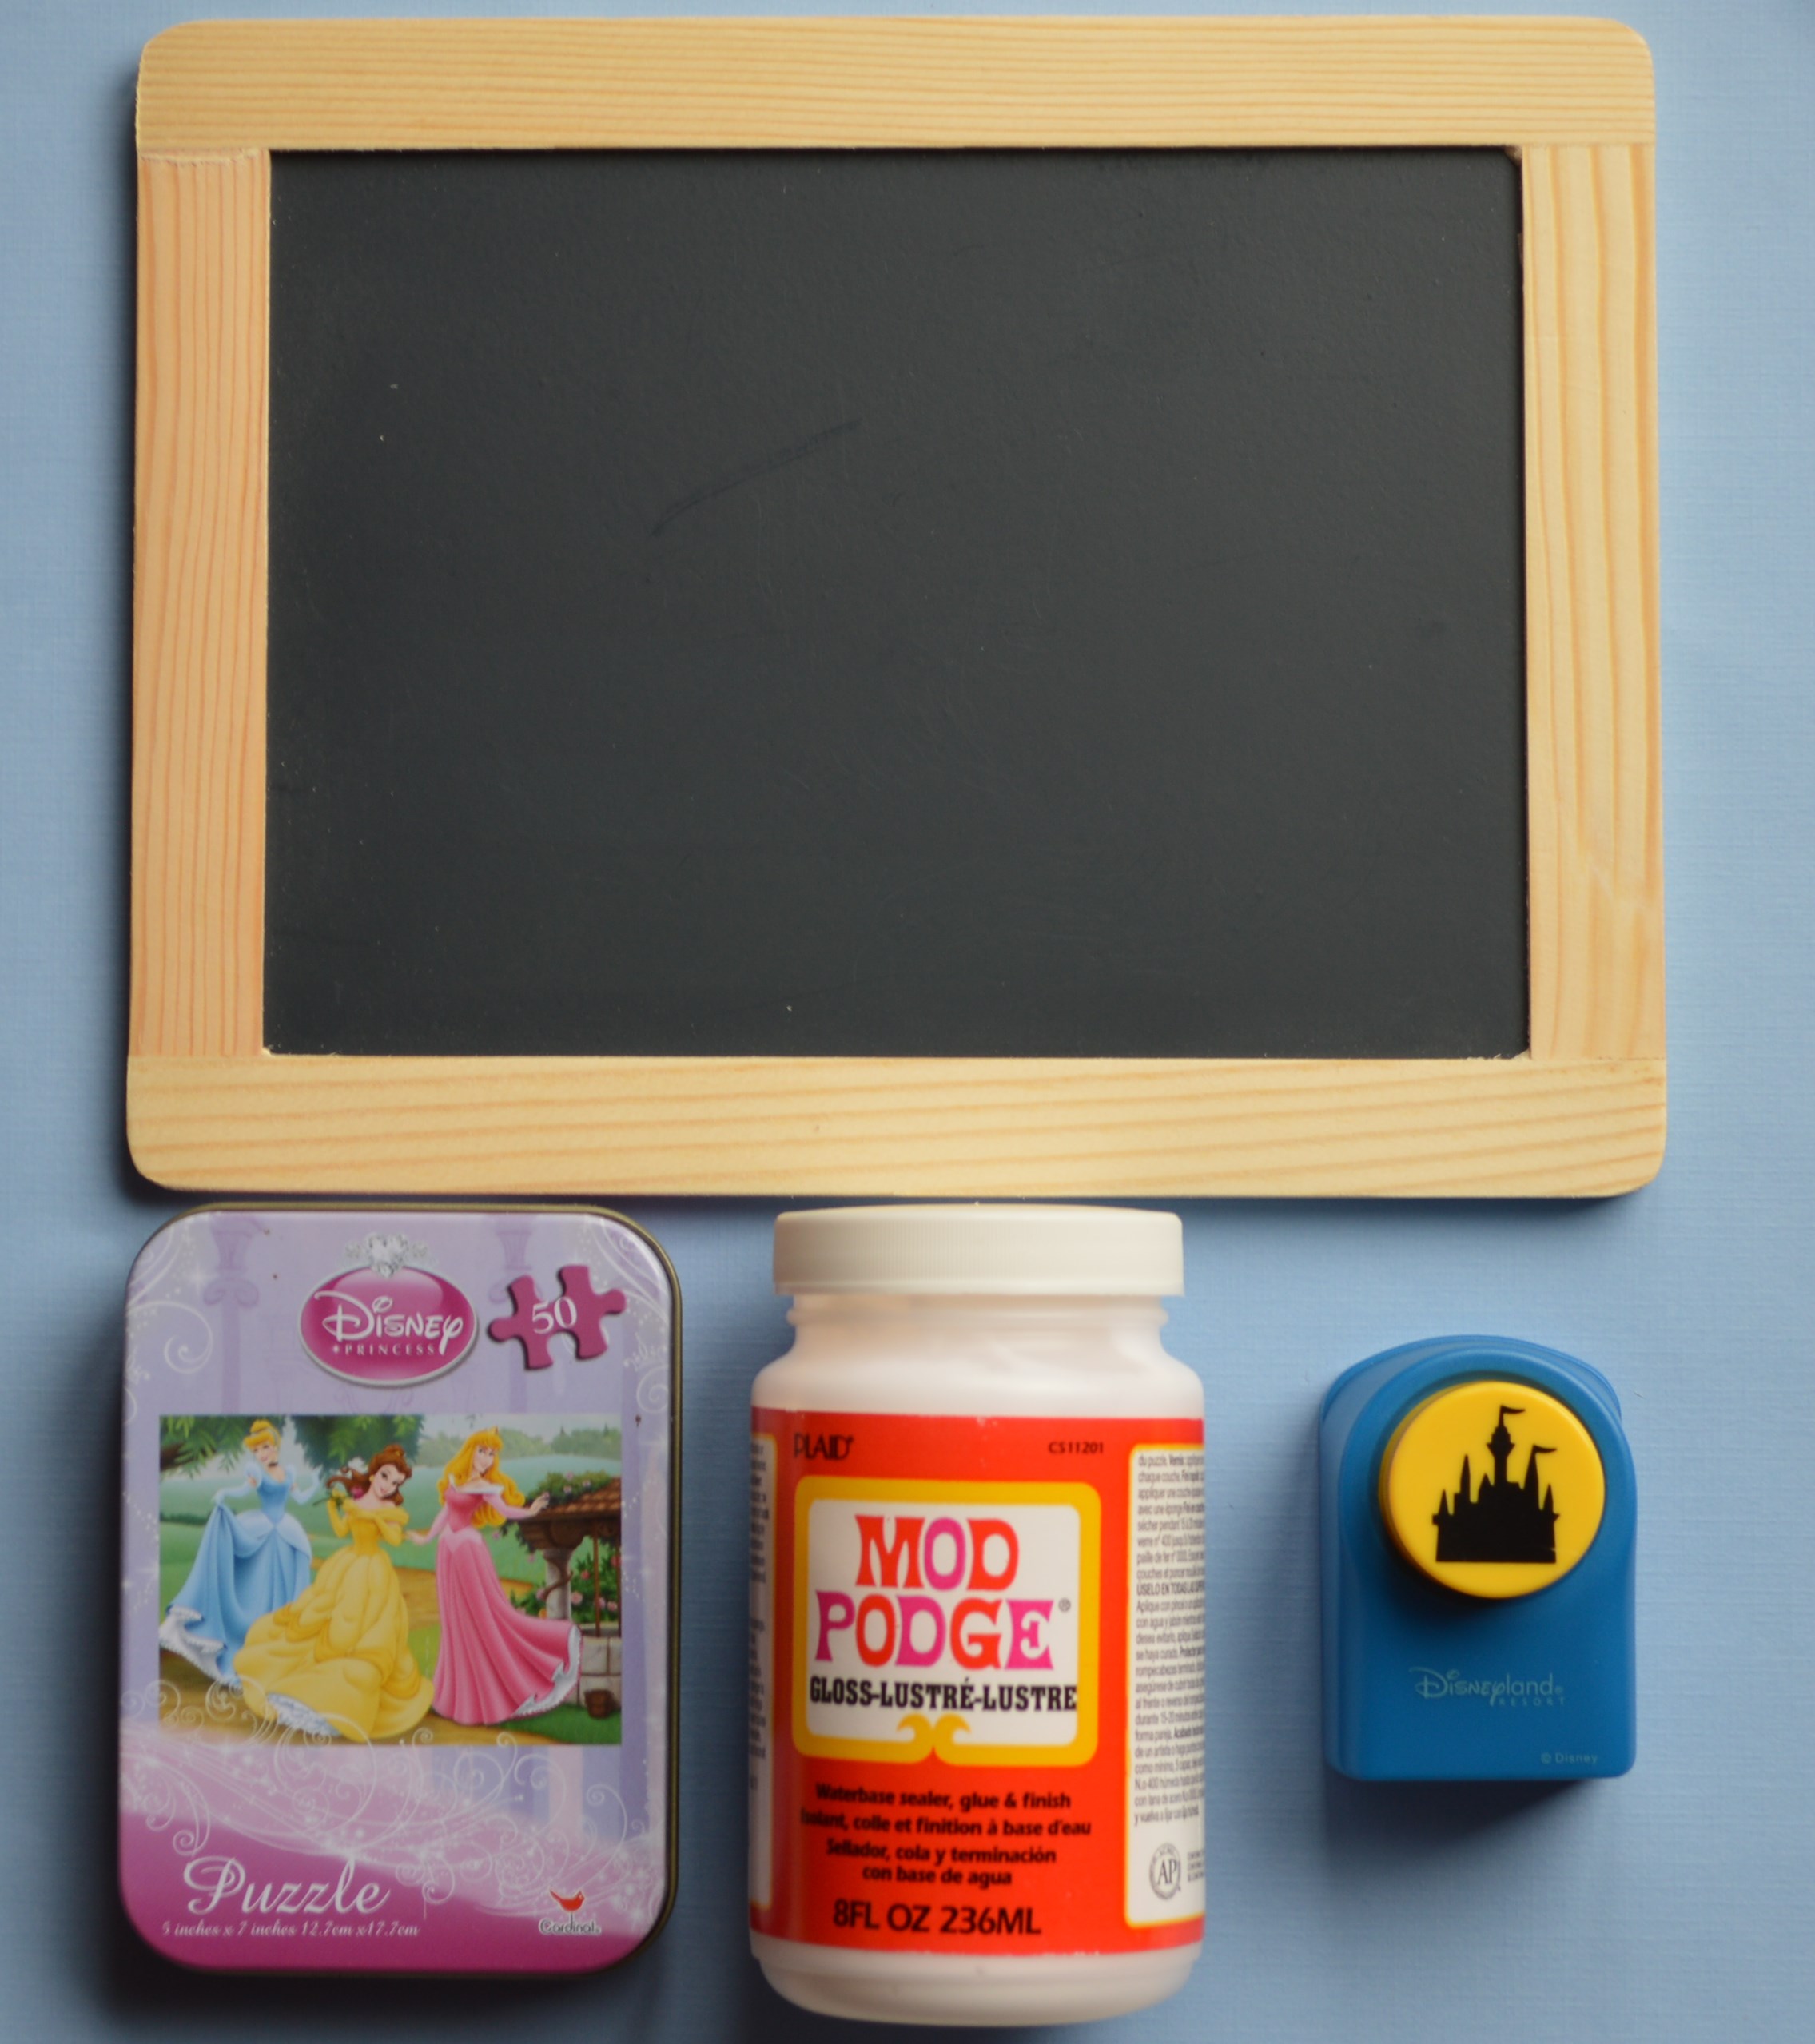
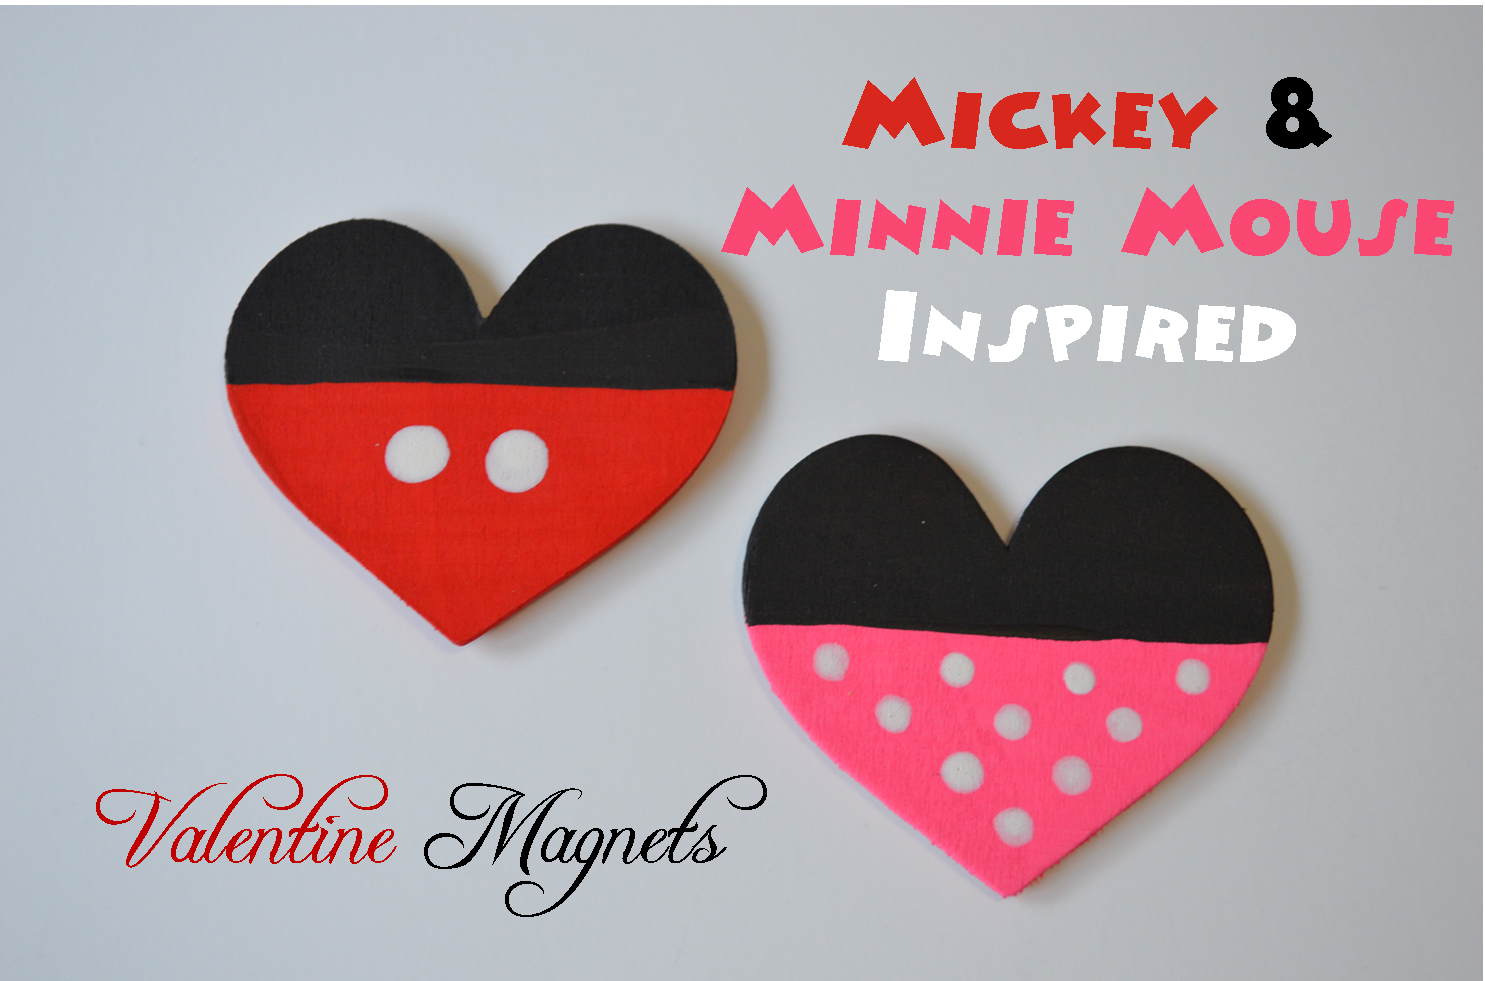
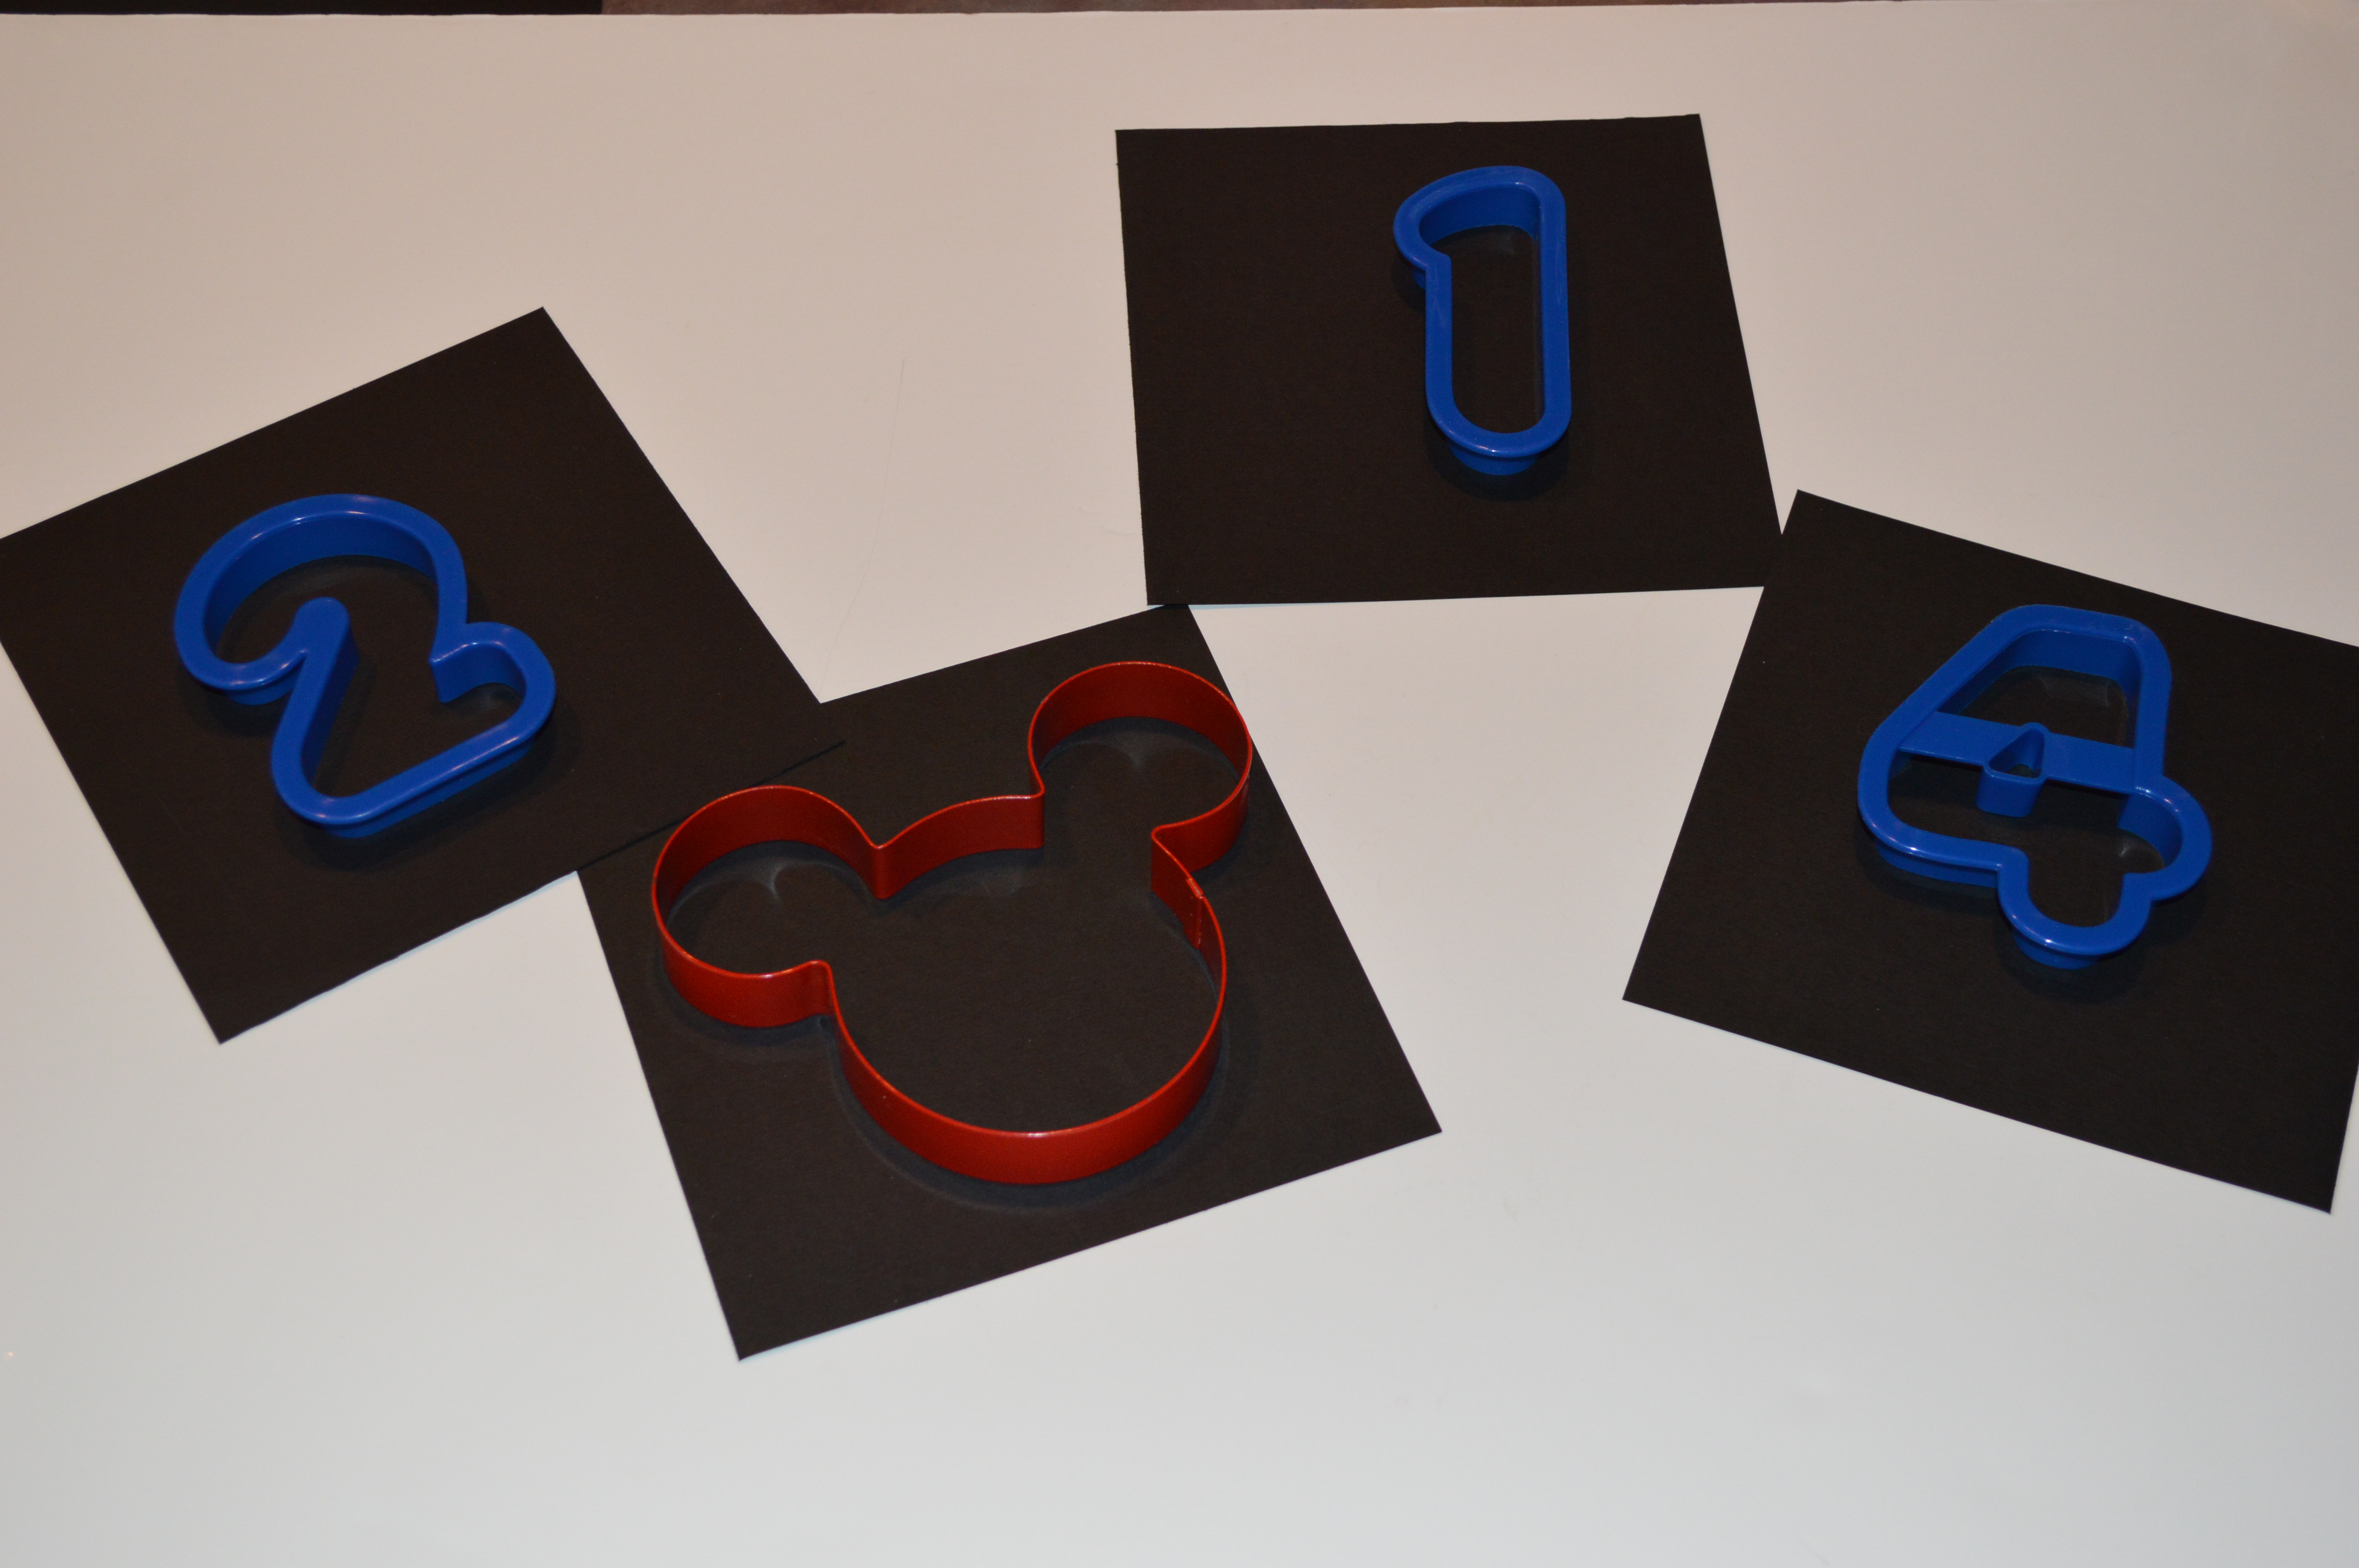
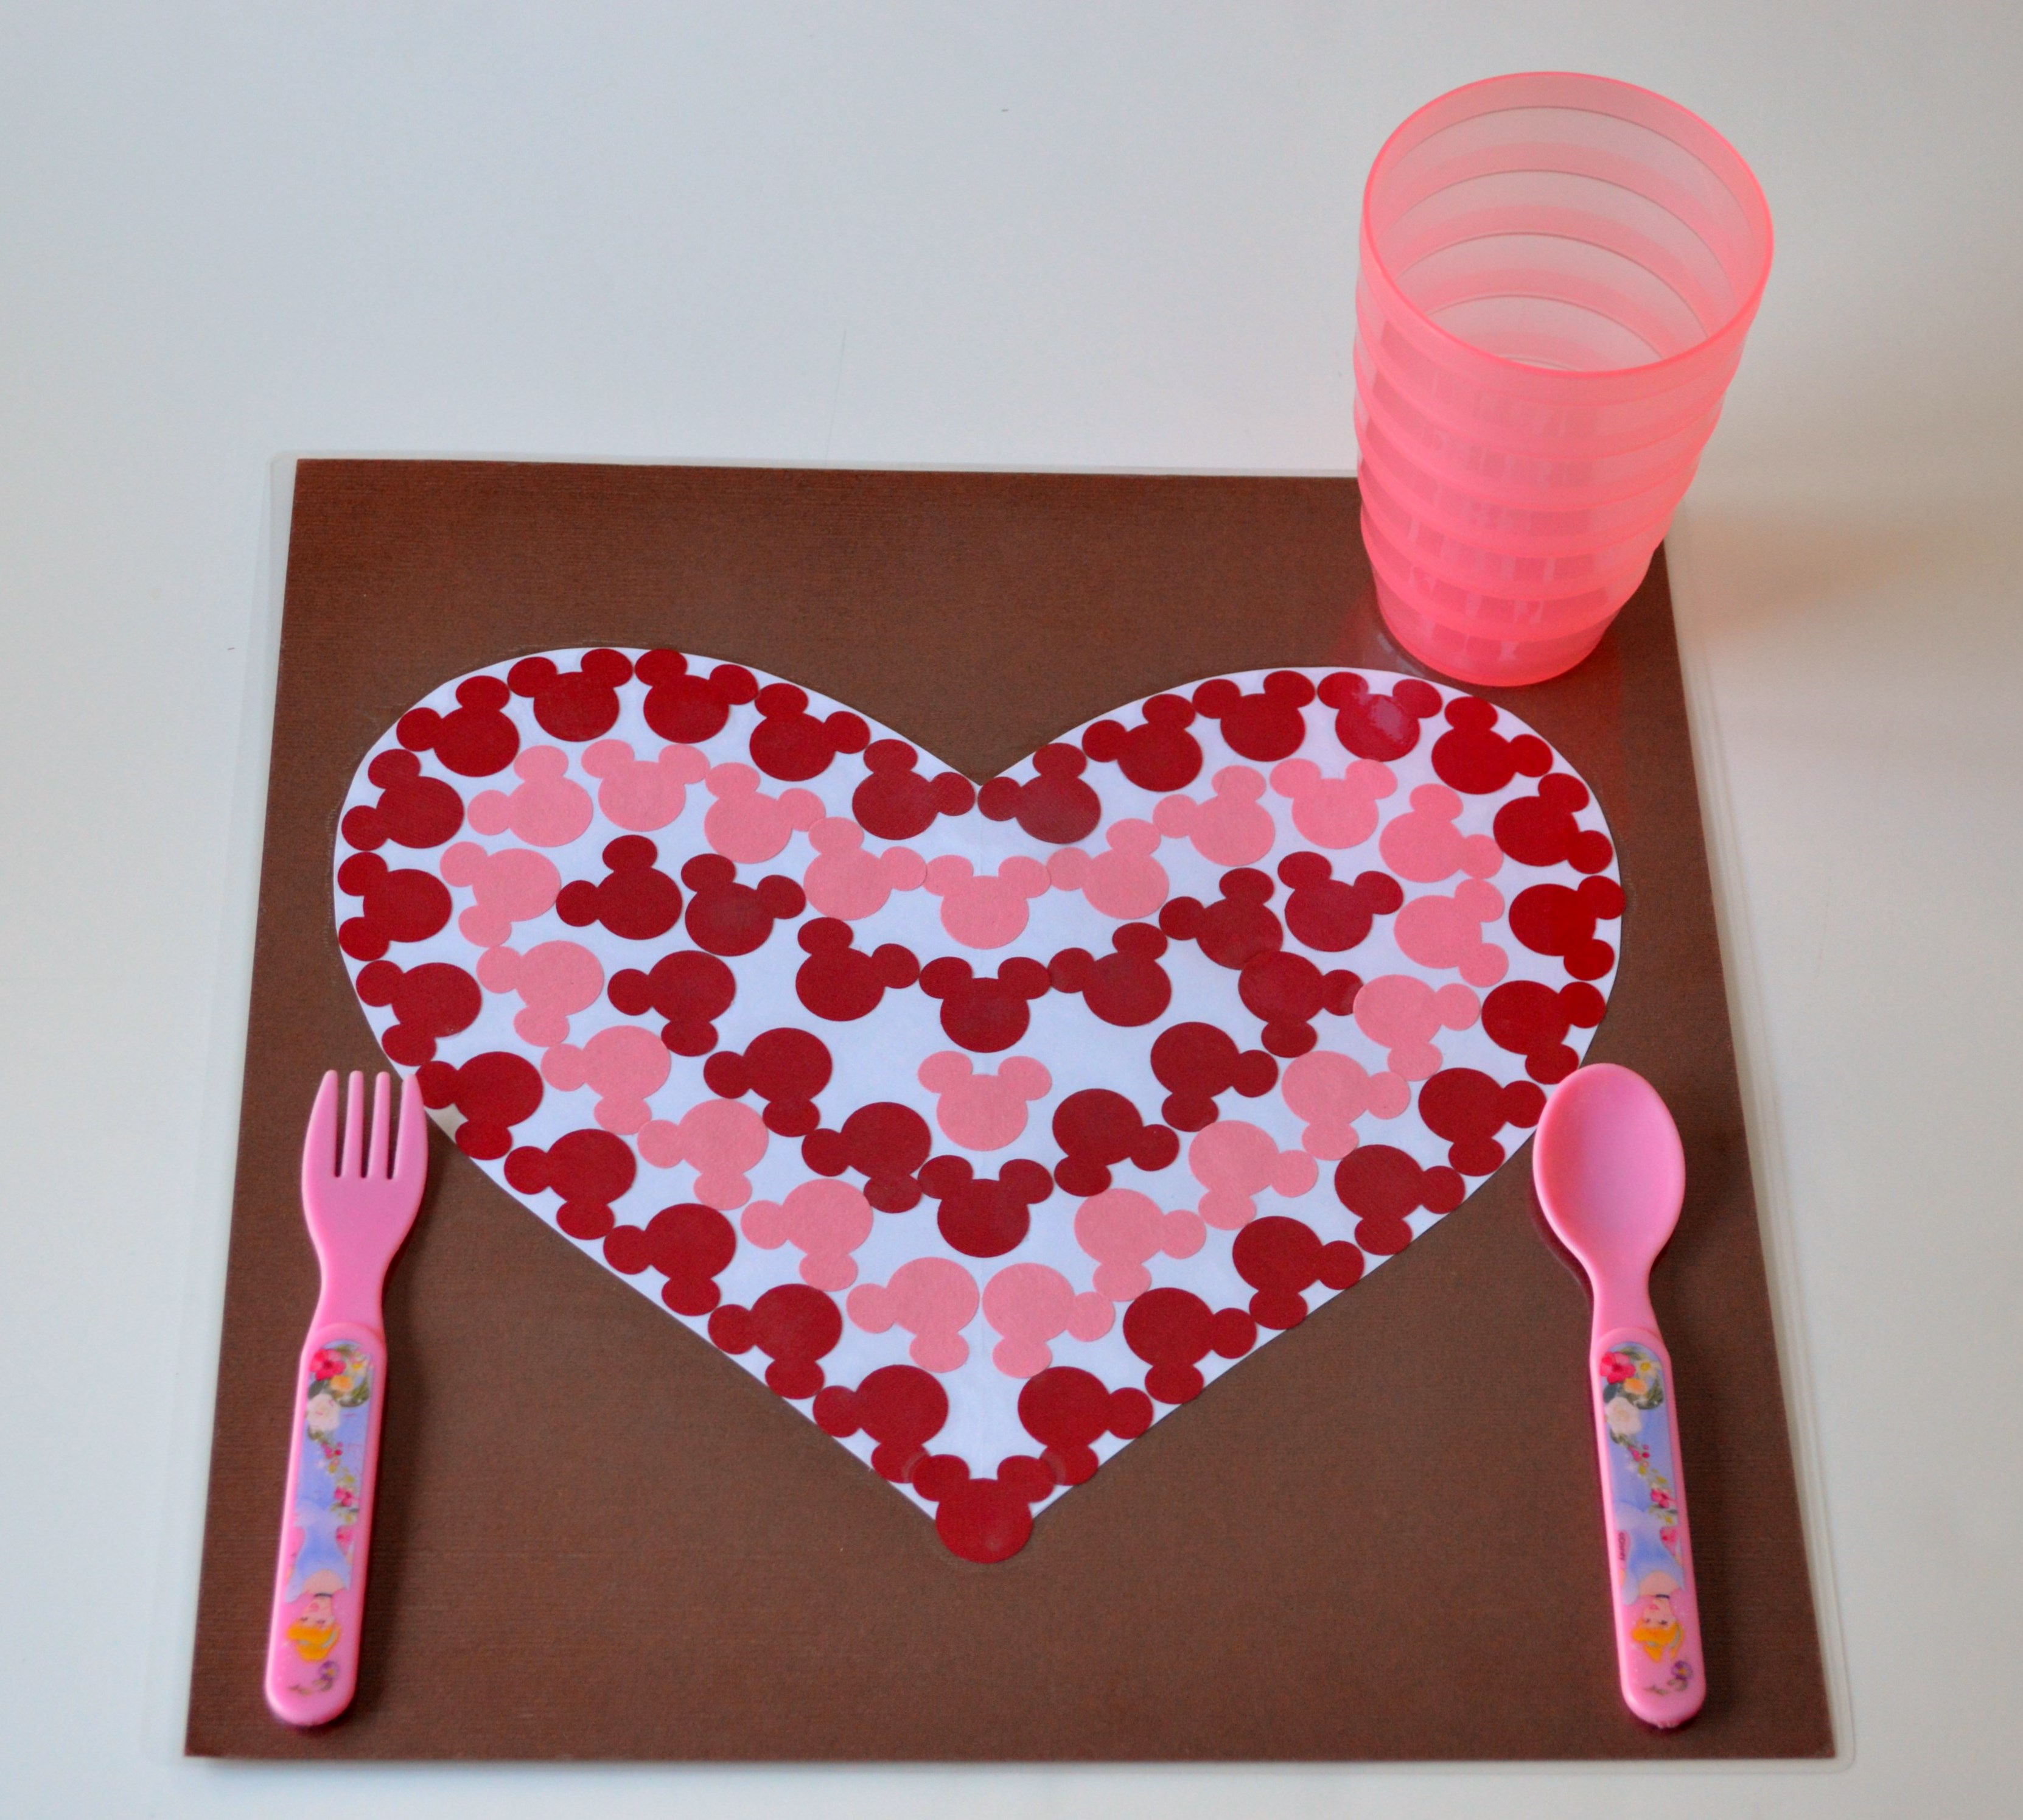
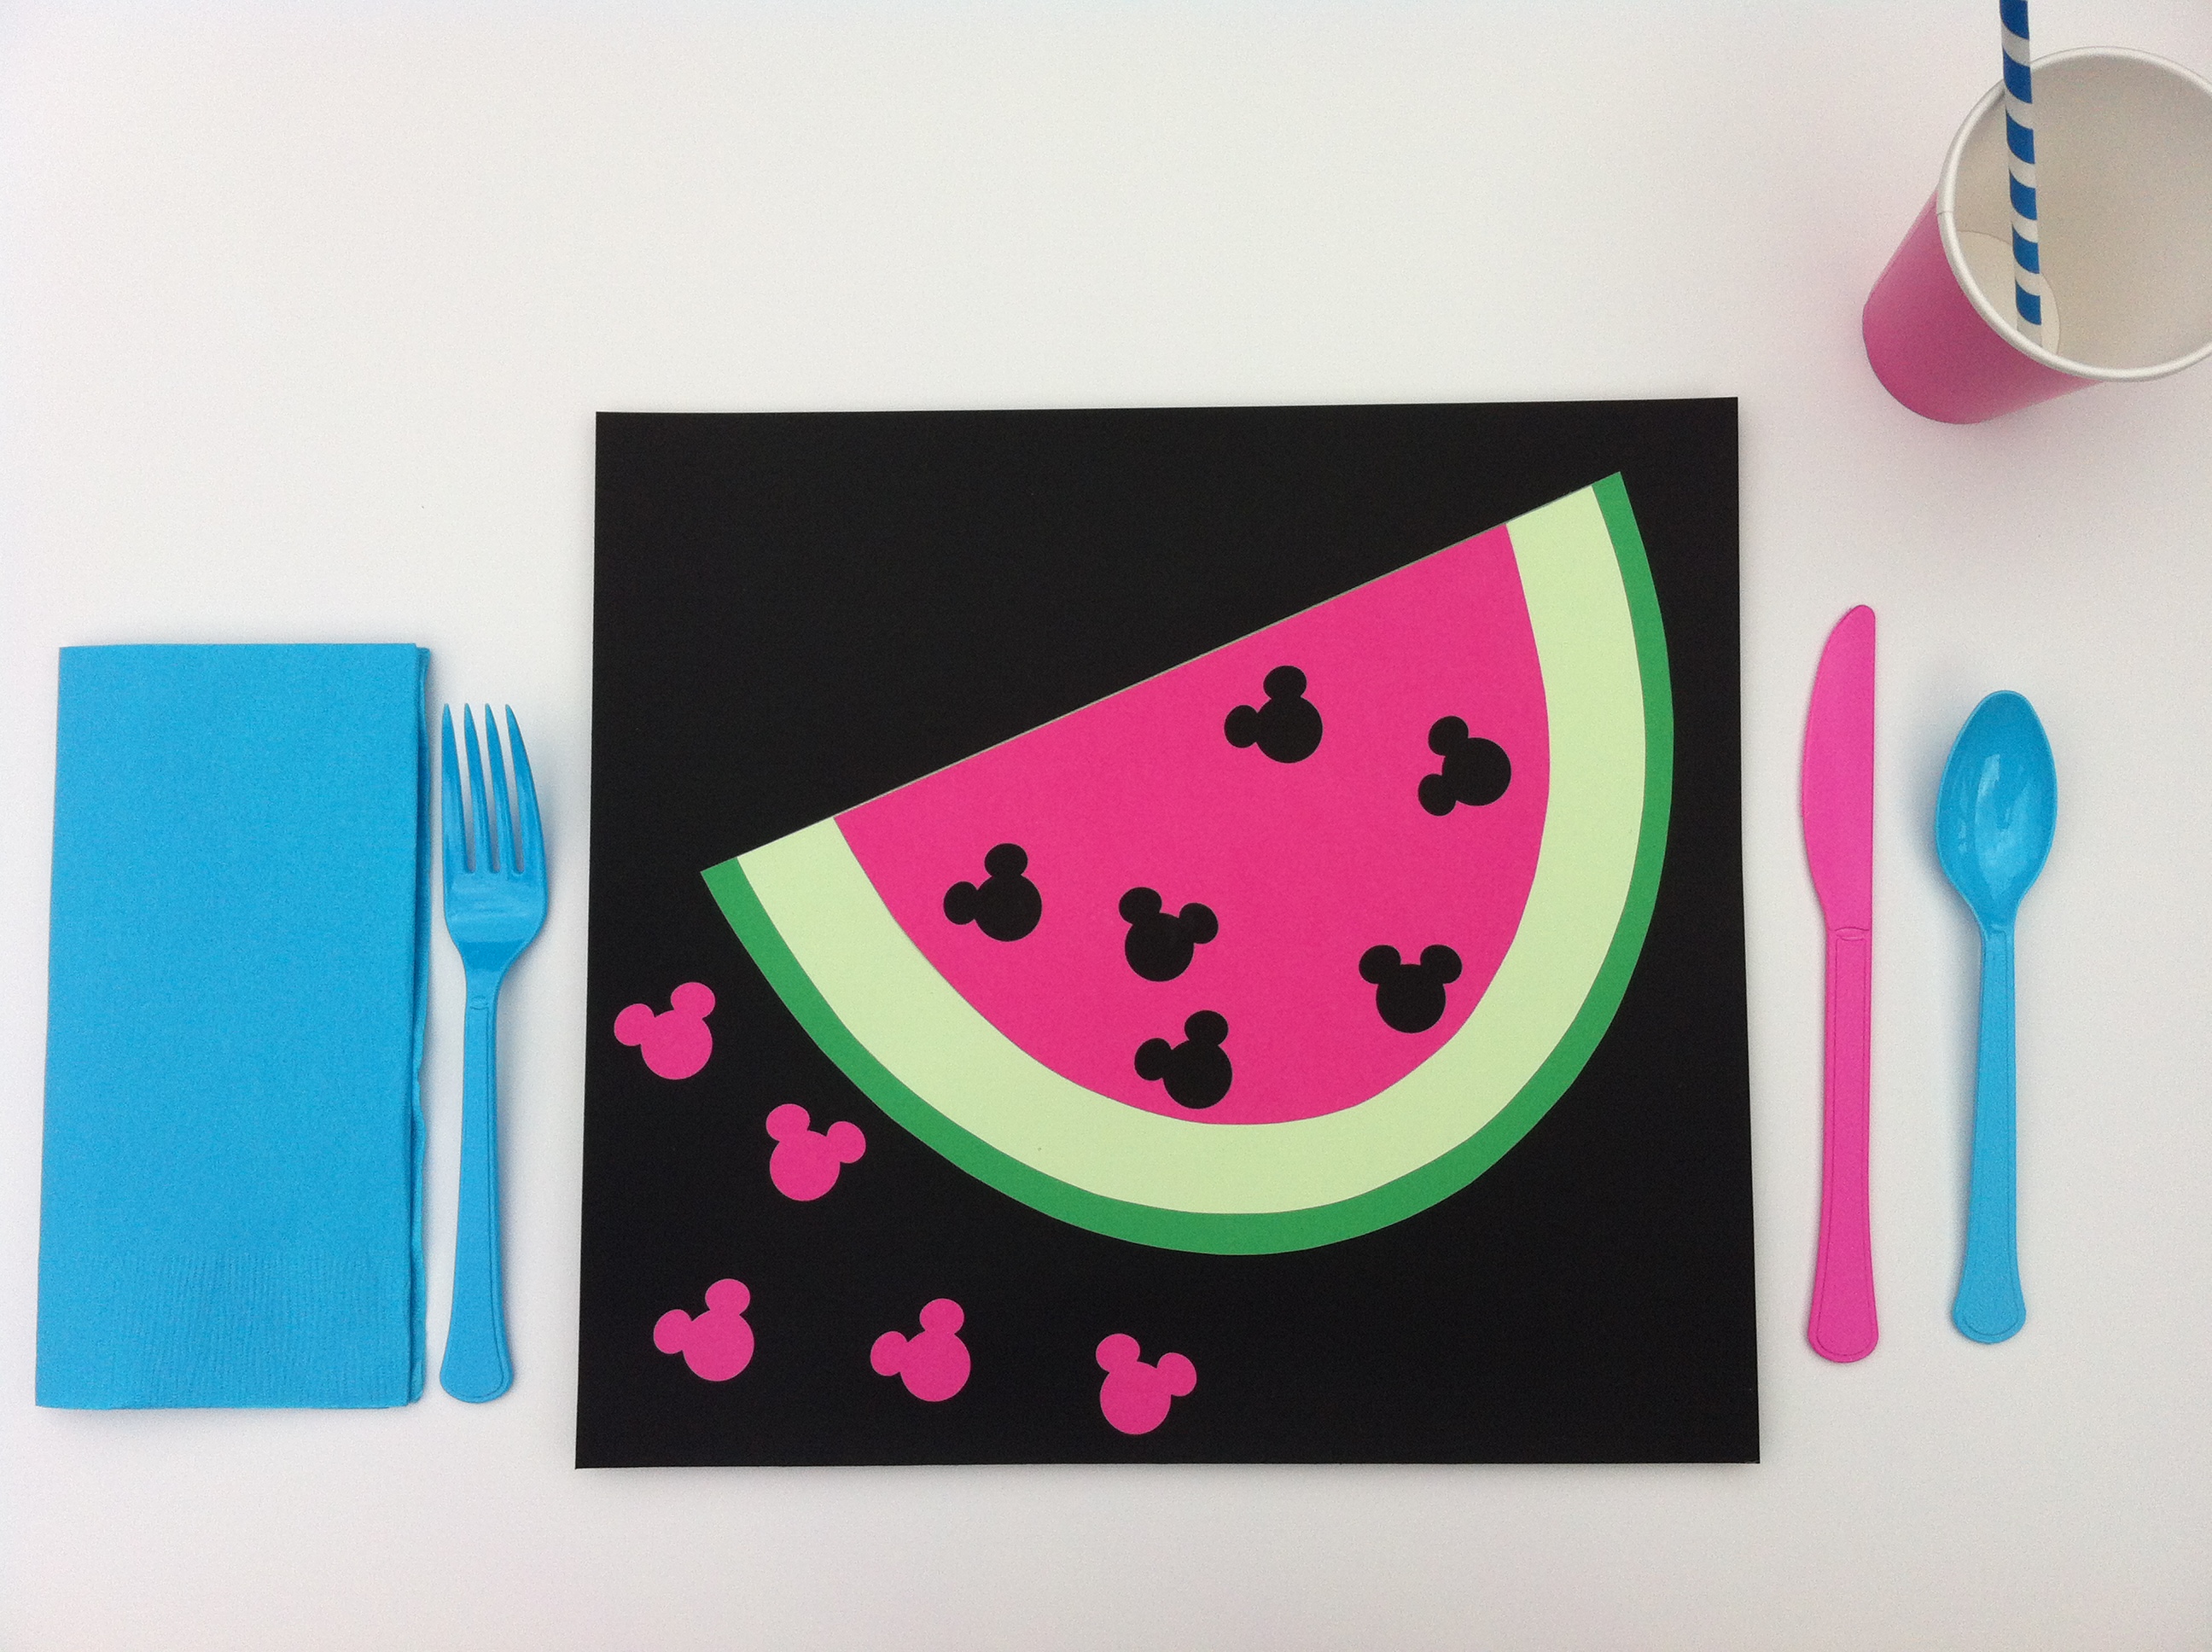
My favorite Mickey paper craft punch is part of the first prize!  And to think that a Tigger Punch, Cindy’s Castle, Stitch and a Mickey Silhouette is also included, WOW!  If you’ve followed my blog then you know all about my obsession with the Mickey craft punch.  If you haven’t, then here’s a sampling on what you can make with that simple little craft punch.

placemat 028

http://www.mouseearsmom.com/2014/01/30/easy-mickey-mouse-inspired-valentines-day-craft/

teachers desk

http://www.mouseearsmom.com/2013/08/14/teachers-simple-gift-idea-free-printable/

Mouse Ears Mom 012

http://www.mouseearsmom.com/2013/07/15/mickey-mouse-printable-summer-craft/

pocket sized flash cards

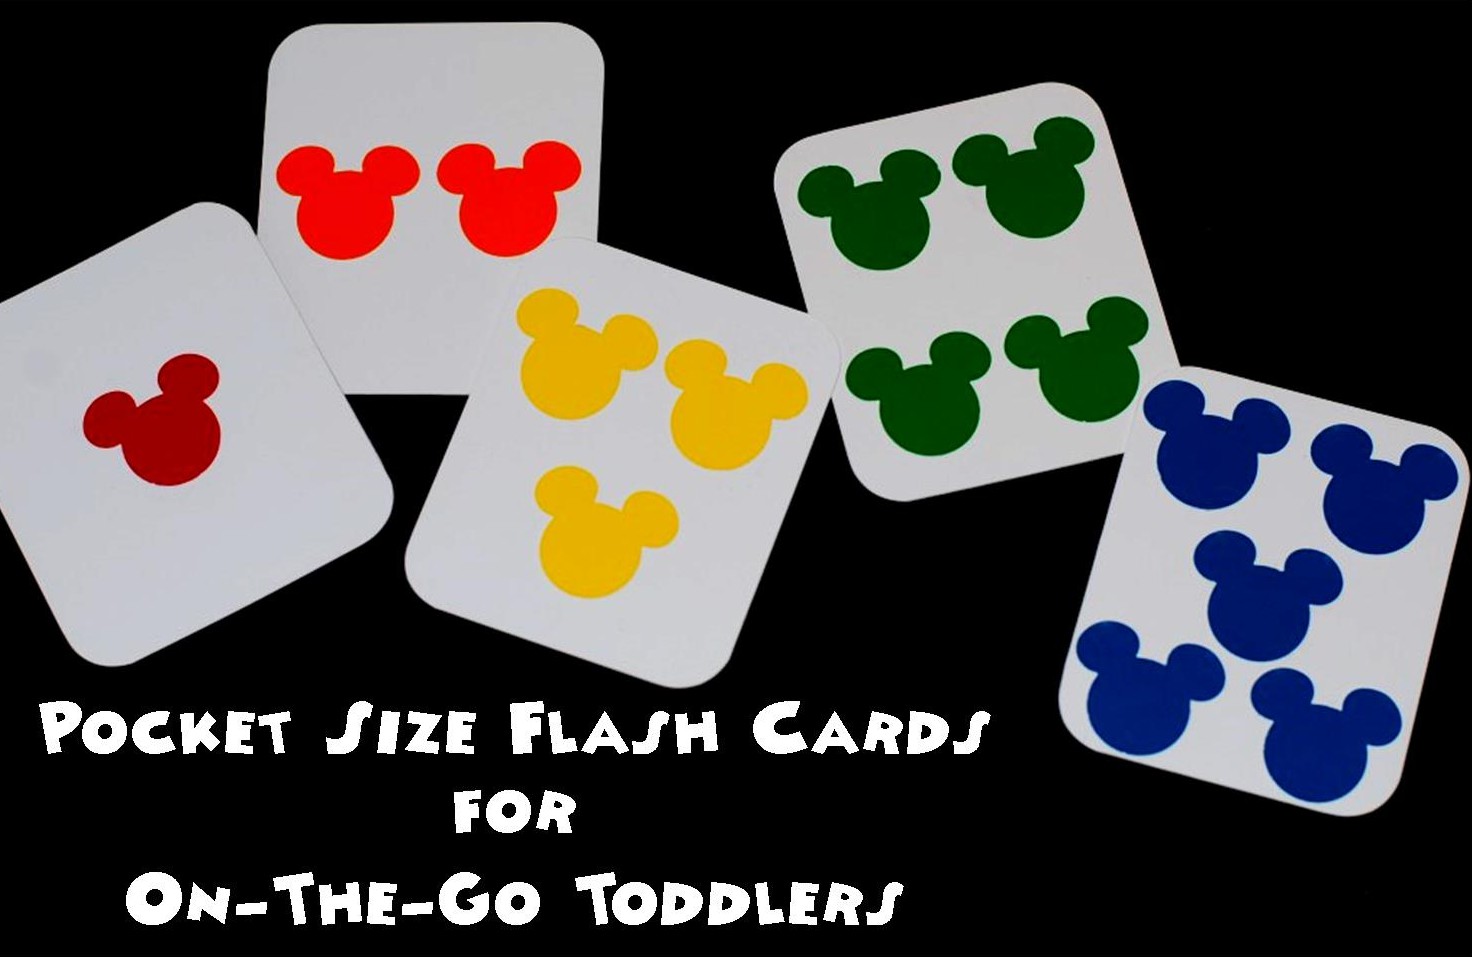
http://www.mouseearsmom.com/2013/08/16/mickey-mouse-pocket-size-flashcards-for-toddlers/

Mickey Americana

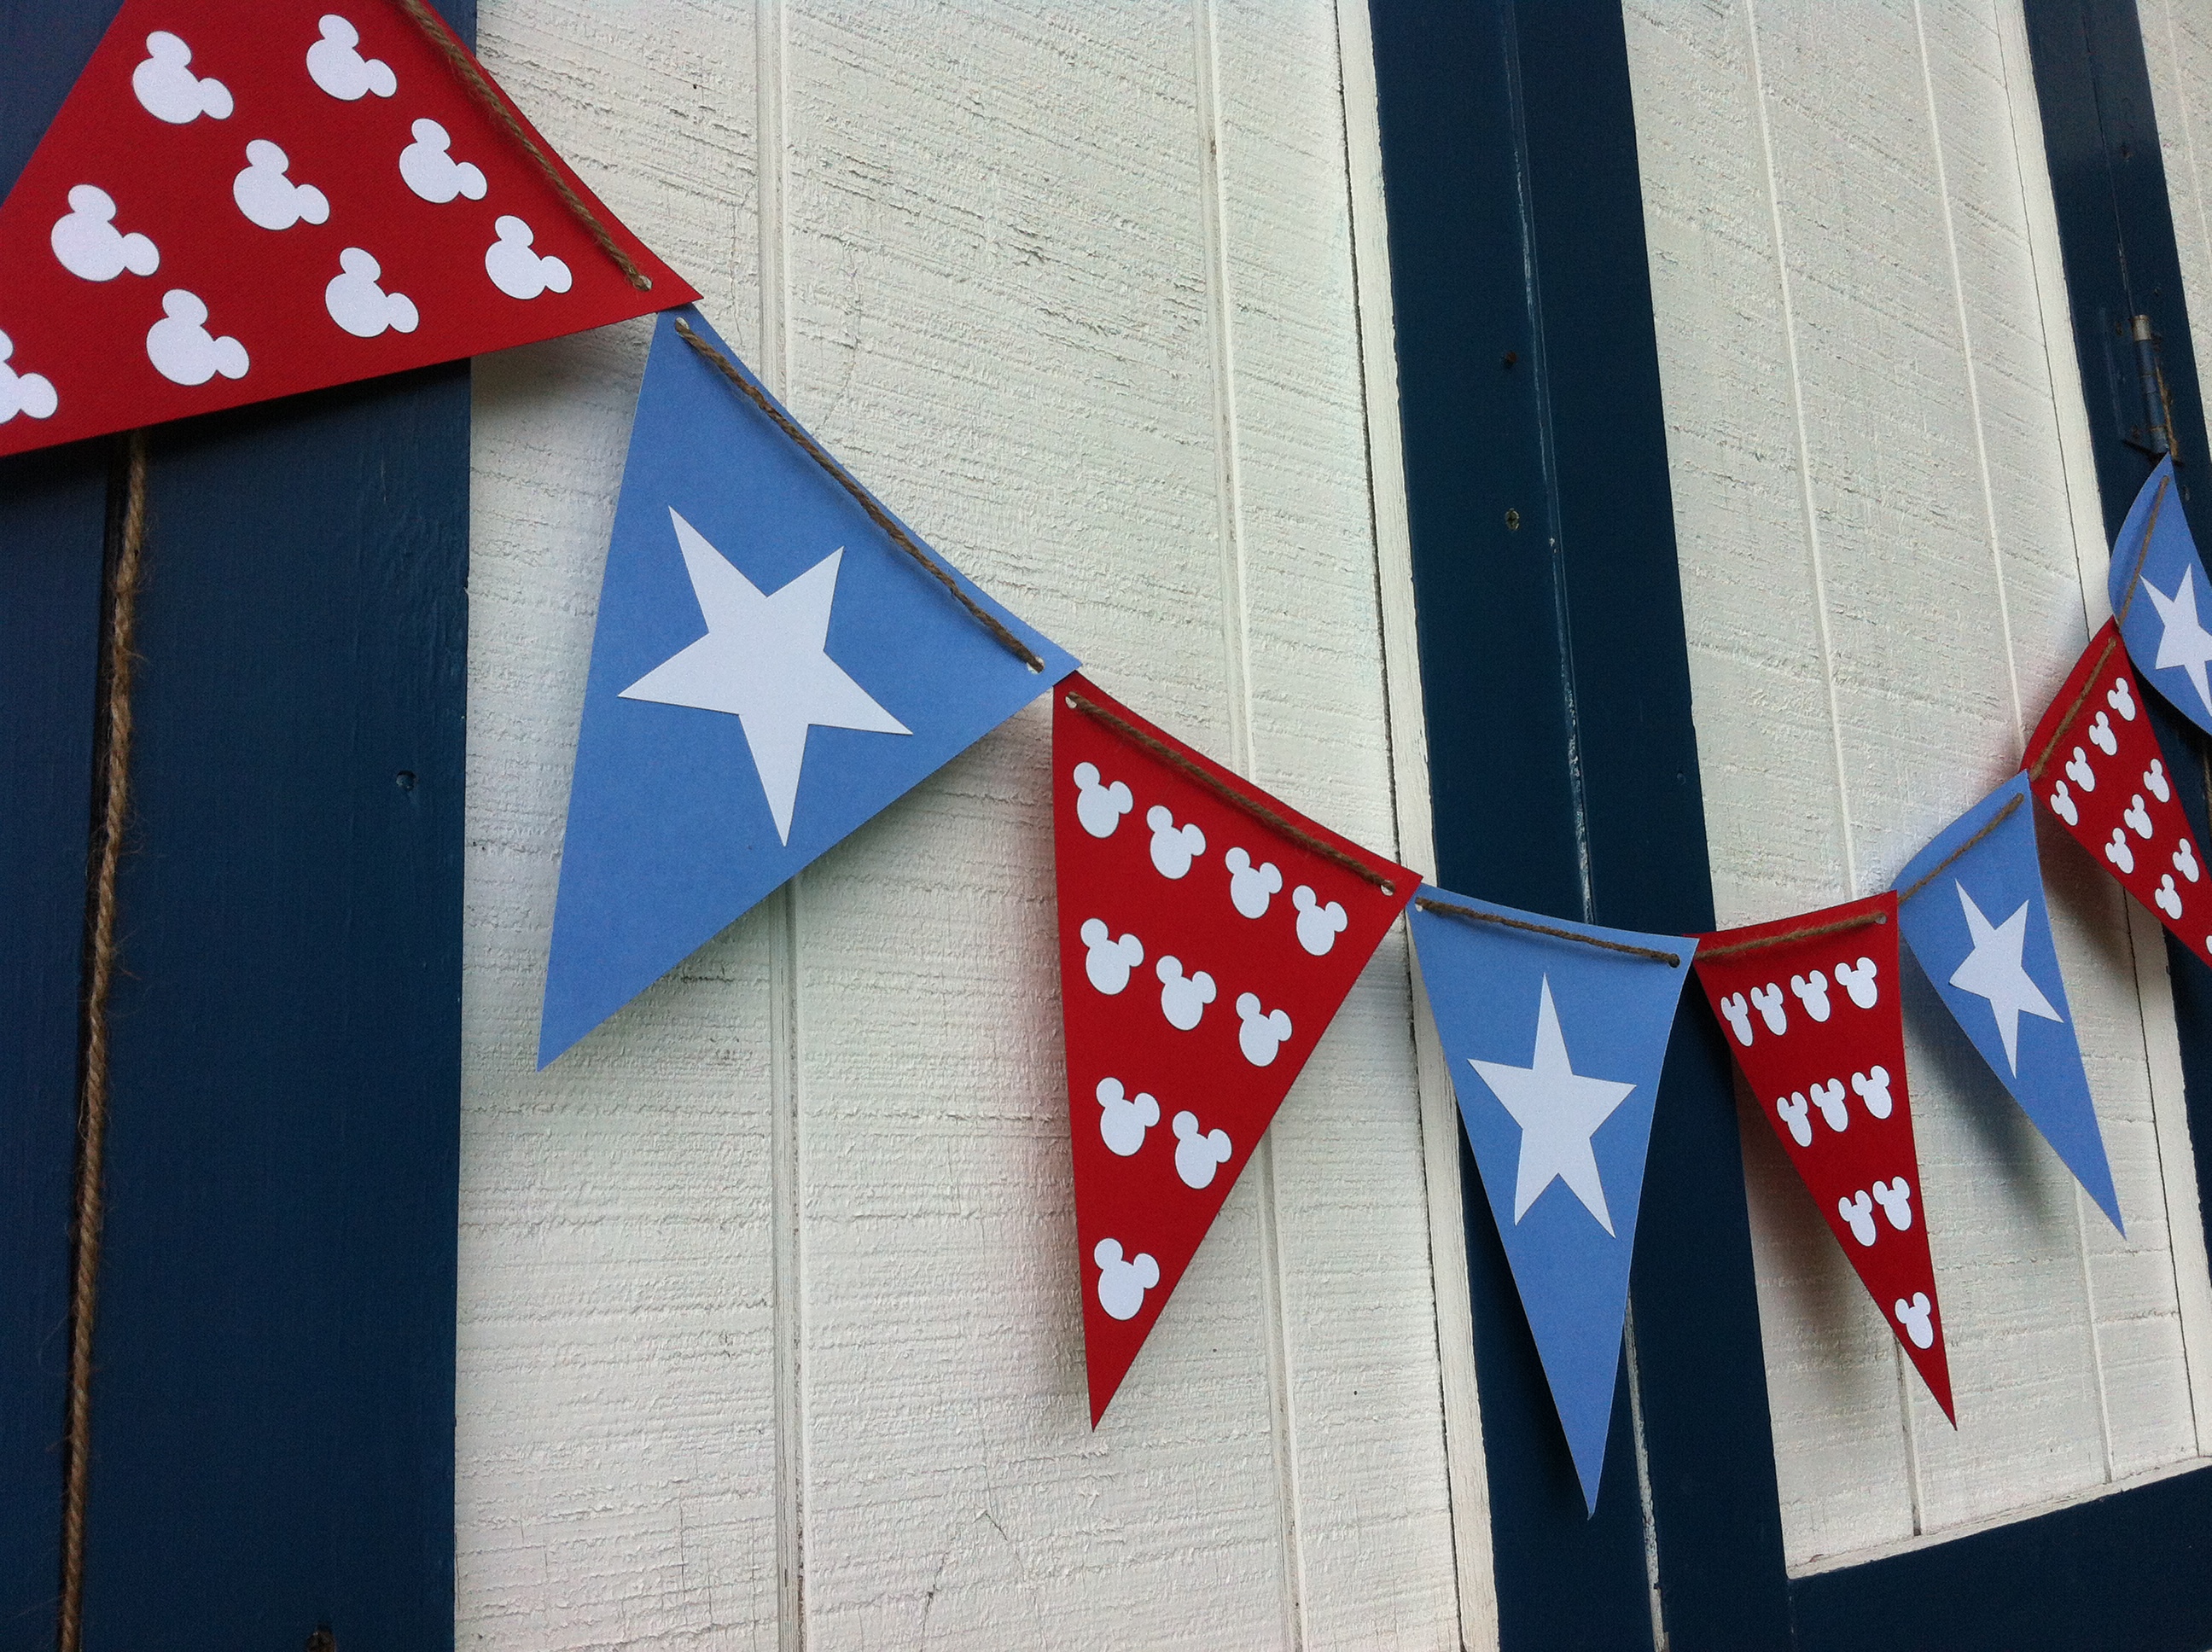
http://www.mouseearsmom.com/2013/06/29/mickey-americana-pennant/

Turkey Day Art Project

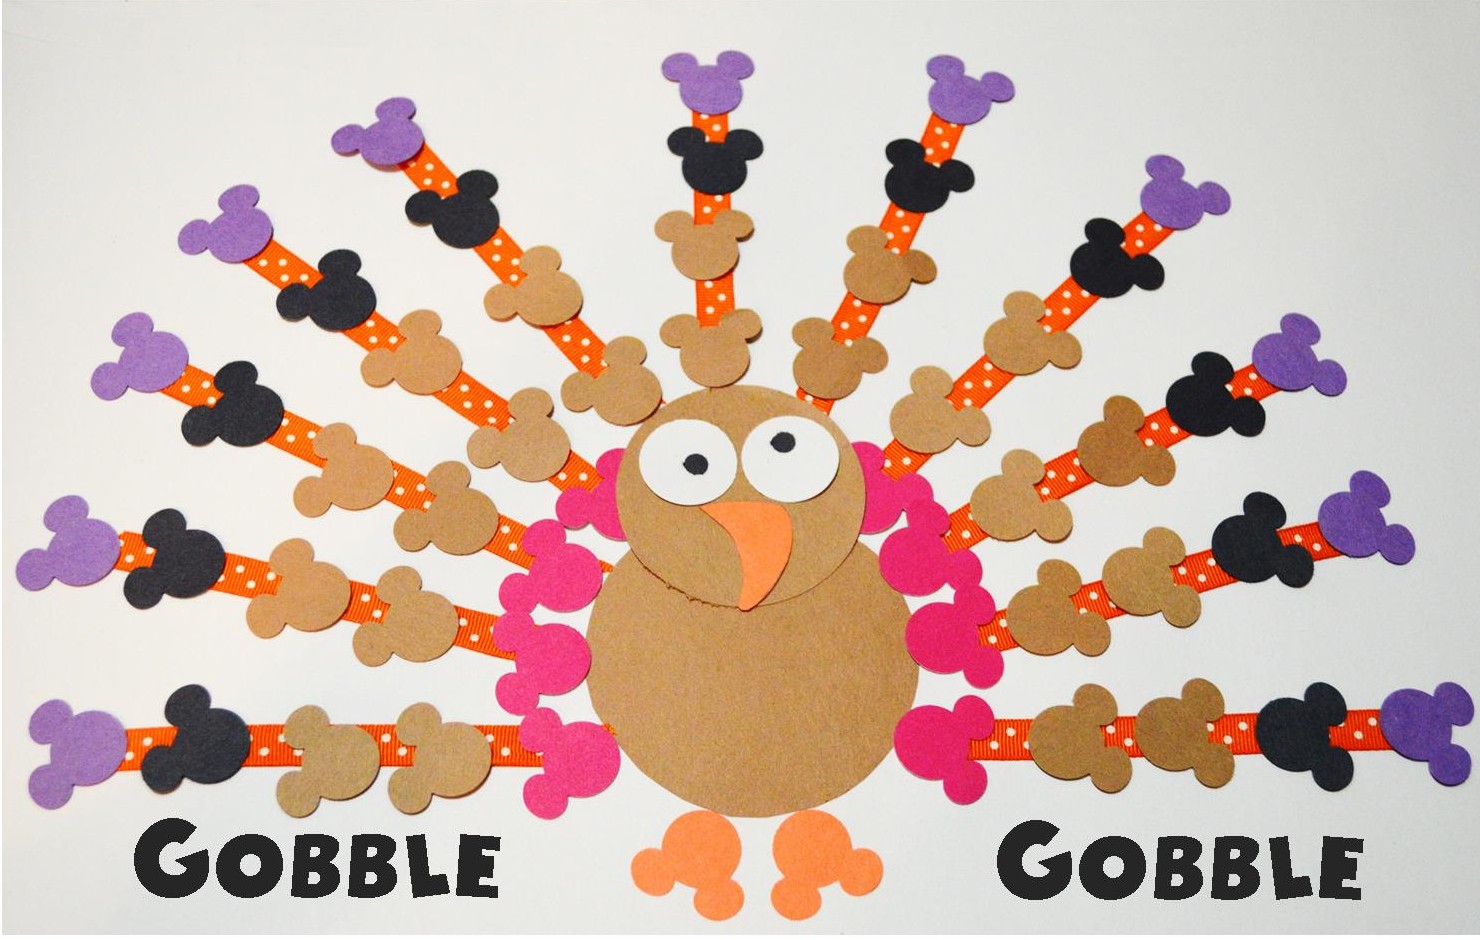
http://www.mouseearsmom.com/2013/11/11/mickey-mouse-turkey-paper-craft/

Yes, I love that craft punch!  I know you will too.  To enter to win the craft punch and a ton of other fun prizes, use the Rafflecopter giveaway link at the end of this post.  If you’re unfamiliar with Rafflecopter, feel free to contact me with any questions.

The contest ends on Sunday, February 9th, so hurry to enter now! 

The following paragraph is courtesy of  http://diclajiasdisneydreams.com/magical-memories-giveaway/ : 

“All entries are mandatory and will be confirmed, they must be submitted by 11:59PM on February 9th and the winners will then be notified on Monday February 10th 2014 where they will have 12 hours to respond or another winner will be chosen. Giveaway is open to everyone in the US and Canada, however the 2nd place prize is open to everyone Worldwide.”

Good Luck!

a Rafflecopter giveaway

Easy Mickey Mouse-Inspired Valentine’s Day Craft

Mickey Mouse Placemat from MouseEarsMom.comKeep your table clean with this fun and simple-to-make placemat…well at least part of your table clean.

Yesterday,  in our elementary school’s after-school Disney craft class, I had a great time helping young Disney fans make a Mickey Mouse Valentine’s Day placemat.  The first and second grade students did an excellent job and they enjoyed watching the lamination machine seal their artwork.  If you have a little Mousketeer that loves Mickey Mouse this is a perfect craft to complete with him.  If you don’t have a lamination machine, no problem.  Your local business supply store, like Staples, offers laminating services.  To laminate this project our local store would charge around $3.00US per placemat.

Here’s a break down of what you’ll need for your little artist.

placemat 035For this project you’ll need a Mickey Mouse Craft Punch.  I purchased this punch at A.C. Moore Craft Store.  On a side note, I have to tell you that you’ll love it!  If you don’t have an A.C. Moore store near you, I’ve seen the punch available for purchase on-line.  In addition, you’ll need a 12″ x 12″ piece of scrapbook paper for your base, a glue stick, an 8.5″ x 11″ piece of copy paper, and one pink and one red piece of construction paper or card stock for the Mickey punches.

placemat 001Cut your heart base out of the white copy paper by folding the paper in half and using the entire half of the paper.  Start at the bottom tip and cut to the side corner for the shoulder of the heart.  Have your child use a glue stick to attach the paper heart in the center of the 12 ” x 12″ scrapbook paper.

placemat 003Next, fill in the white heart with the colored paper Mickey heads.  I started with the color red Mickeys and glued each one in place with the use of a glue stick.  There were a total of 41 red Mickey punches and 22 pink Mickey punches used on my placemat.  What was really fantastic about doing this project with the kids is that each child decided to complete the project their own way.  They didn’t care that I had used exactly 27 Mickeys in one row and 21 Mickeys in another row.  All the placements came out really cute and unique to each child.  I had them write their names and grade level on their finished piece, so Mom & Dad will remember how little and adorable their child was when looking at the placemat years down the road.

placemat 022For anyone else out there that want’s to see how I glued the Mickeys onto the heart, here’s a close up of the center.

Now I have one more afterschool simple craft idea I need to come up with.  I’m thinking about teaching the students a little bit about the purpose of molds…and not the kind of mold that cause illnesses.  They’ve already learned how to take something away by using the craft punches and have used tons of glue too.

Any ideas you’d like to share?  Please do!

Thanks for stopping by the blog today!  Have a Magically Mickey Day!

Disney Princess Chalkboard Craft

Afterschool crafts 003Does your little Mouseketeer love puzzles and chalk?

Tomorrow, after school is dismissed, I’ll be hosting a Disney-Inspired craft club for 1st and 2nd grade students at my son’s school.  I’m super excited to start the four-week program with 12 creative Disney fans!  Each week that the club meets, I’ll have one hour to start the project, complete and have all 12 projects dried and ready to take home with their creators.  Since we all love to craft with our children but never seem to have enough time to make the fantastic ideas we’ve found on Pinterest, I thought I’d share with you this project idea.  It’s super inexpensive and literally takes less than one hour to have it completed.

A Disney Themed Puzzle Chalk Board

Afterschool crafts 029This week the girls will make a Disney Princess themed chalk board and the boys will complete a Toy Story themed chalk board.  My son Gavin, like many early elementary aged children, loves putting together puzzles.  So, when I was walking through our local Dollar Tree (Dollar Store) and spotted these cute little Disney themed puzzle tins I knew I had to incorporate them into a craft.  Once completed, the puzzle is 5″ by 7″.

Dollar Store Puzzle Tins

Here’s what you’ll need to complete this easy craft.


Mod Podge

I found the wooden framed and double-sided chalk boards for $1 at our local craft store called A.C.Moore.  They sell two different sizes, so make sure you purchase the one that is a 5″ x 7″ chalk board.  The Mod Podge can be purchased at any craft or art supply store and the castle craft punch was purchased at Walt Disney World.  I would have preferred to paint the wooden frame, but unfortunately due to time constraints I decided to do the castle punches on each corner instead.

Complete with these easy steps.

  1. Have  your child complete the puzzle.  It took Gavin about 15 minutes and he’s six years old.
  2. Using a paint brush, apply a layer of Mod Podge to one side of the chalk board.
  3. Place the completed puzzle onto the Mod Podged and framed area.
  4. Let this dry for about ten minutes.
  5. Apply another layer of Mod Podge on top of the puzzles and on the wooden frame.
  6. Place the castle craft punches in the corners of the frame.
  7. Let it dry for another ten minutes.
  8. Apply last coat of Mod Podge on top of castles.
  9. Let it completely dry before handling.

The empty puzzle tin can be used to store your child’s chalk.  Standard sized chalk fits perfectly.

Gavin had a blast helping me prepare this Princess-themed board for his sister.  He wanted to make another one today.  I’m hoping the rest of the kids in the club have the same reaction!


Inexpensive and Simple Valentine’s Day Craft for Children

Mickey Inspired magnets

Our school’s PTA has asked me to host an afterschool Disney-Inspired Craft class for ten first and second grade students.  I’m excited to work with these little Mousketeers!  But first, I have to come up with the craft ideas!  Today I’m sharing with you one of those ideas.  Since Valentine’s Day is right around the corner, I decided to design a few crafts around the holiday.

These little Mickey and Minnie Mouse-Inspired heart magnets are 3″ wooden pieces that I purchased at Michael’s Craft store for 29 cents each!

Valentines magnets 007

 Using washable paint, give one heart a coat of red paint and the other a coat of pink.  Leave it dry for five minutes and clean your paint bush.  Then paint the top of the heart black for Mickey & Minnie’s ears.  Using a Q-Tip dot two spots on the bottom of the red heart for Mickey’s buttons and a bunch of dots on the bottom of the pink heart for Minnie’s polka dots.  Then let the hearts dry.  The wood really soaks in the paint so they dry relatively quickly.

Valentines magnets 006Once they’re dry, it’s time to apply the magnet to the back.  To save time, I used ProMag Magnetic Tape.  To apply all the children have to do is peel the back off and stick it to the non-painted side of the heart.

Tip: Since the tape is curved, once you’ve applied the tape it’s a good idea to place the dried hearts under a book to help flatten out the magnet.

The afterschool program consists of four sessions.  One idea done!  Now it’s time to create three more.  Any ideas you’d like to share?

If you liked this idea and would like to read more, including additional Disney-Inspired craft ideas, sign up to receive my posts by email.  Each time I post something new on the blog, you will receive that post in your email in box.  You can subscribe at the top right hand side of this page!

Have a great day and thanks for stopping by!


Mickey Mouse Inspired New Year’s Eve Party Banner

2014Happy New Year!  Let’s Make 2014 Magical!

Are you planning to visit Mickey in 2014?  If your family is anything like mine, you’re already counting down the days!  Ring in the New Year and remind yourself that there’s a “magical” adventure awaiting your family in 2014, by creating this simple Mickey Mouse Inspired banner.  With the use of cookie cutters, card stock, glue, and glitter, I made it in about 15 minutes.

Christmas 2013 120

I used Wilton’s large number cookie cutters and an oversized Mickey Mouse cookie cutter that I purchased at Walt Disney World. If you don’t have a Mickey cookie cutter, I scanned it so you can use it for a template.  Click here to print it out the template:  Mickey Mouse template

  • Using black card stock, cut it down into four 6″ x 6″ squares.
  • As pictured above each “number” will get a square.
  • Brush glue on the inside of each of the cookie cutter numbers.
  • Sprinkle with glitter.
  • After a minute remove the cookie cutters, wash them and set aside to dry.
  •  Once the glue has dried, shake off the excess glitter.
  • Hole punch the corners of the squares.
  •  Using ribbon or yarn, tie each square together and you’re done!

Christmas 2013 123

Be safe and enjoy this New Year’s Eve!

I wish you and your family a Happy, Healthy and Magical 2014!